I’ve been meaning to upload photos I took after I set up my household binder for a while now and have finally gotten around to it!
Apologies for the shadows in the photos – it was overcast the day I took them.
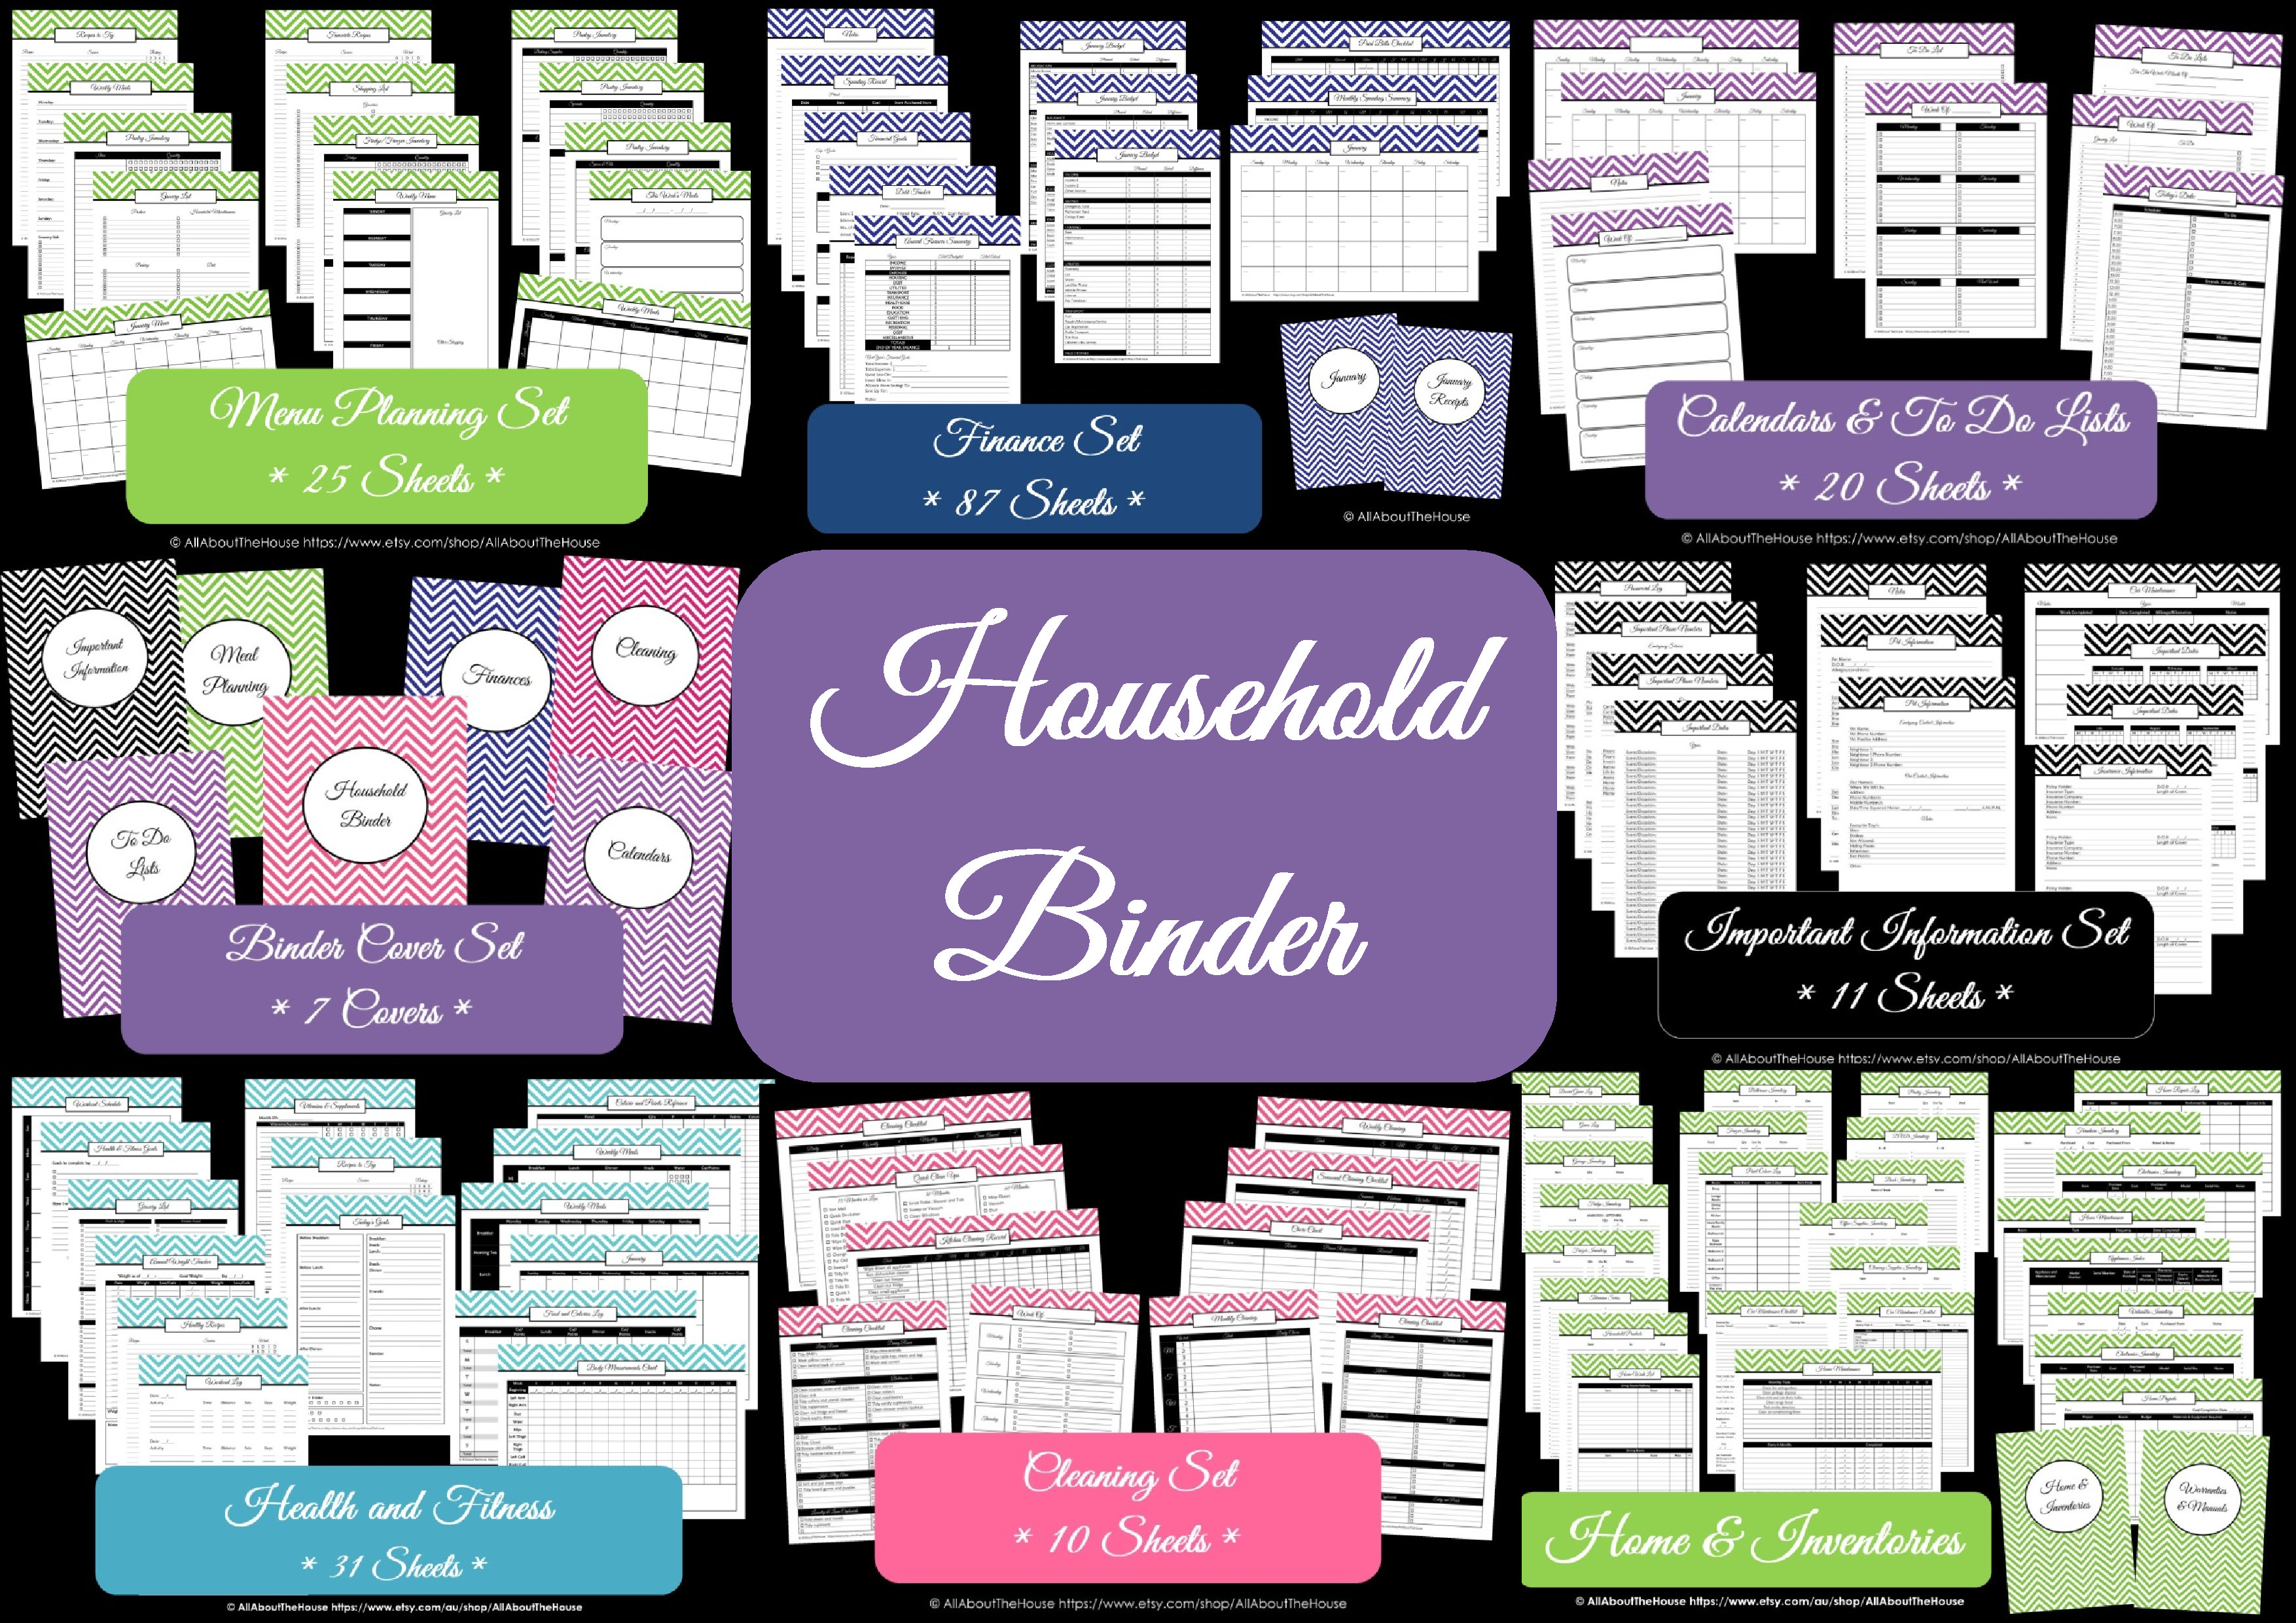
I have 6 sections in my household binder:
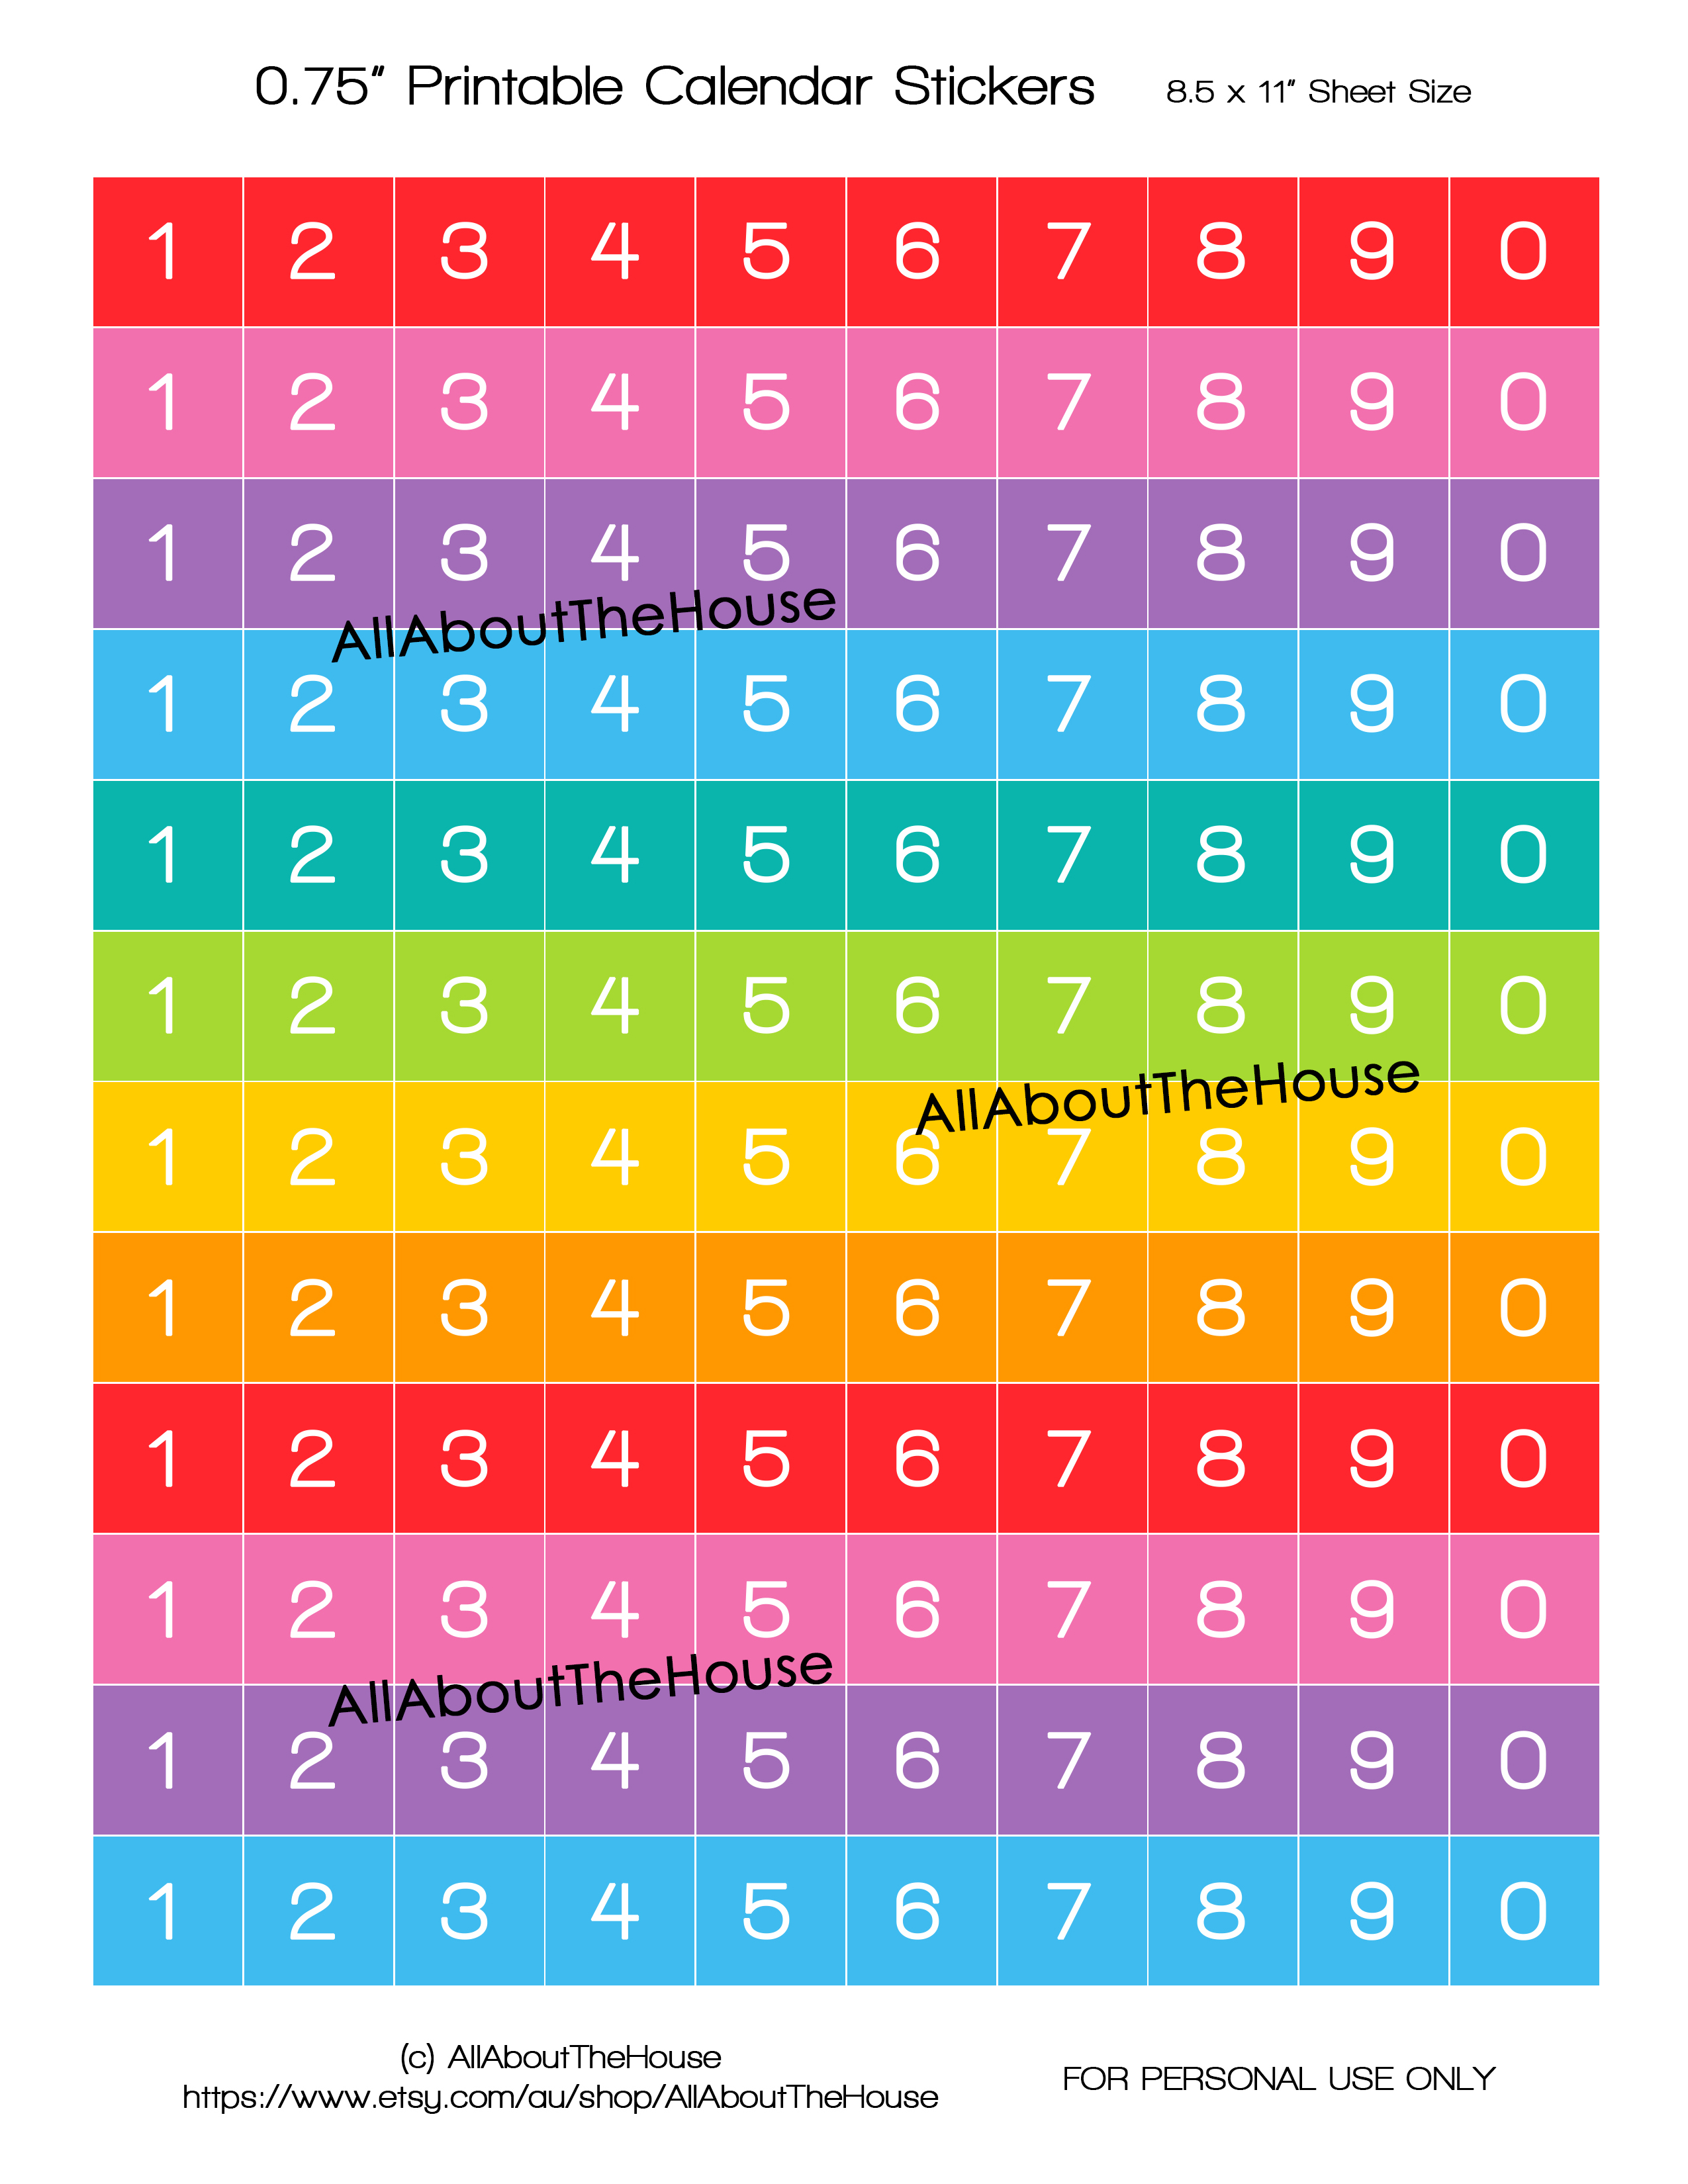
1. Calendars
2. To Do Lists
3. Important Information
4. Meal Planning
5. Cleaning
6. Finances
To create my household binder I used:
– White binder from kmart (it was around $5)
– Plastic sheet protectors (scored these on clearance. They were 100 for $1 so naturally I got 5 packs.) I prefer to keep my sheets in plastic sleeves because I can never hole punch heaps of sheets and have them line up all nice and neat in the binder.
– Dividers (number will depend on how many sections you are creating. One pack should do. I used white and then washi tape over the tabs for the labels)
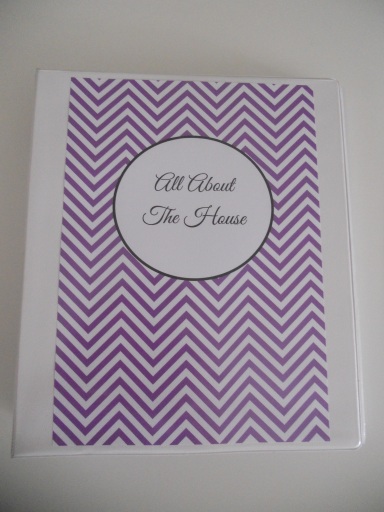
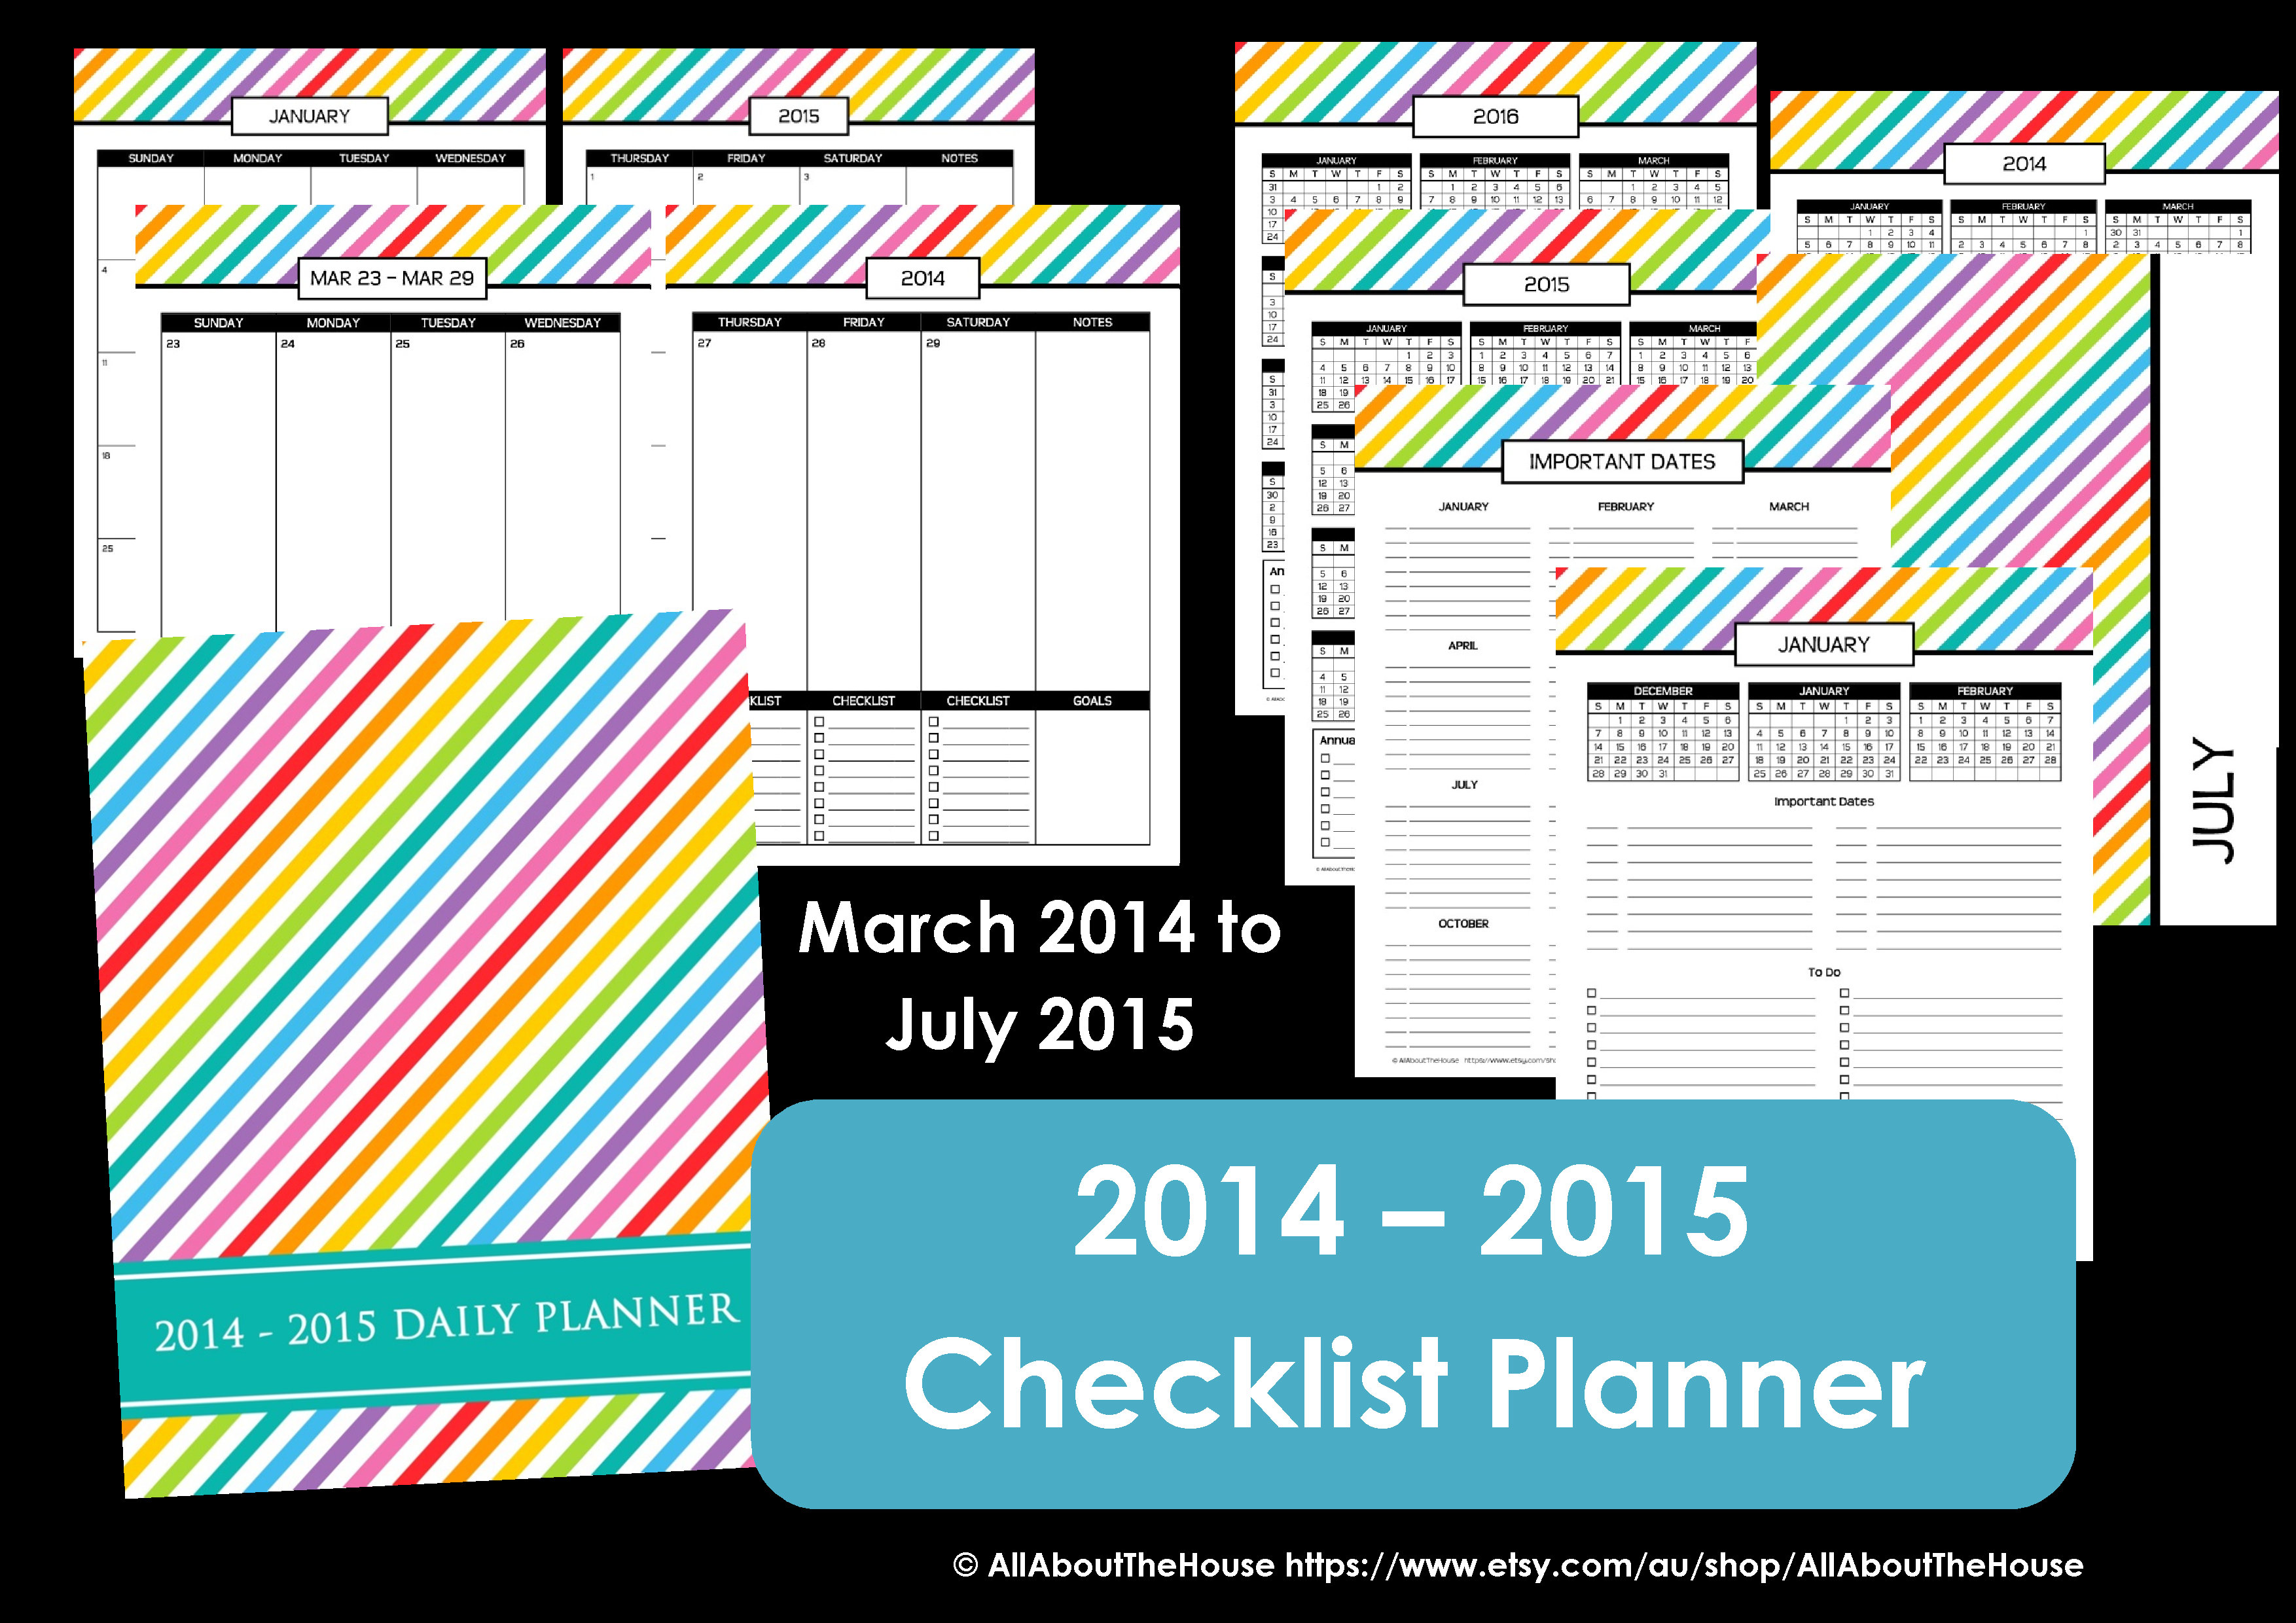
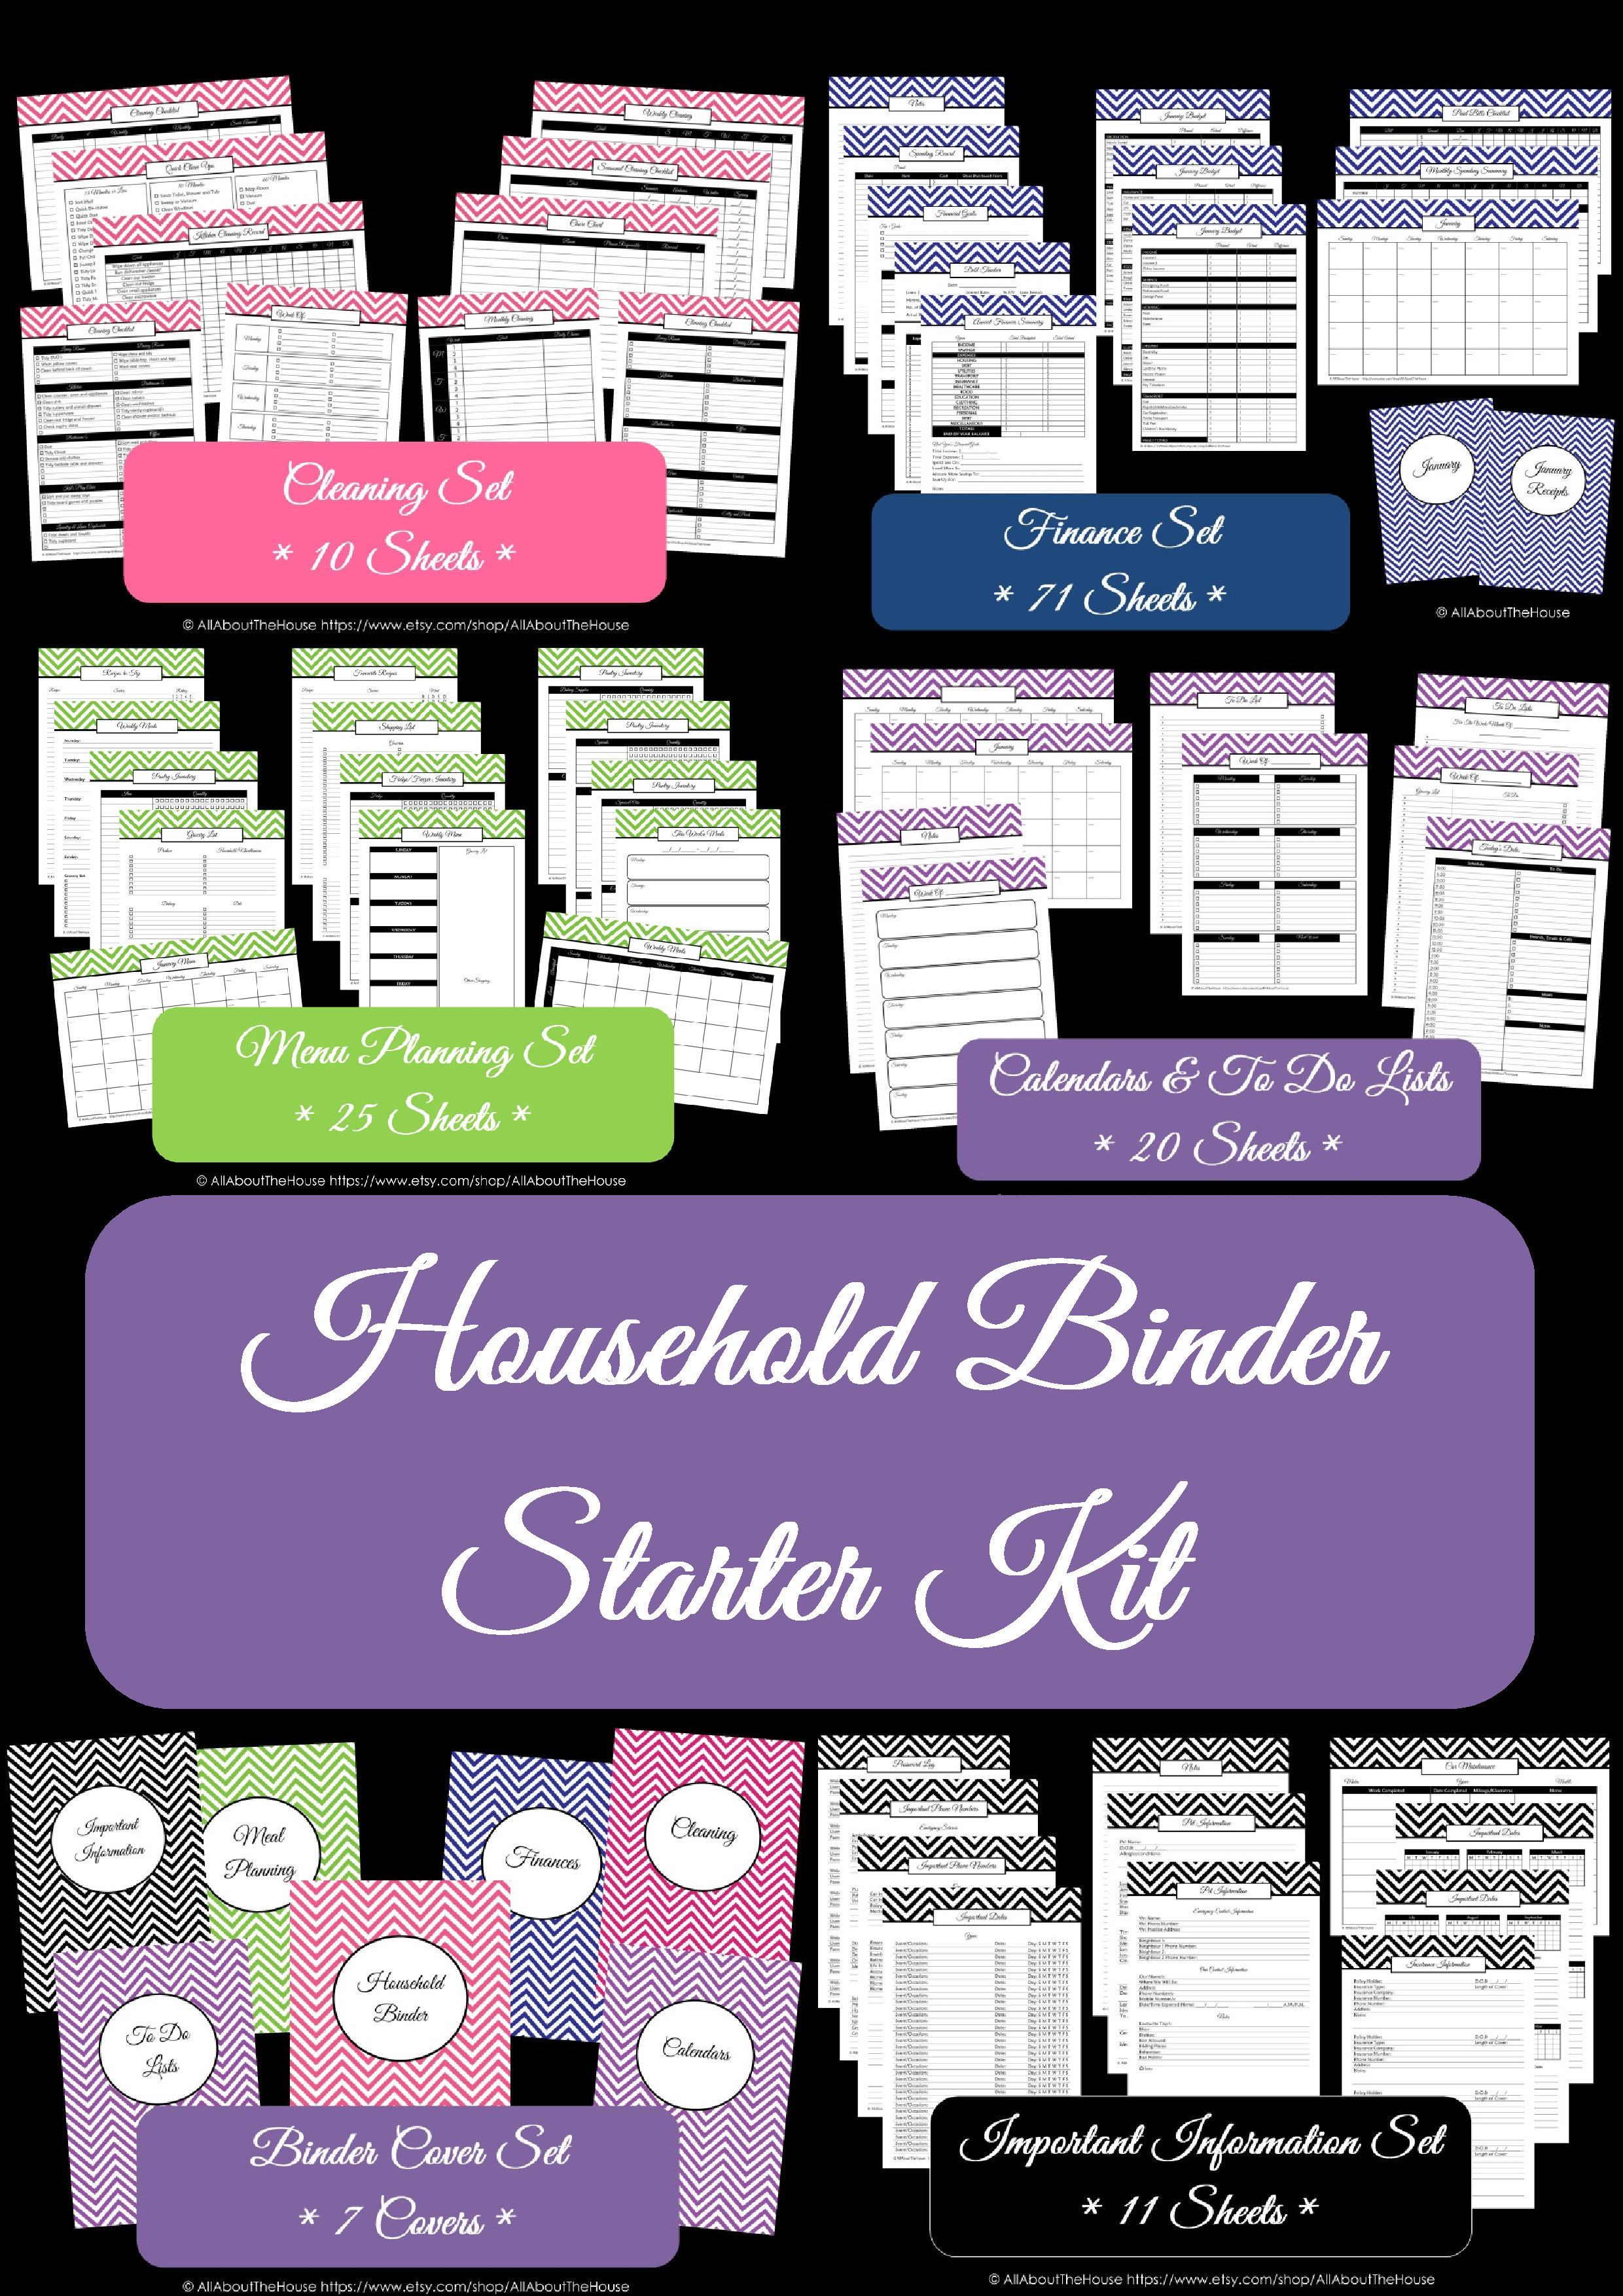
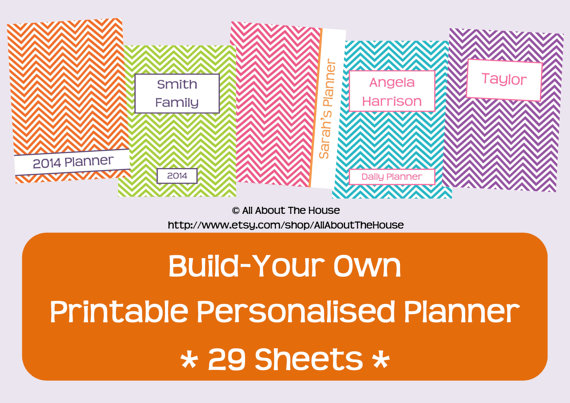
– Household binder starter kit printables – All printables come from the chevron household binder starter kit available in the online store and on Etsy.

Note: I didn’t take photos of every sheet from every set because there are 162 of them! Also, if you click the pictures, you will be able to see the sheets better!

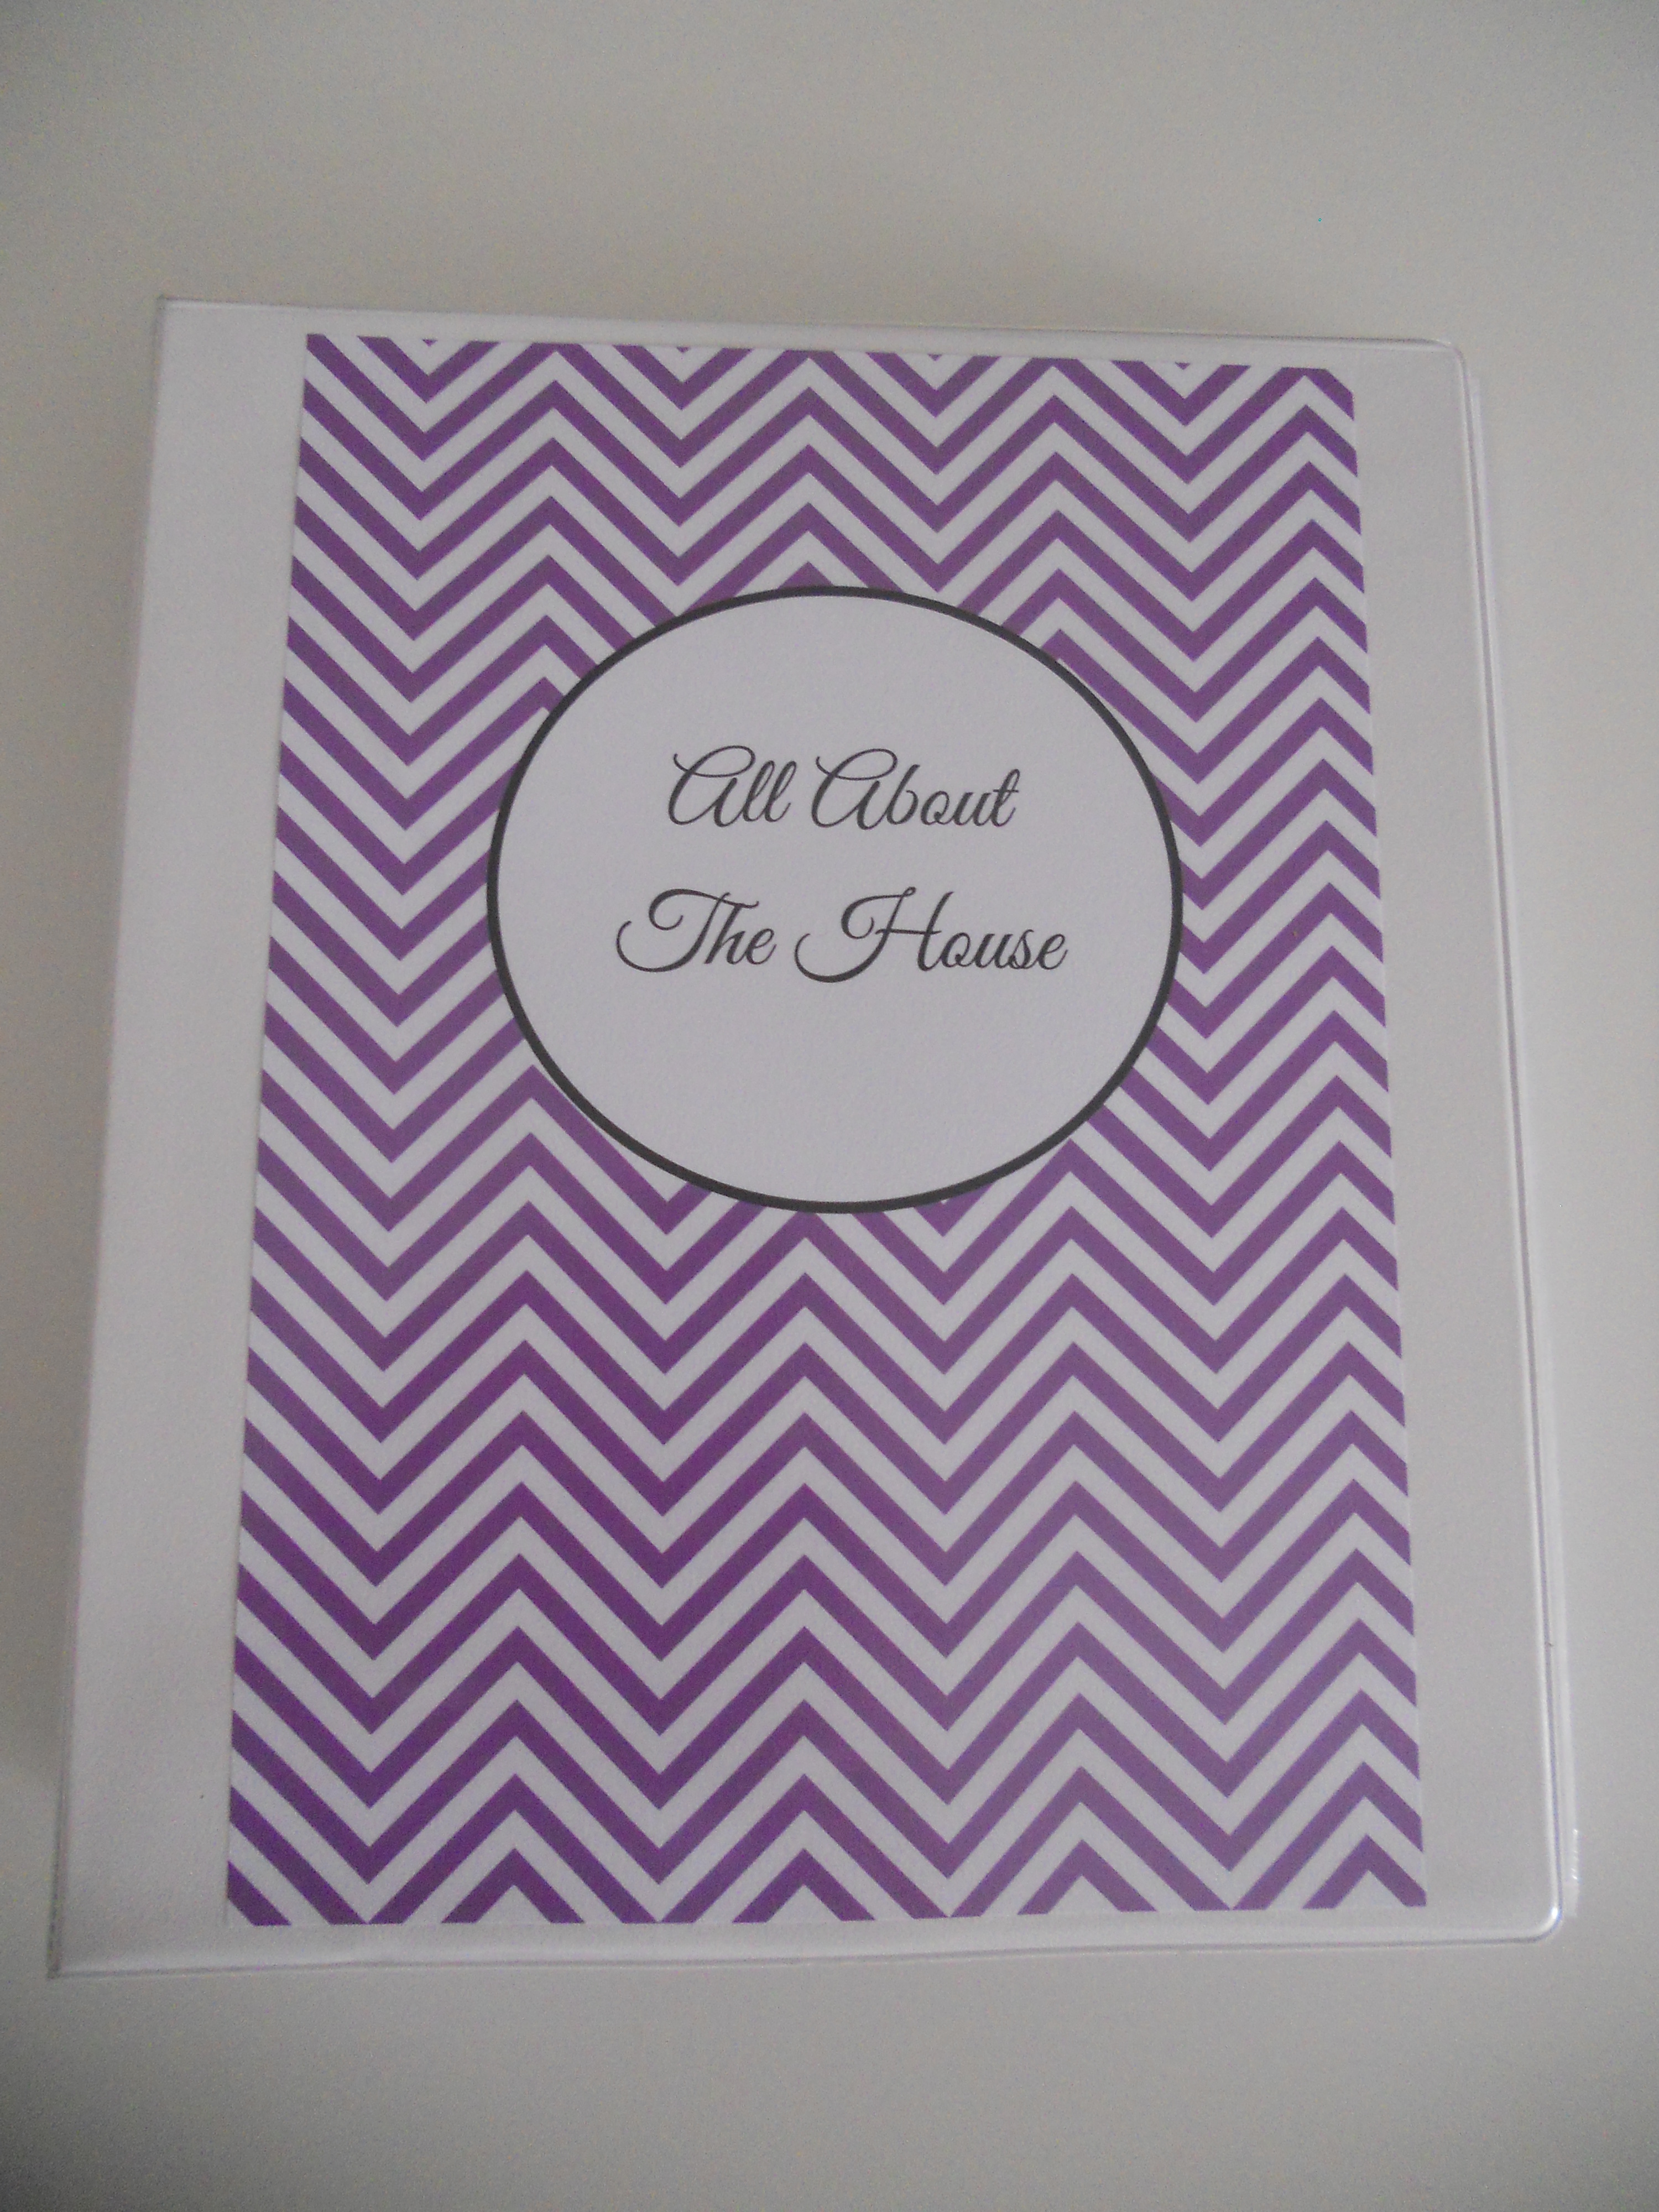
I offer free customization of the cover text e.g. ‘The Smith Family Binder’ ‘Our Household Binder’ ‘Karen’s Day Planner’ ect.
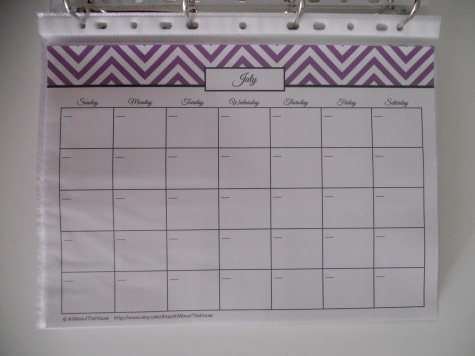
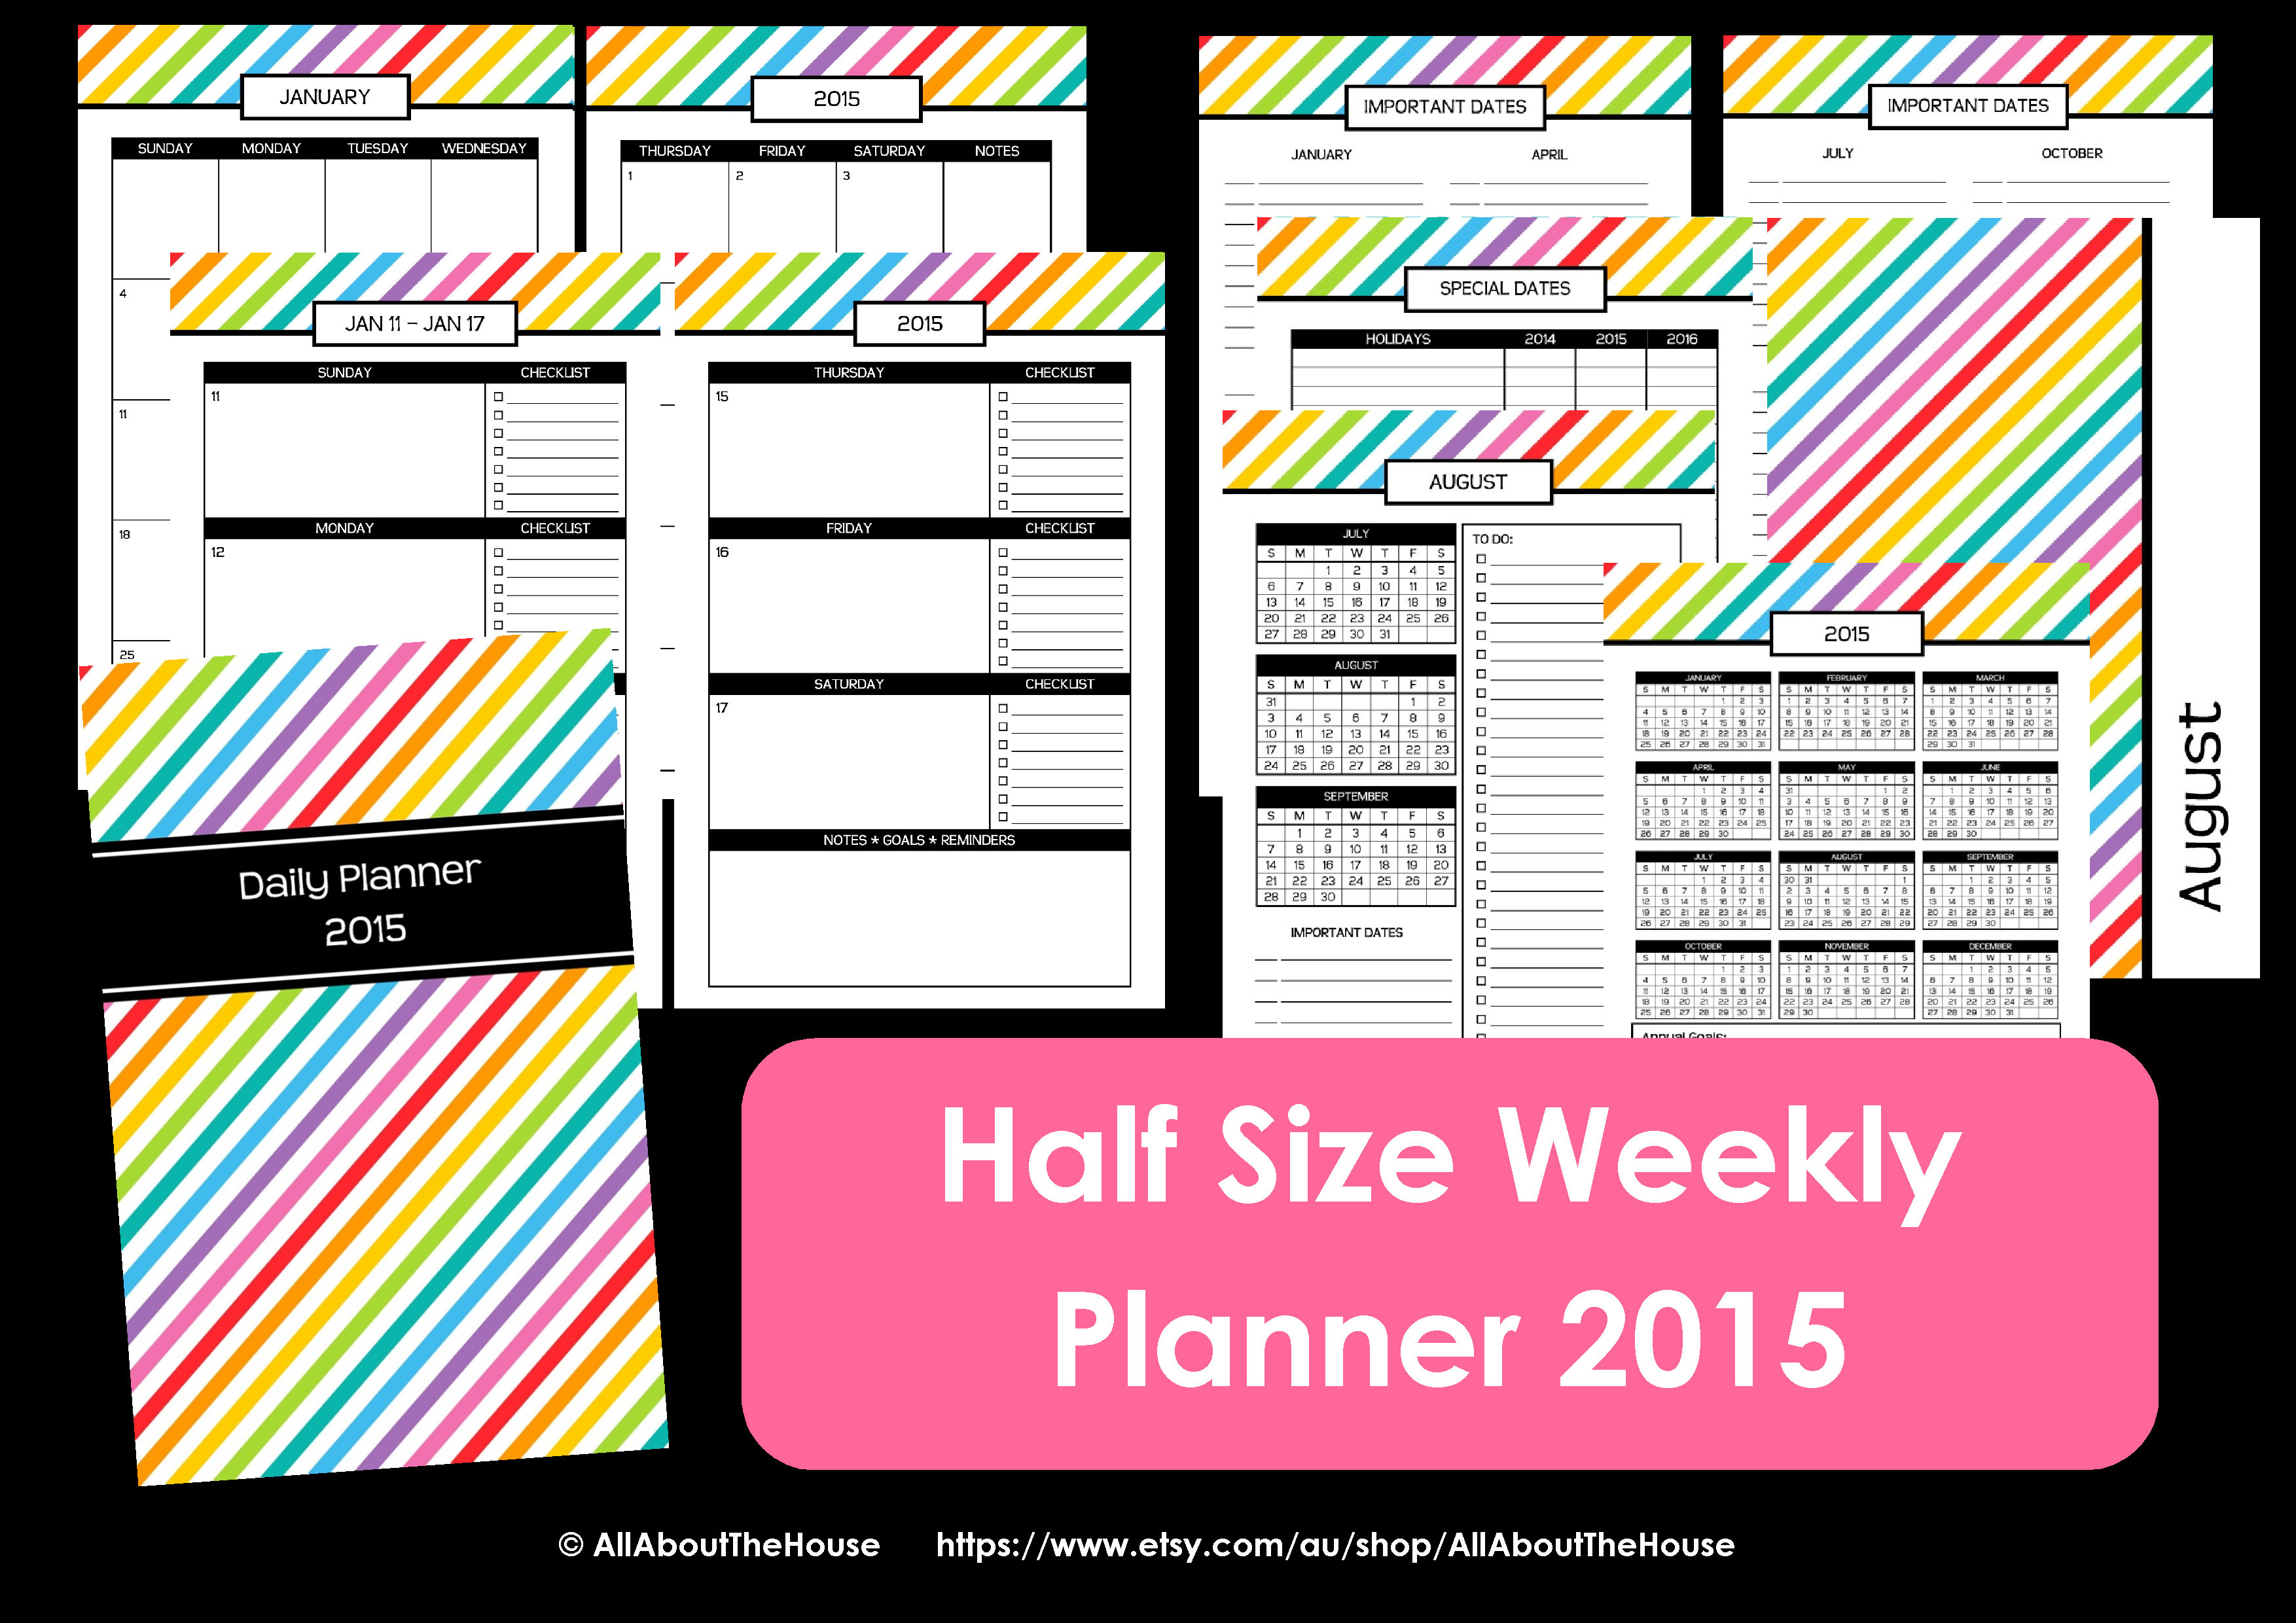
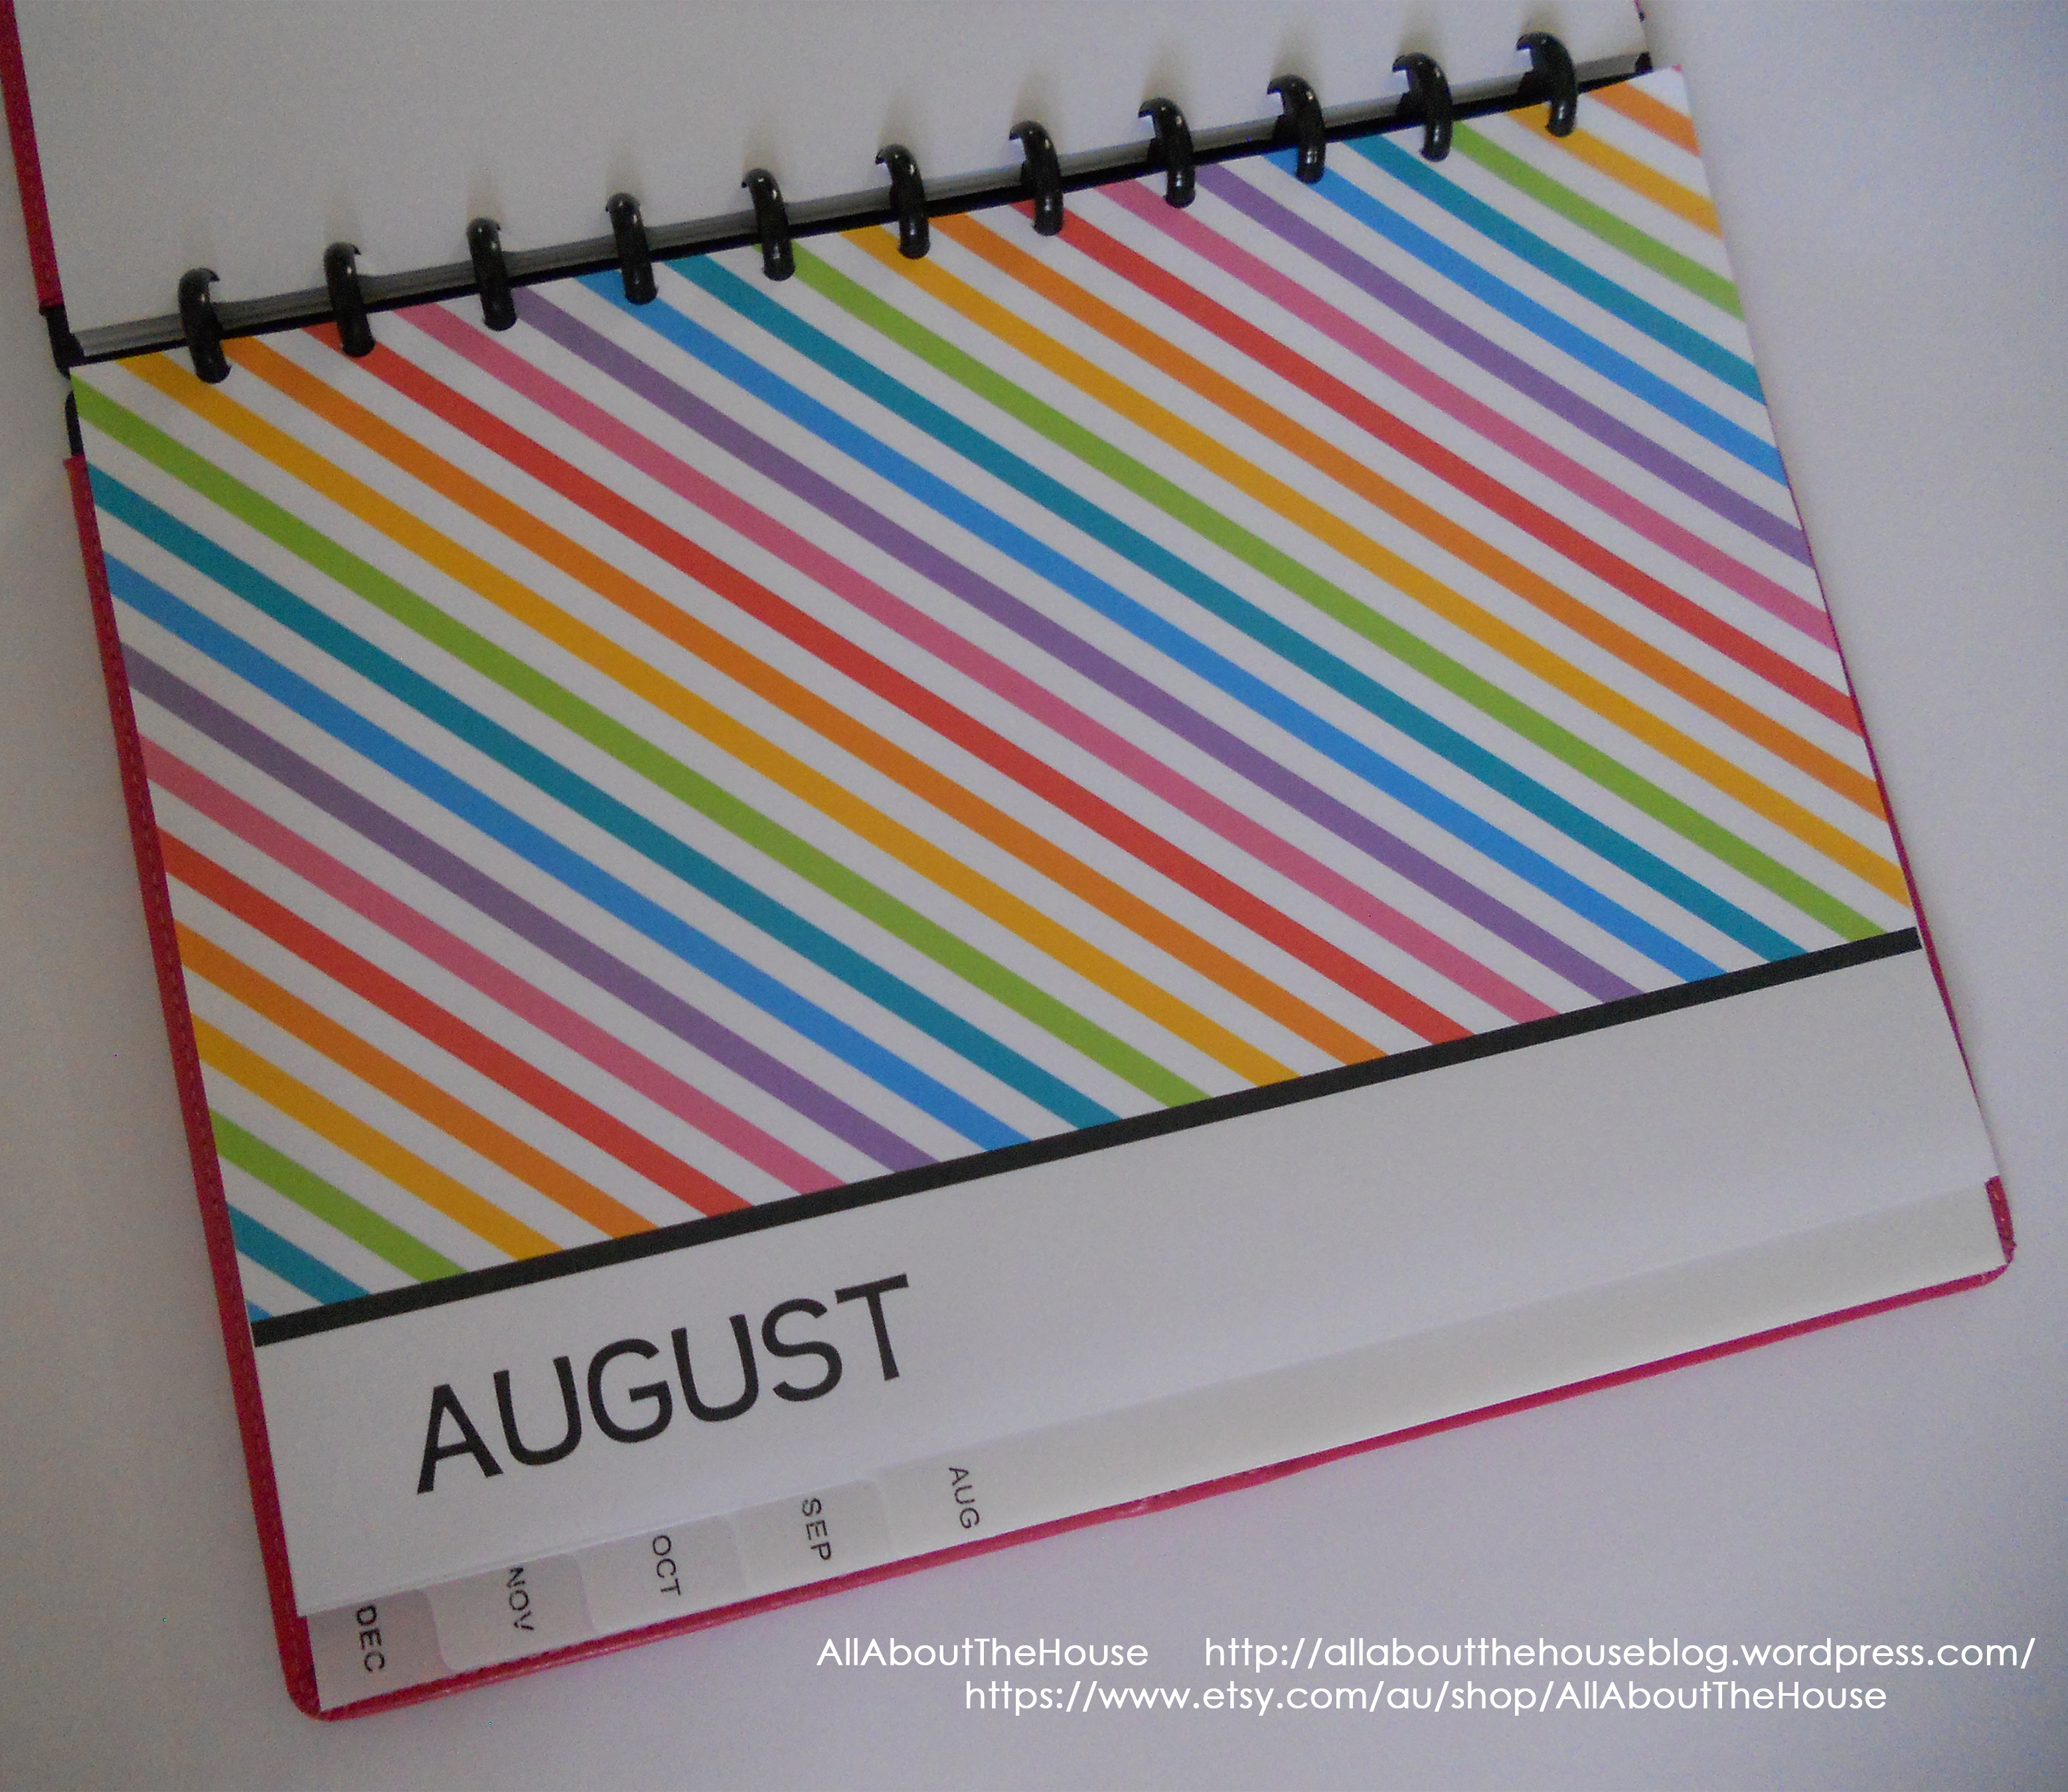
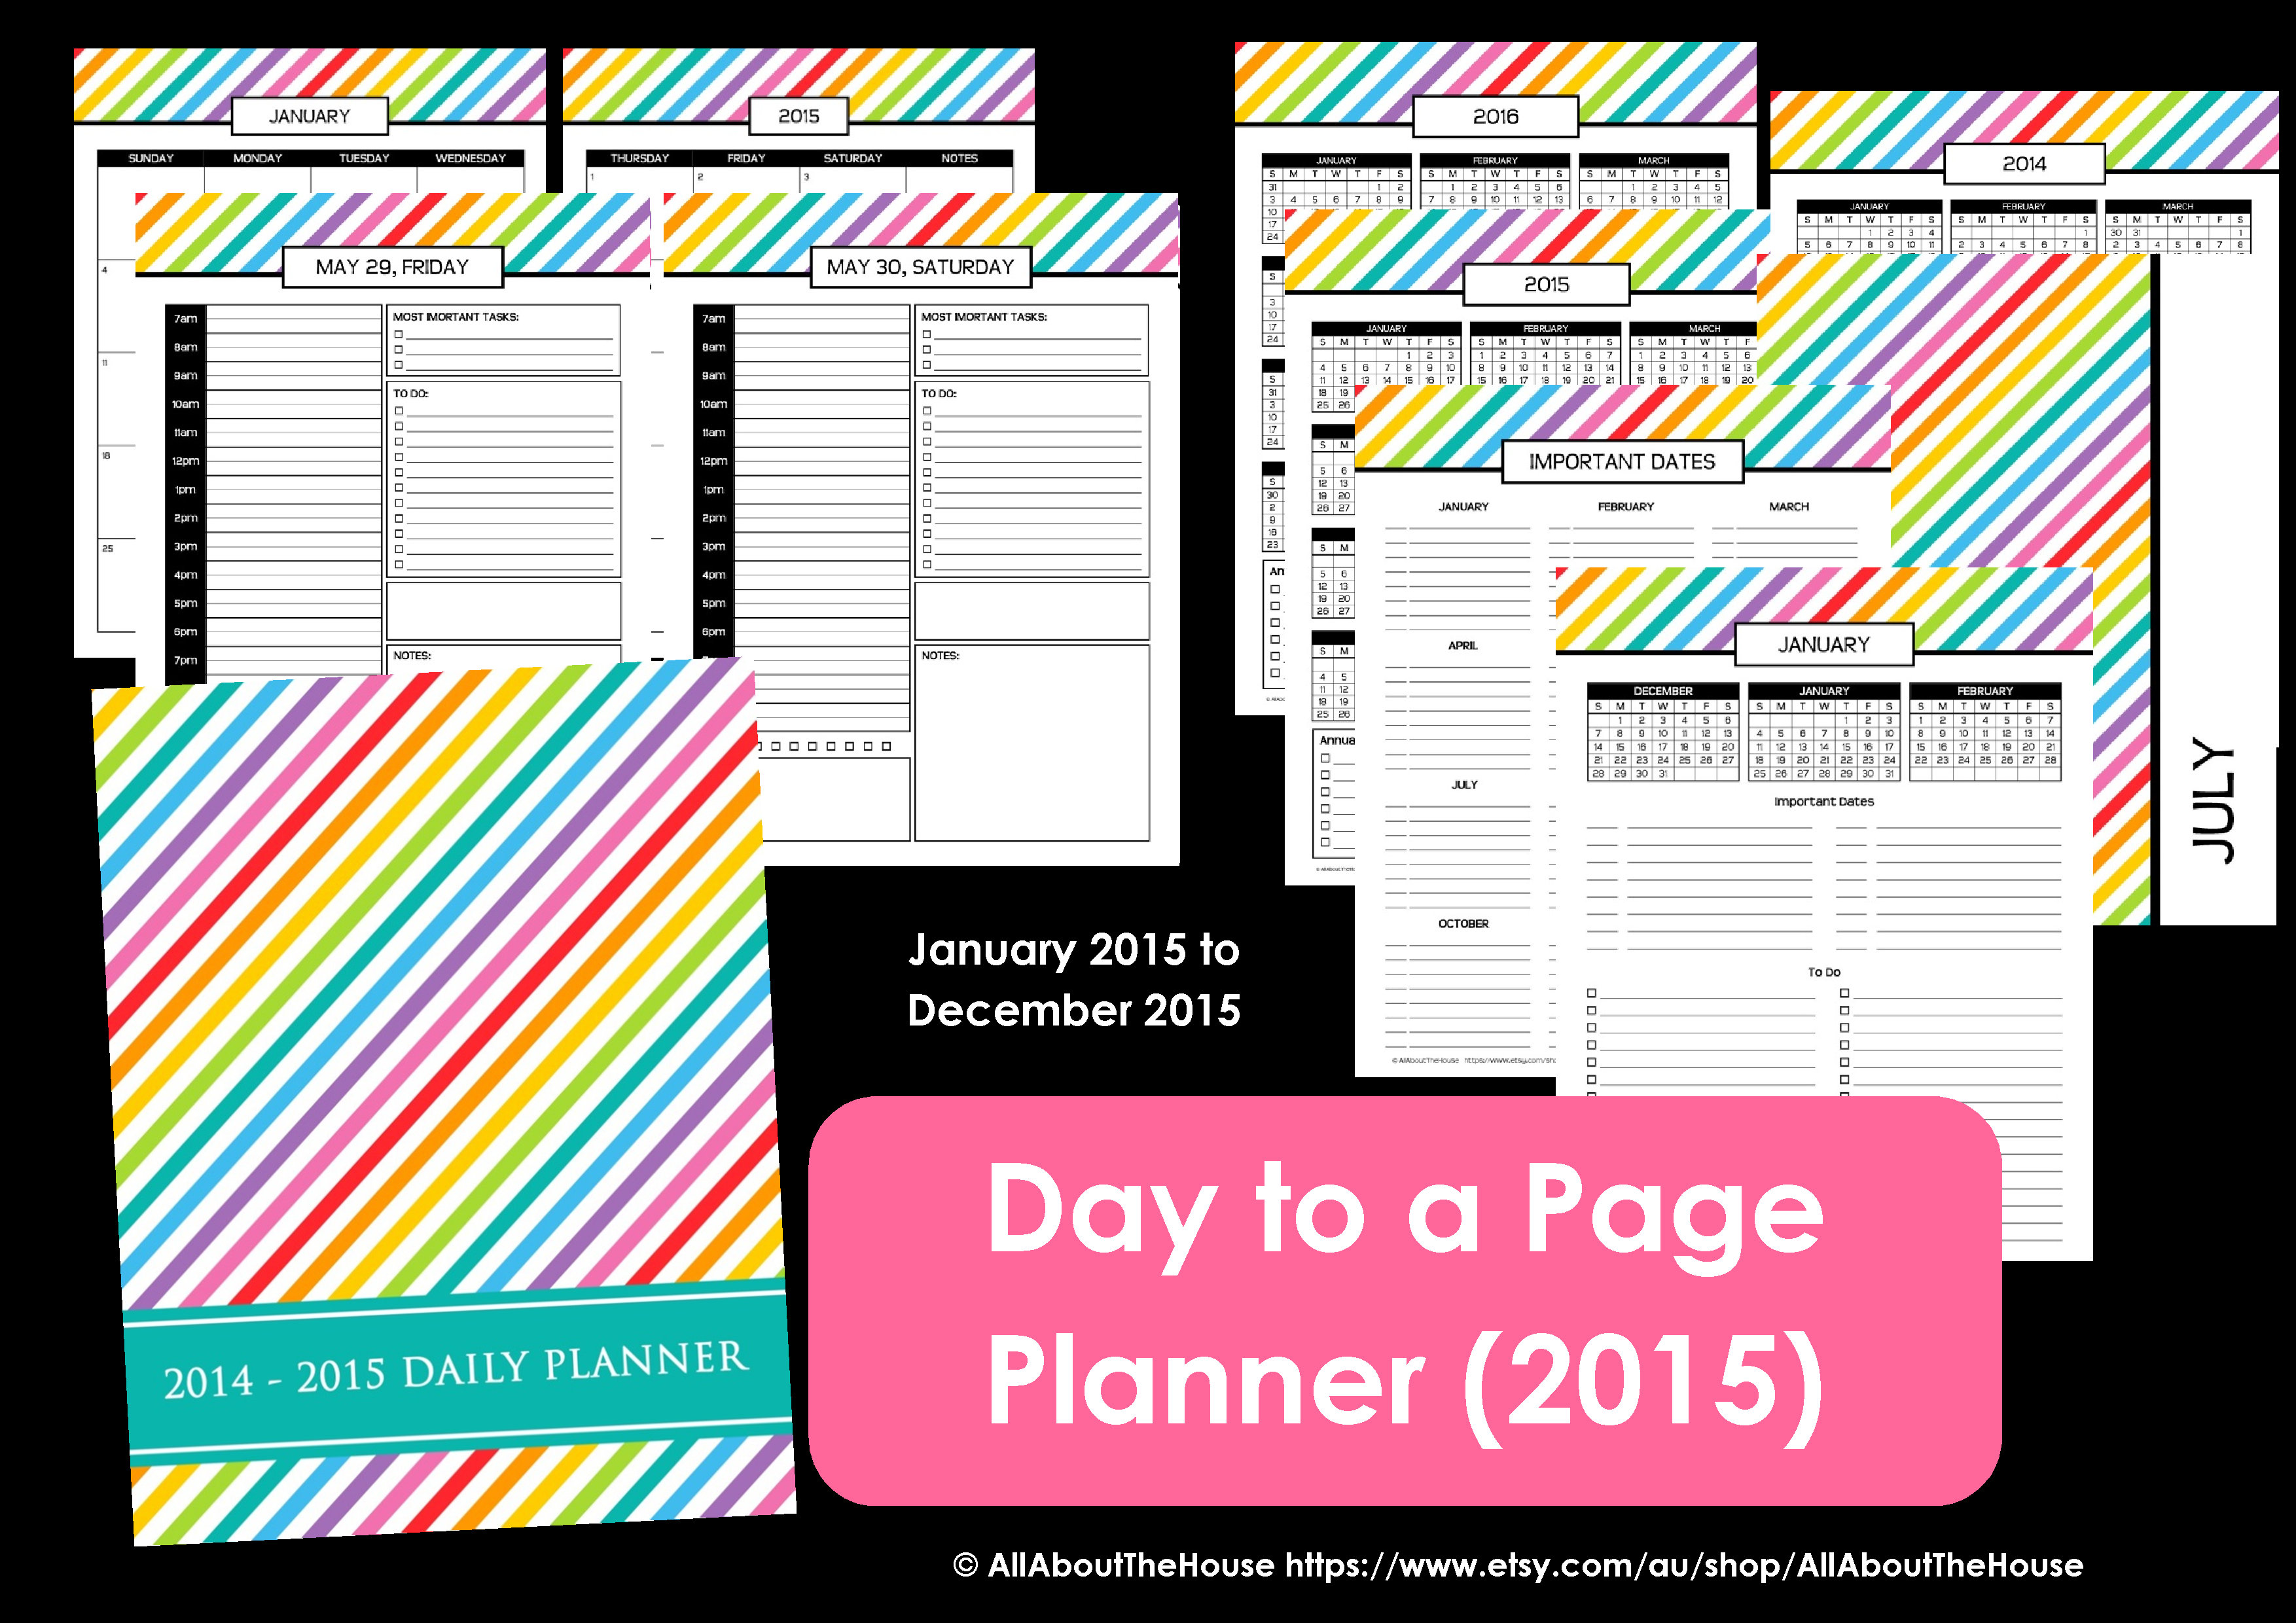
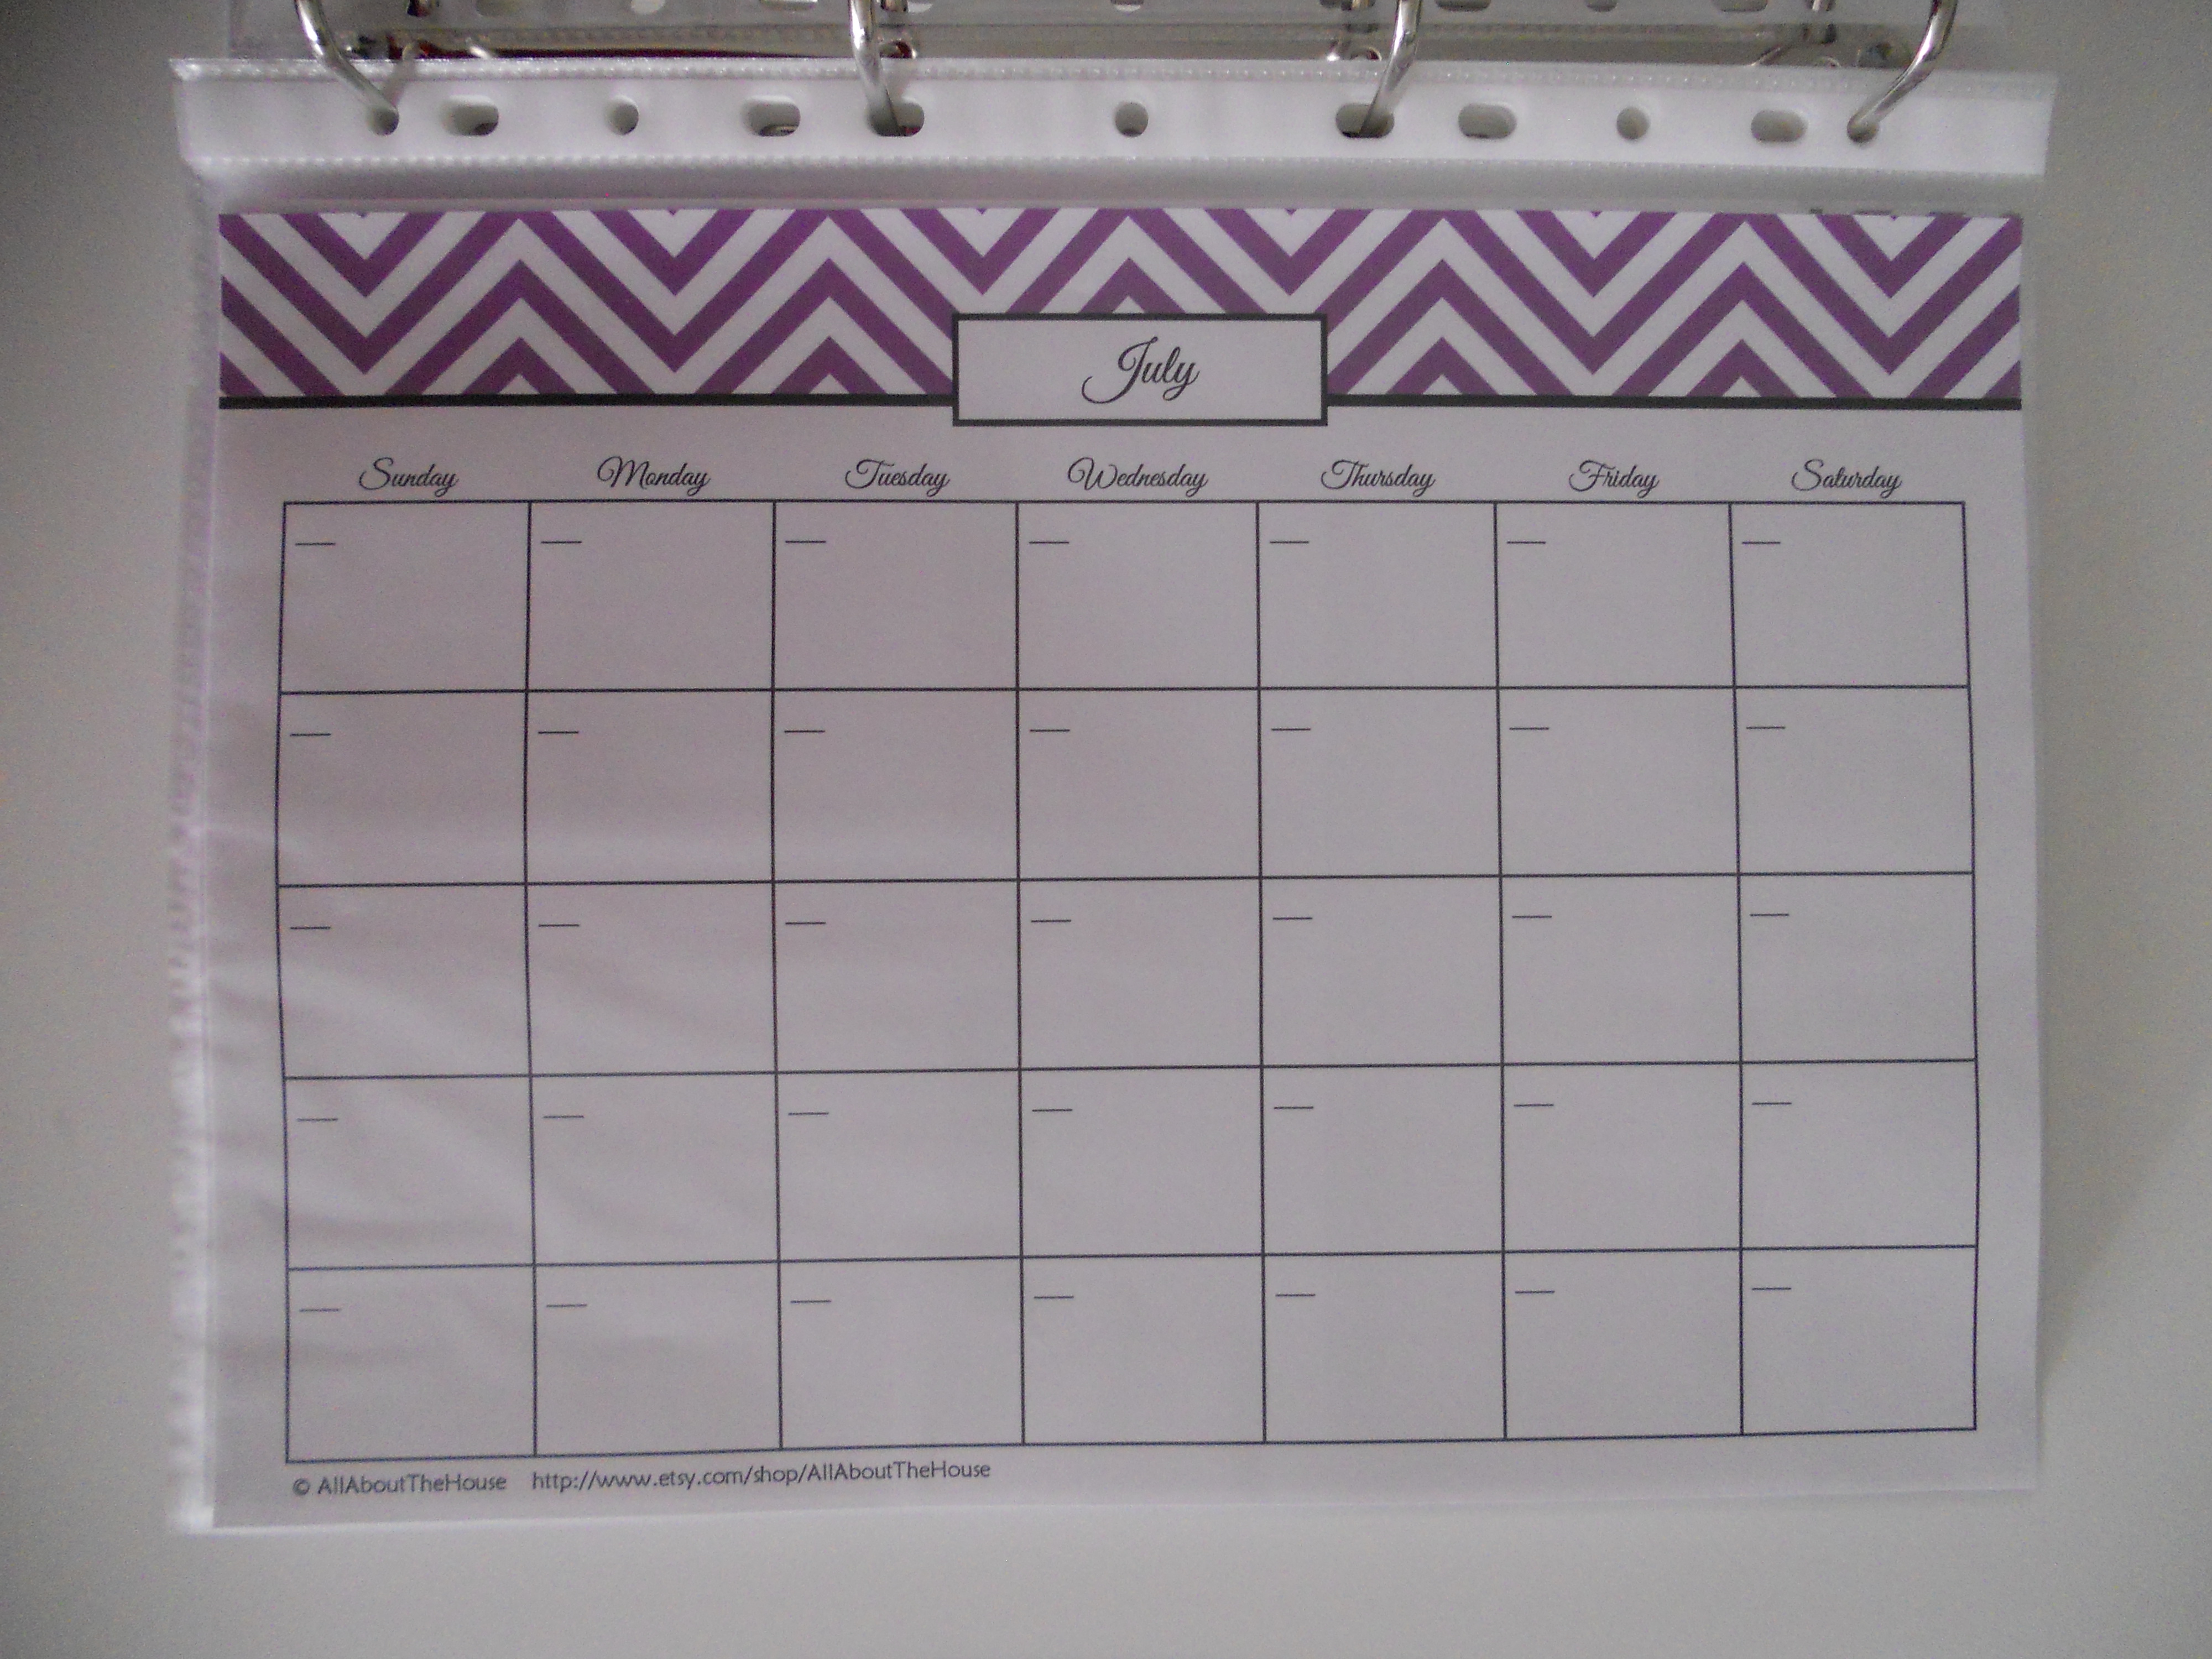
1. CALENDARS AND TO DO LISTS
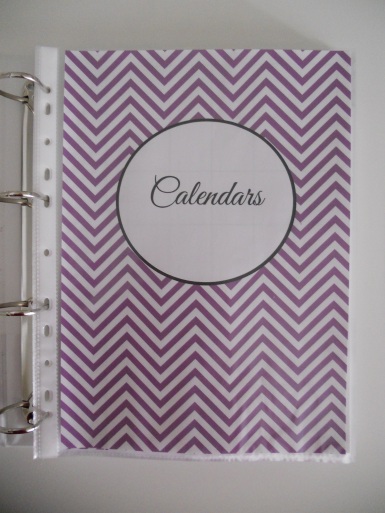
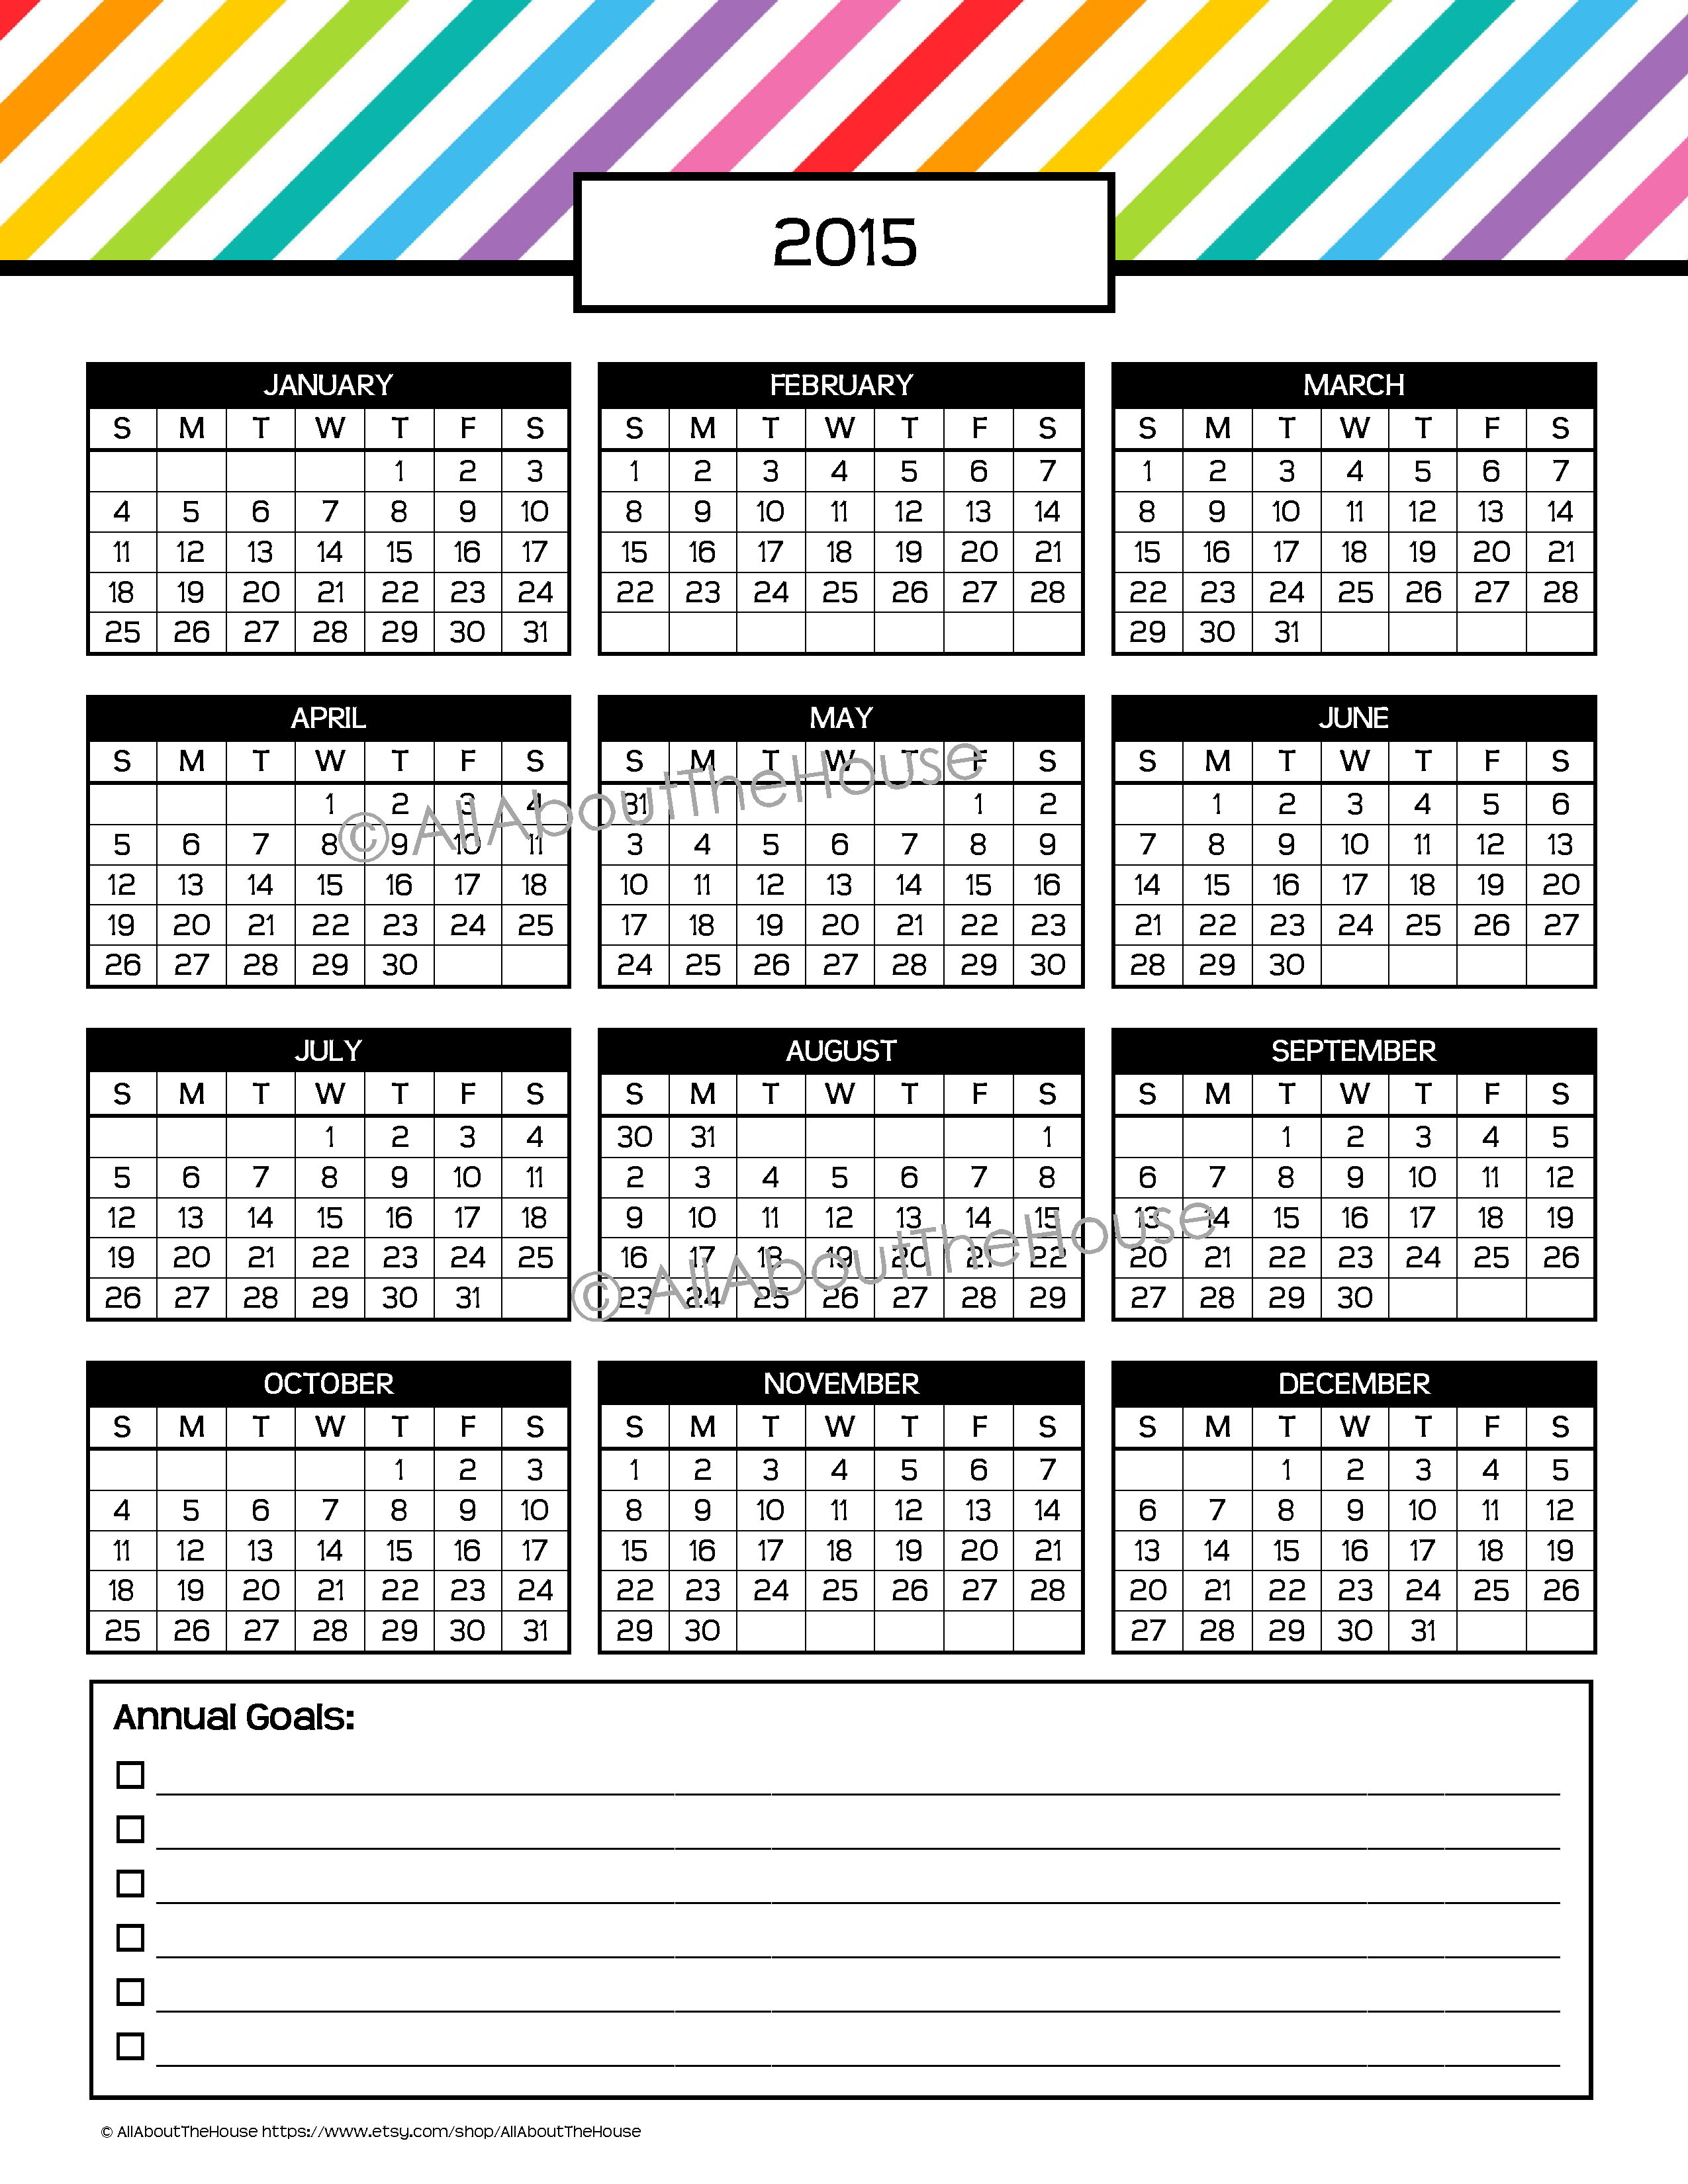
I like to keep this section at the front as I regularly refer to my monthly calendar, weekly planning sheets ect.
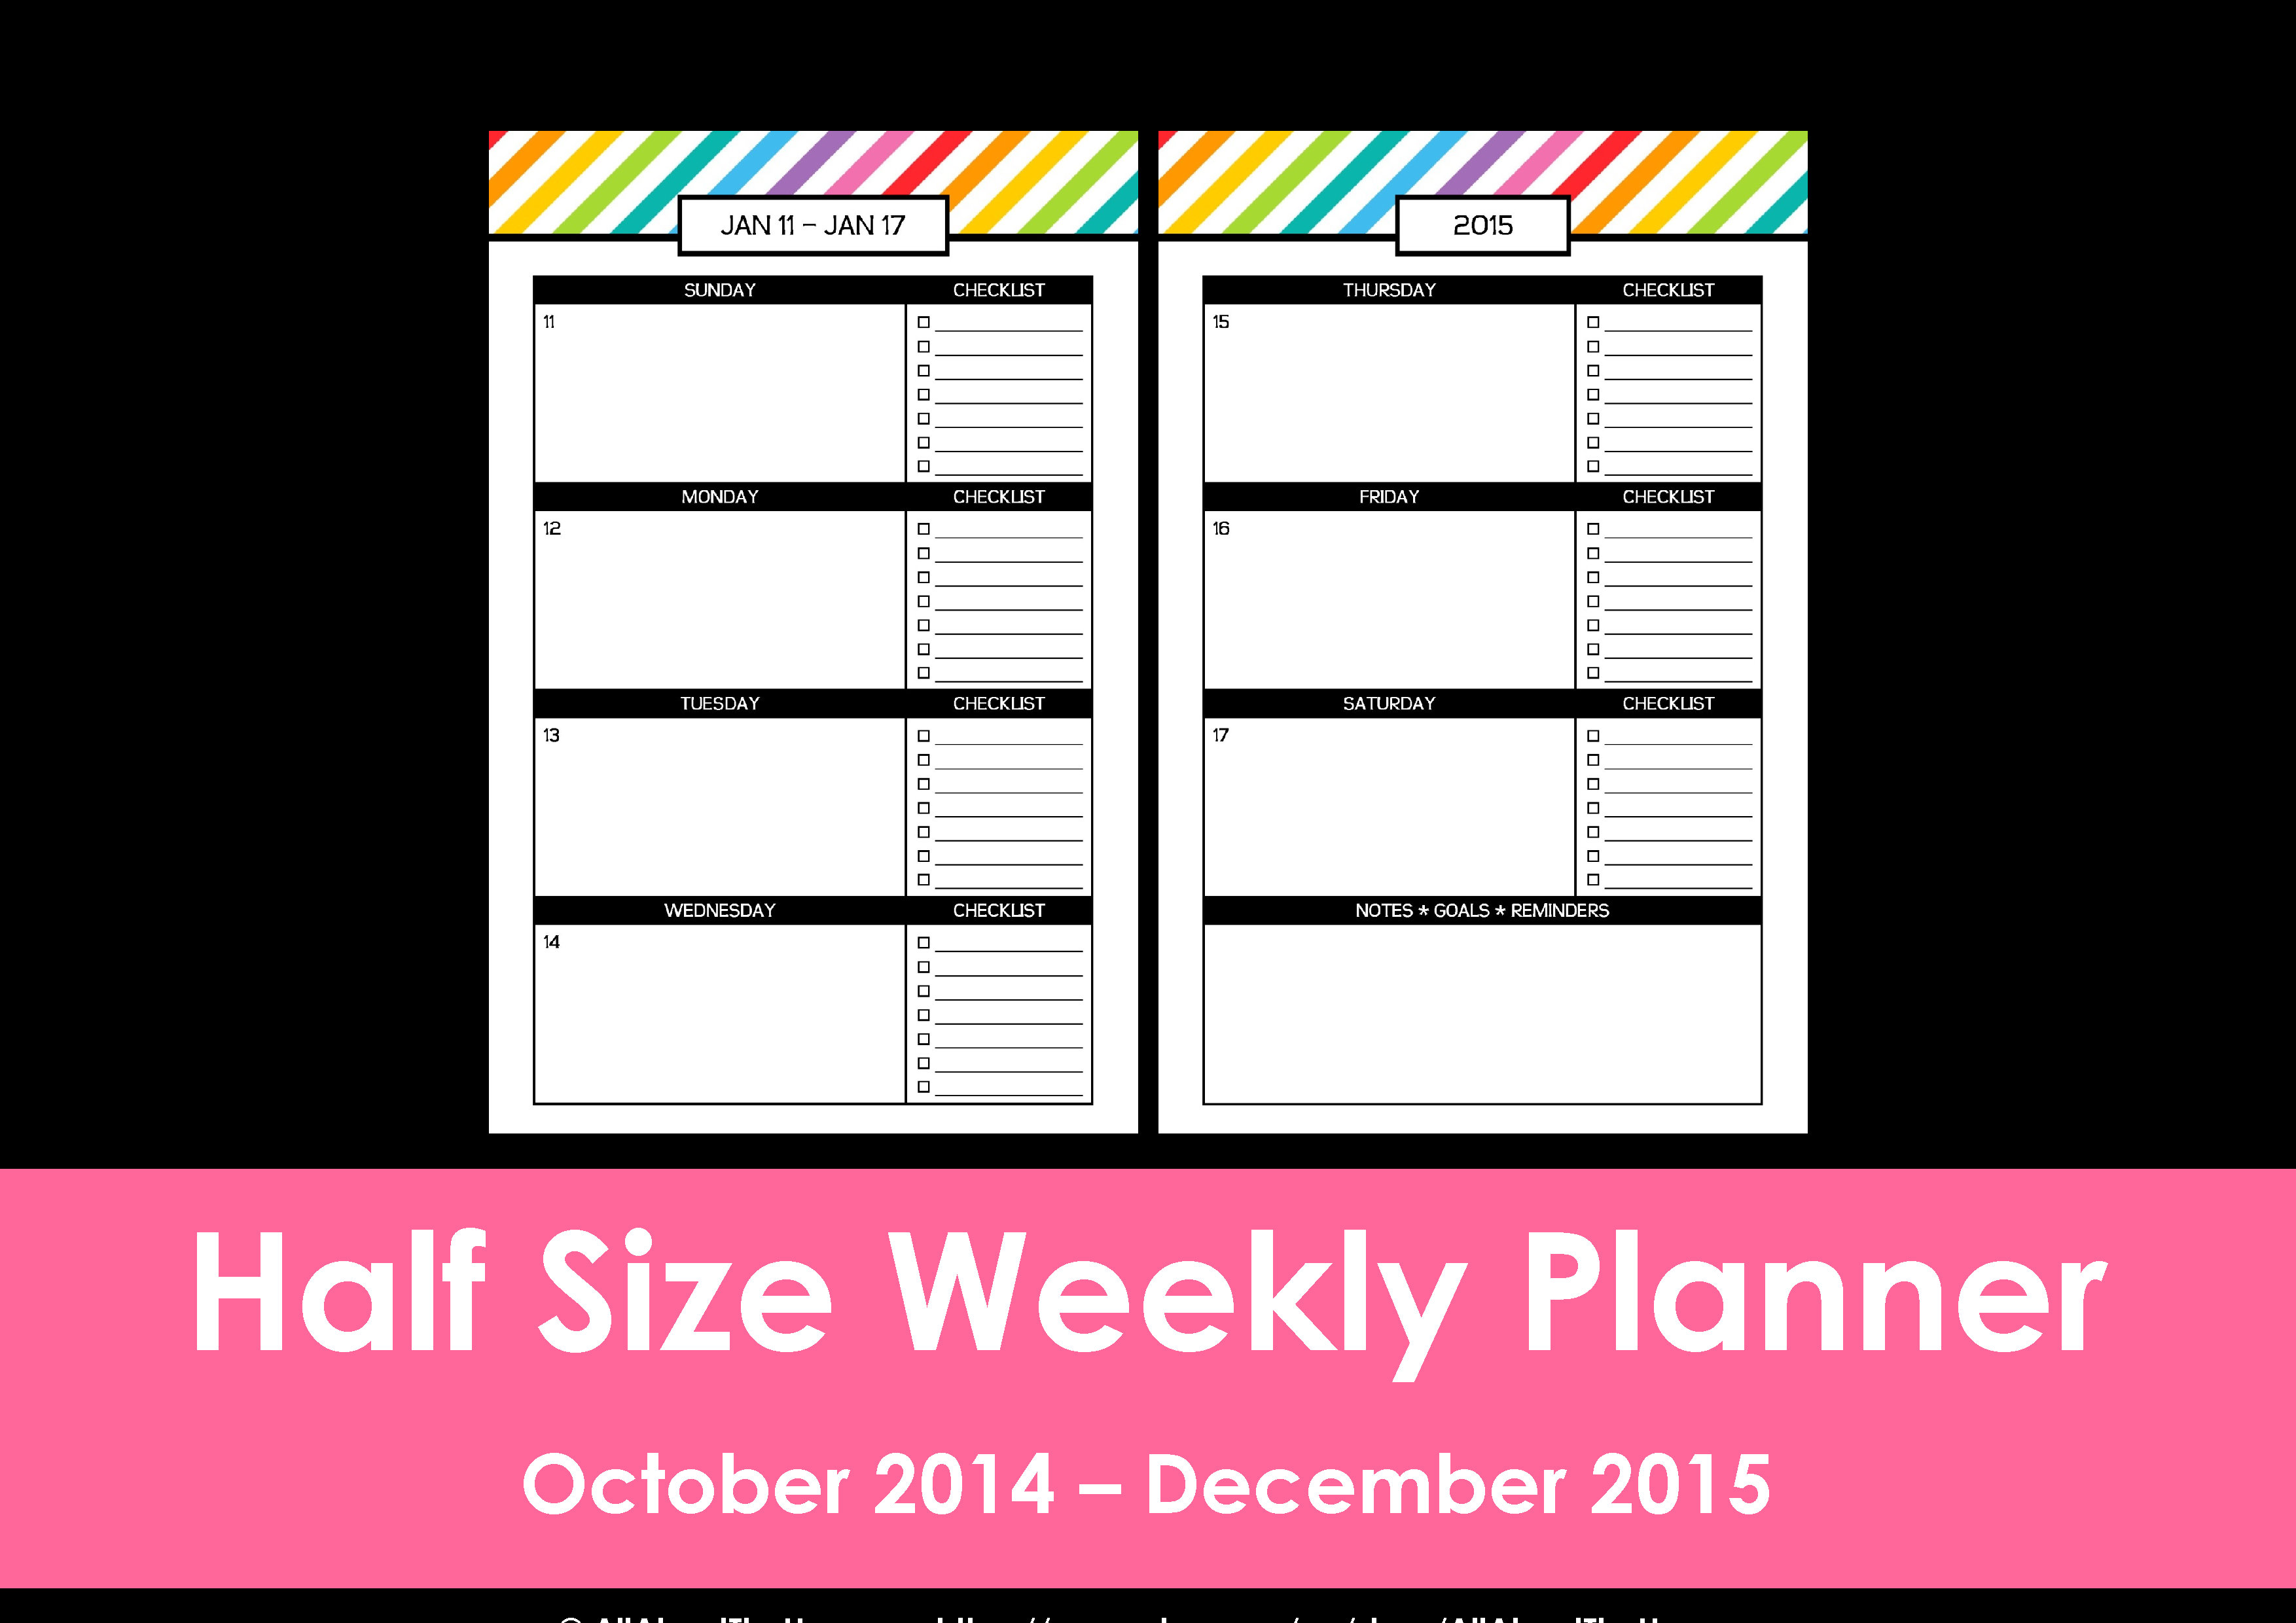
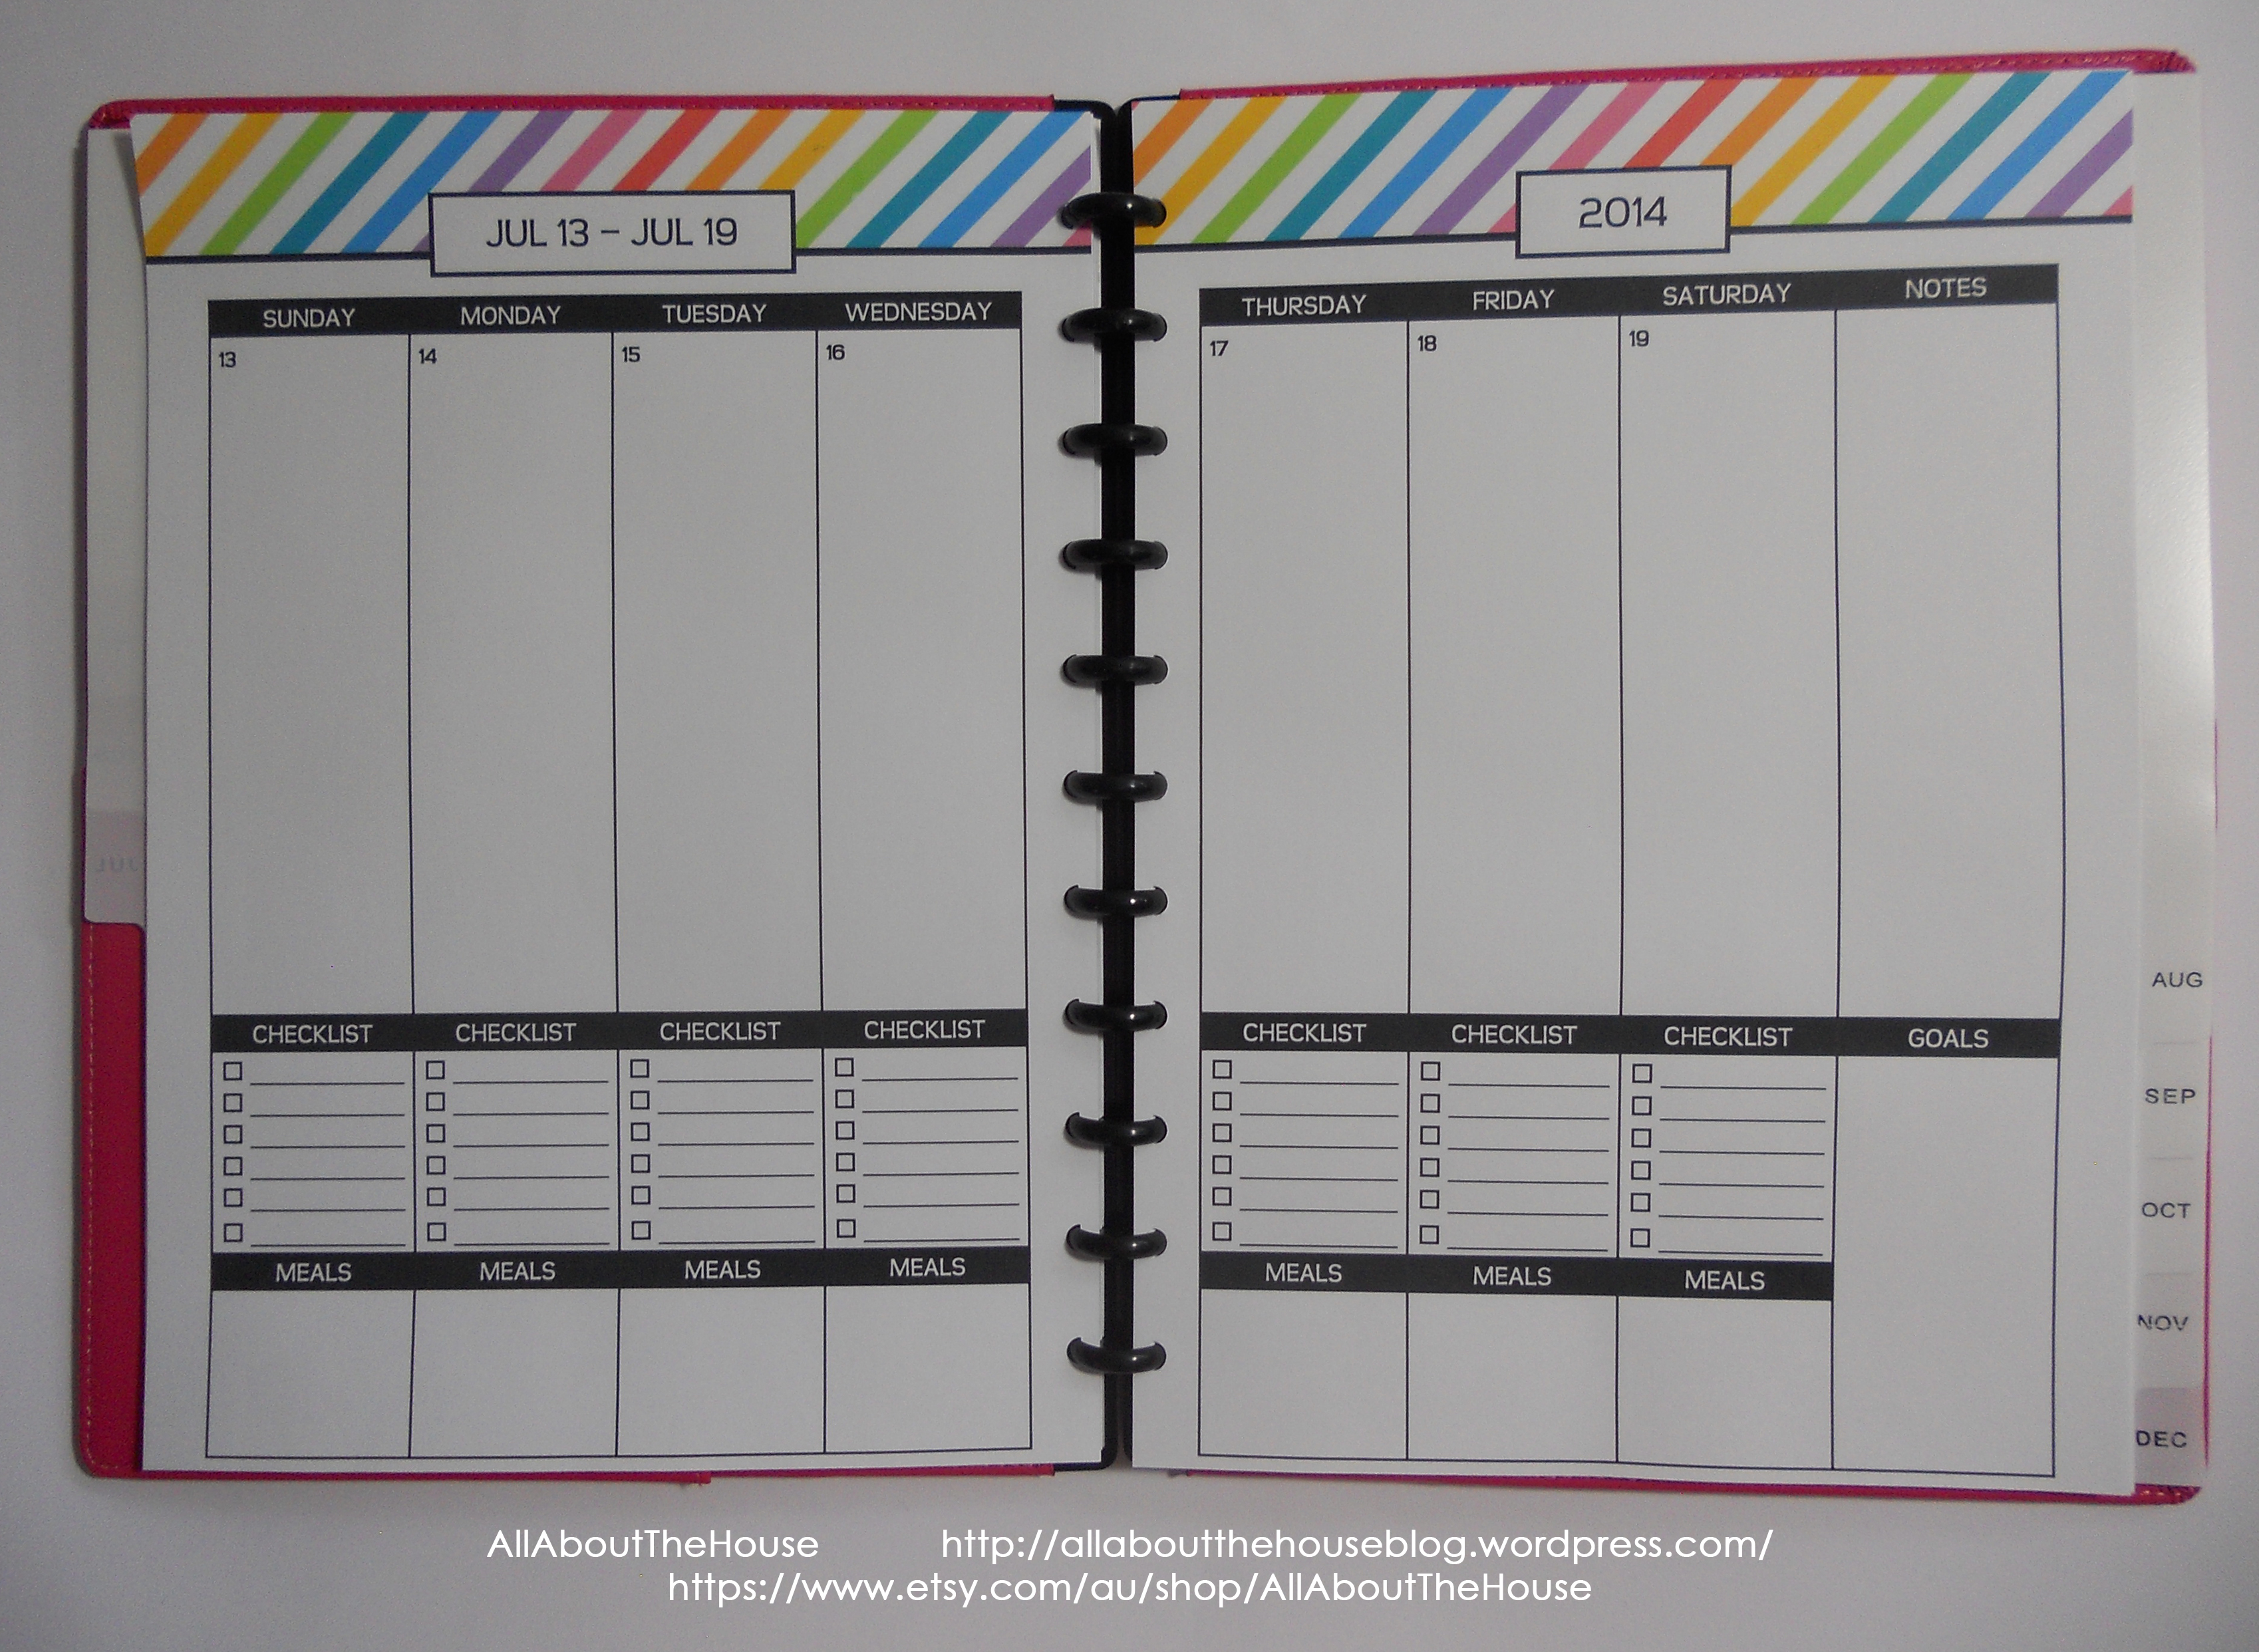
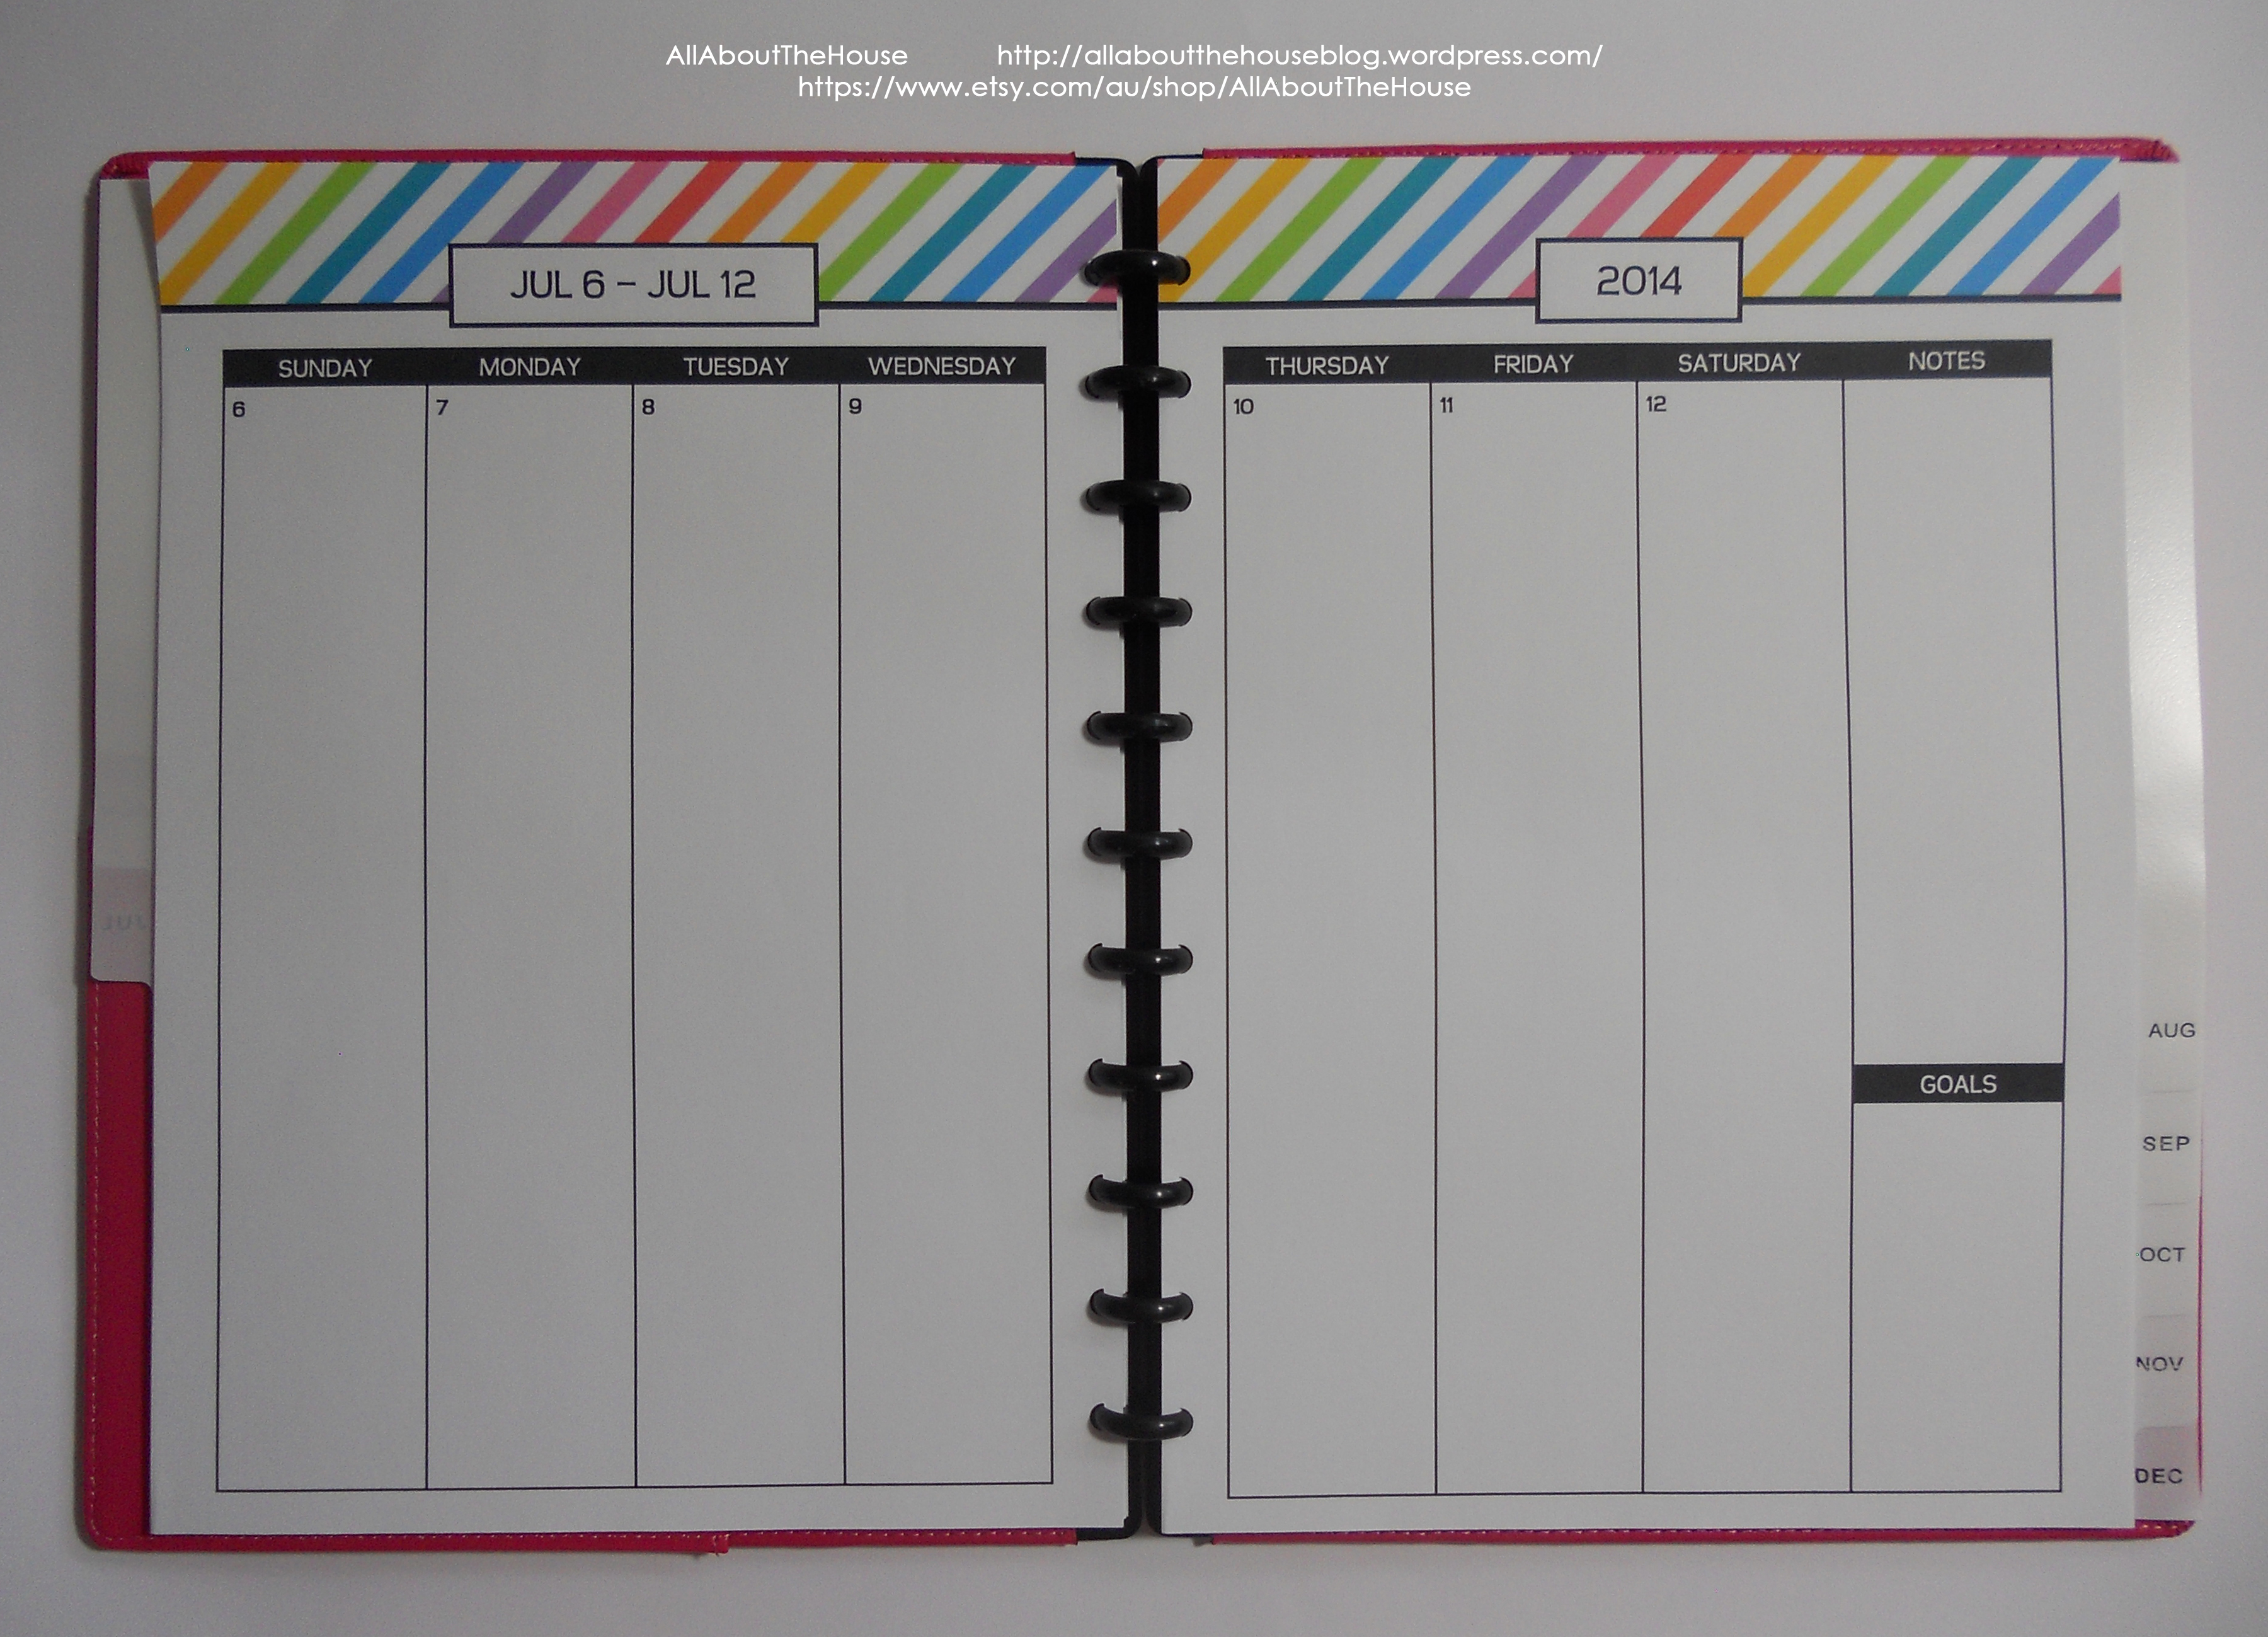
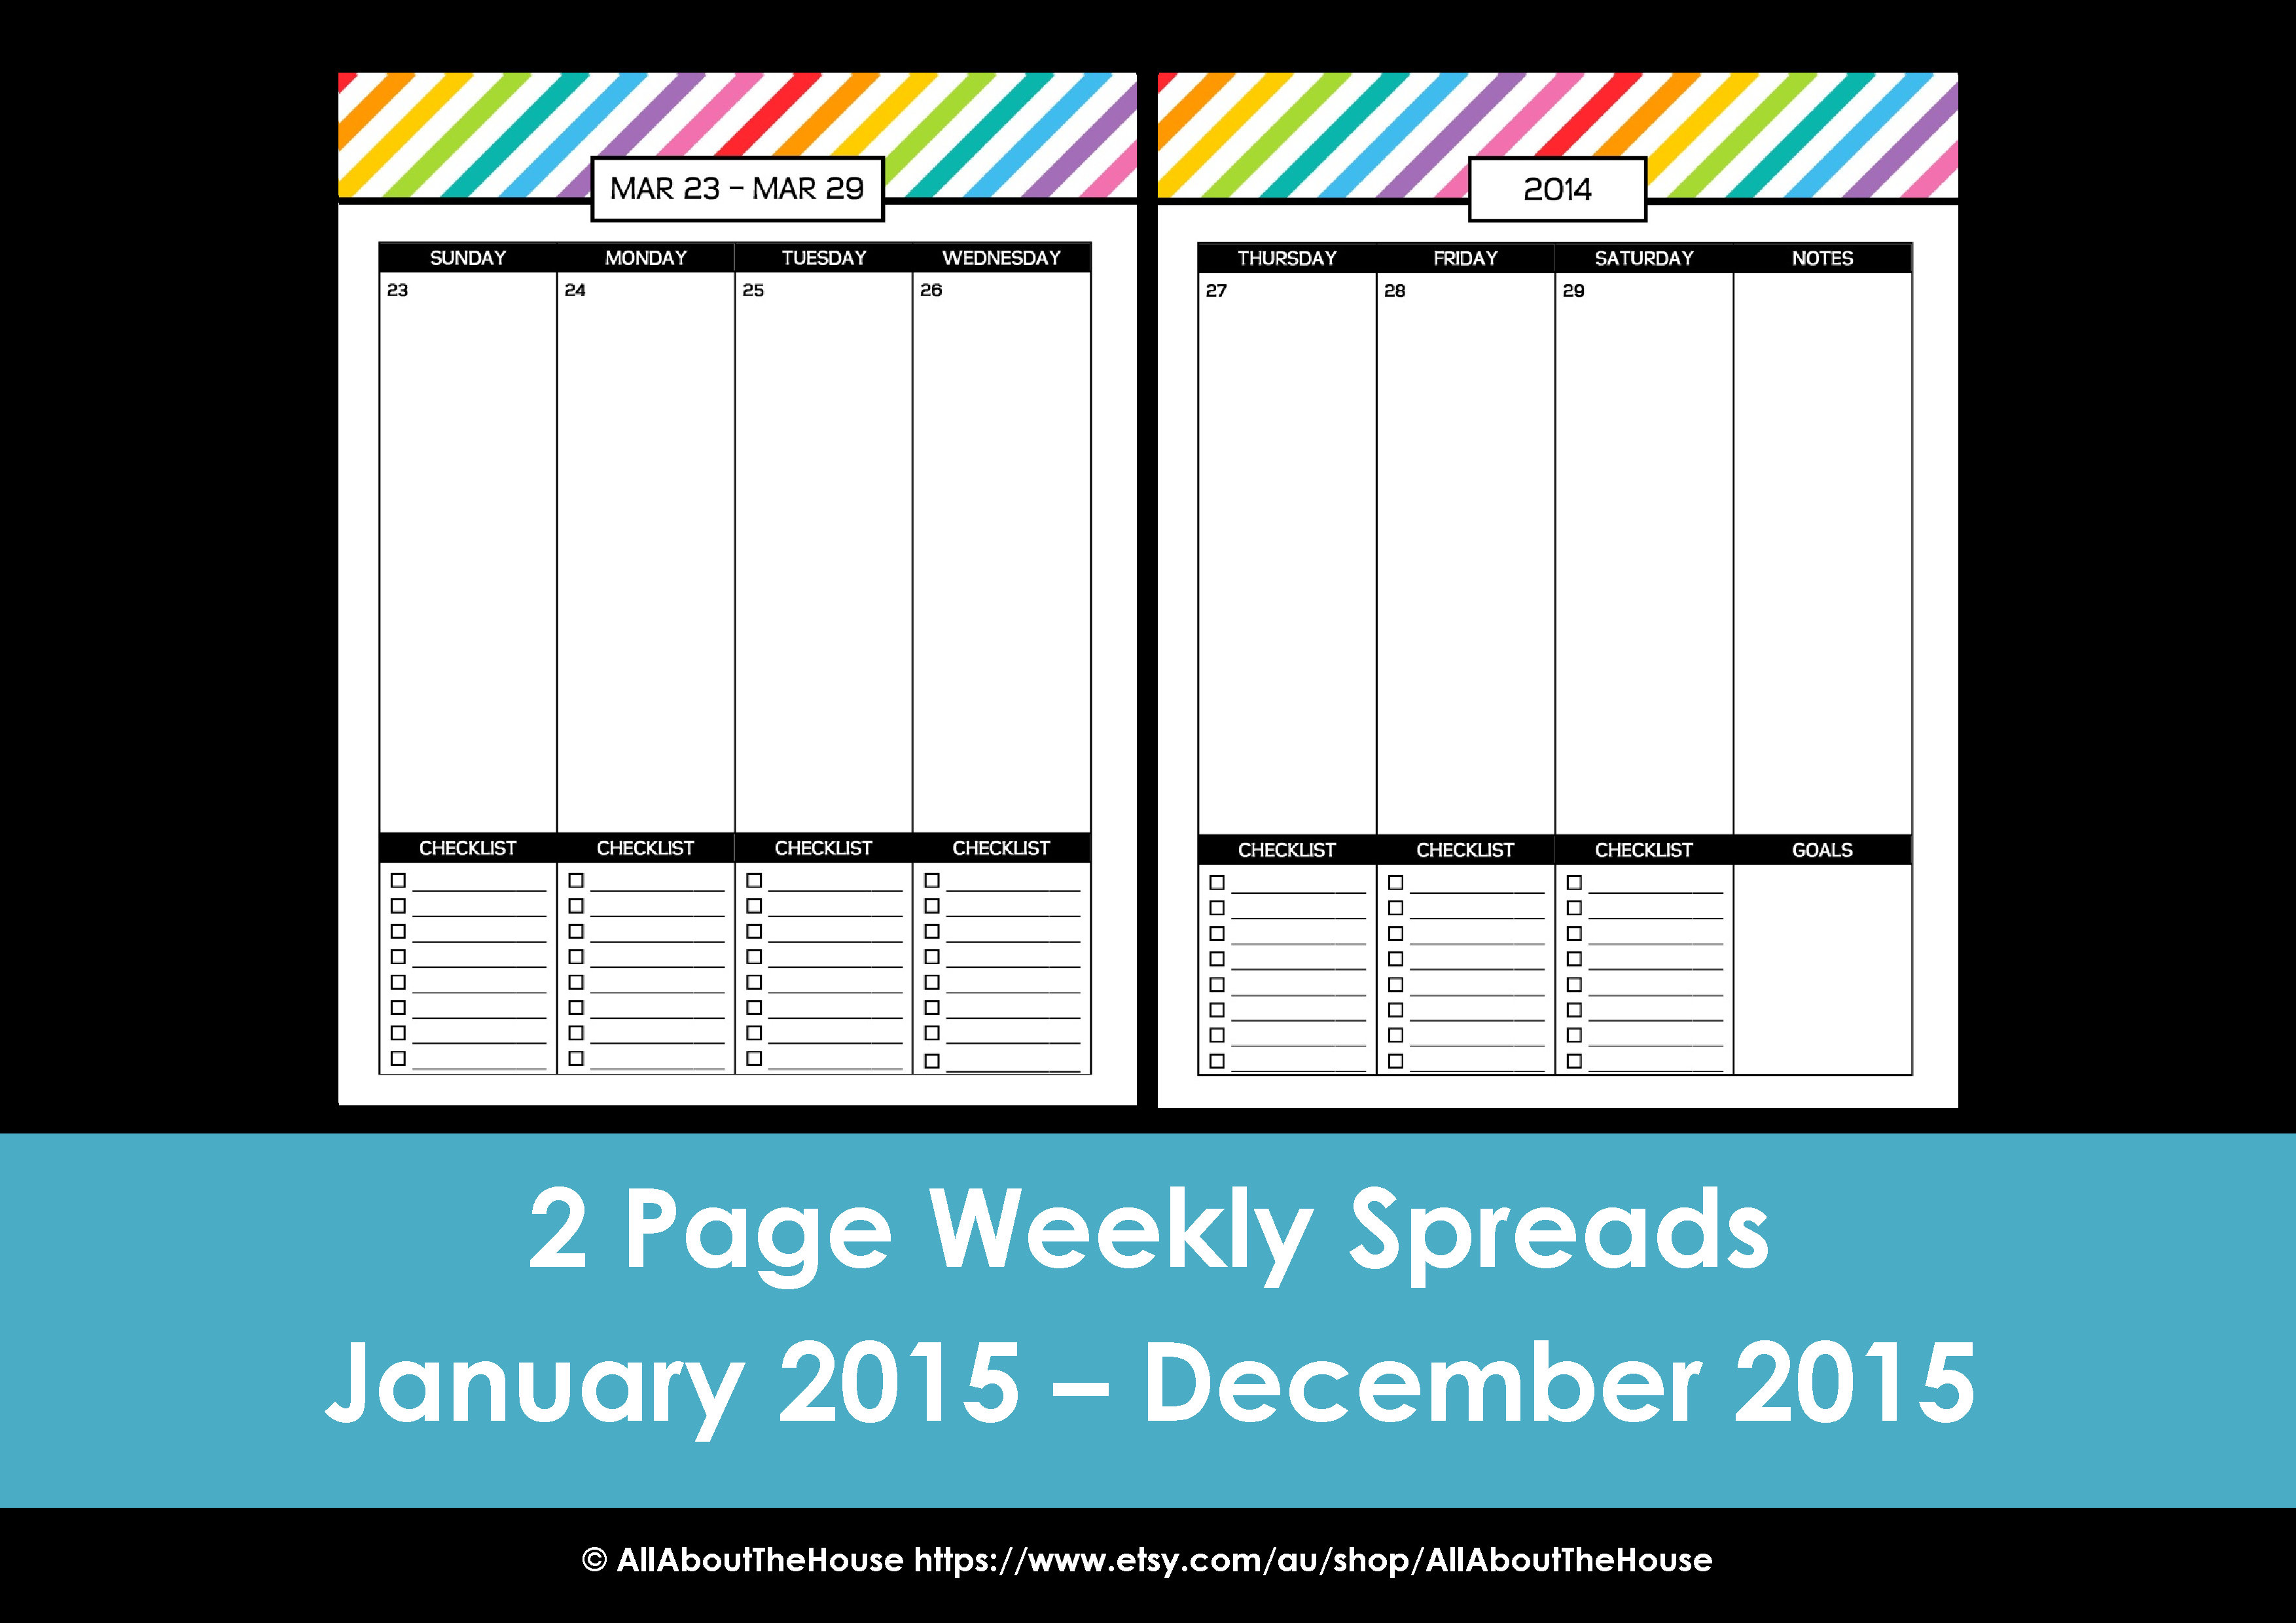
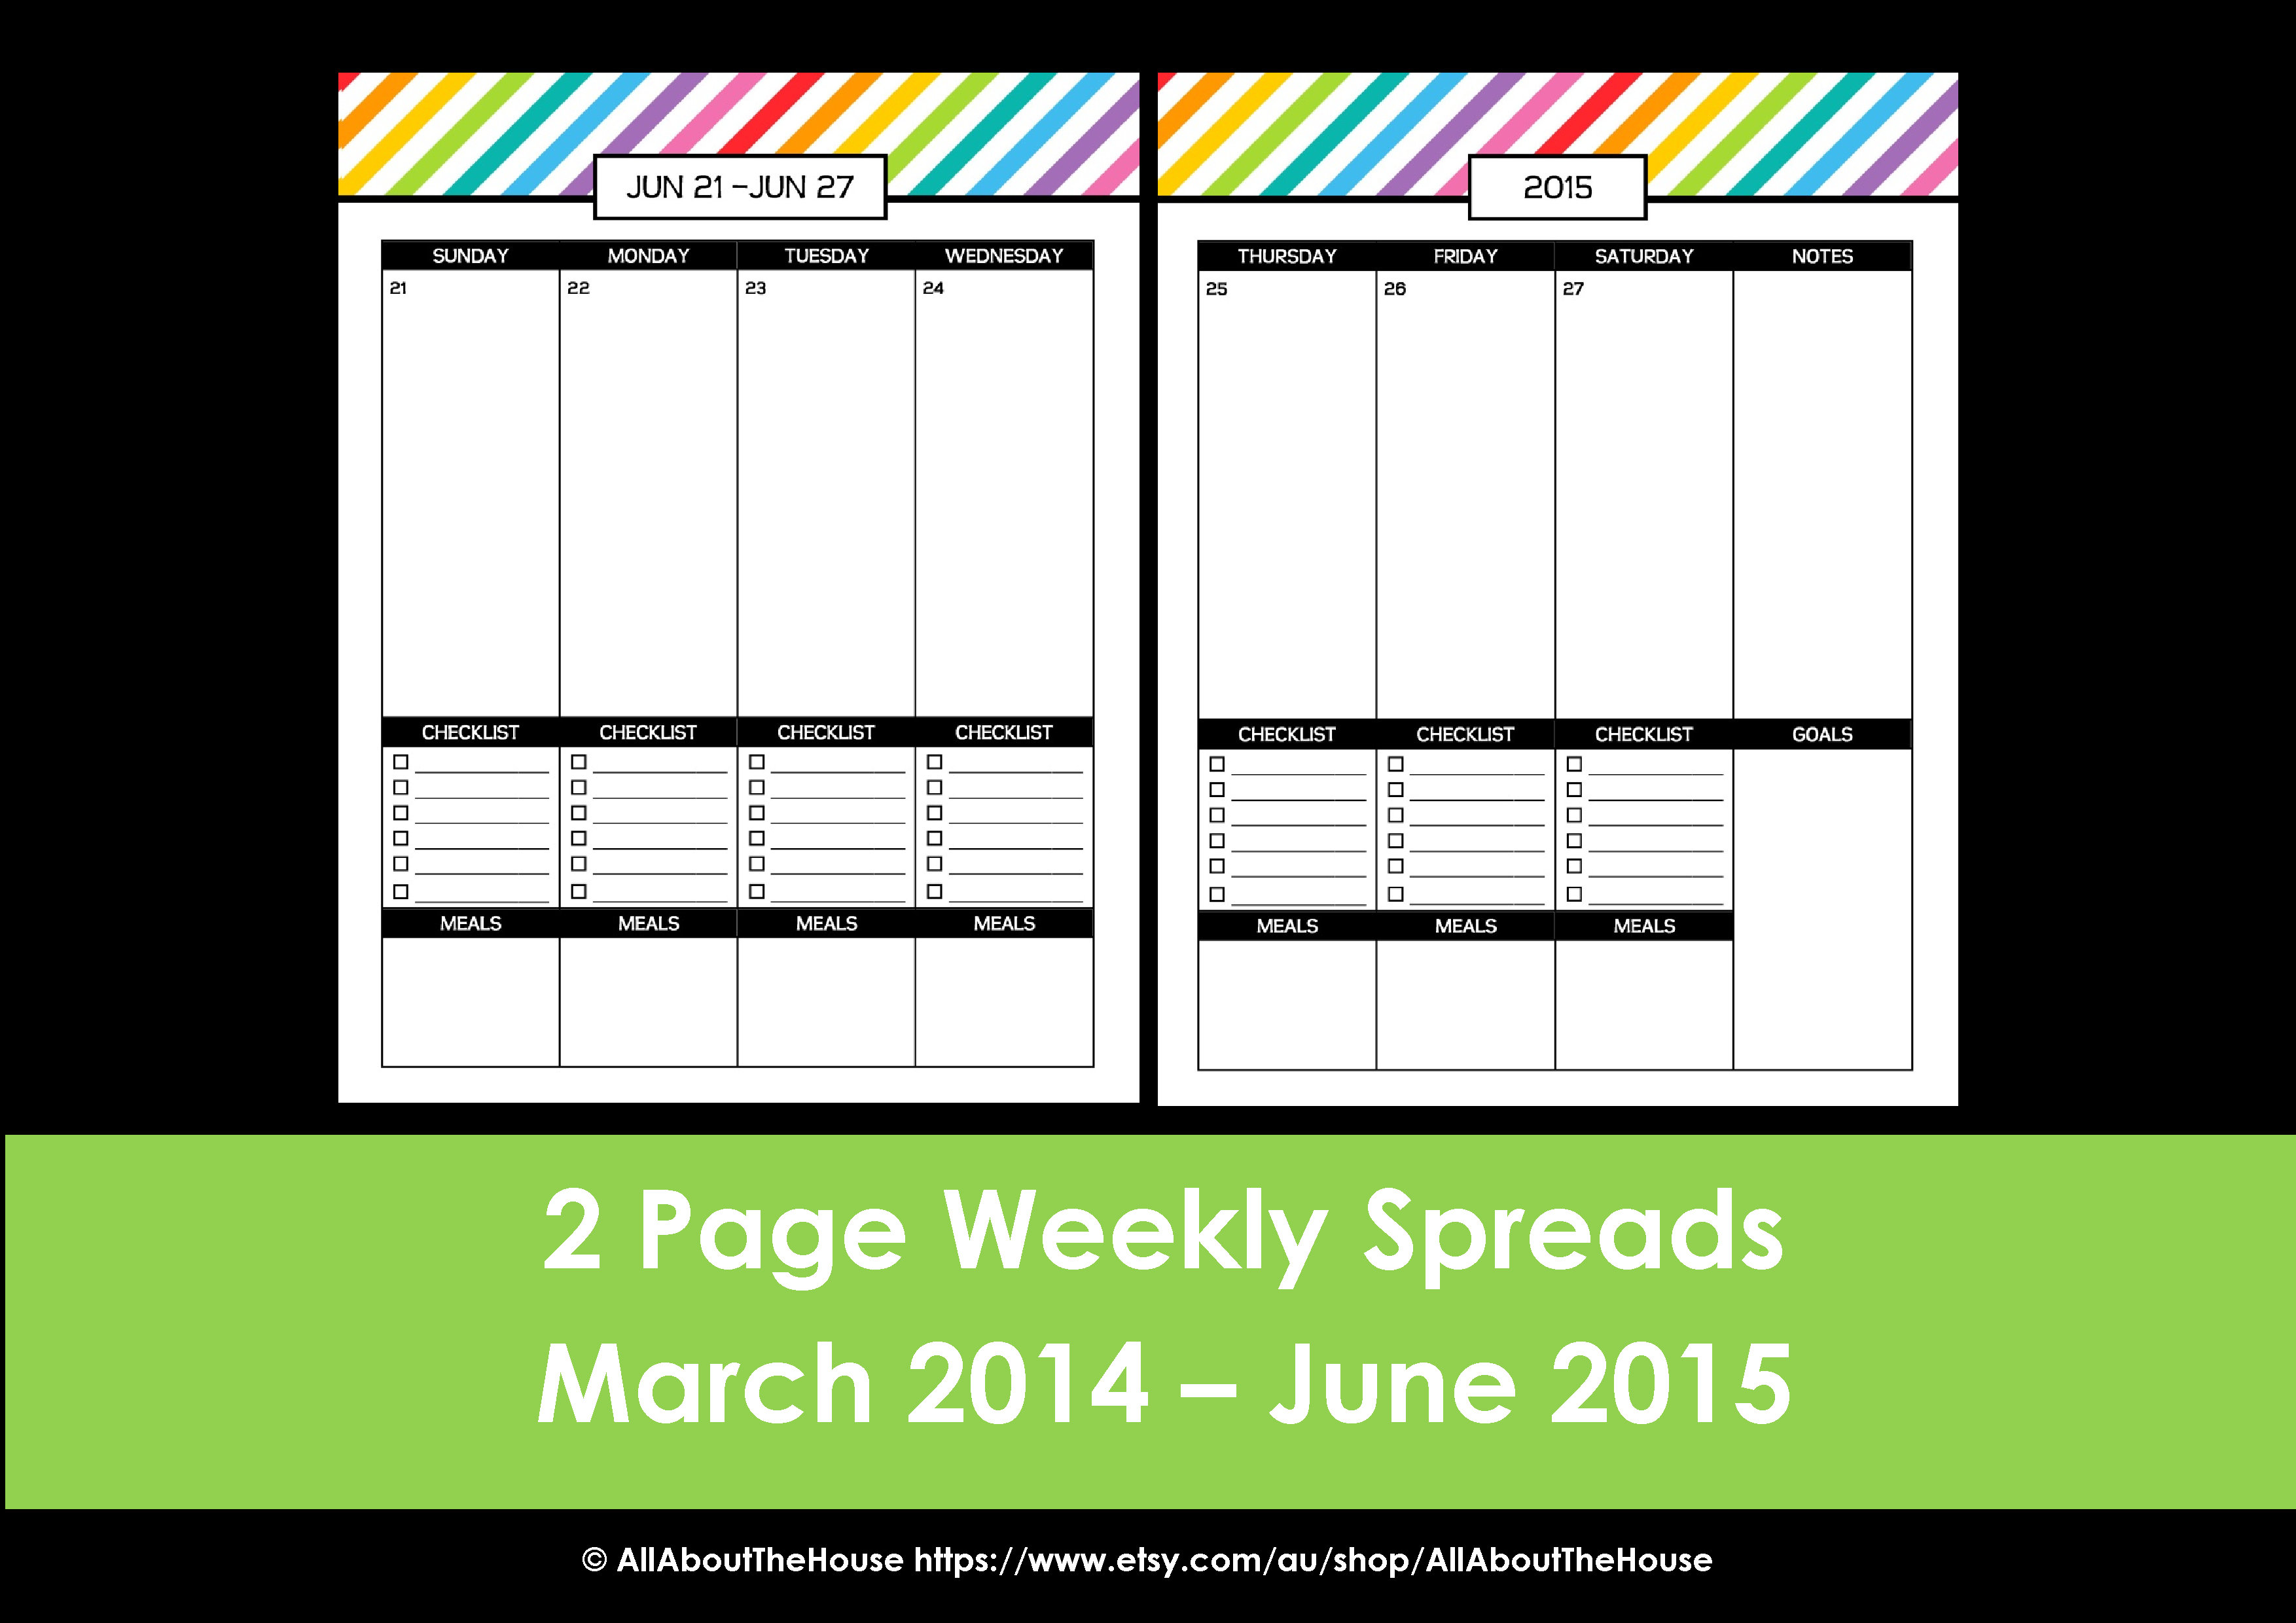
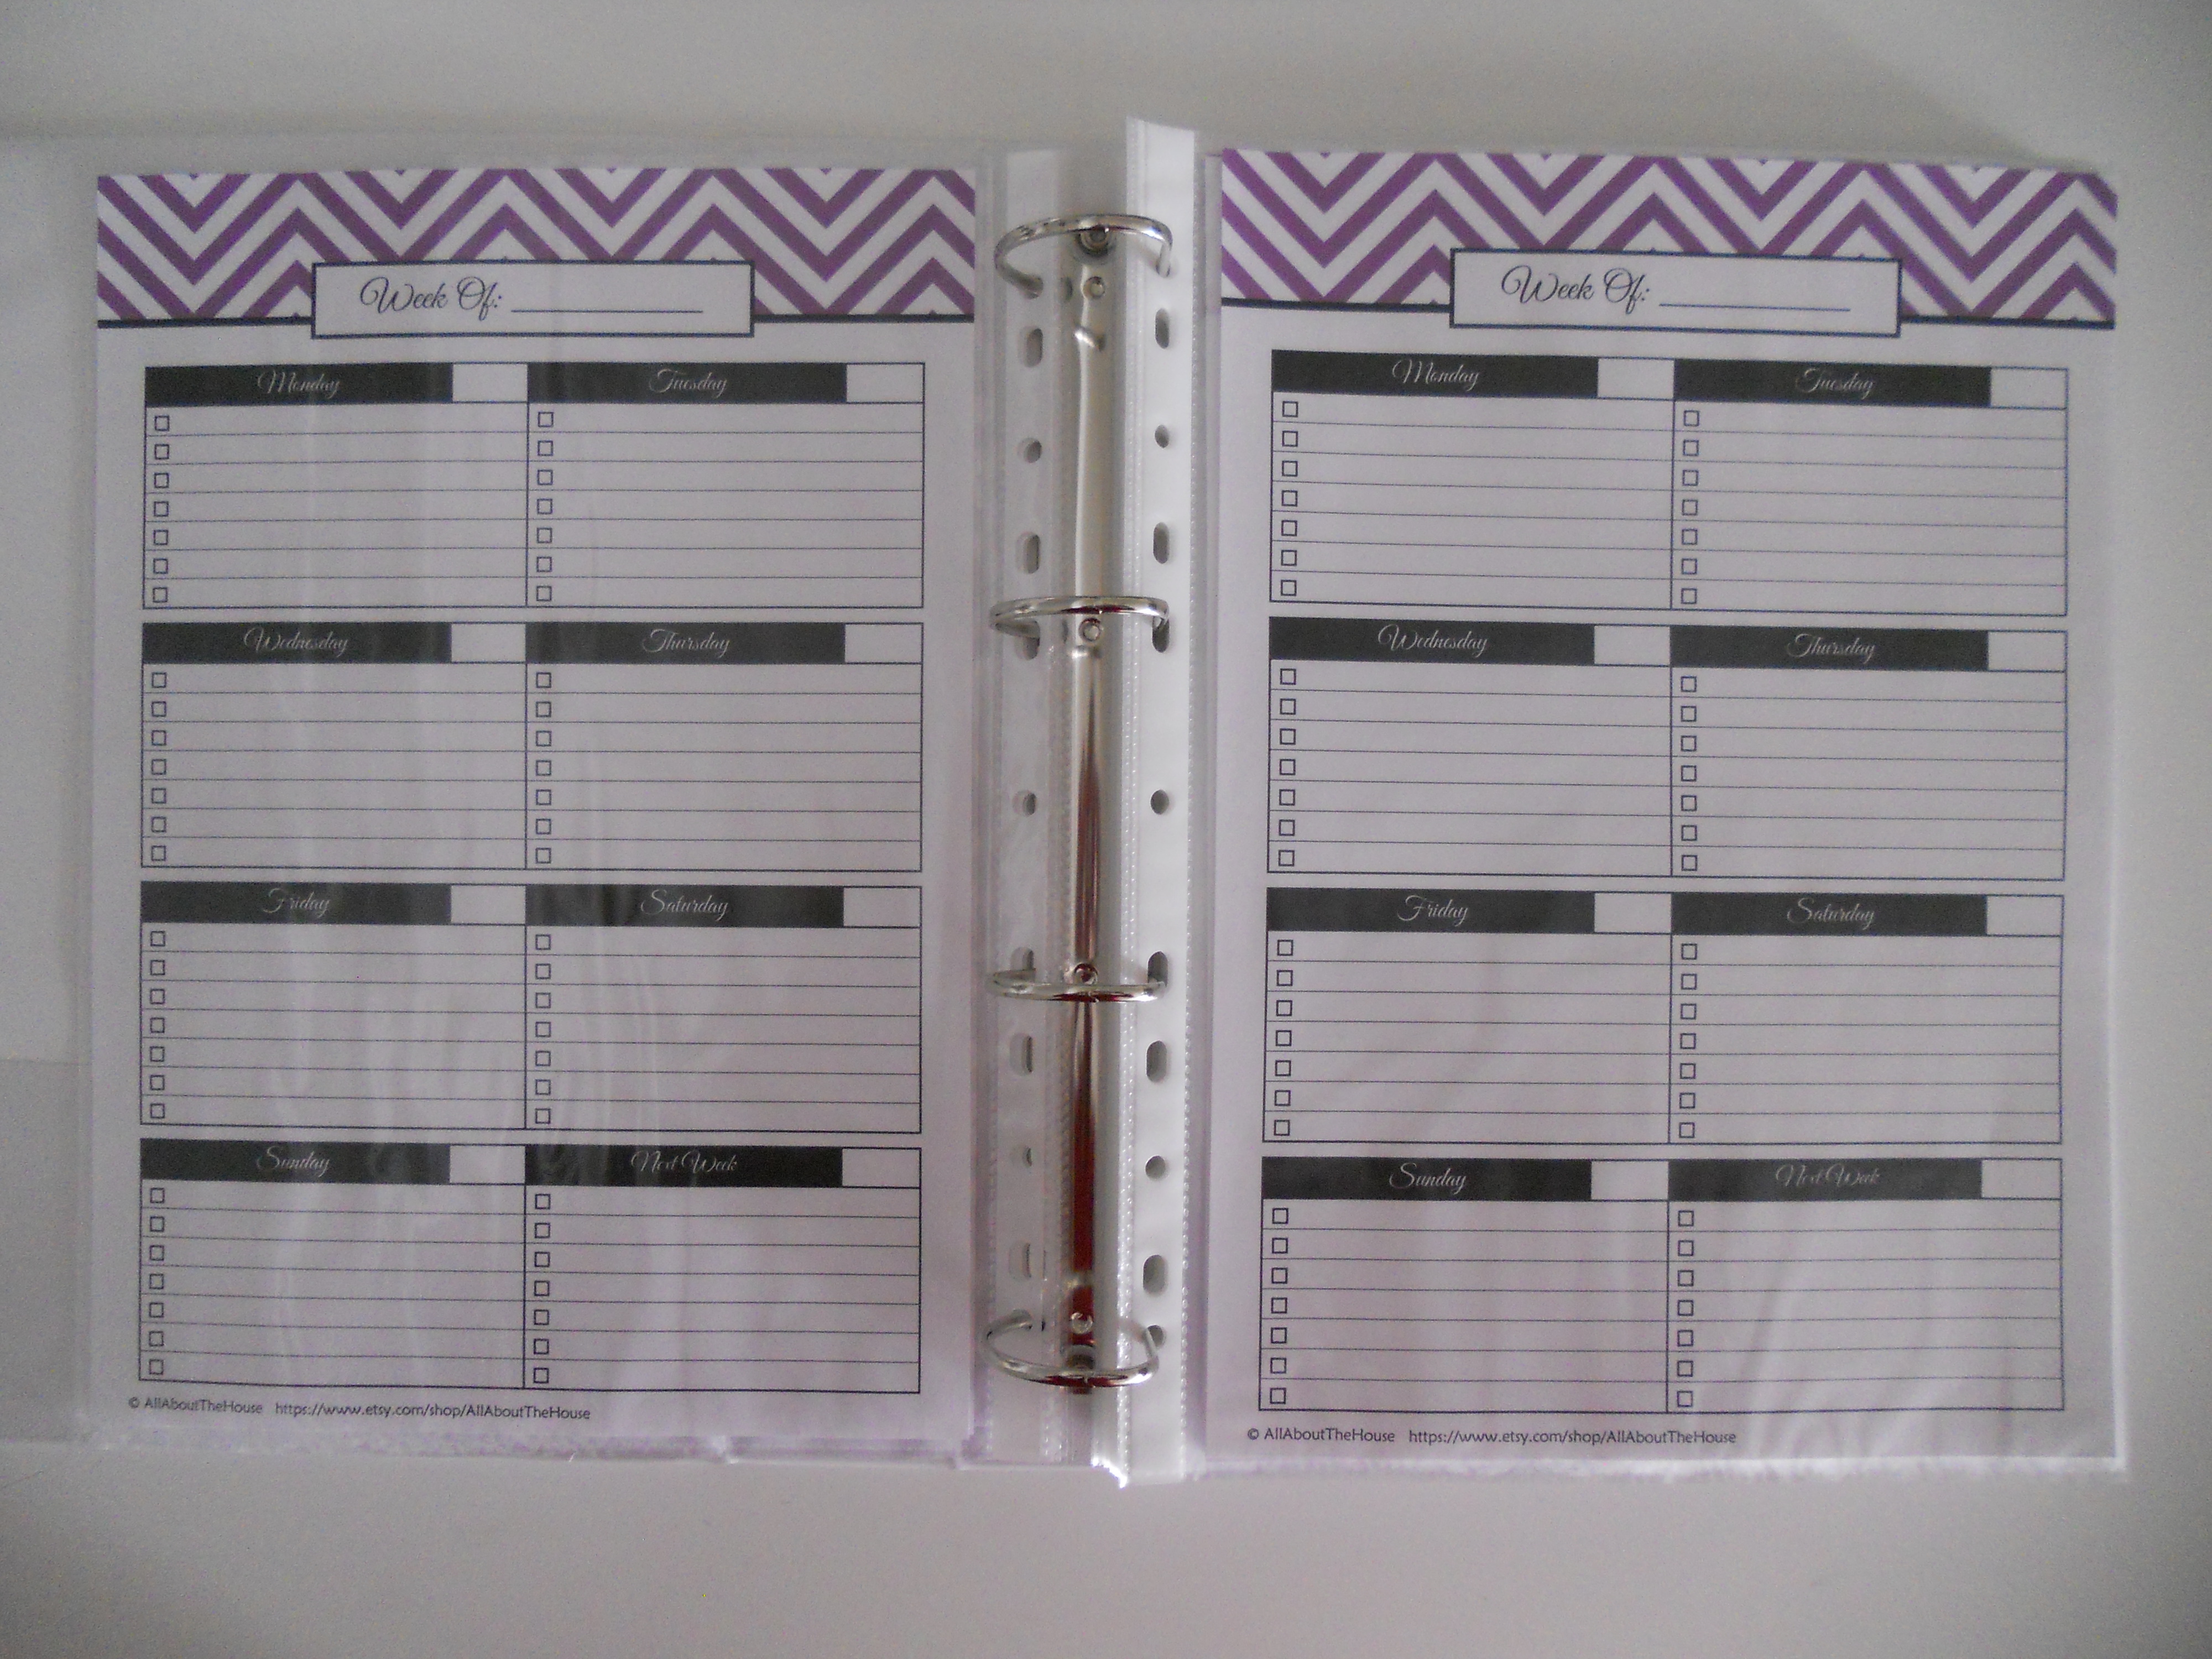
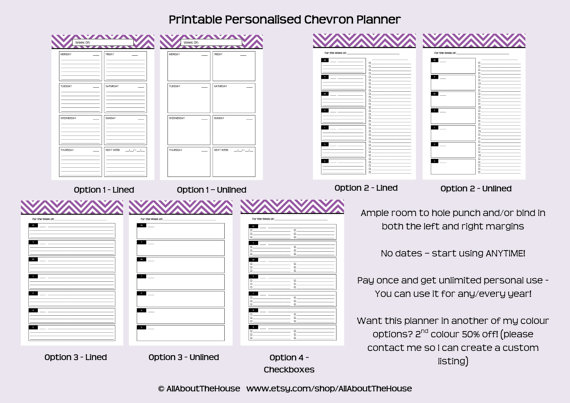
I printed this weekly planning sheet twice so I could see the current week and the week ahead. There is room to write the date beside each day and then list the tasks that need to be completed underneath. I started off using this weekly planner but also like to alternate between some of the other weekly planners in my shop.

For those who aren’t OLM’s (Obsessive List Maker’s) like myself, there’s a more flexible weekly planner with a nice big open space where you can record appointments ect.

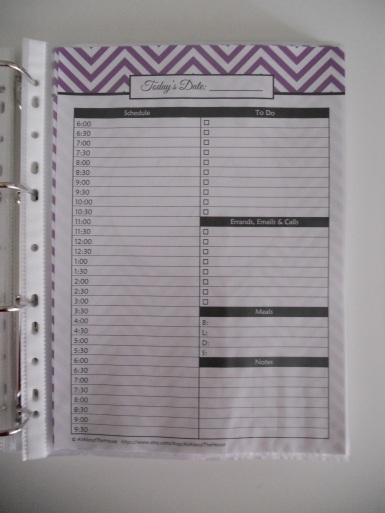
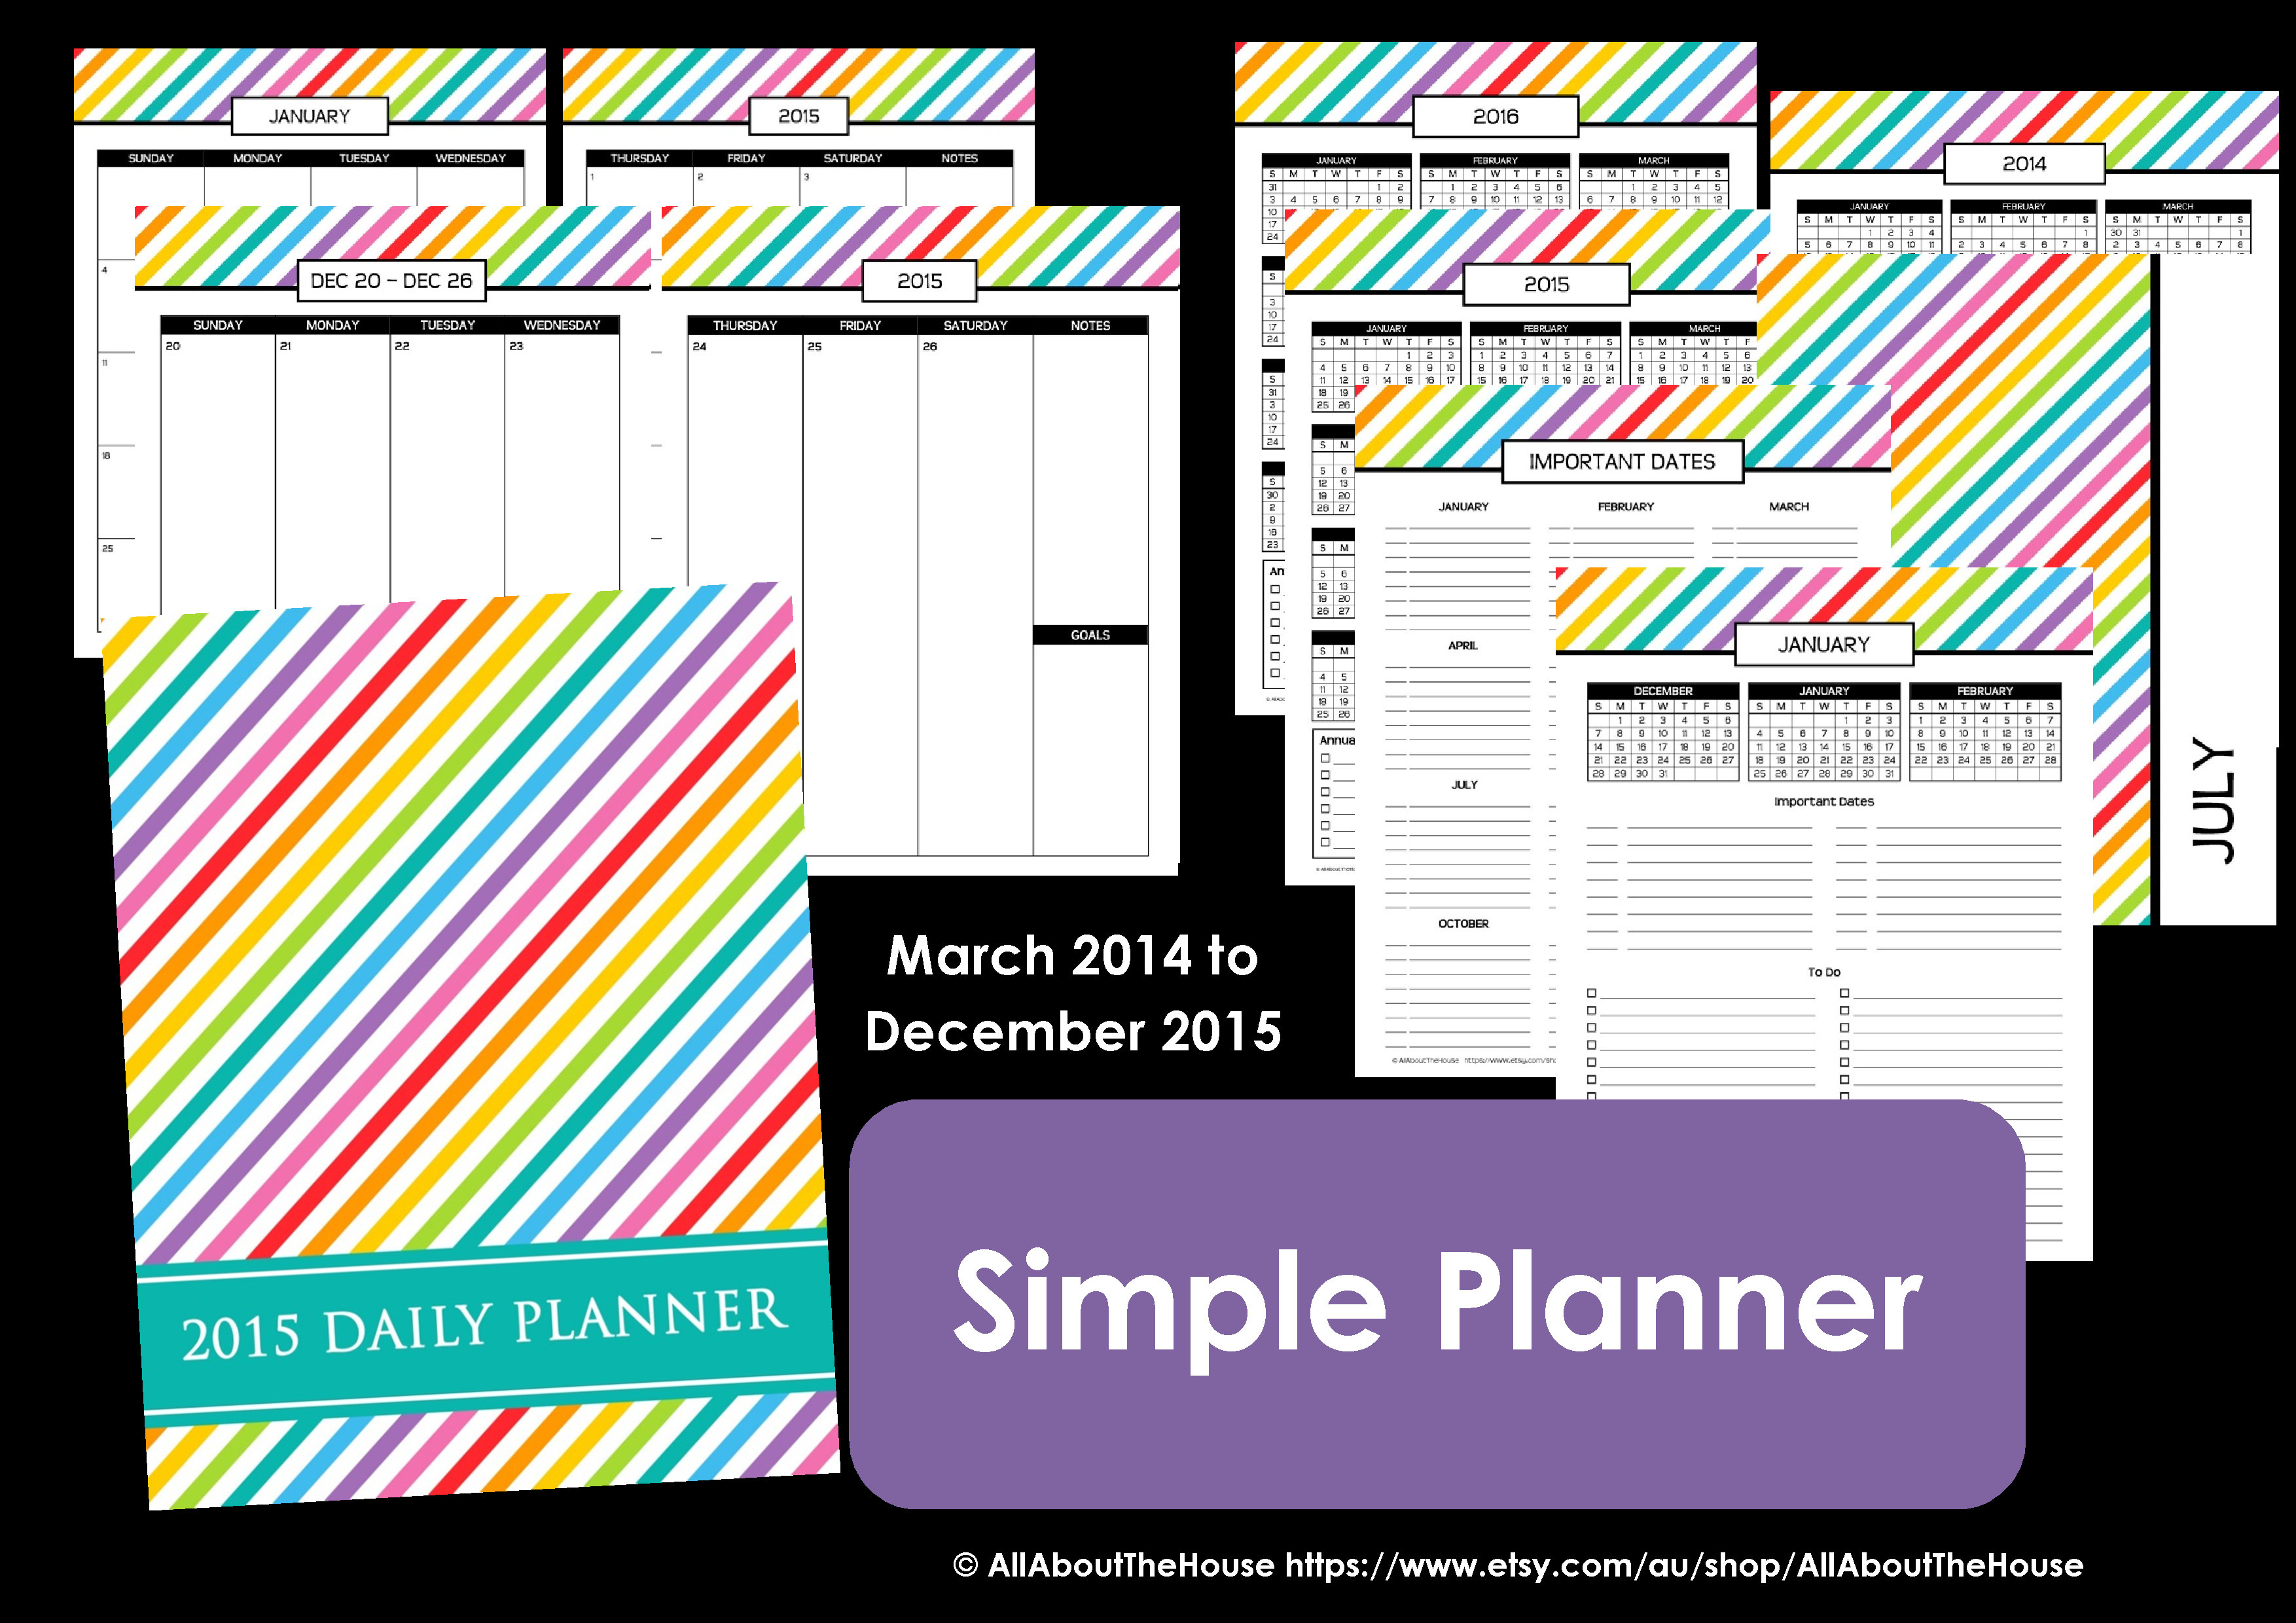
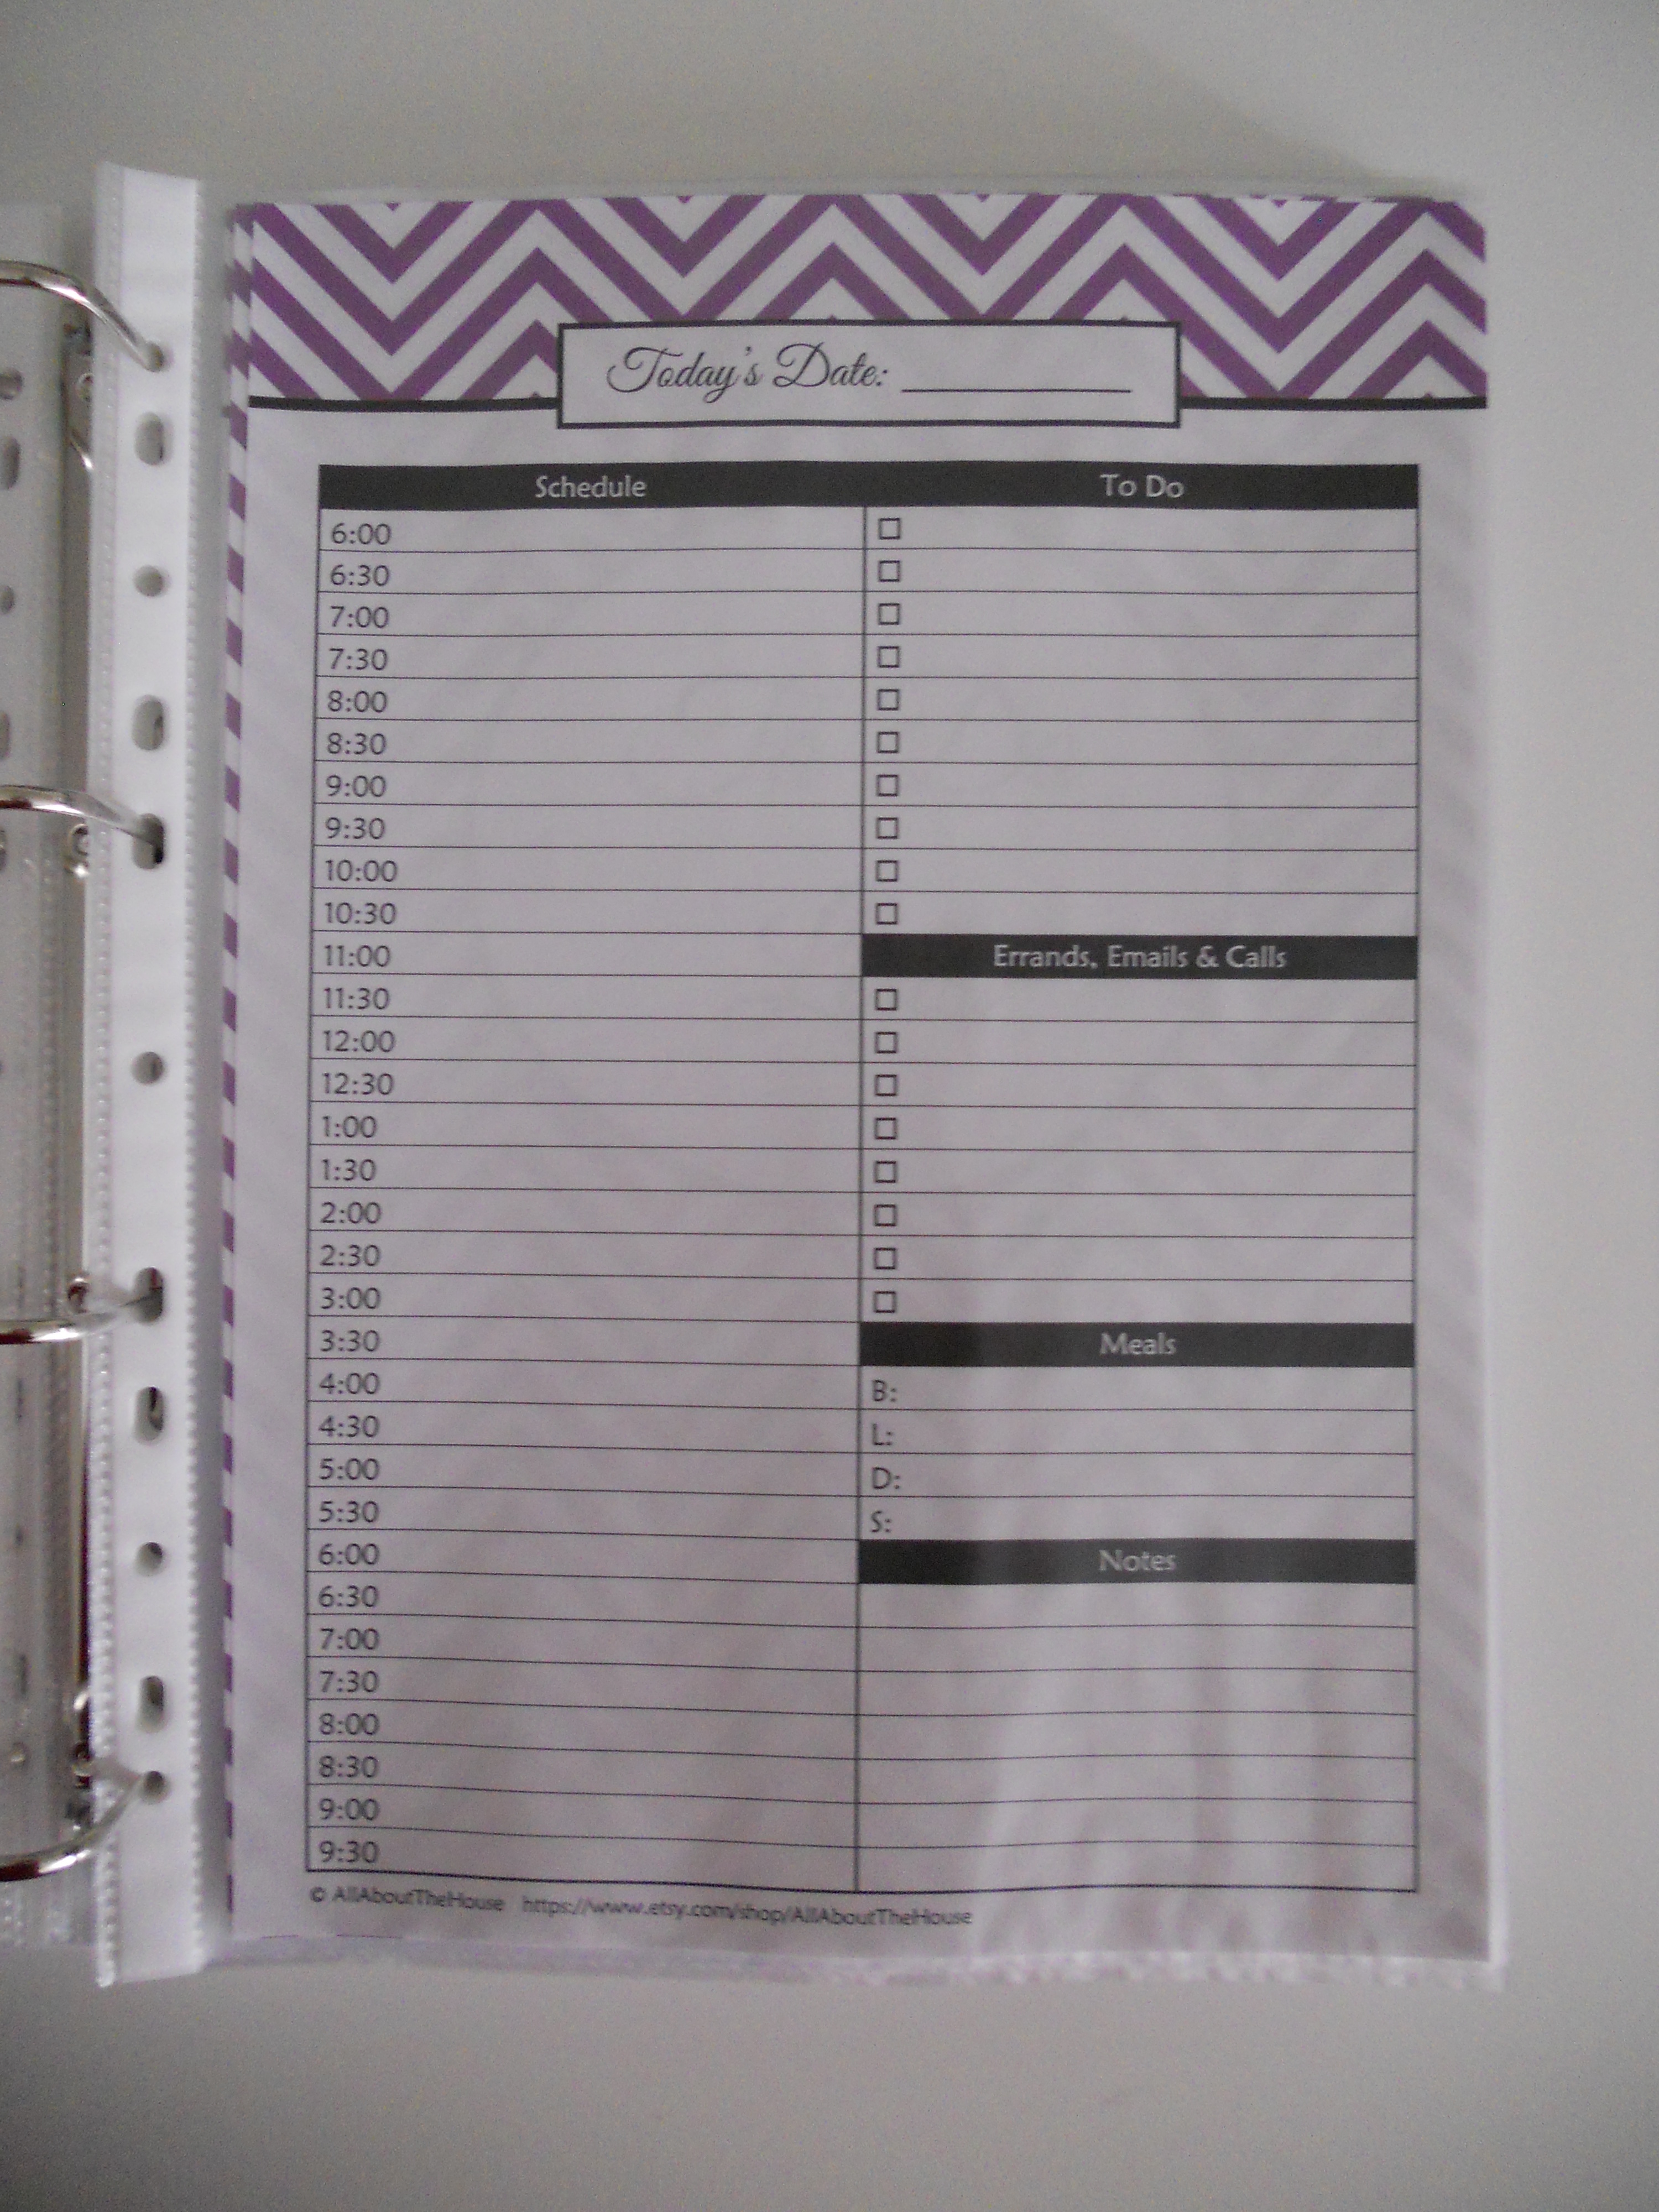
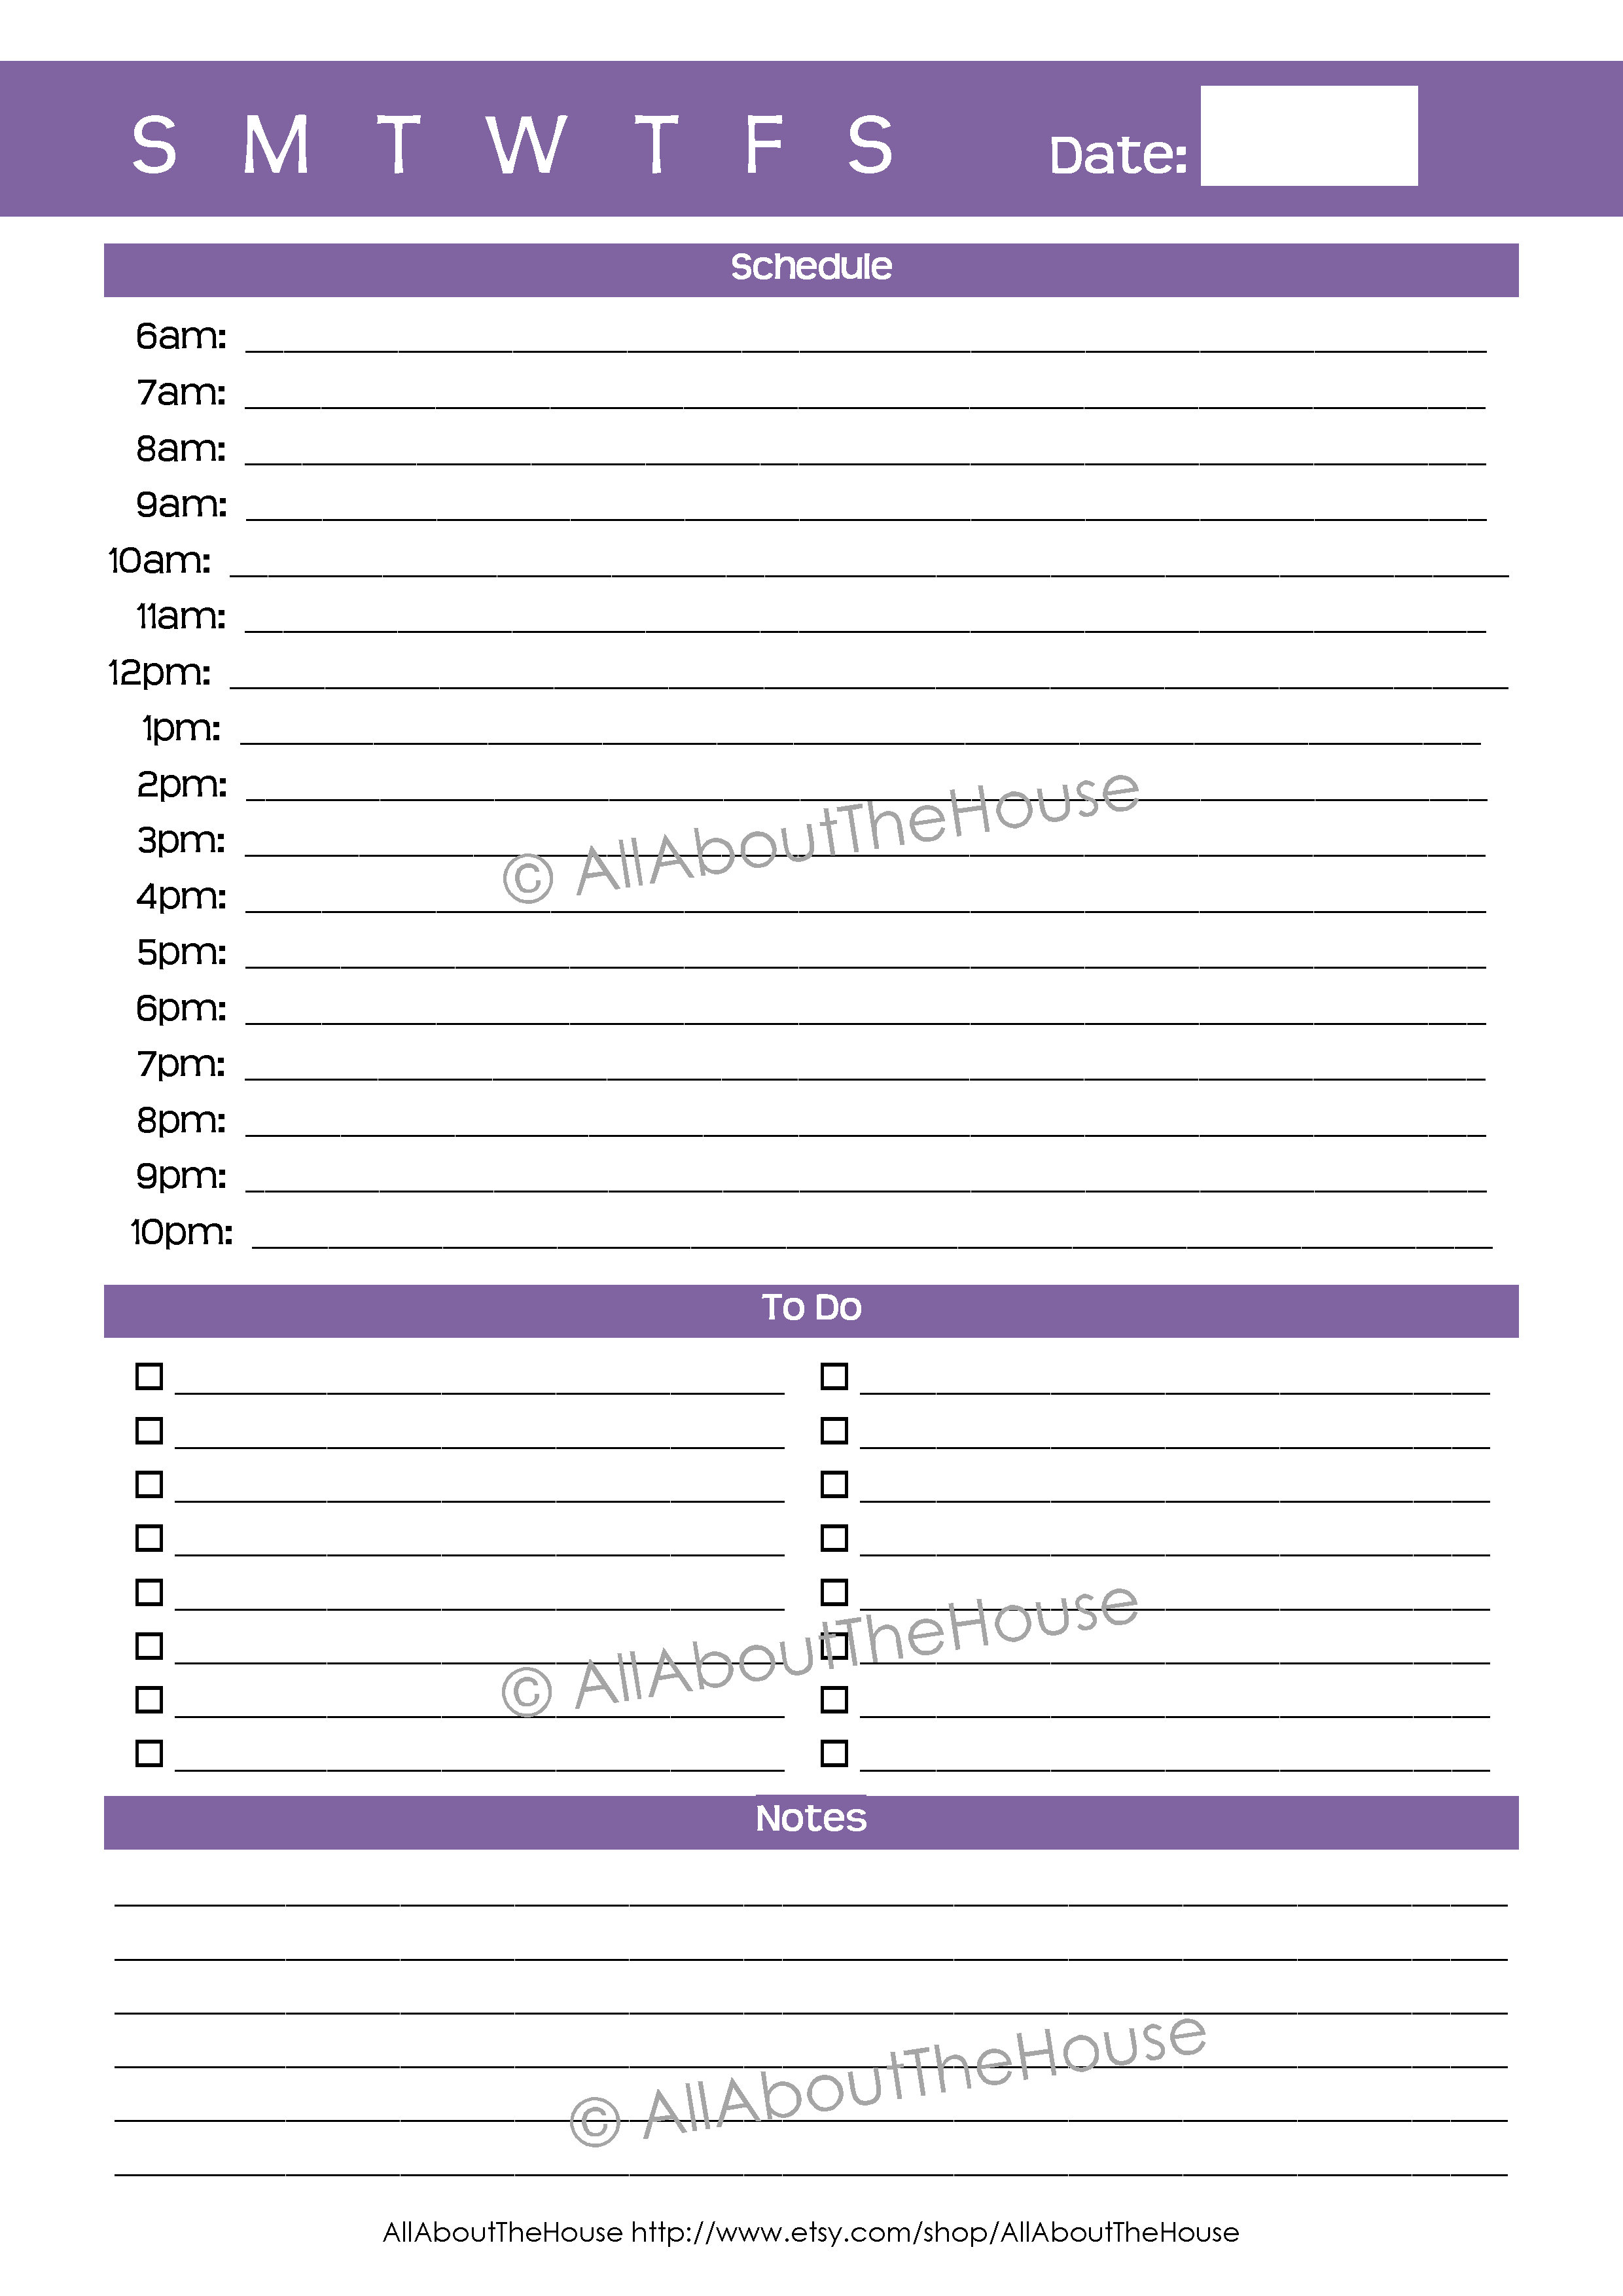
Daily planner. I use this sheet when I really need to knuckle down and get things done!
UPDATE: I have since switched to the Rainbow Planner which you an read about here.
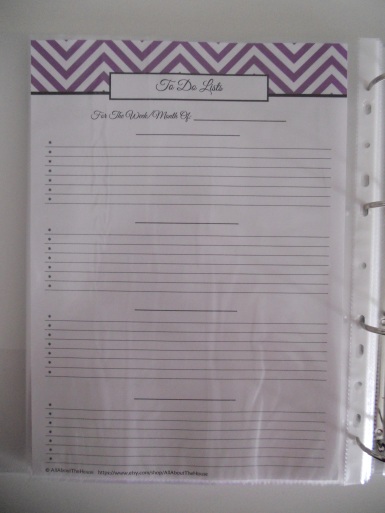
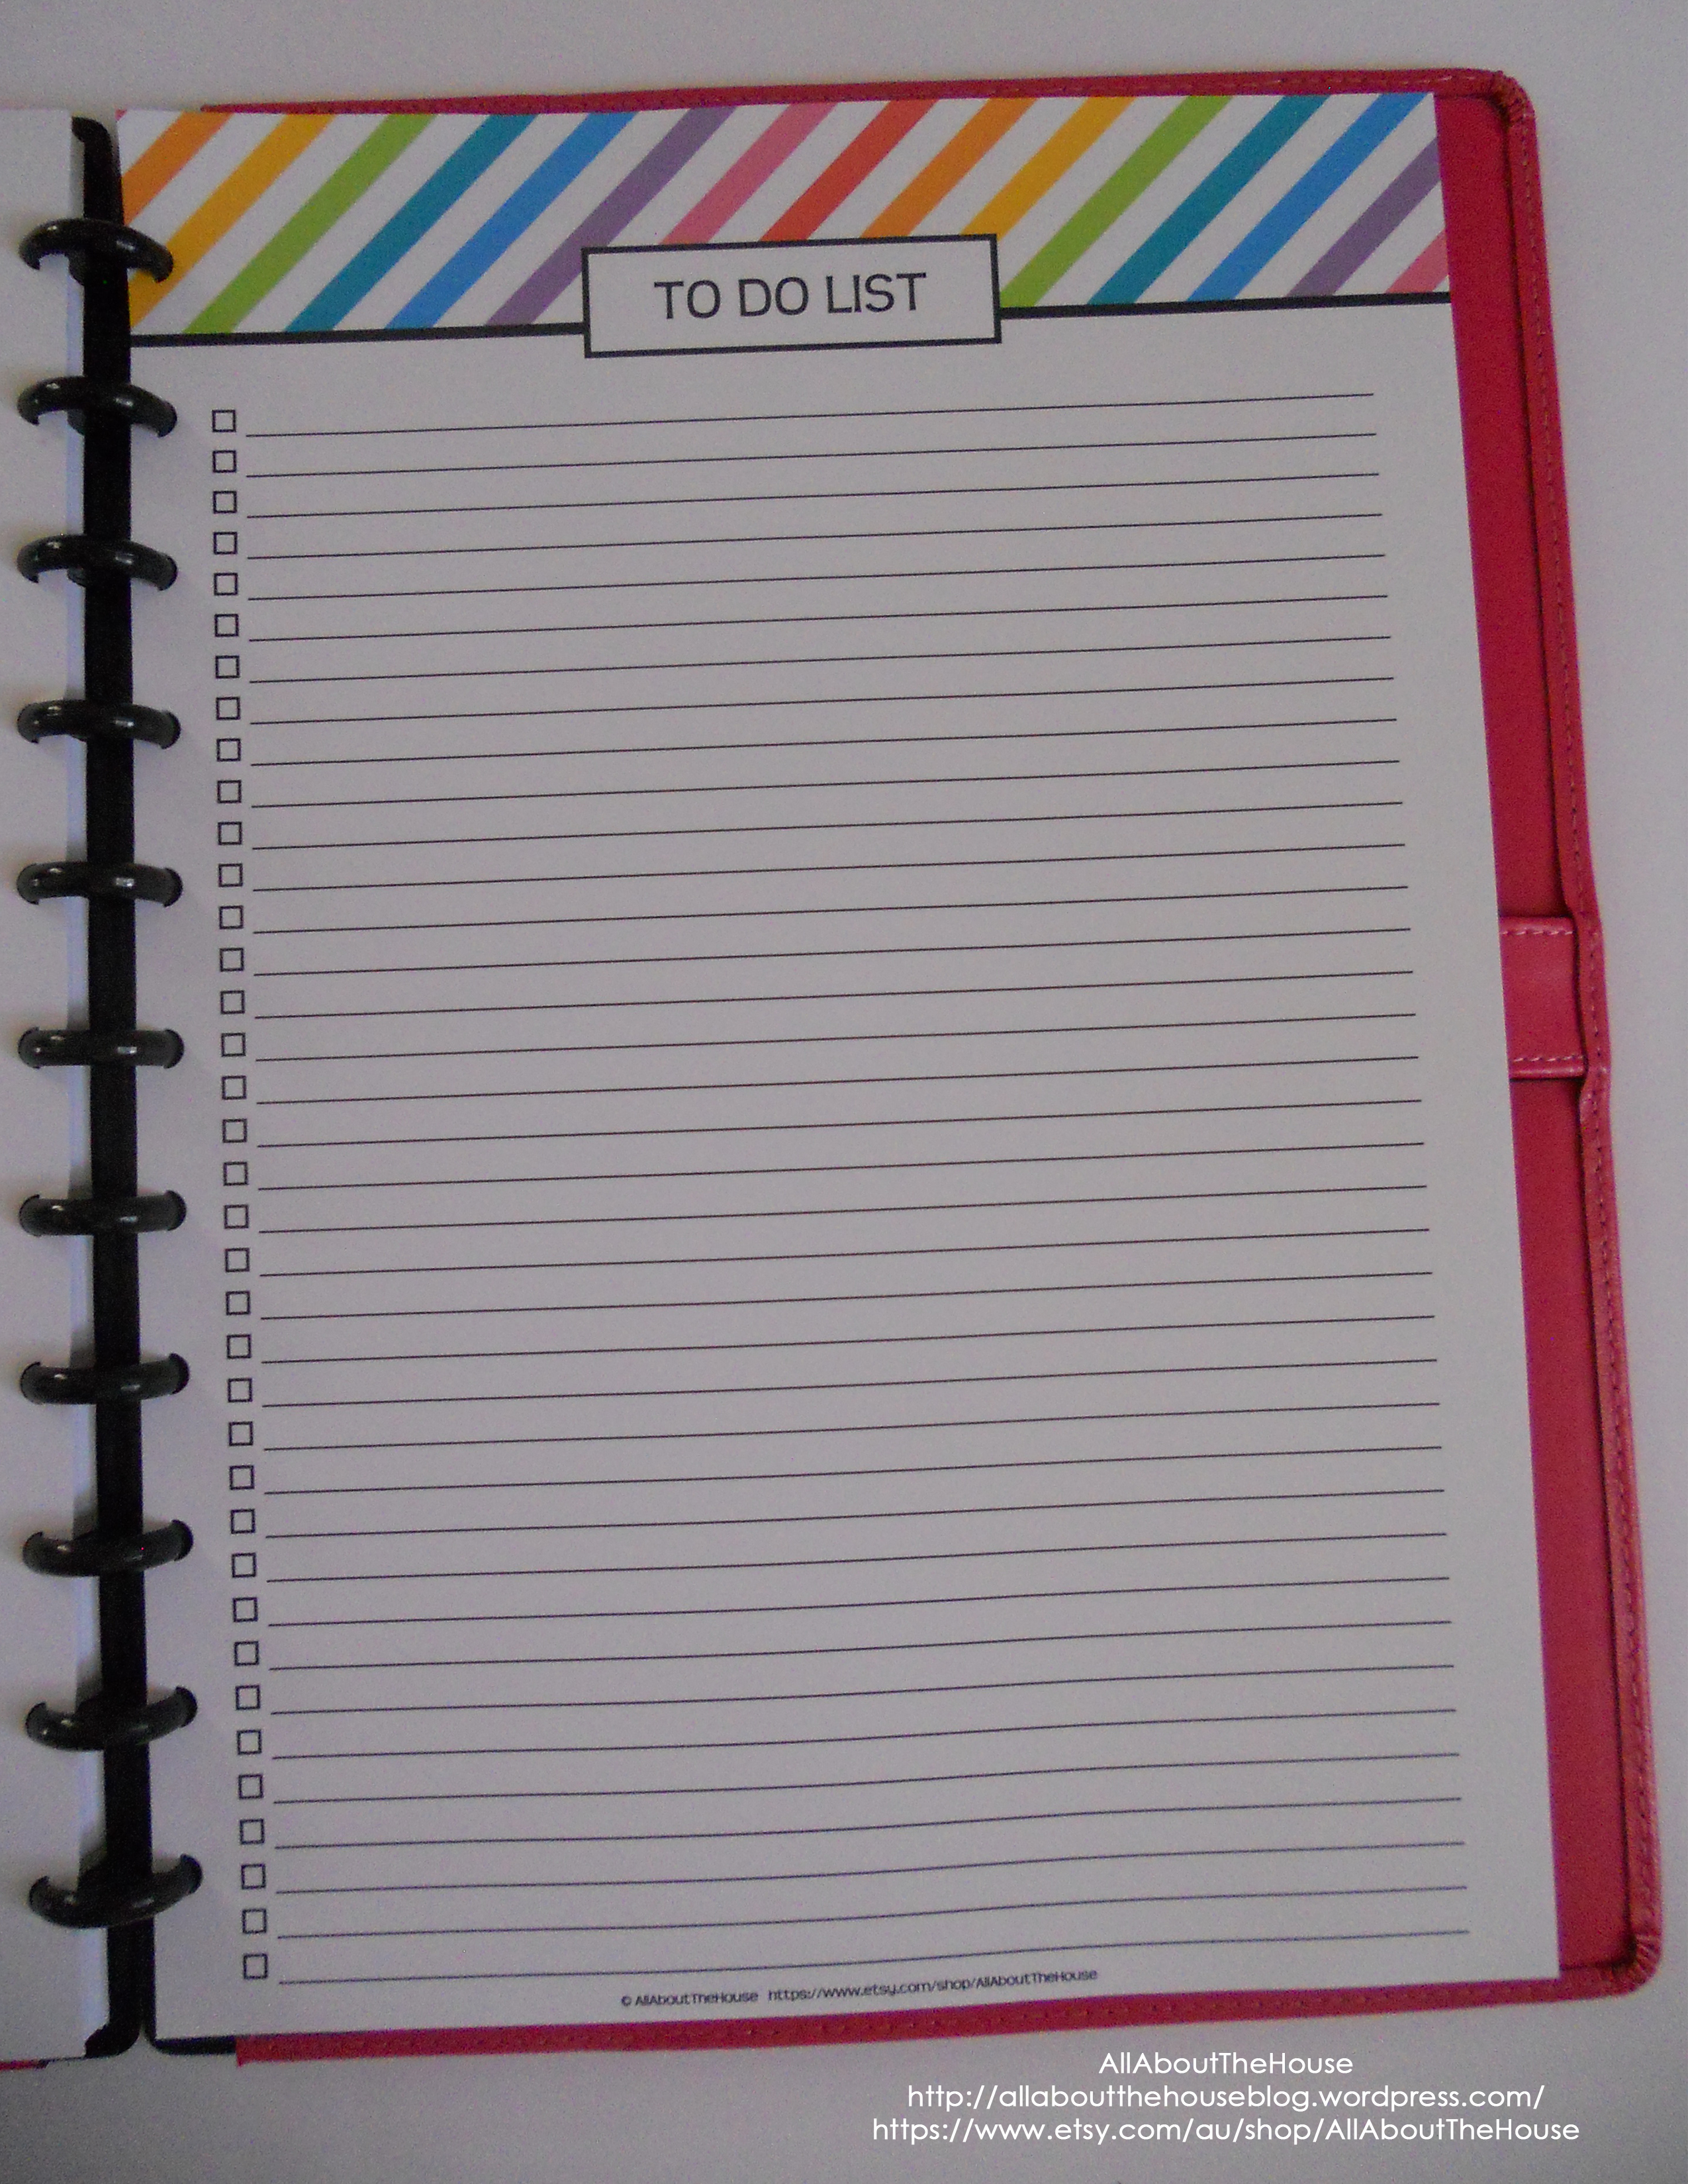
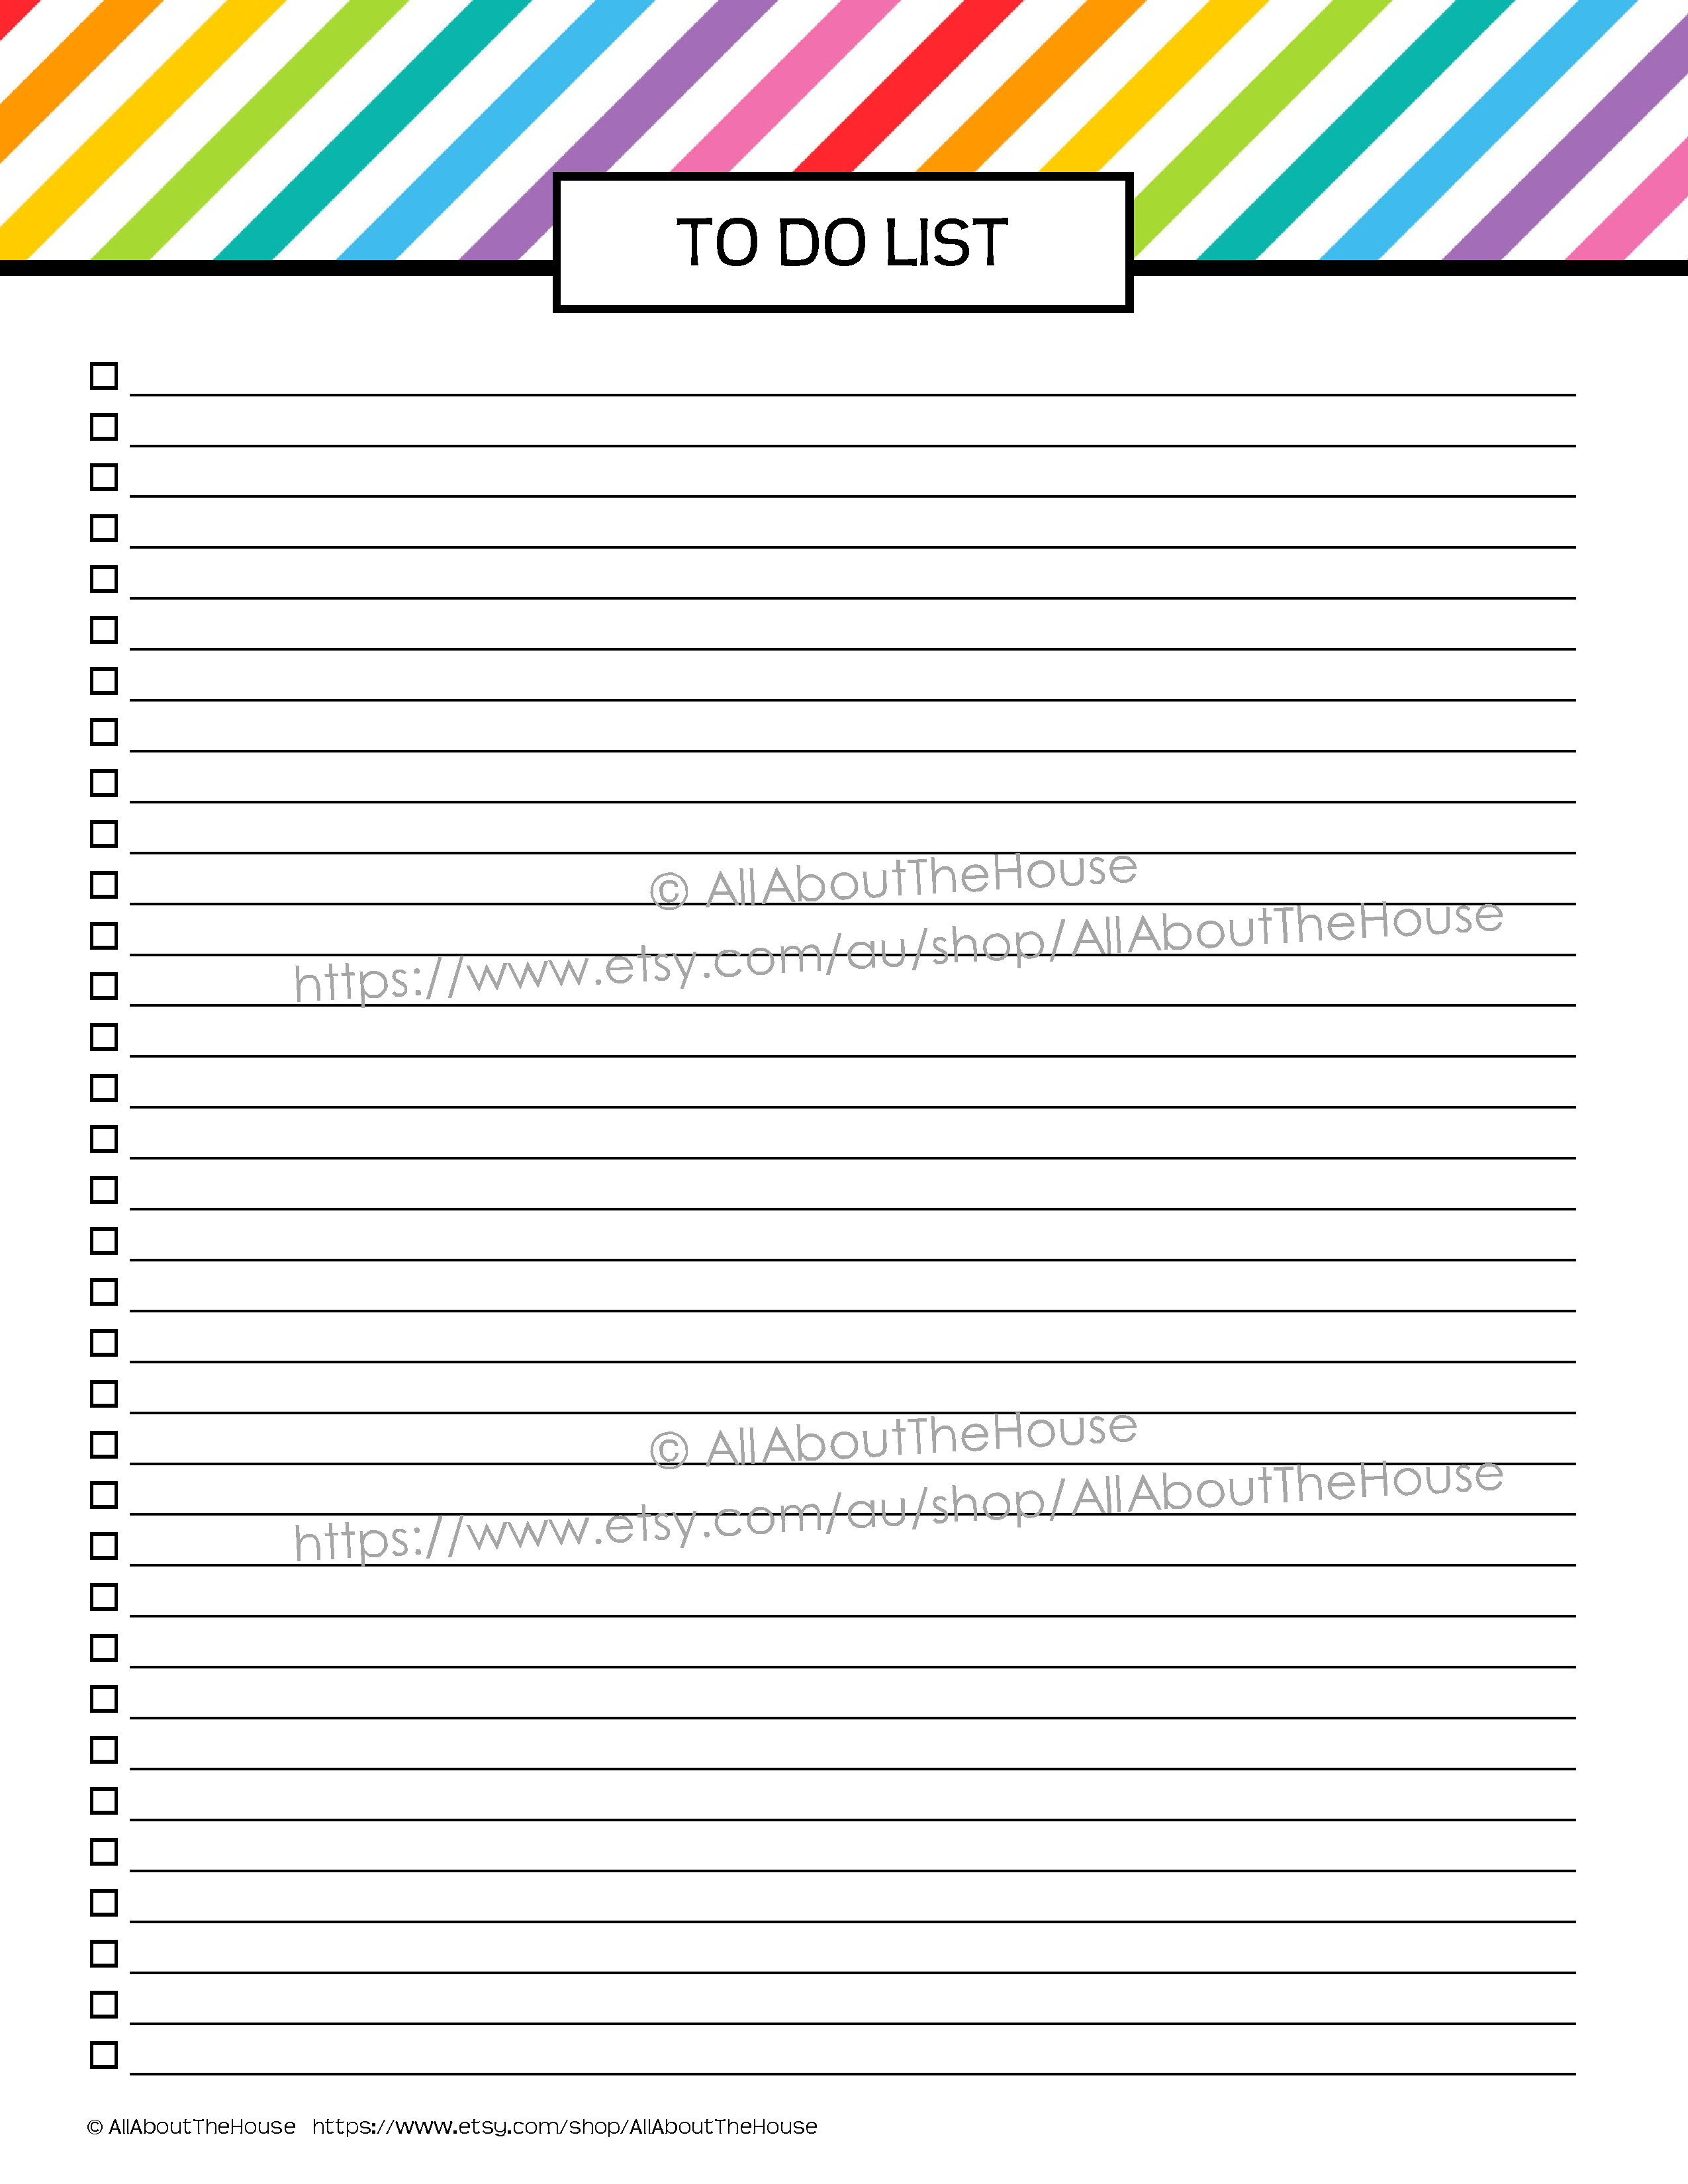
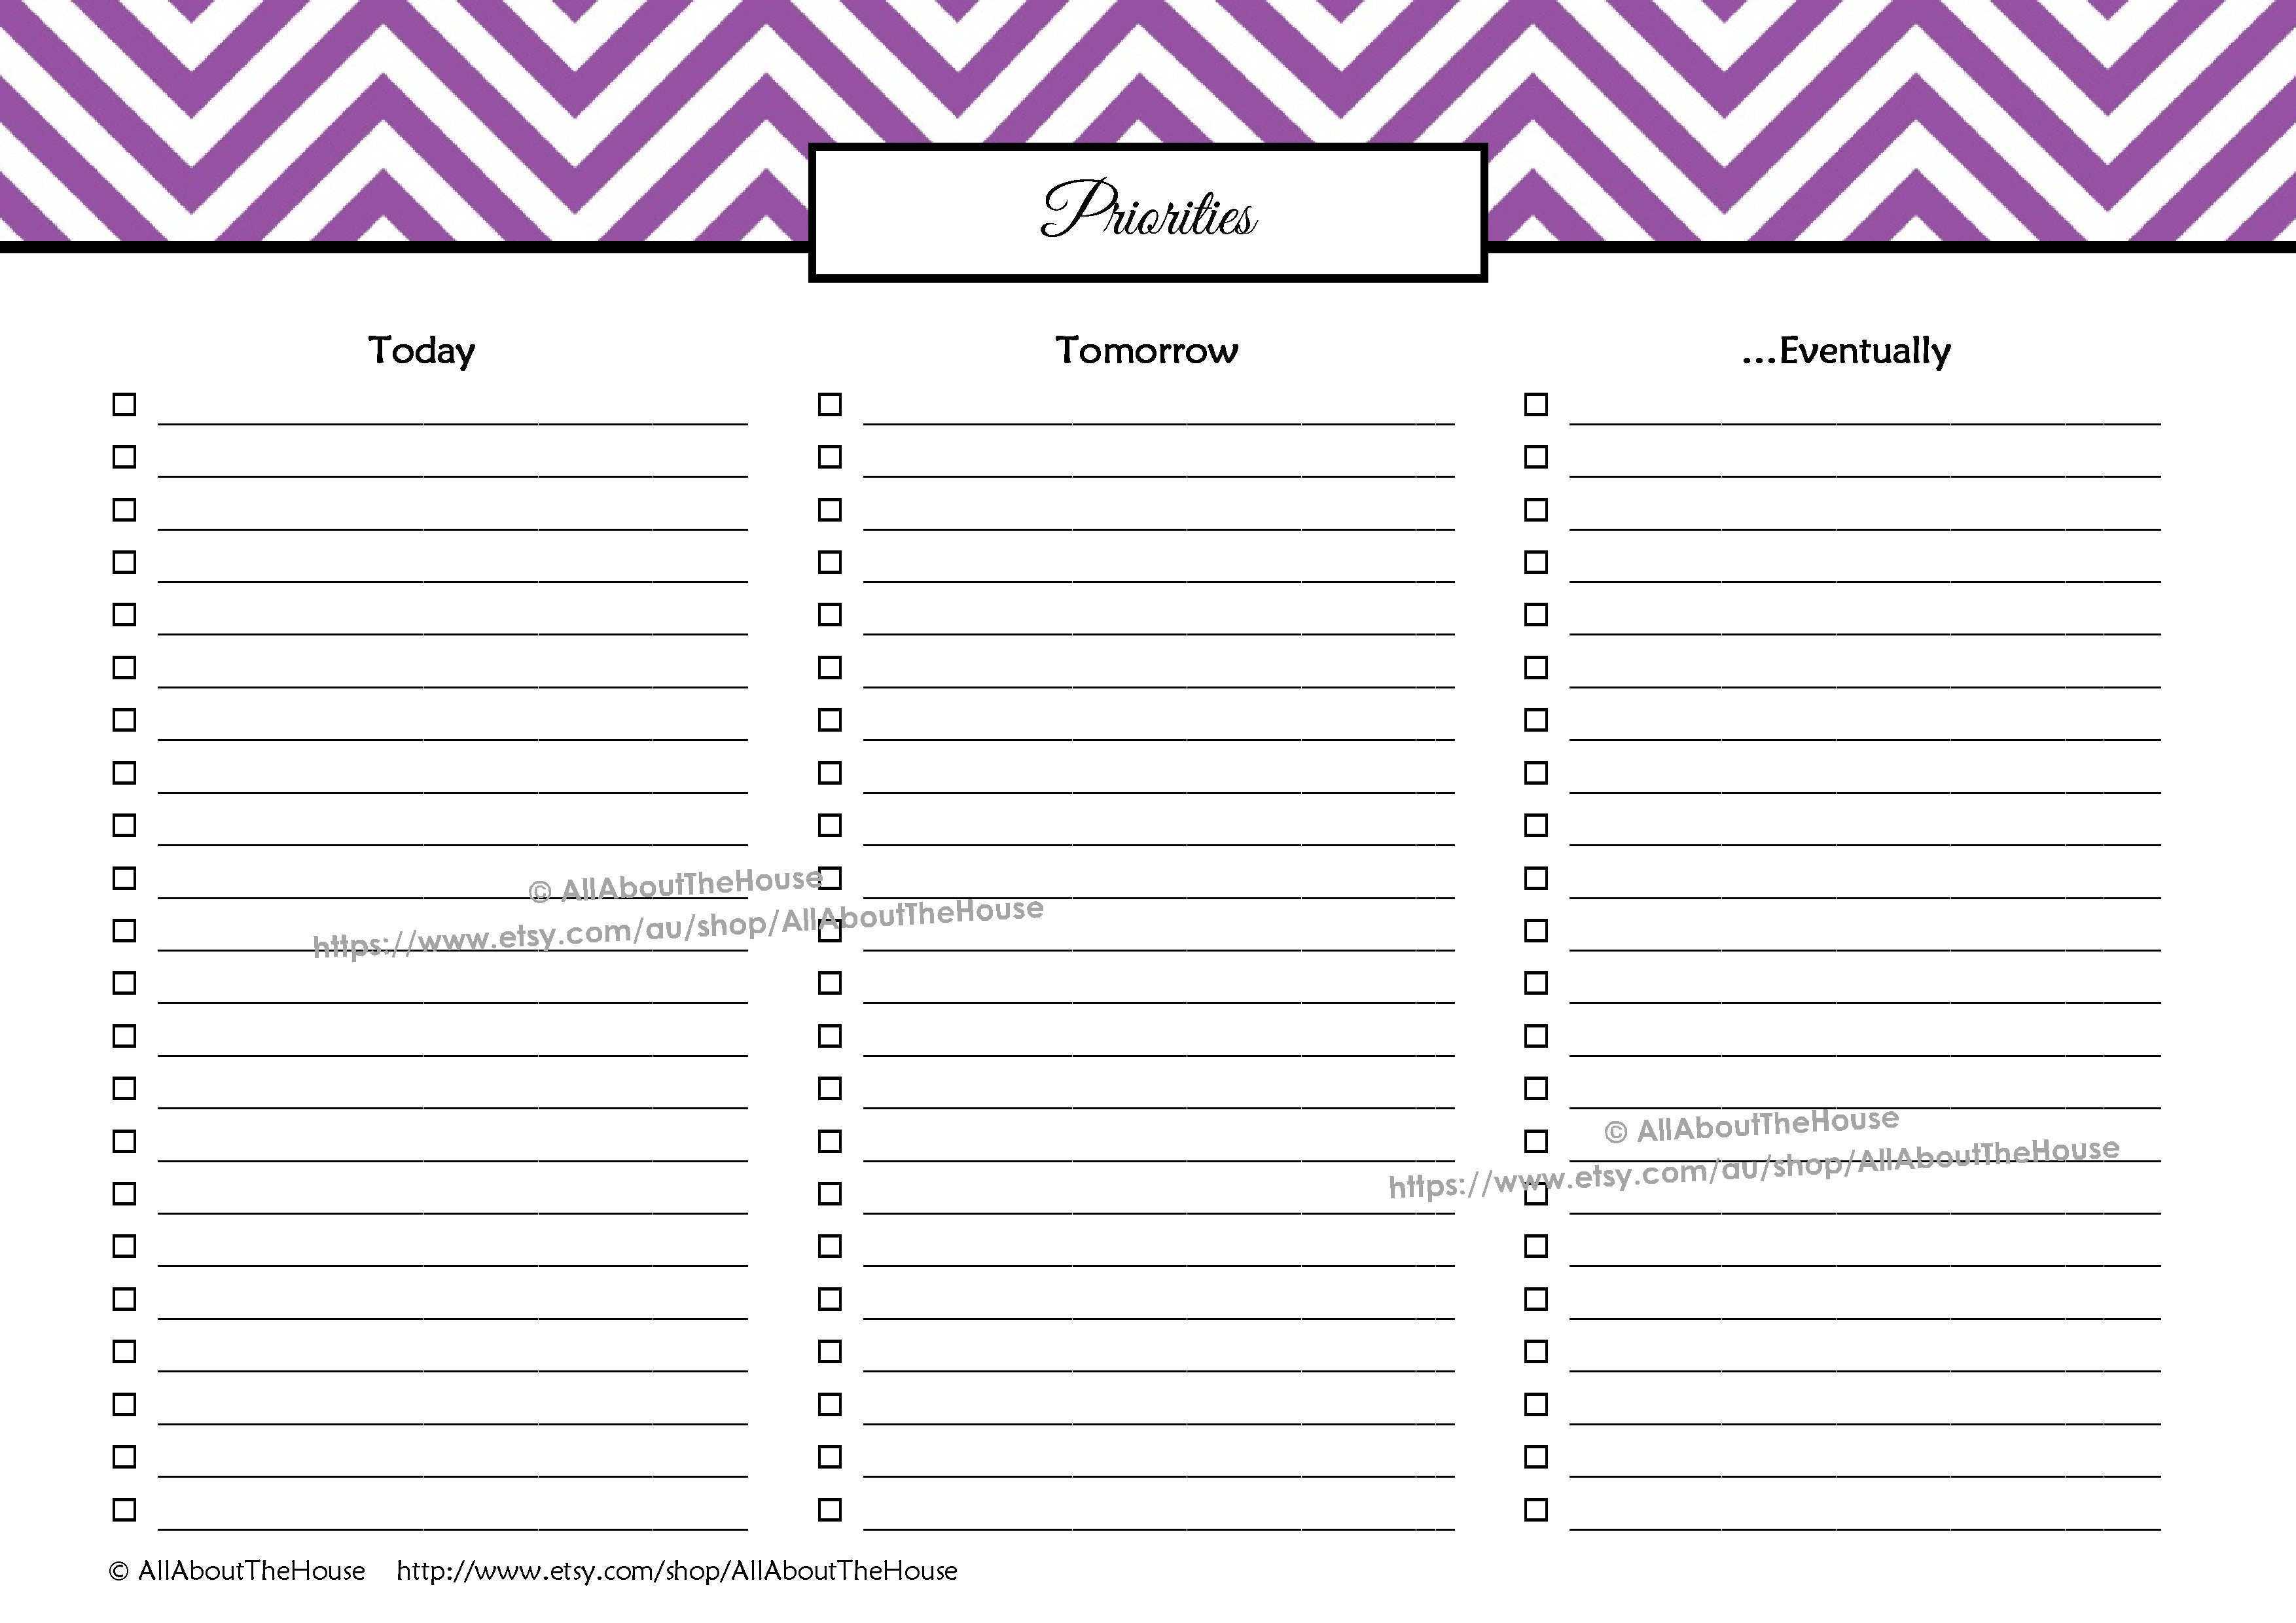
2. TO DO LISTS
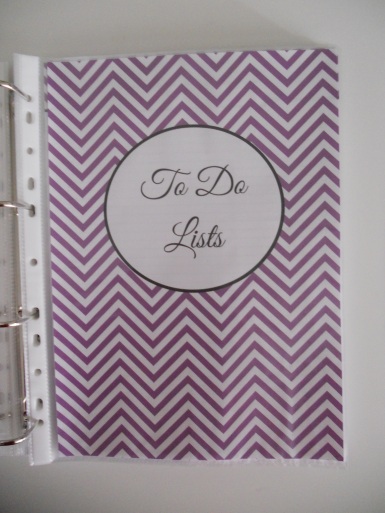
These to do lists can be used either weekly (so one page will equal 1 month), or you can use just the 1 page for the entire month with the lists sorted into week 1, week 2 ect.
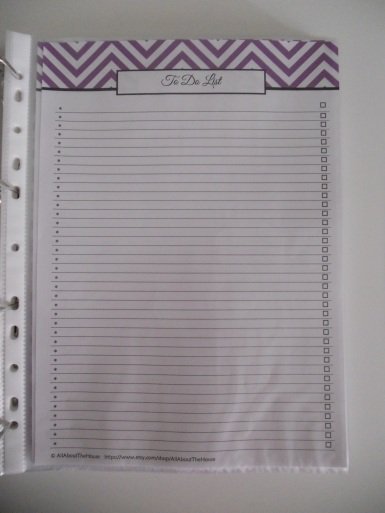
Running to do list. Here’s where I jot down all my ideas for printables for my etsy shop.
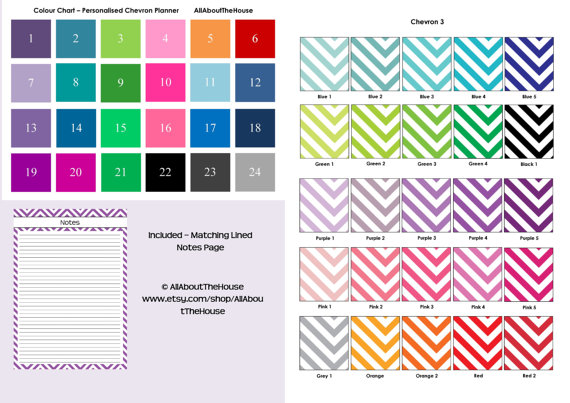
Always handy to have extra notes pages. The file is formatted for duplex printing to save paper.

I have since outgrown this section and now keep a separate to do list notebook which I discussed in this post (scroll to the bottom of that post for pictures).
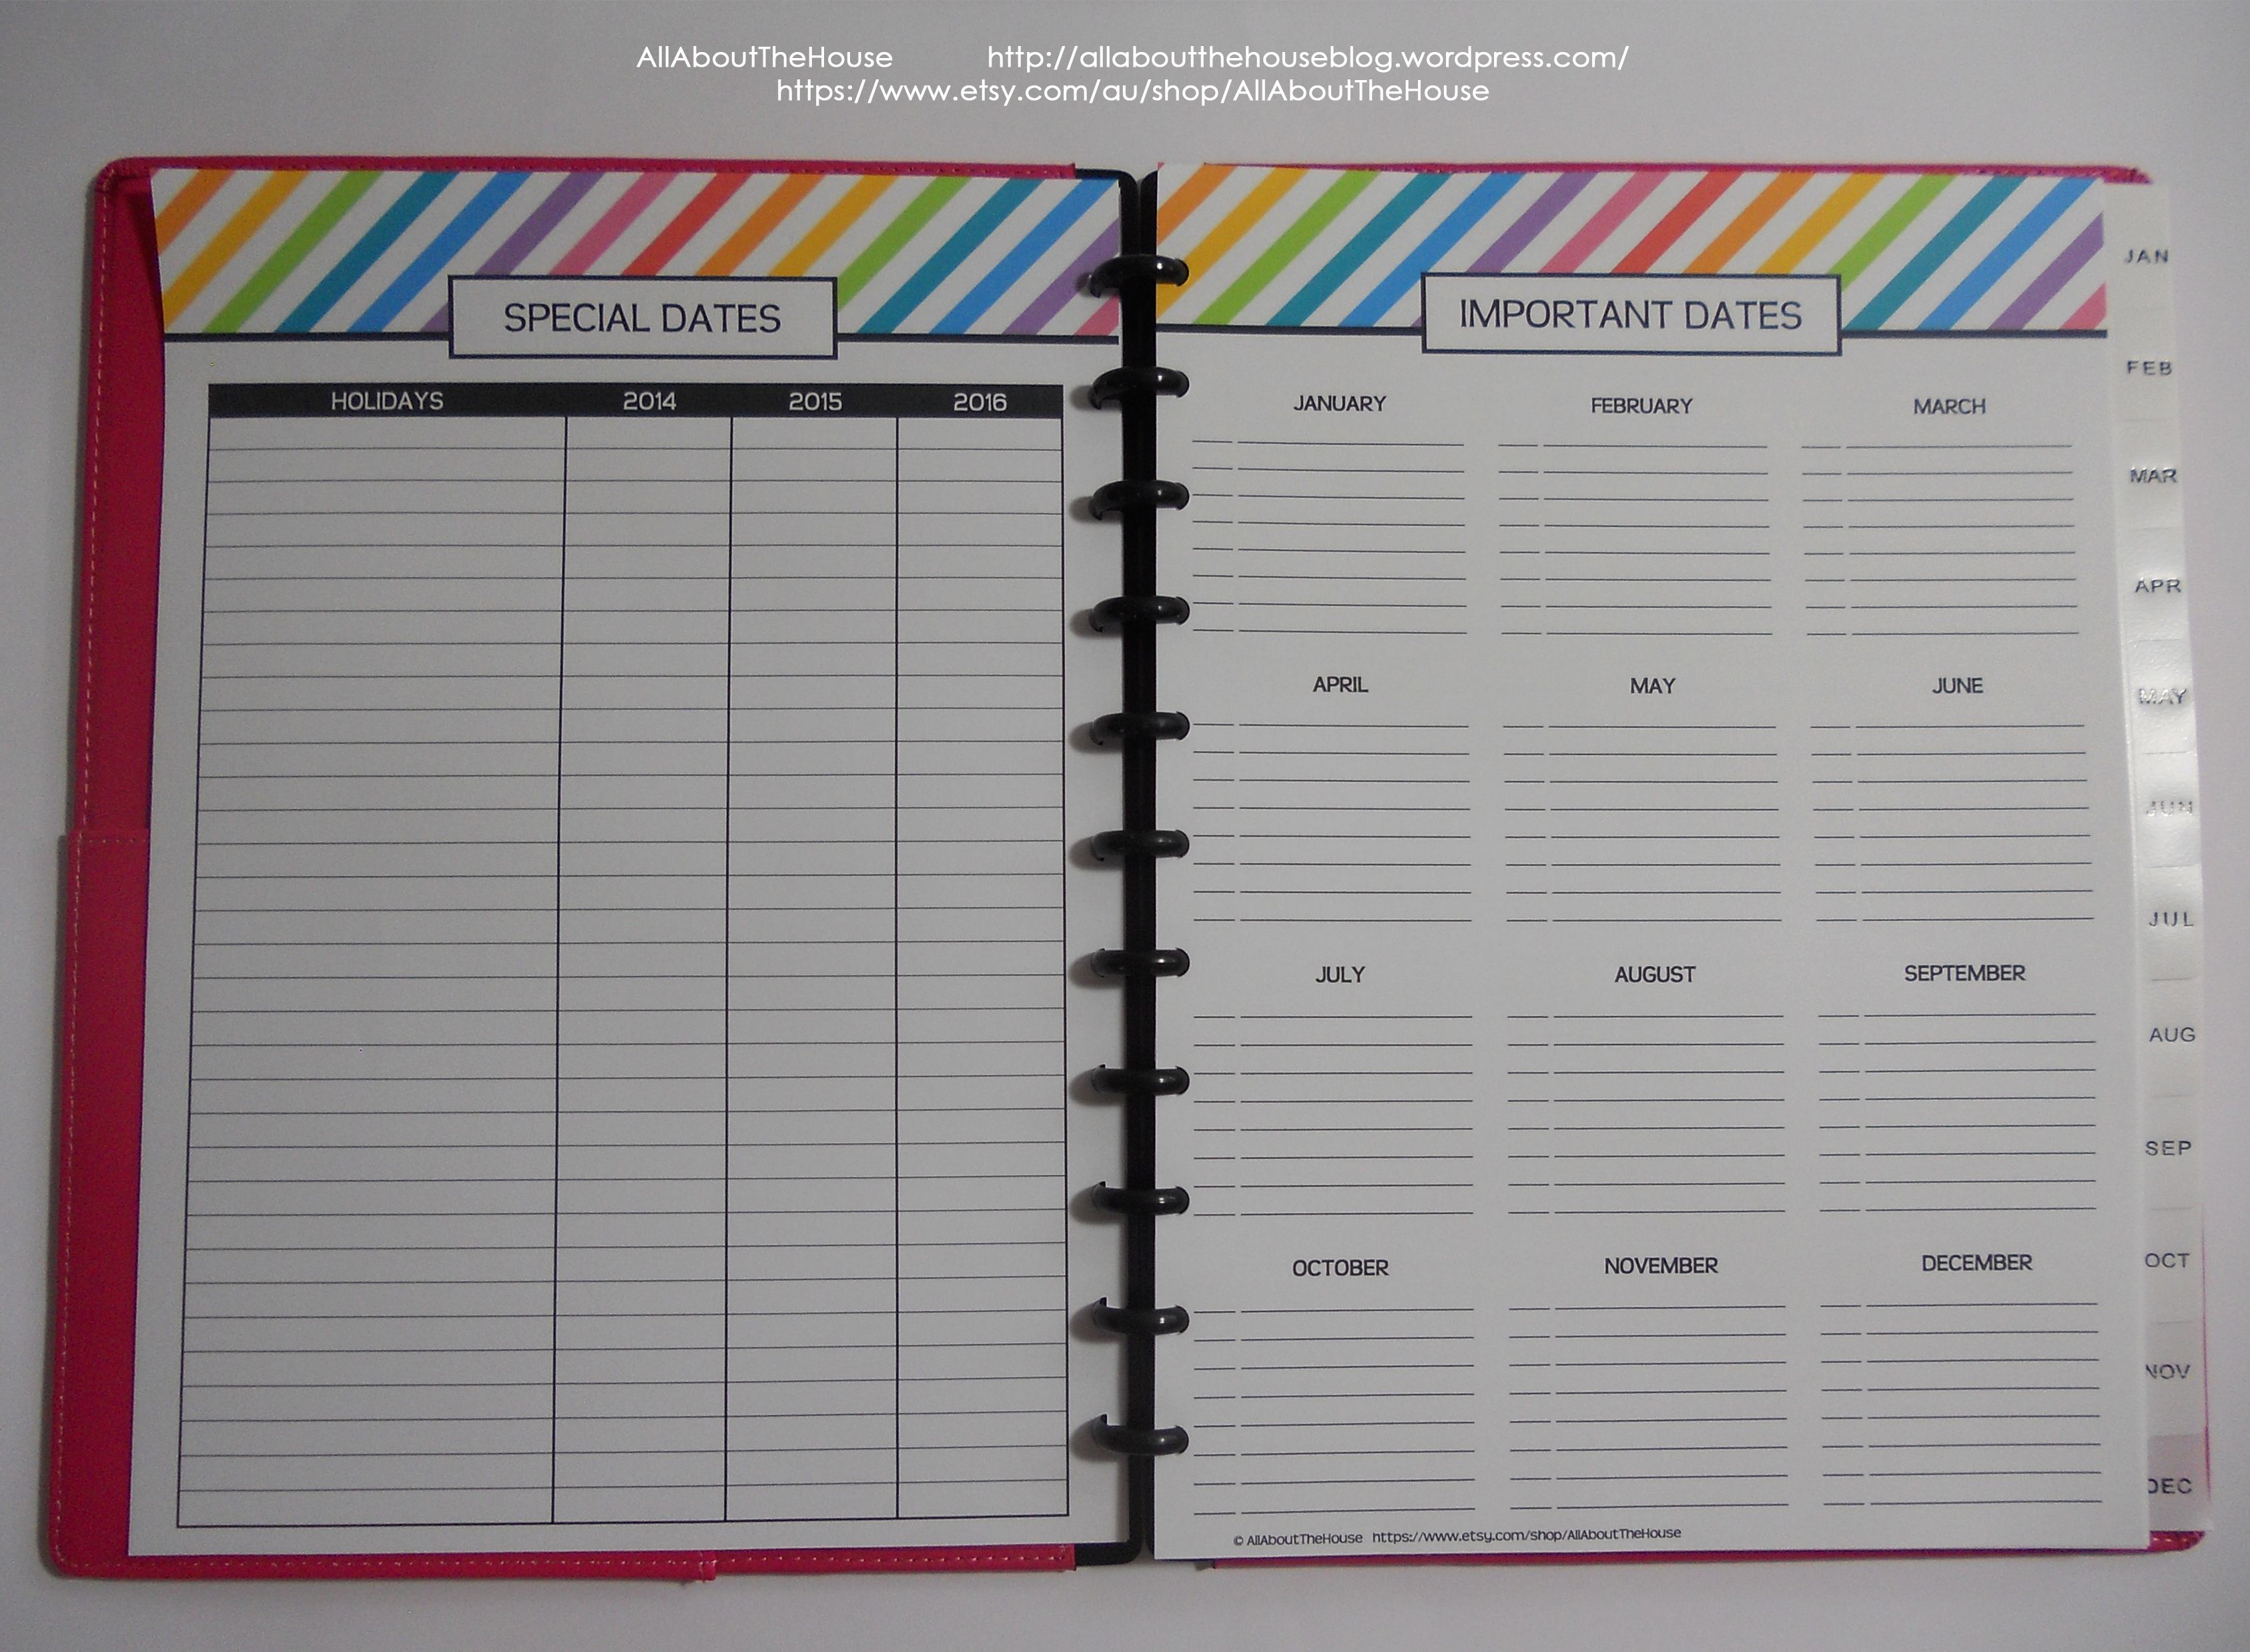
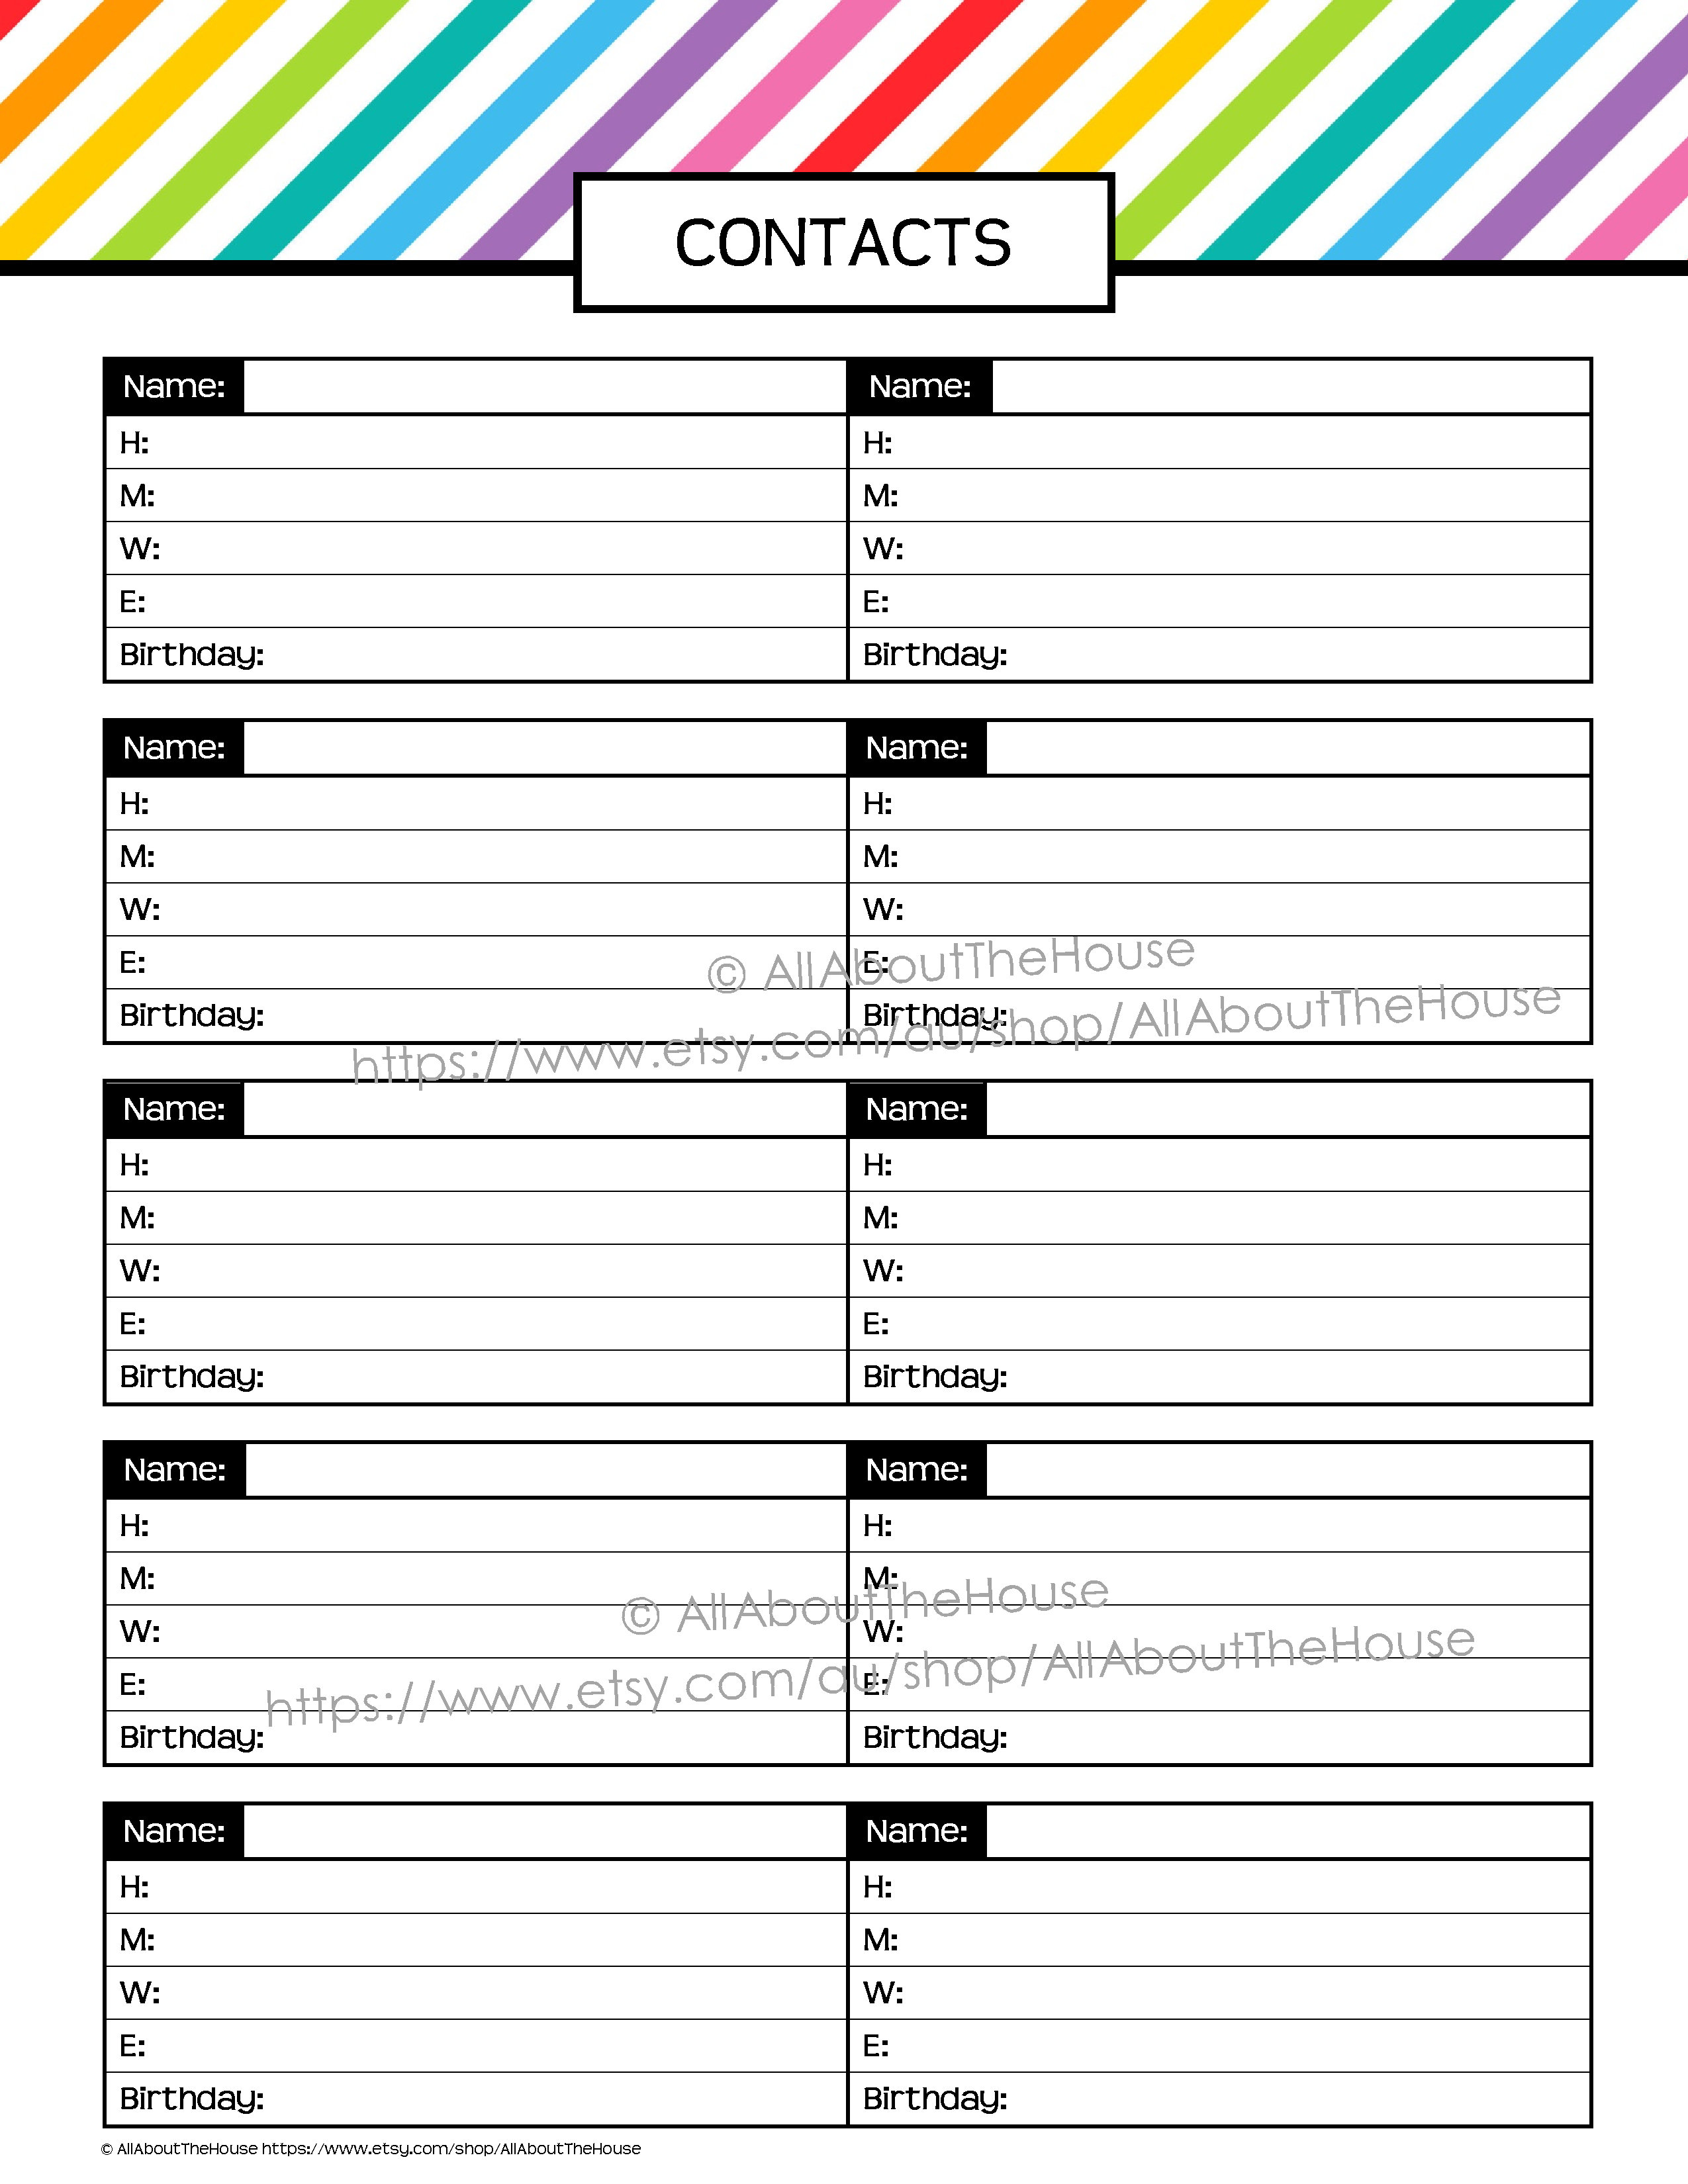
3. IMPORTANT INFORMATION
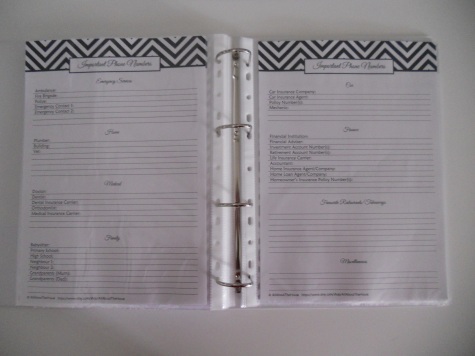
Important phone numbers go first:
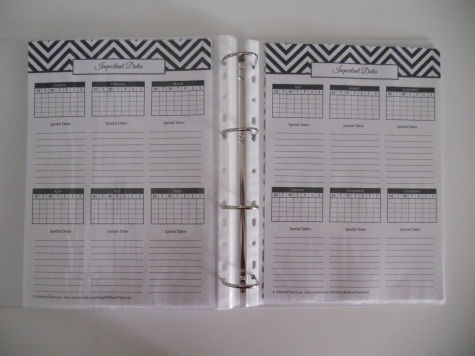
This is where I record public holidays. I’m thinking of moving it to the calendars section..

These sheets are perfect for recording birthday’s and anniversaries. There’s no dates so I can use these for any year. I’m also thinking about moving these sheets to the calendars section.
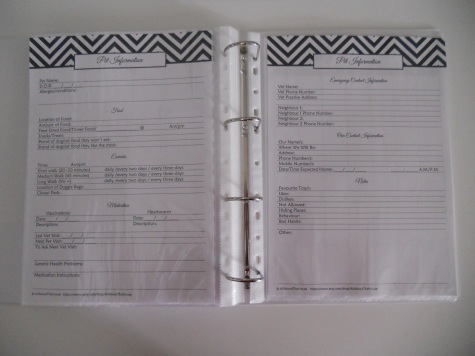
Pet information sheet (I have a spoilt Maltese Cross Shitzu). I record her vaccinations, information for the pet sitter such as what brand of dog food she will and won’t eat, how long she likes to go for a walk for and at what time ect.
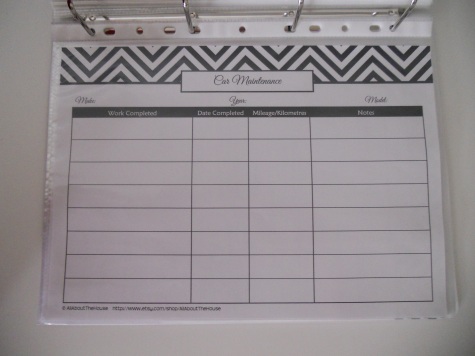
Car maintenance sheet for recording car services:
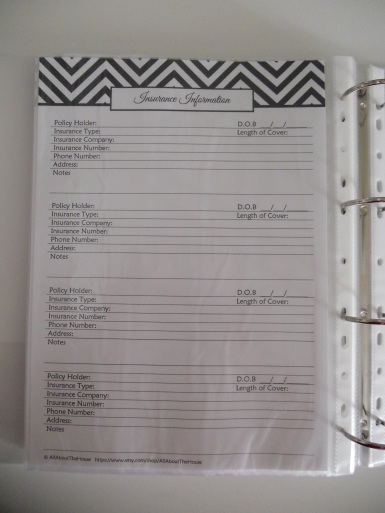
Insurance information. Space for up to 4 people per sheet or 4 policies per person e.g. life insurance, car insurance, health insurance ect.
There’s a password log included in this set but I obviously didn’t take a photo of that for privacy reasons.
As a side note, I record warranties and manuals in a separate binder and store it in my kitchen. UPDATE: this section was expanded on in the Home and Inventories set which you can read about here.
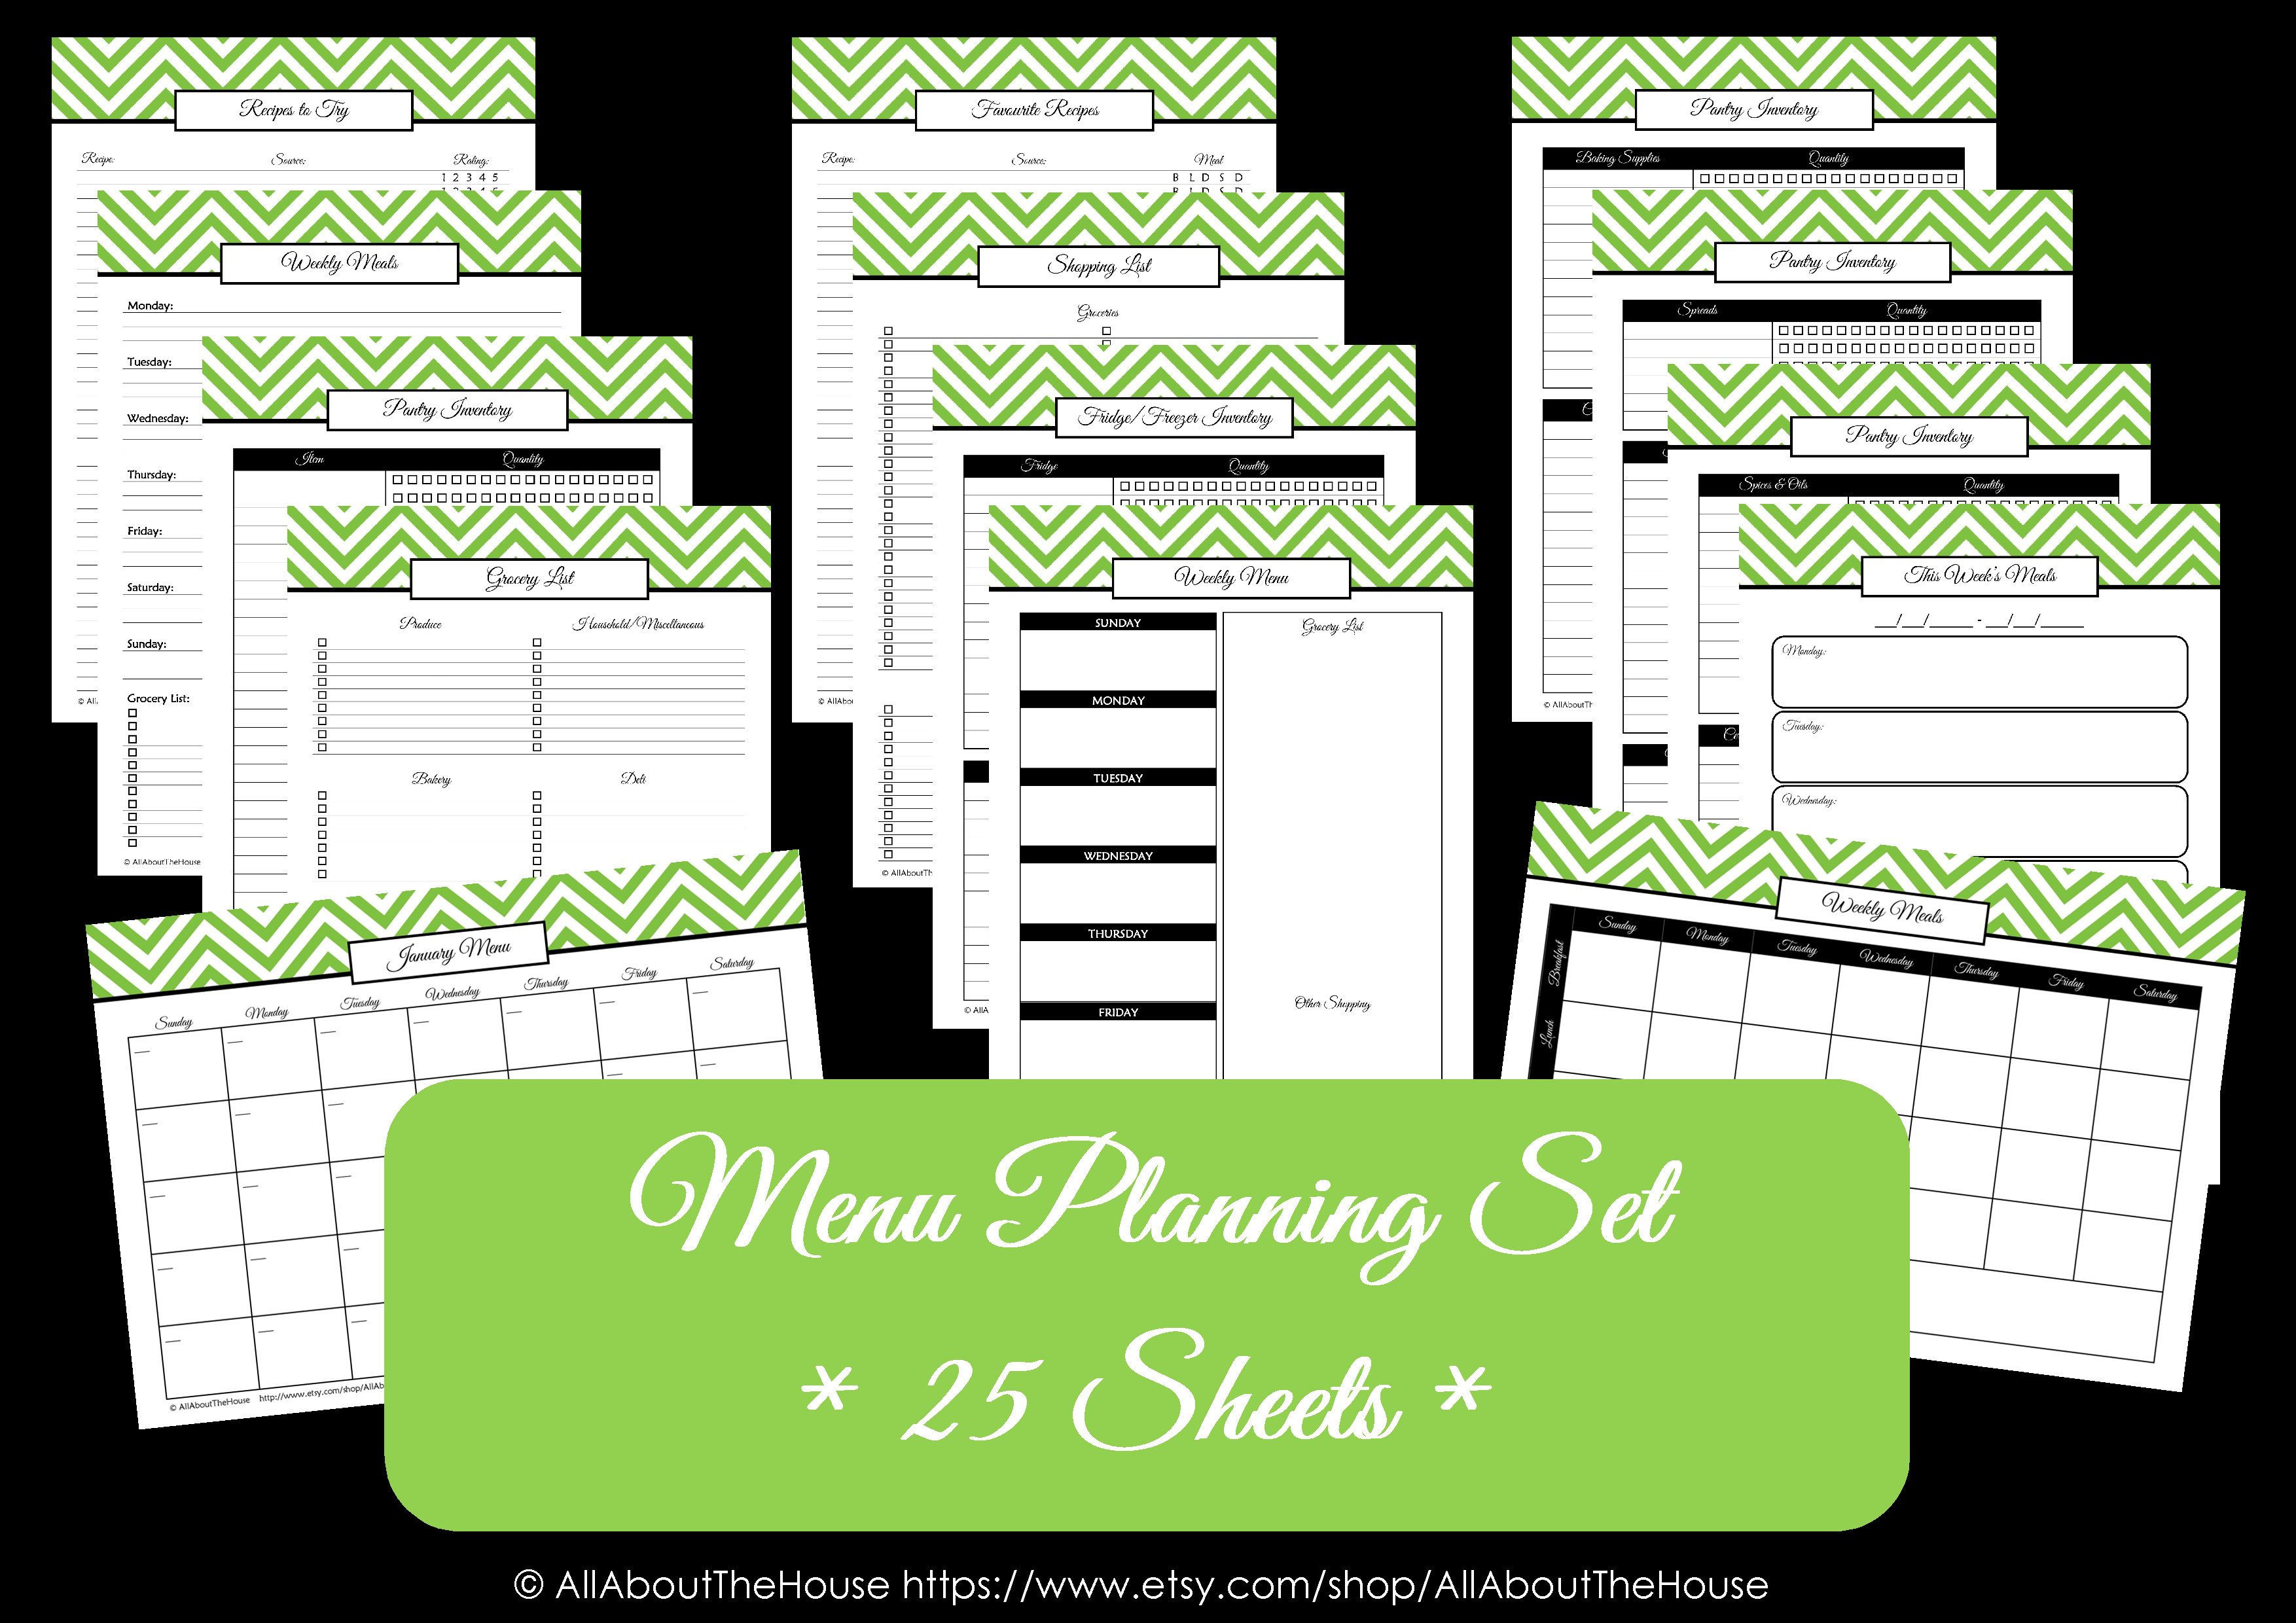
4. MEAL PLANNING

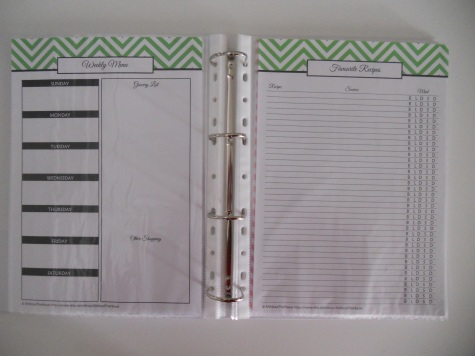
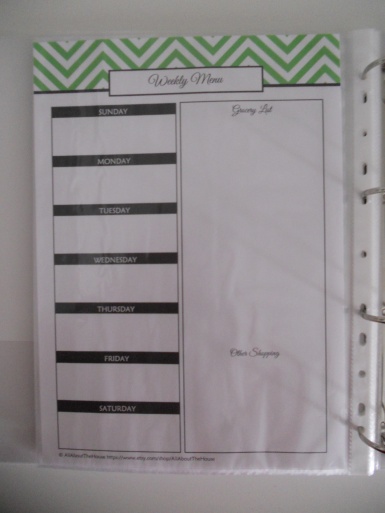
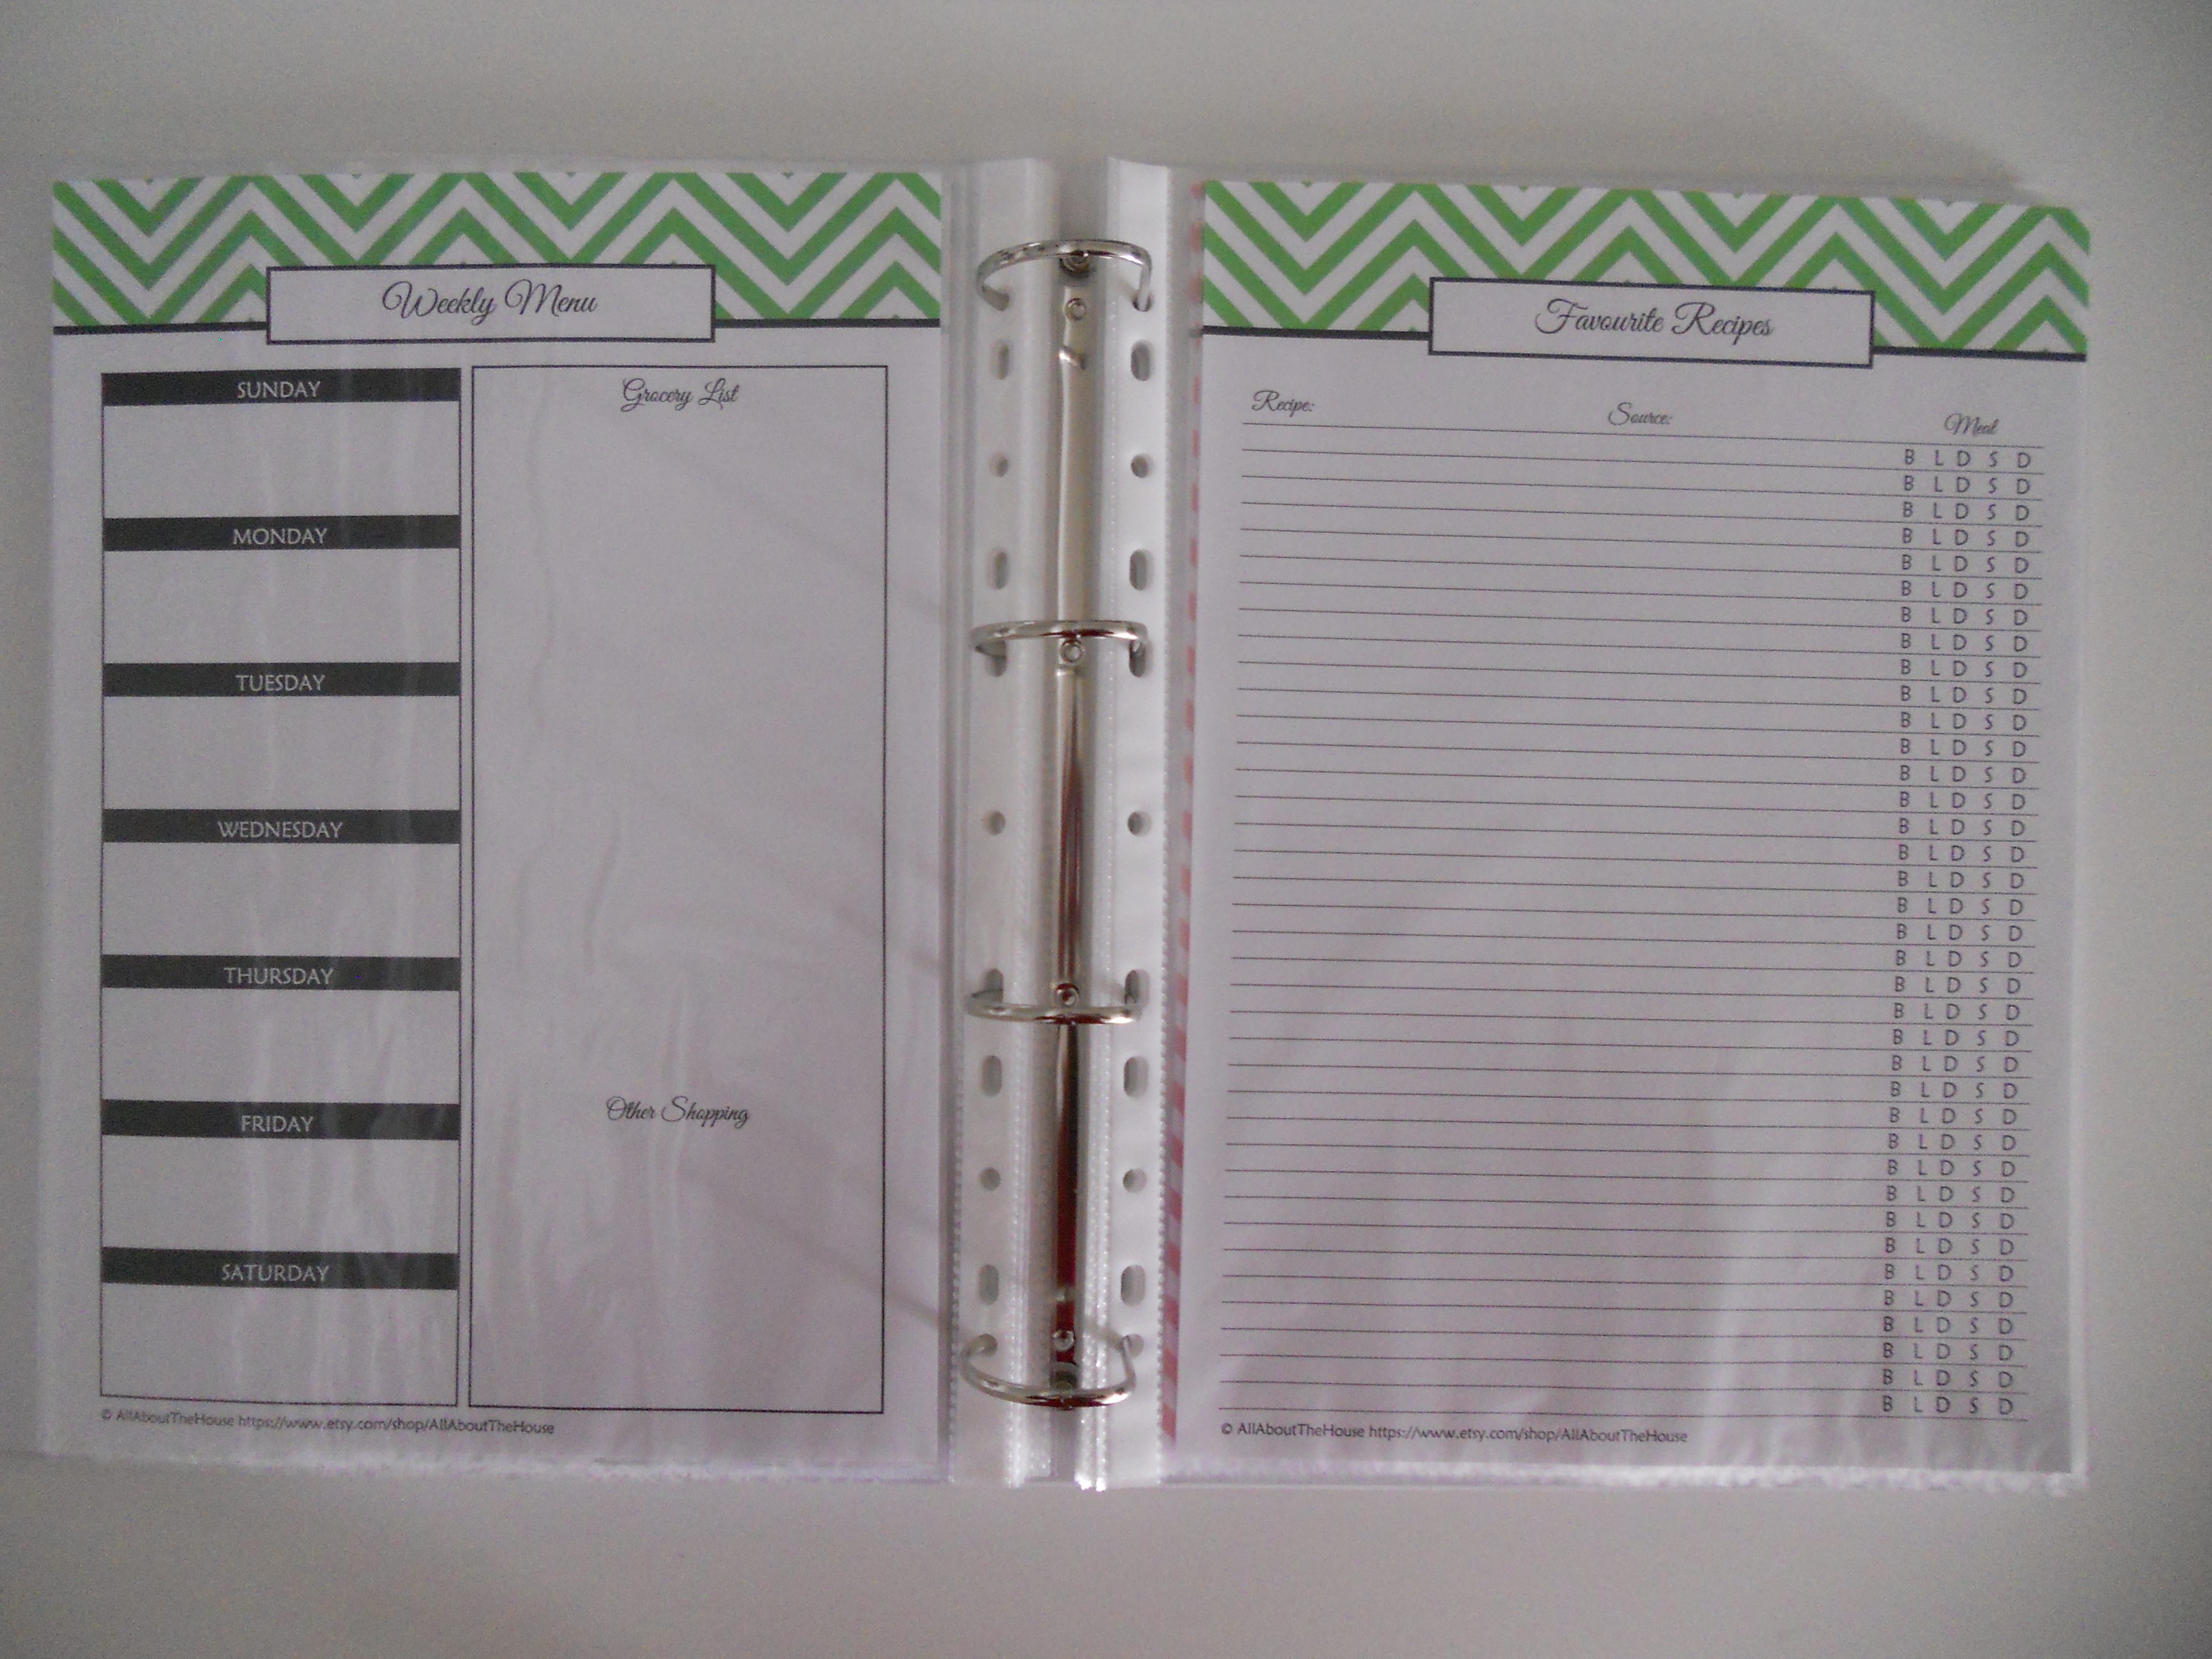
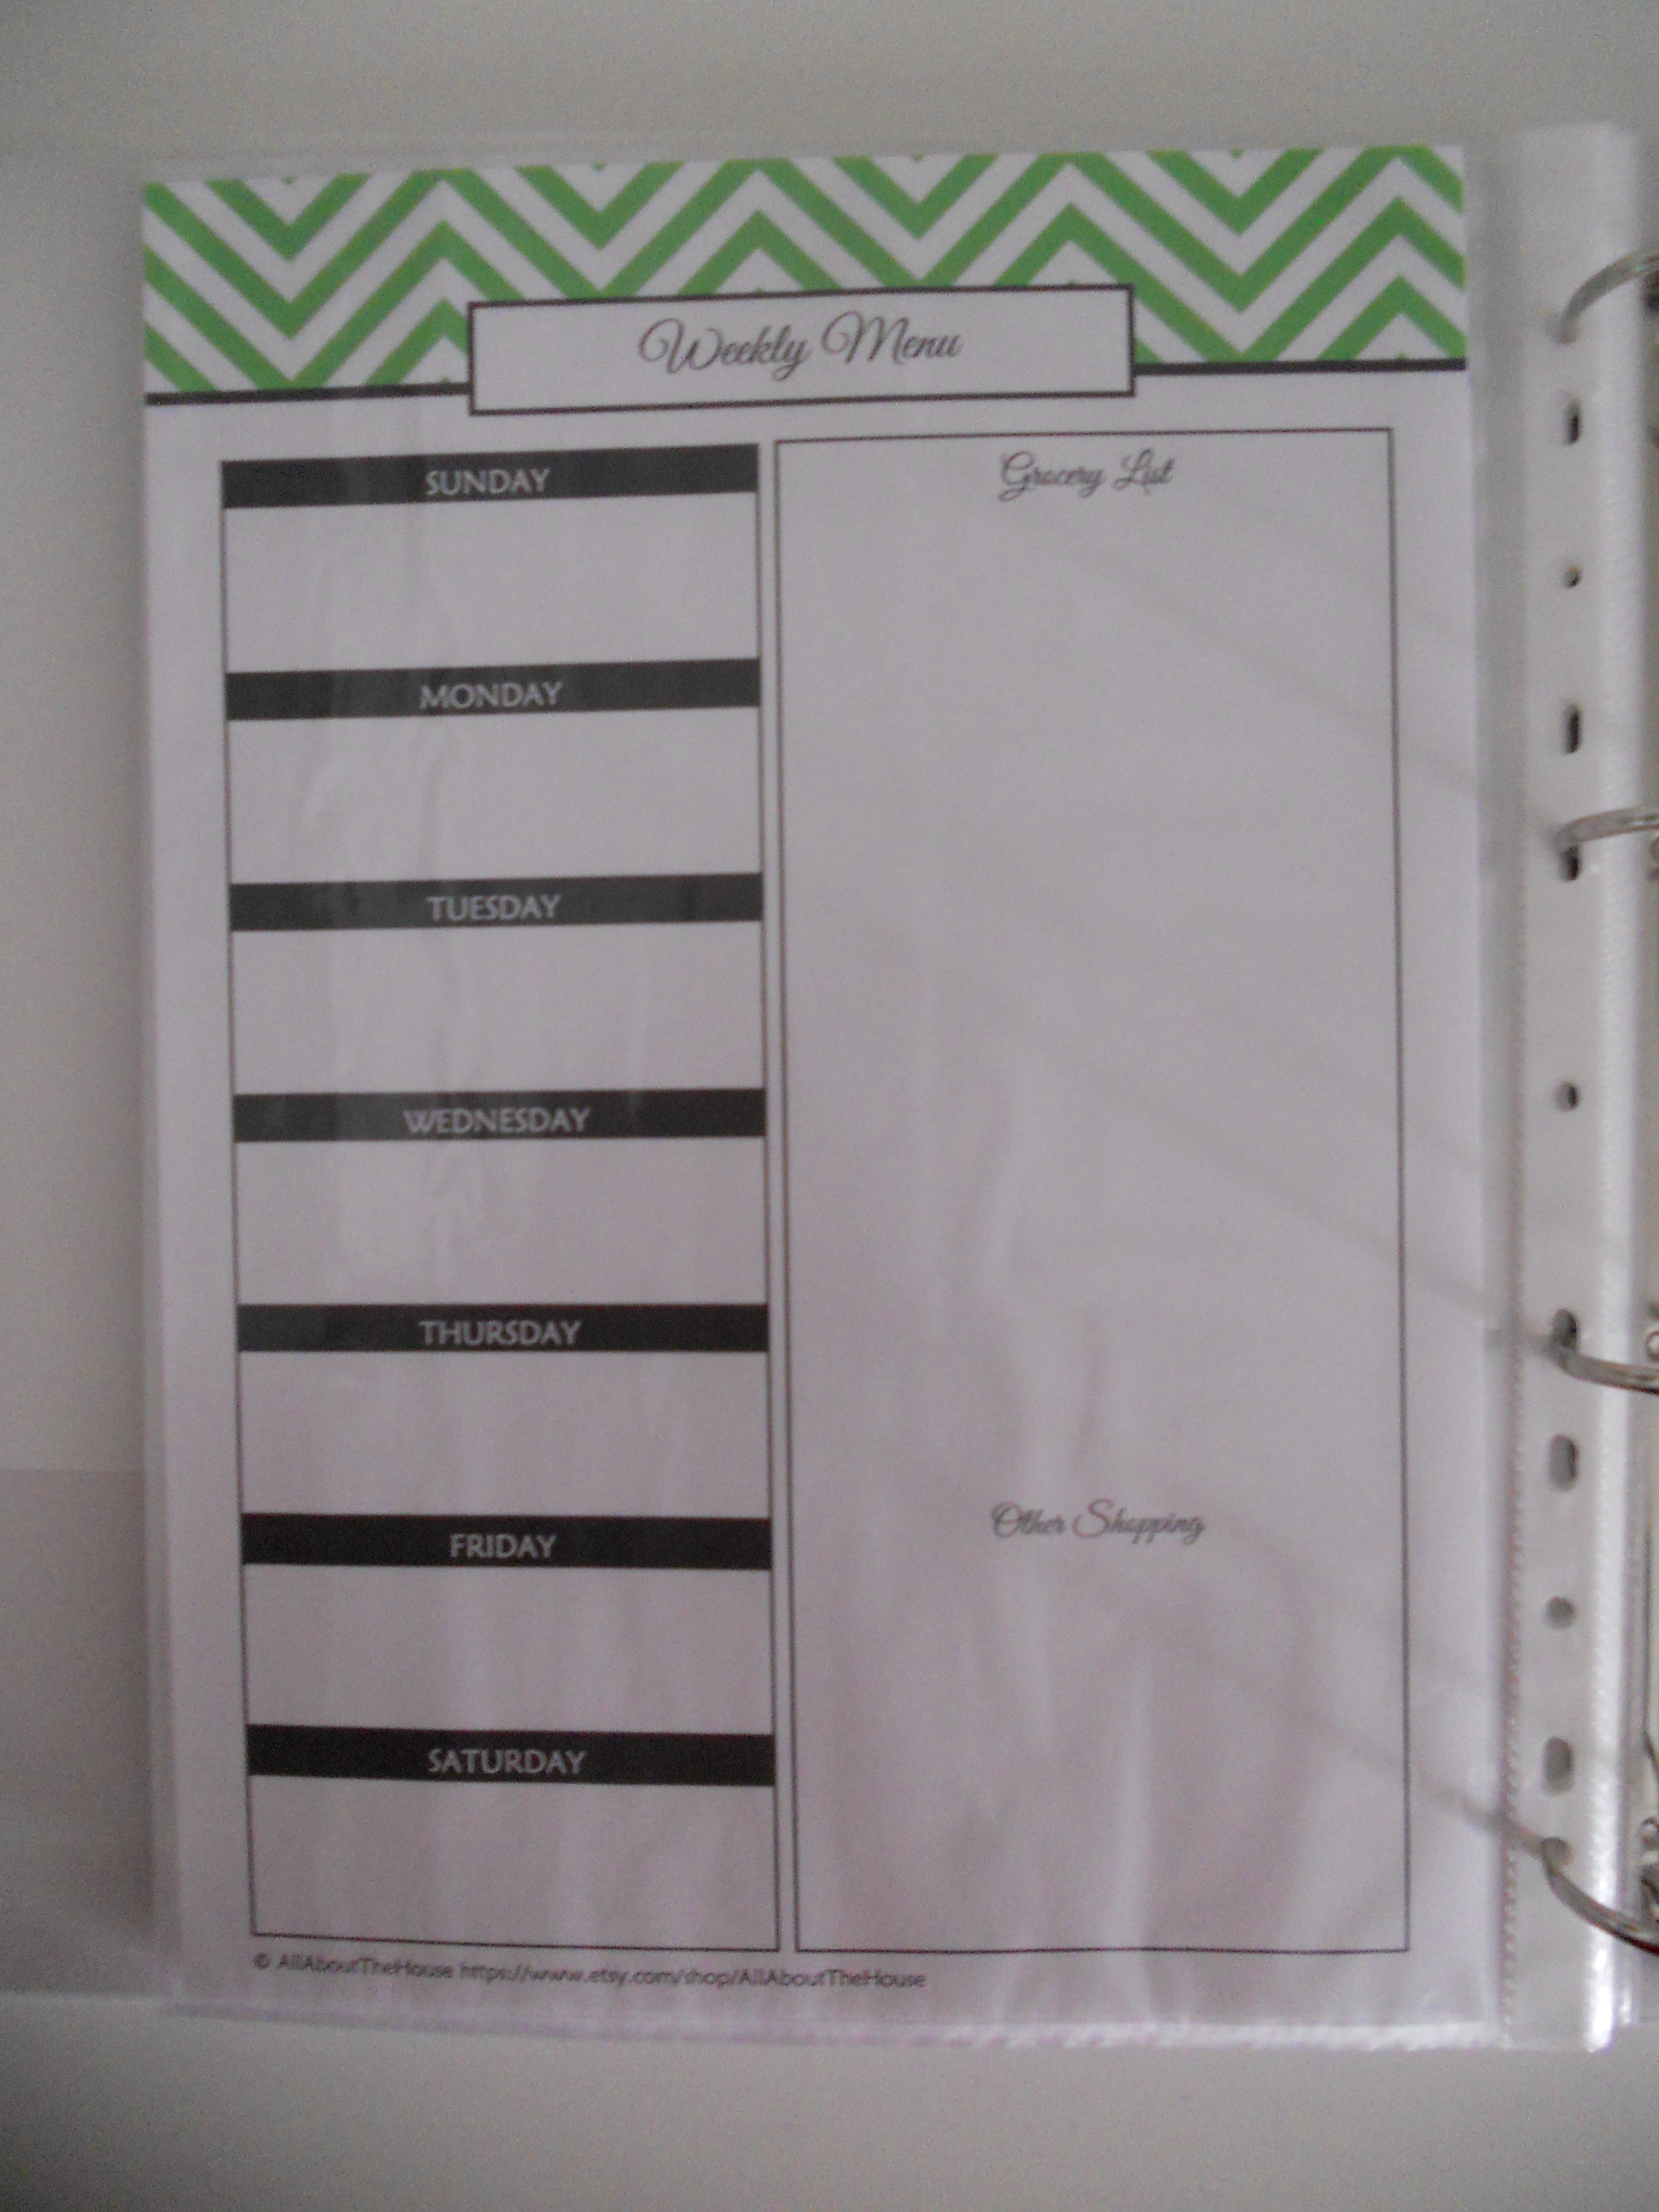
I use the weekly menu below where i can plan meals, the grocery list and errands all on the one page. I keep the favourite recipes sheet beside it for when I don’t know what to cook. The sheet is formatted so, say I have ‘taco’s’ for a favourite meal, I then circle D for dinner so when I am casting my eye down the page I can easily pick out which type of meal a recipe is for.
Here’s a close-up of the weekly menu:
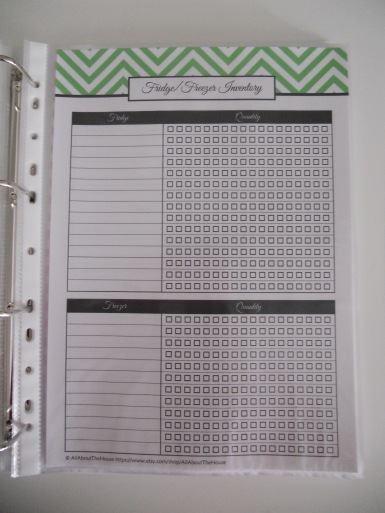
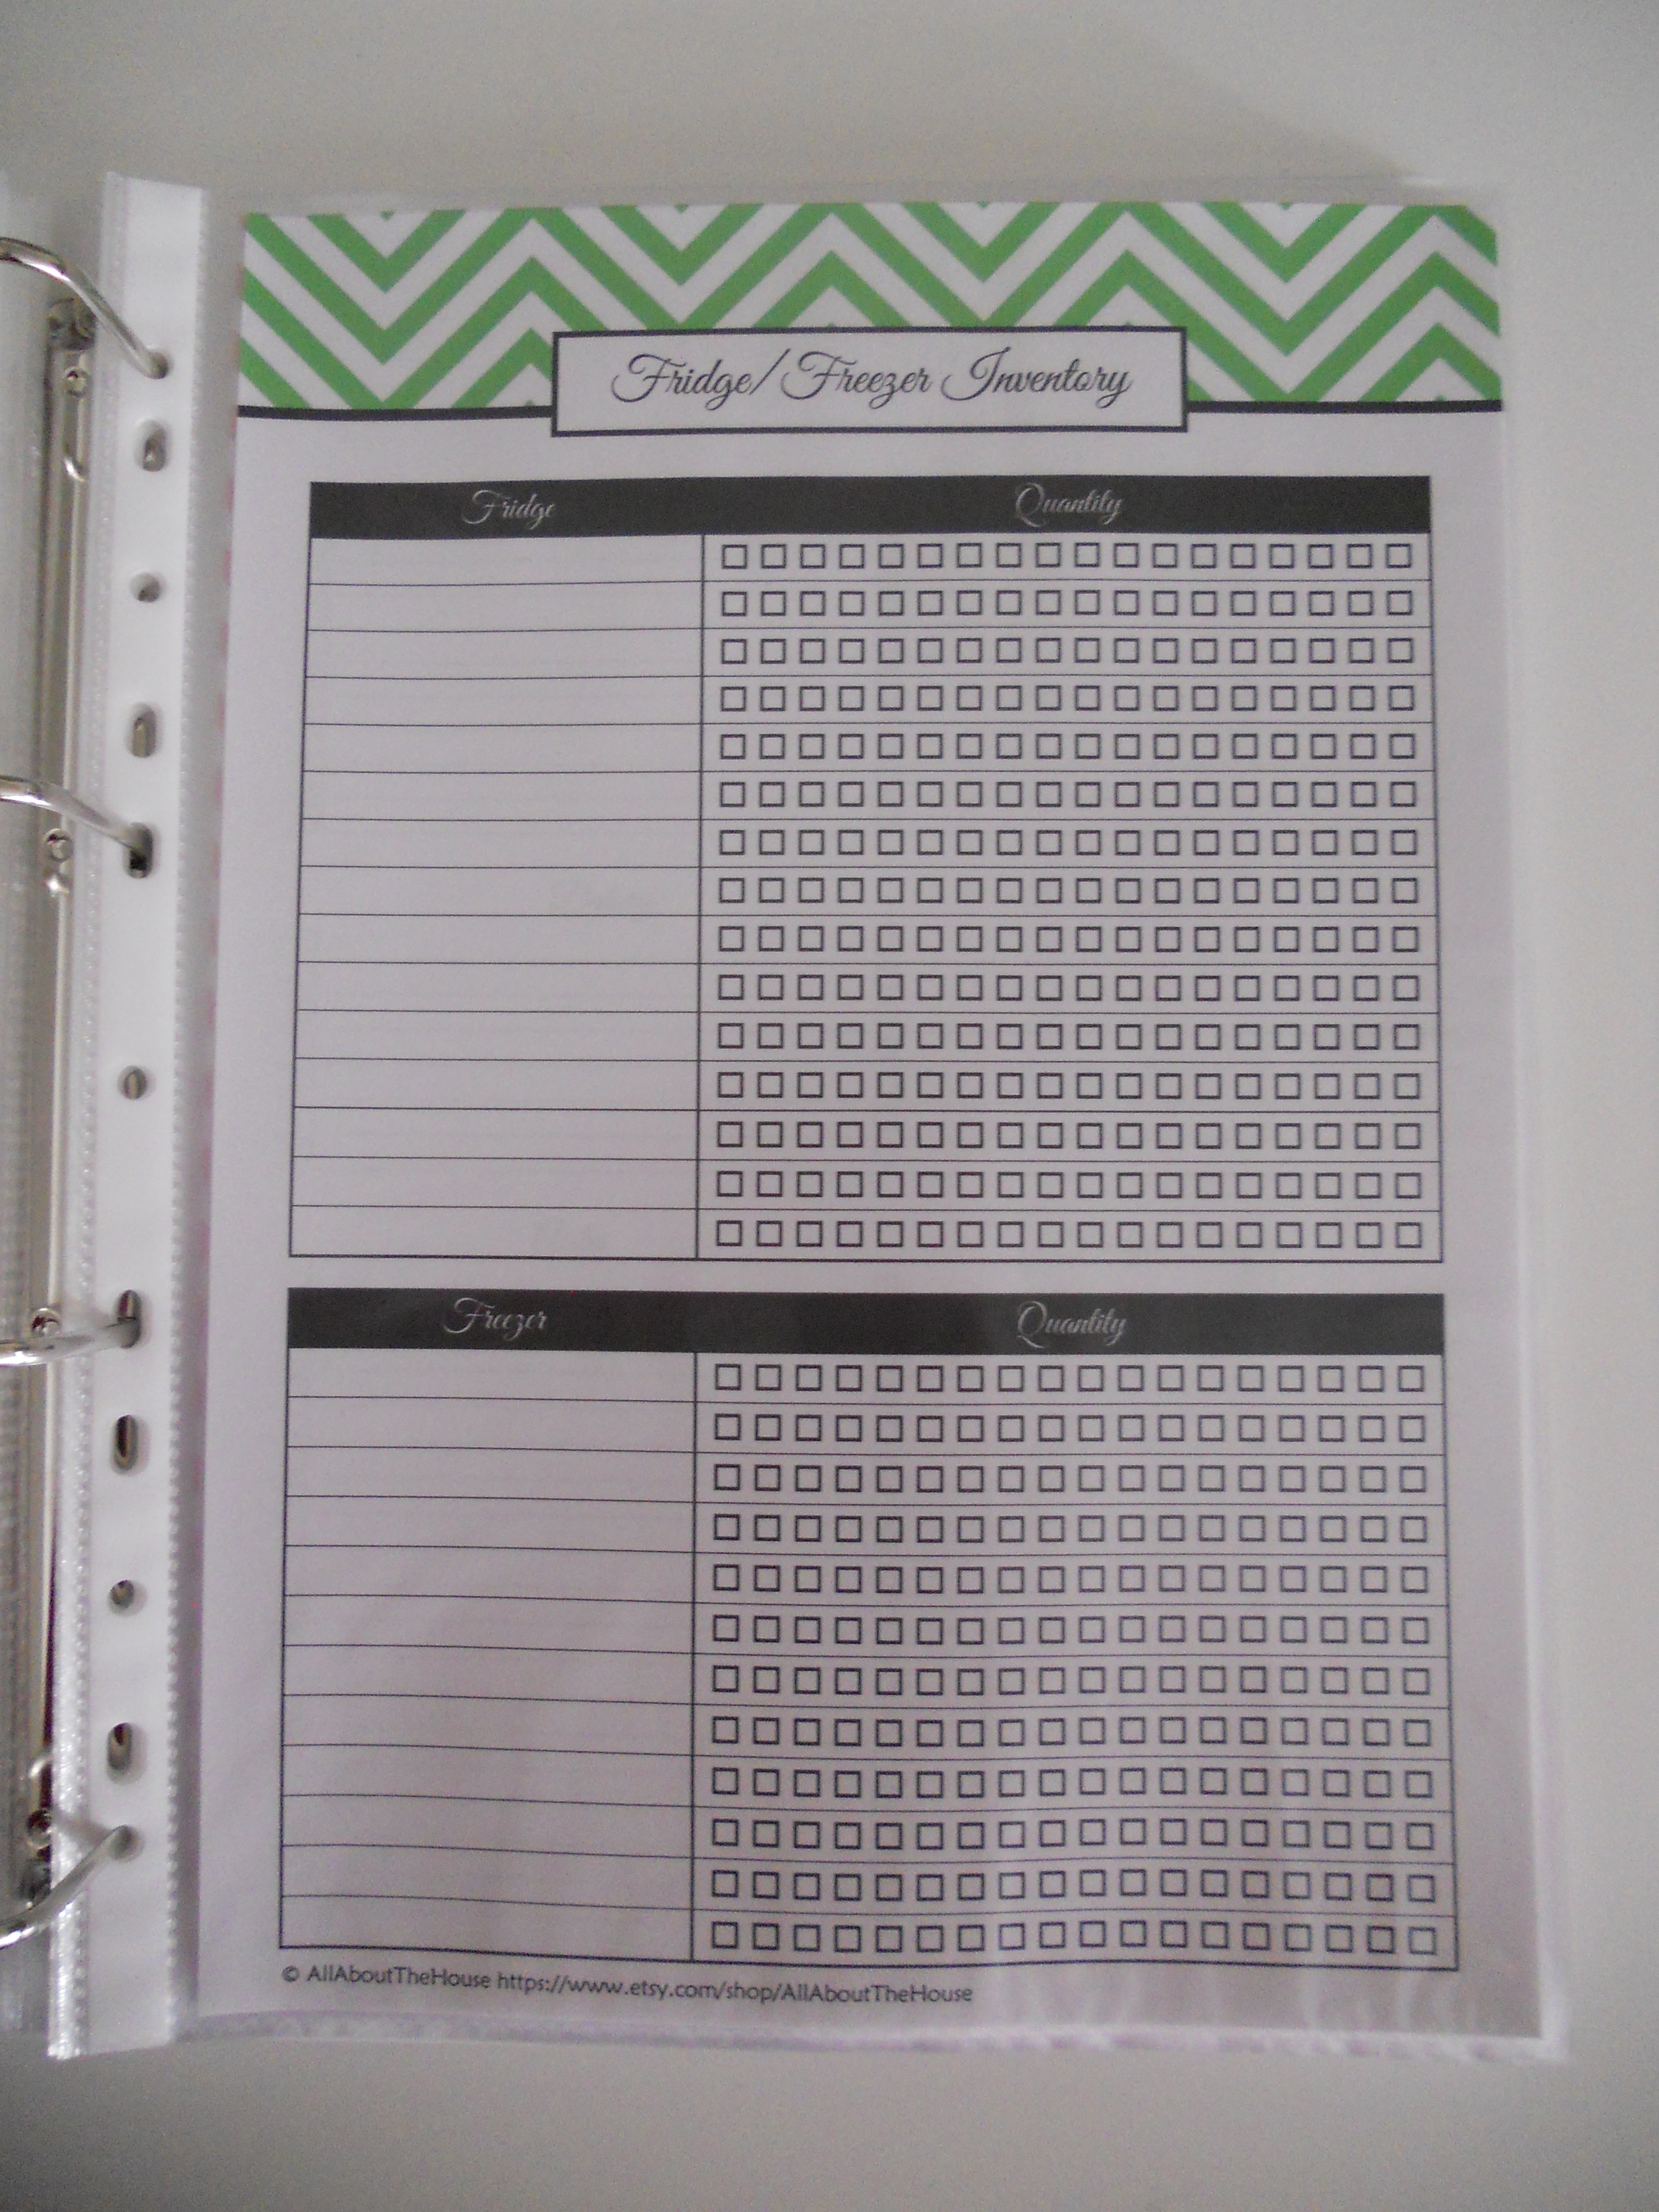
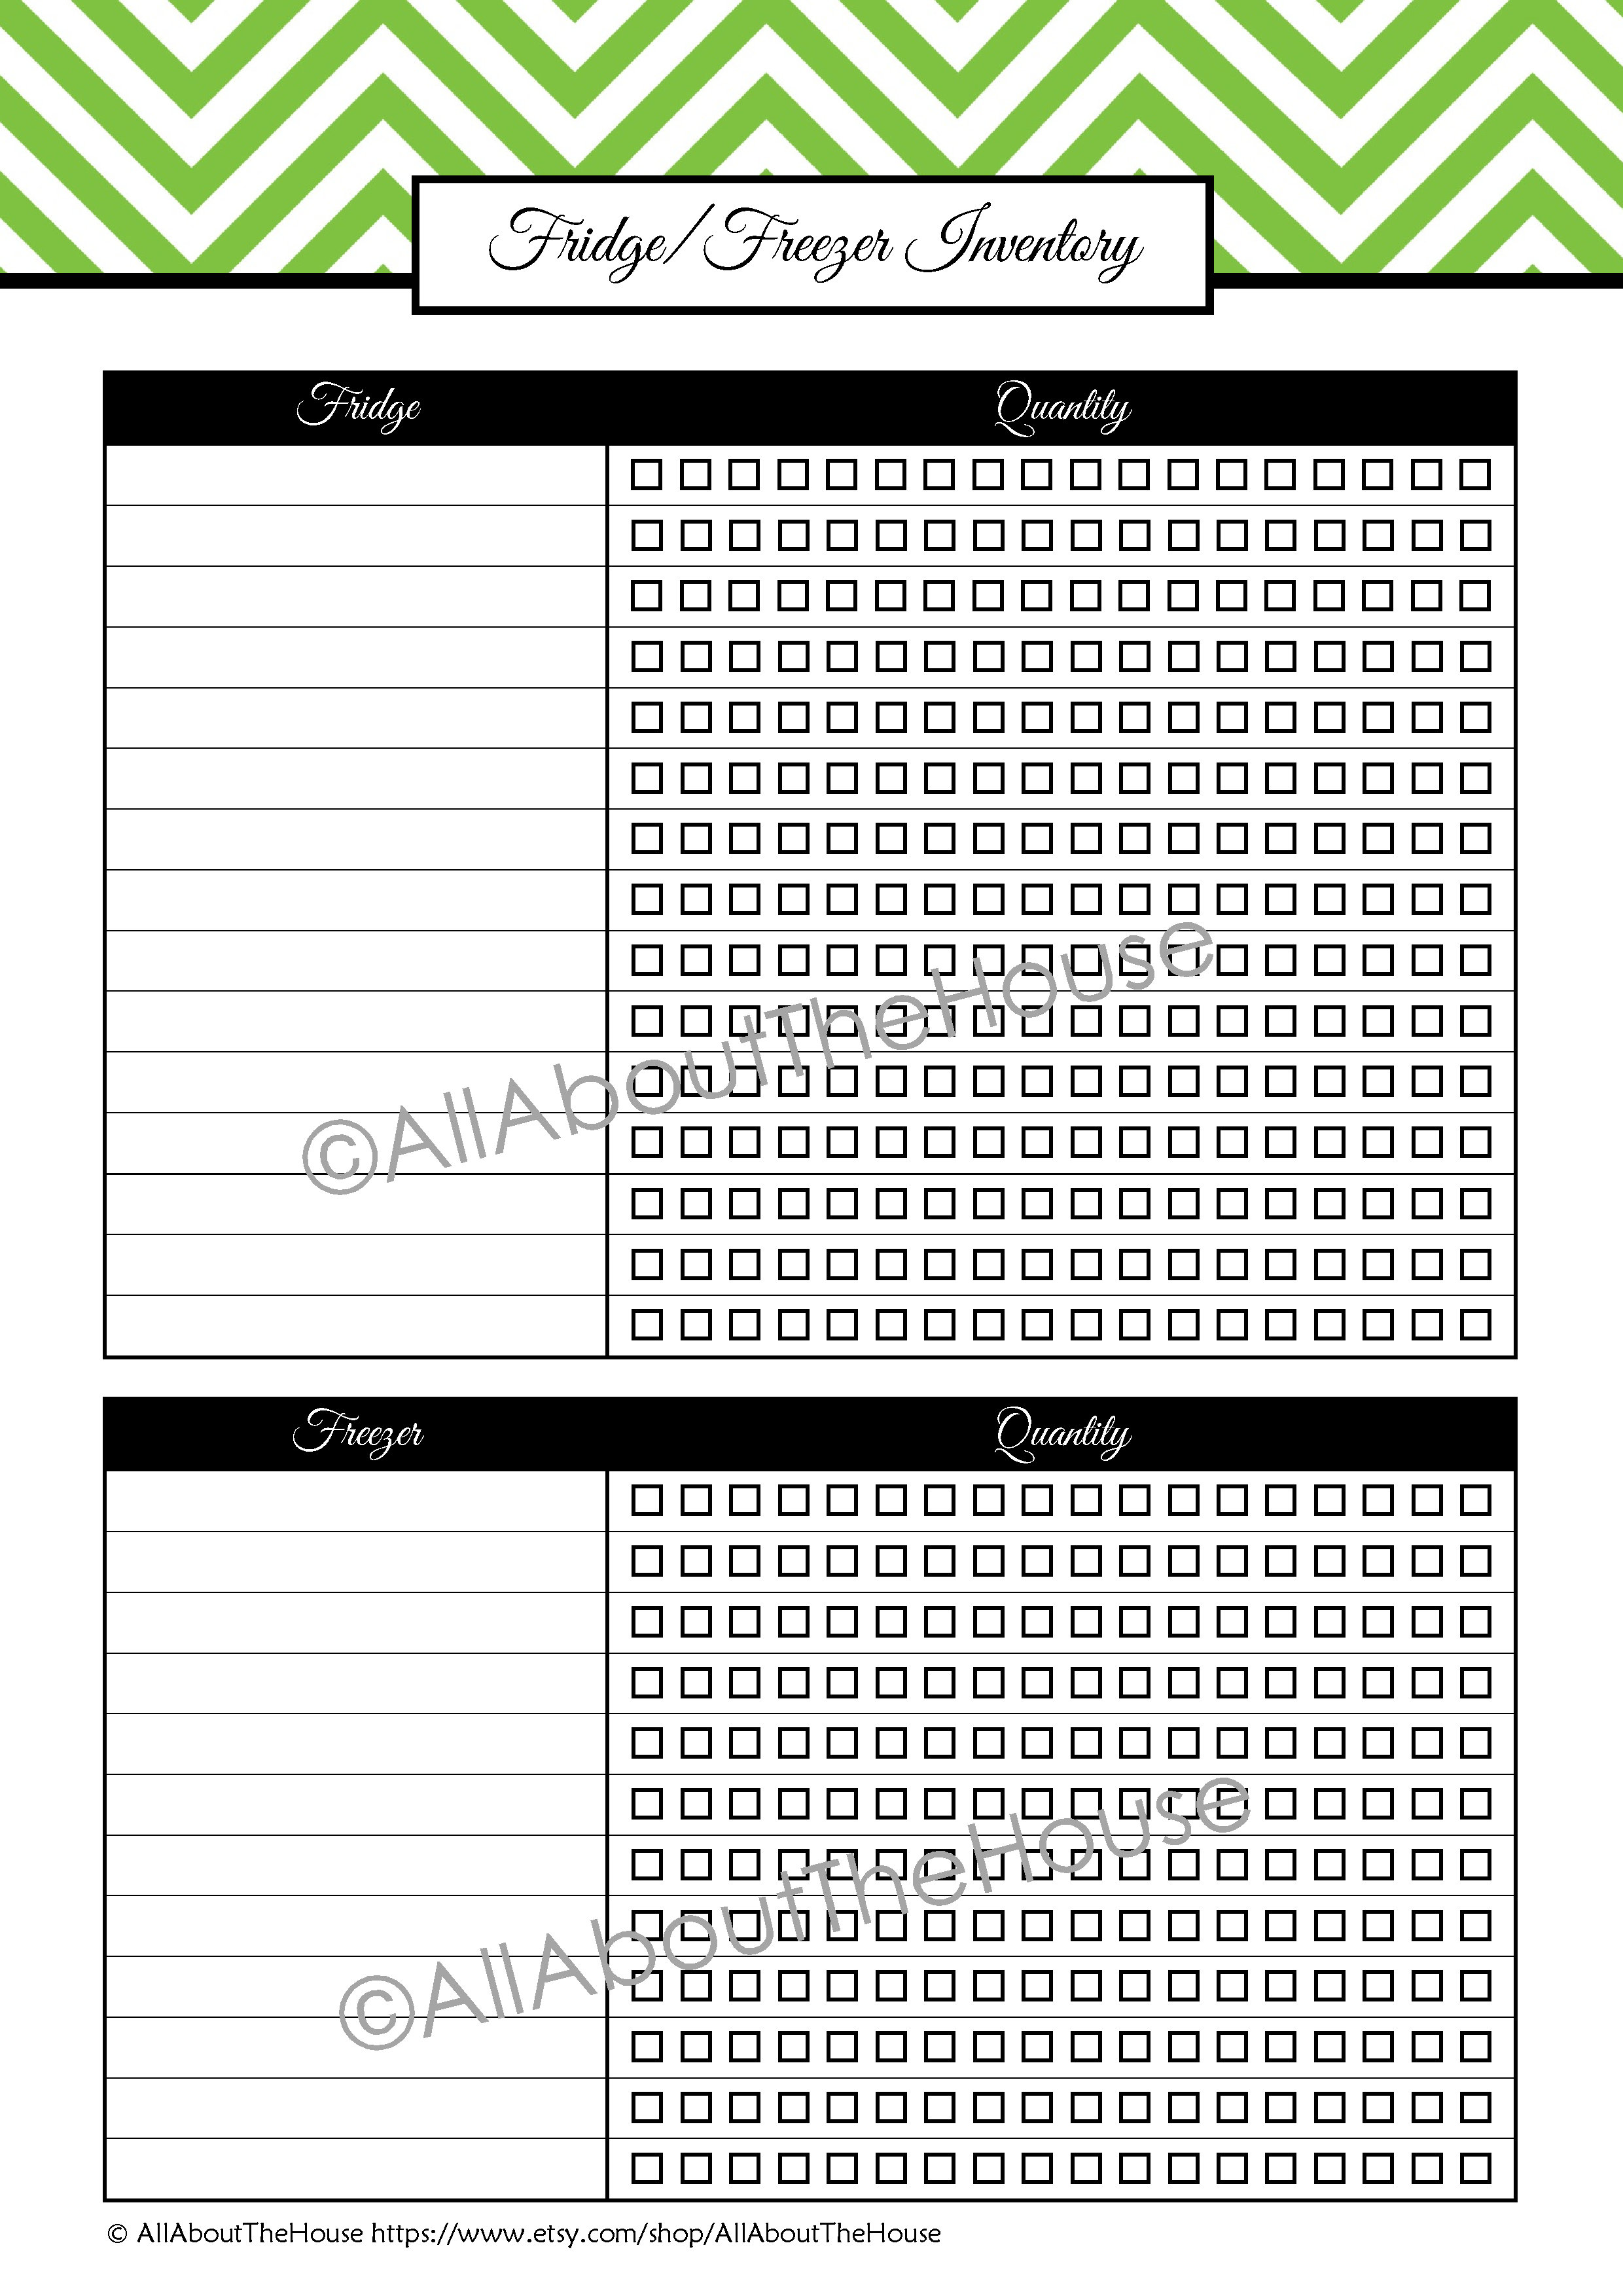
I keep the fridge/freezer inventory in my binder but have considered laminating it and attaching it to my fridge. I keep the pantry inventory on a clipboard hanging from a hook in my pantry.
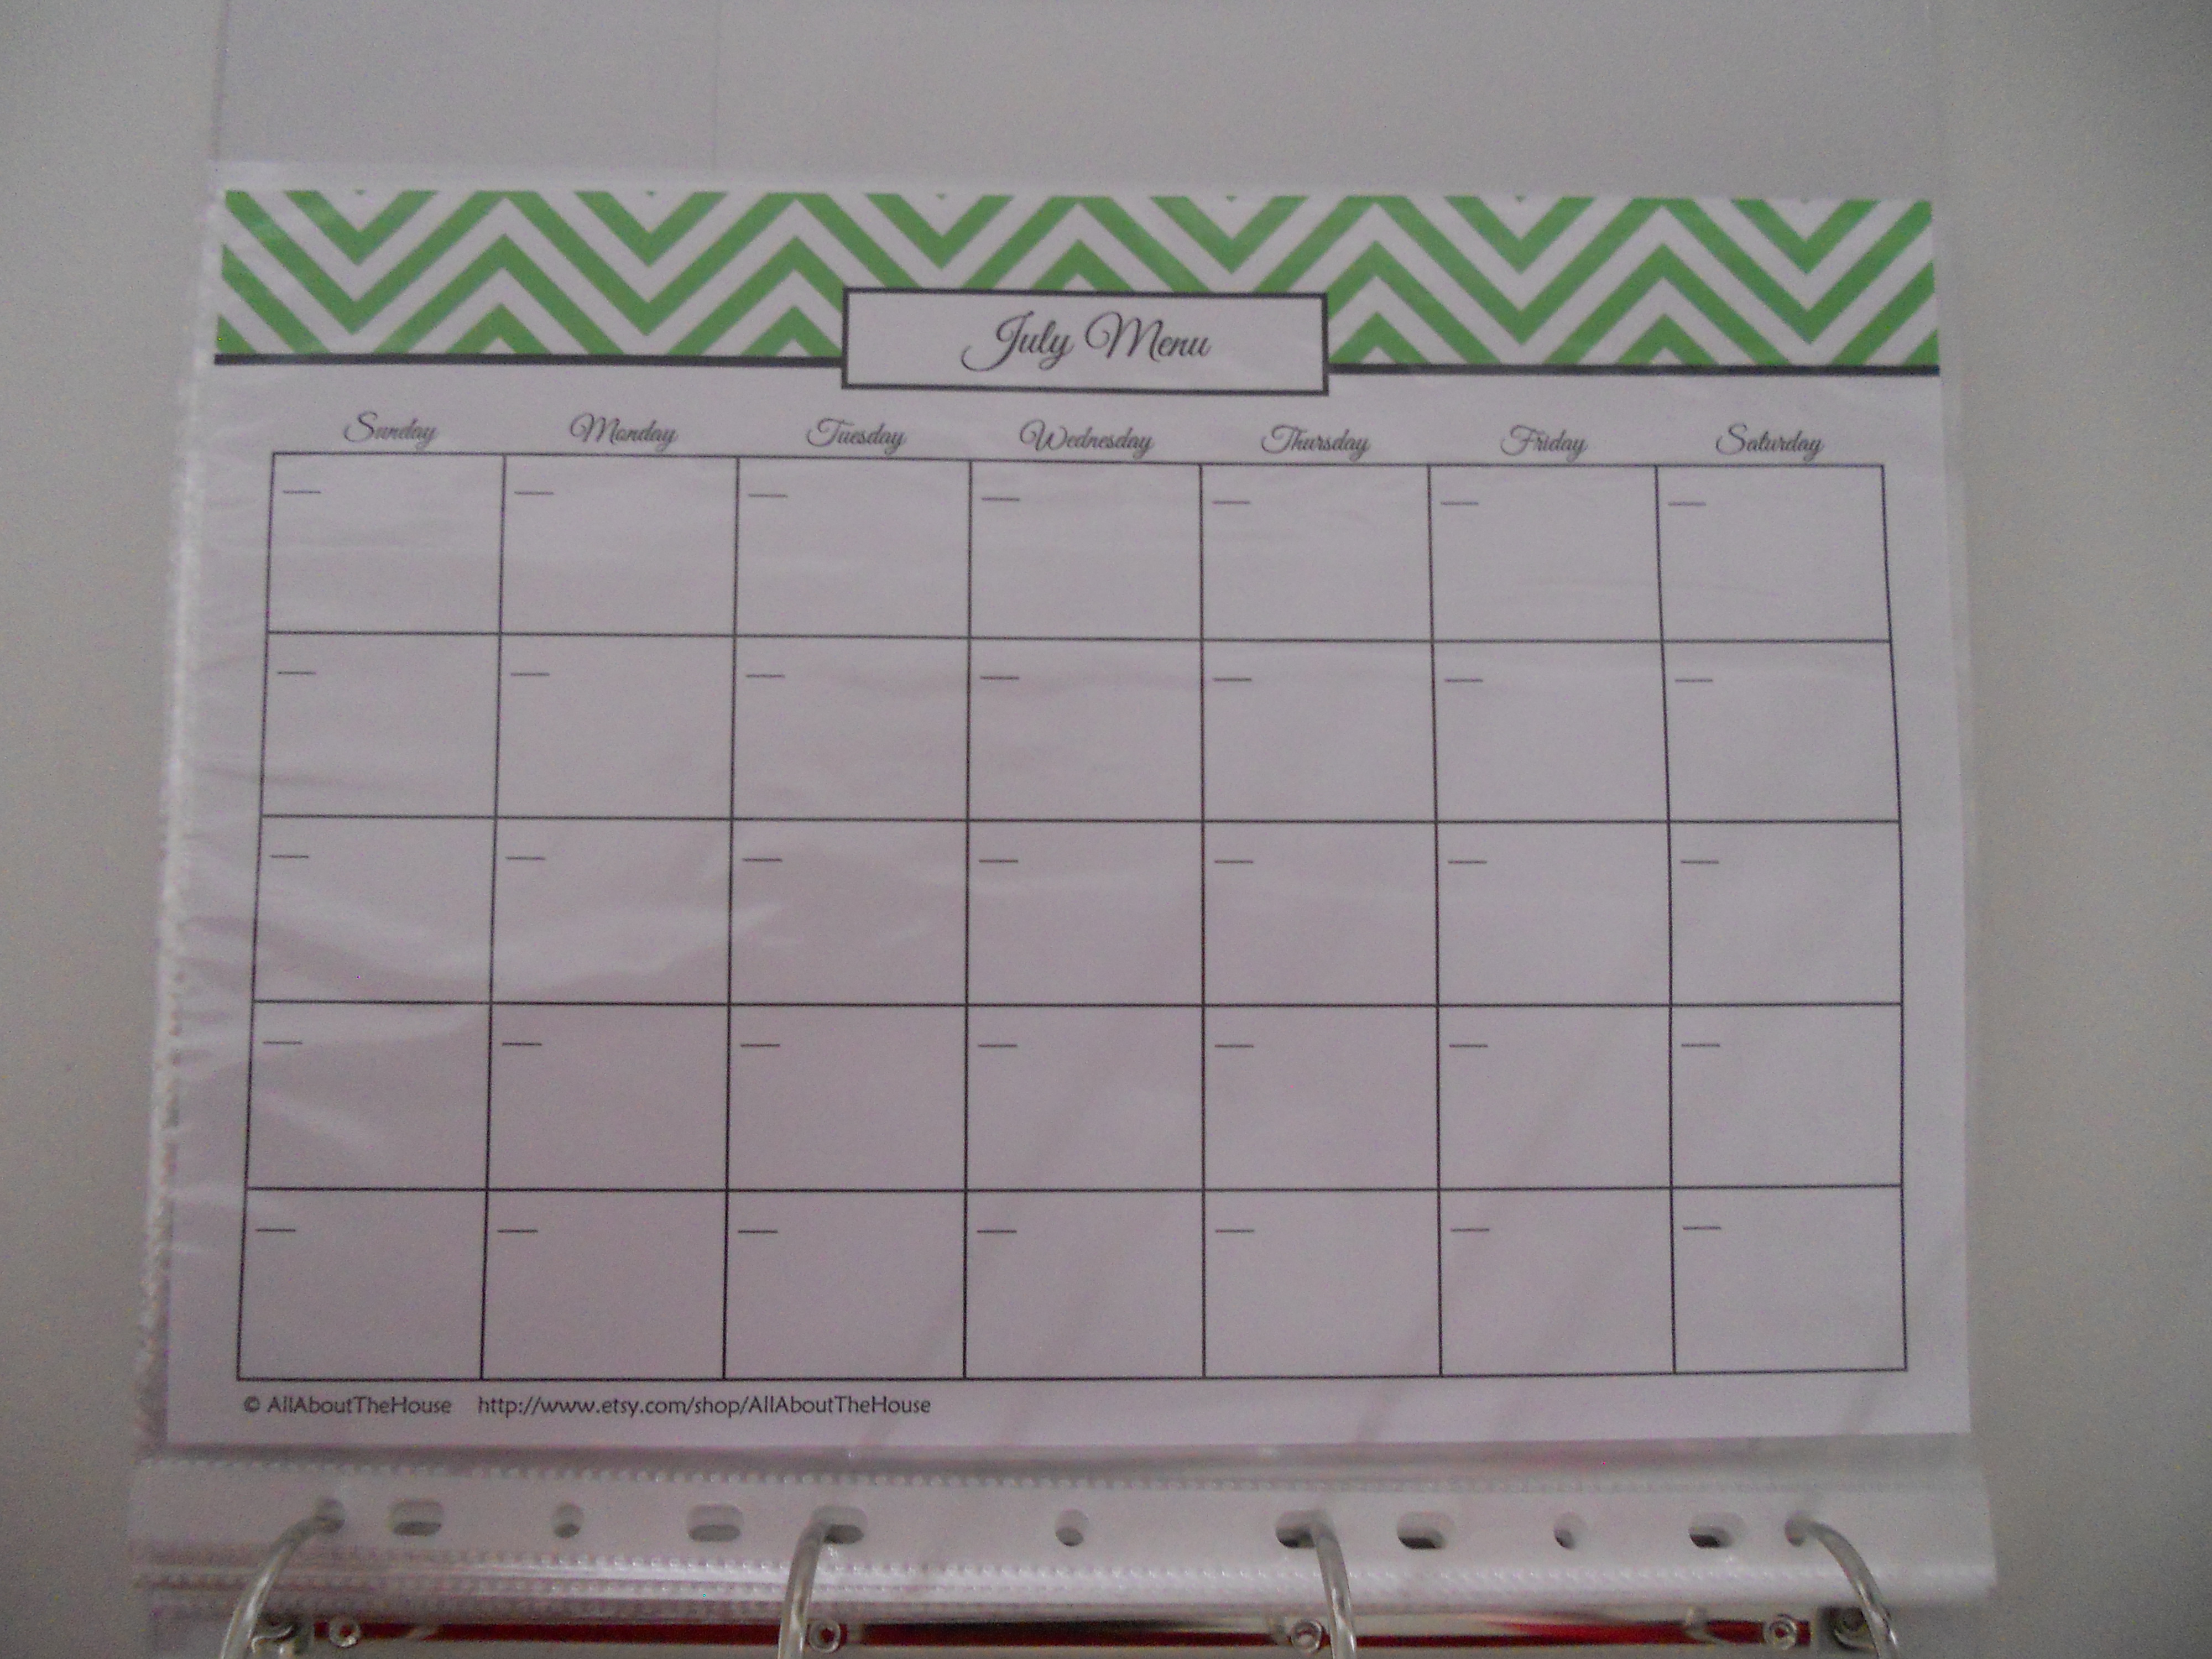
I do weekly meal planning, but for those who plan by the month, there’s 12 printable monthly menus included in the set:

A 2 week menu plan is also included.
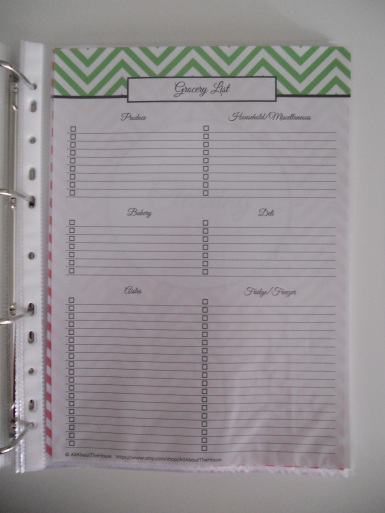
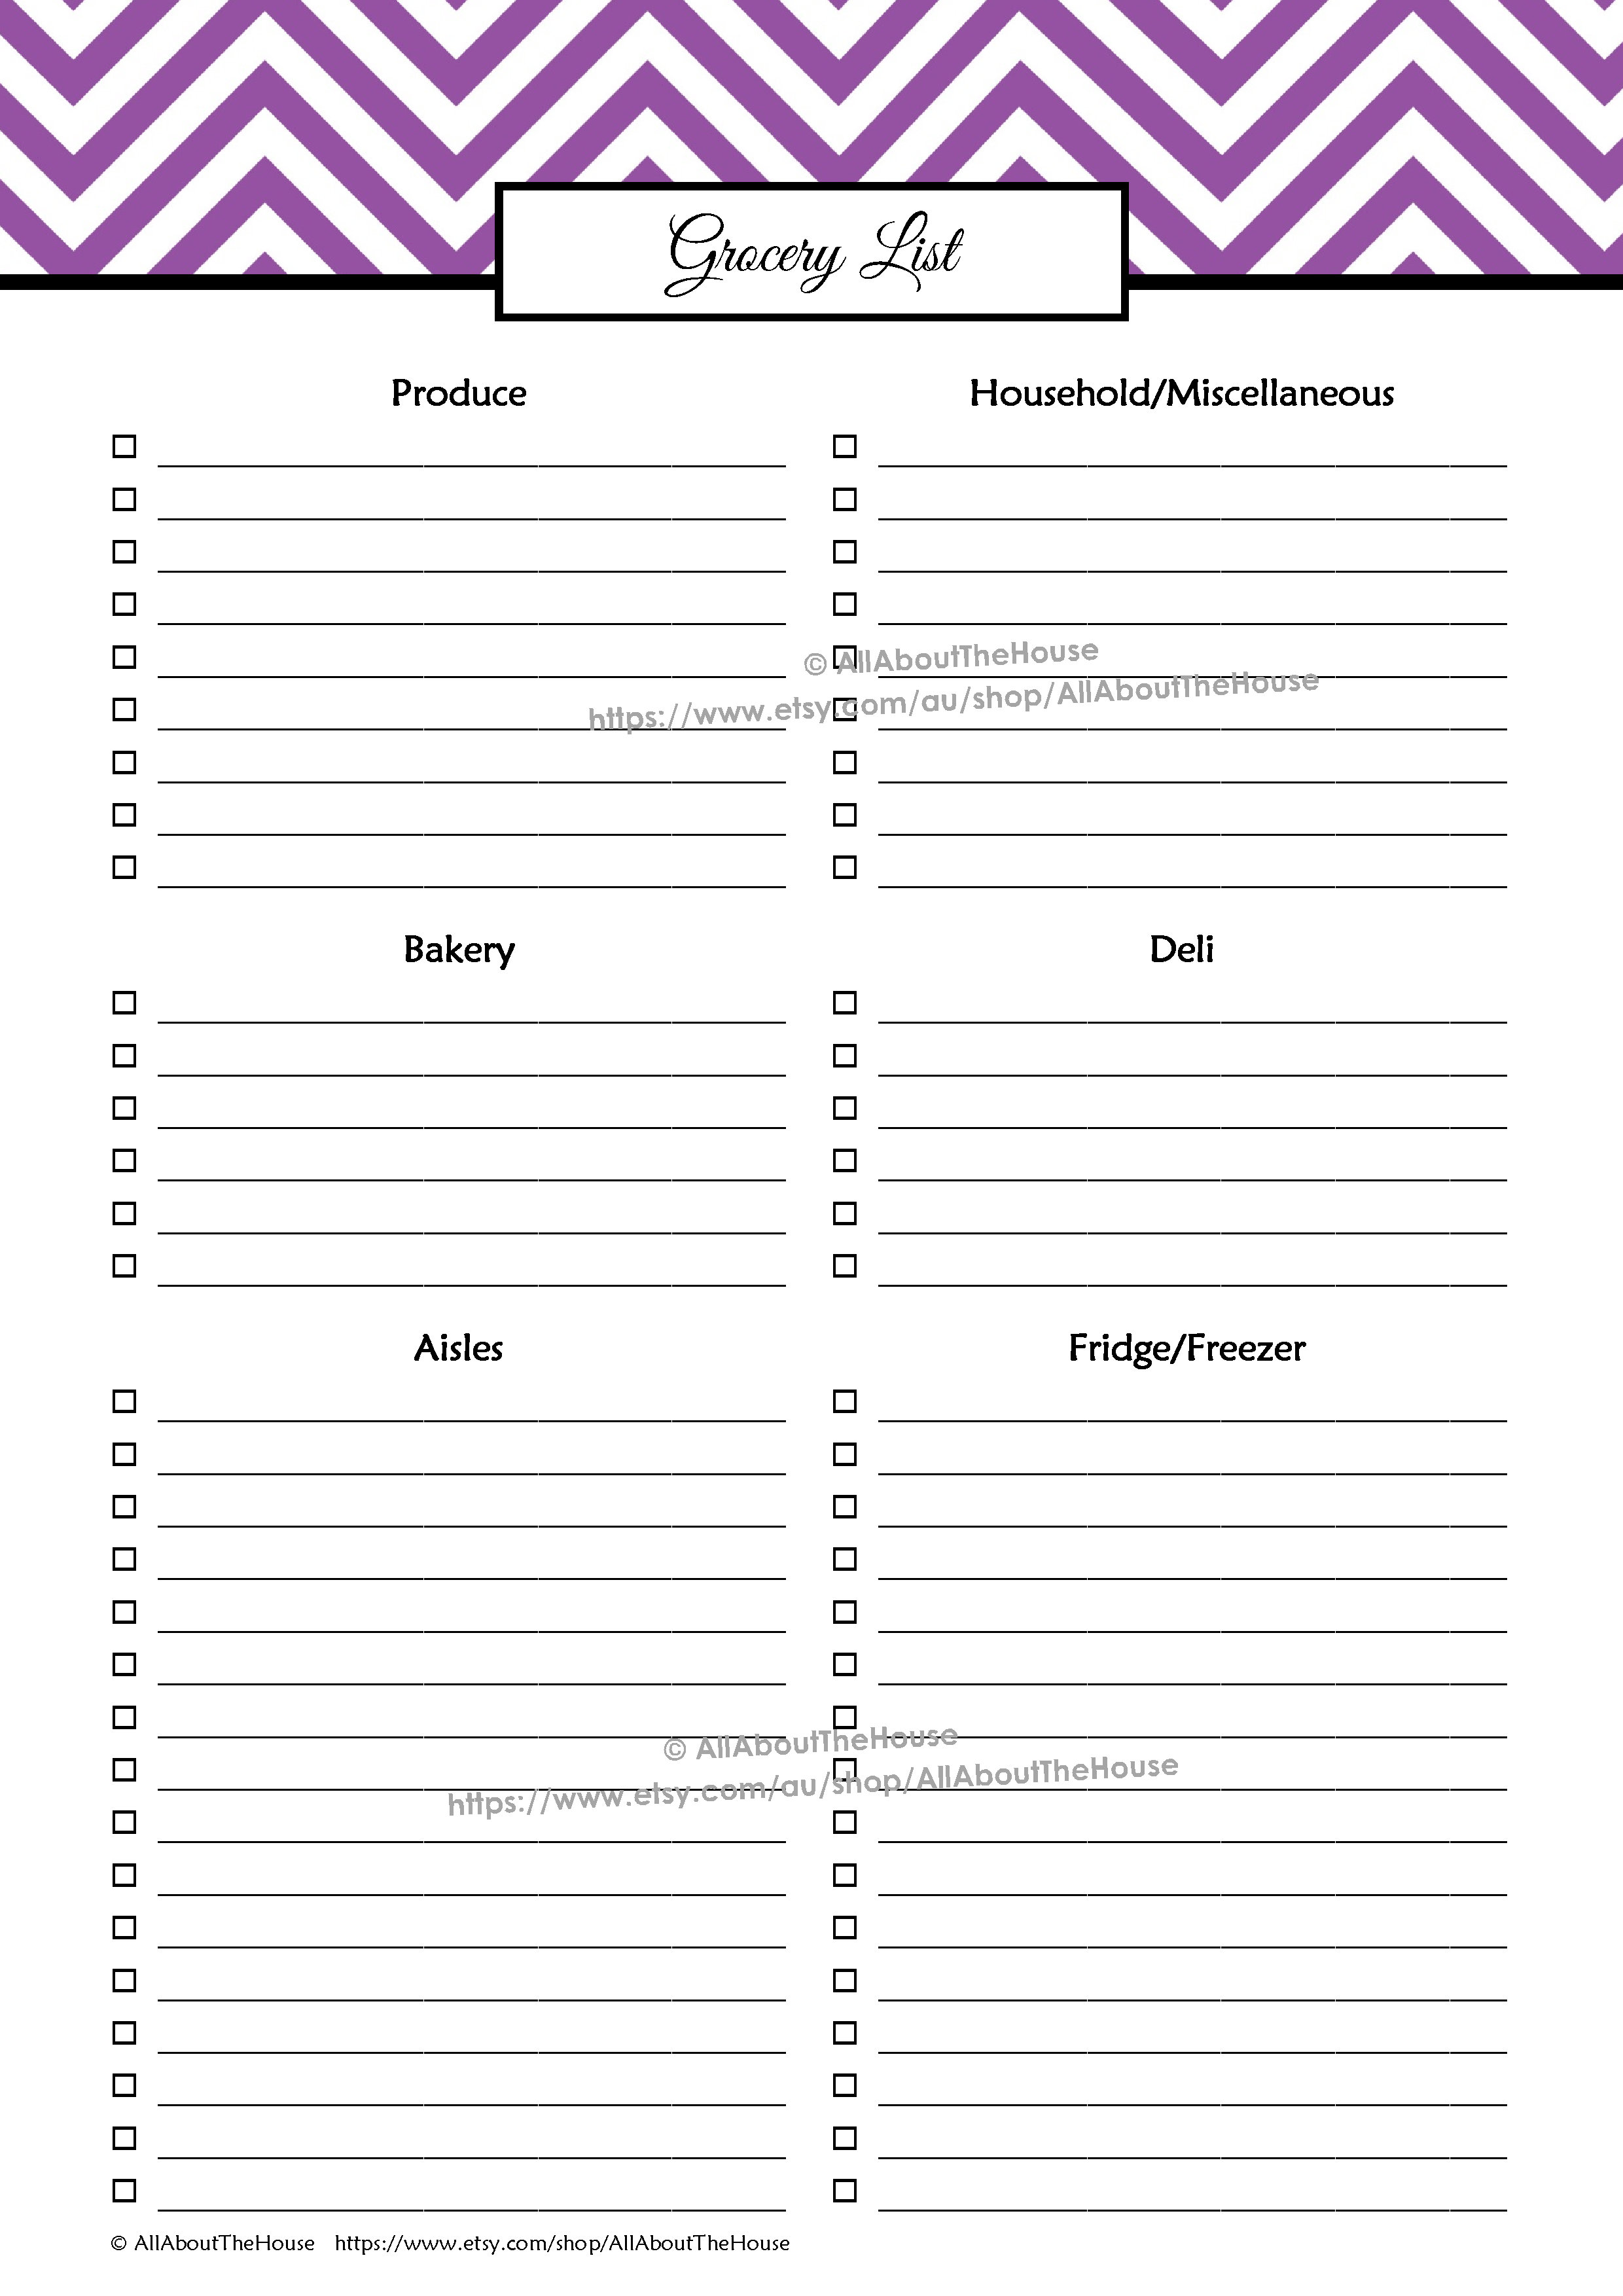
For those who prefer a grocery list organised by store section/aisle:
These are just some of the printables from this set. There’s also a recipes to try sheet and another weekly menu in a landscape format. This post is already going to be super long so I thought I better not take photos of every sheet!
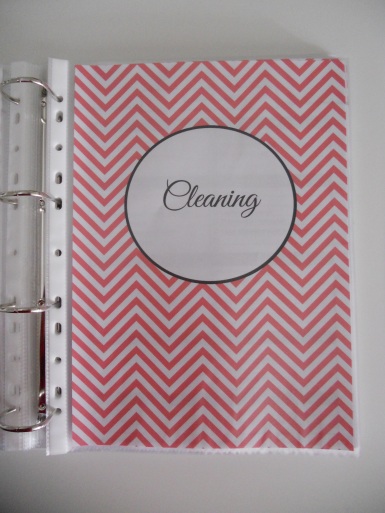
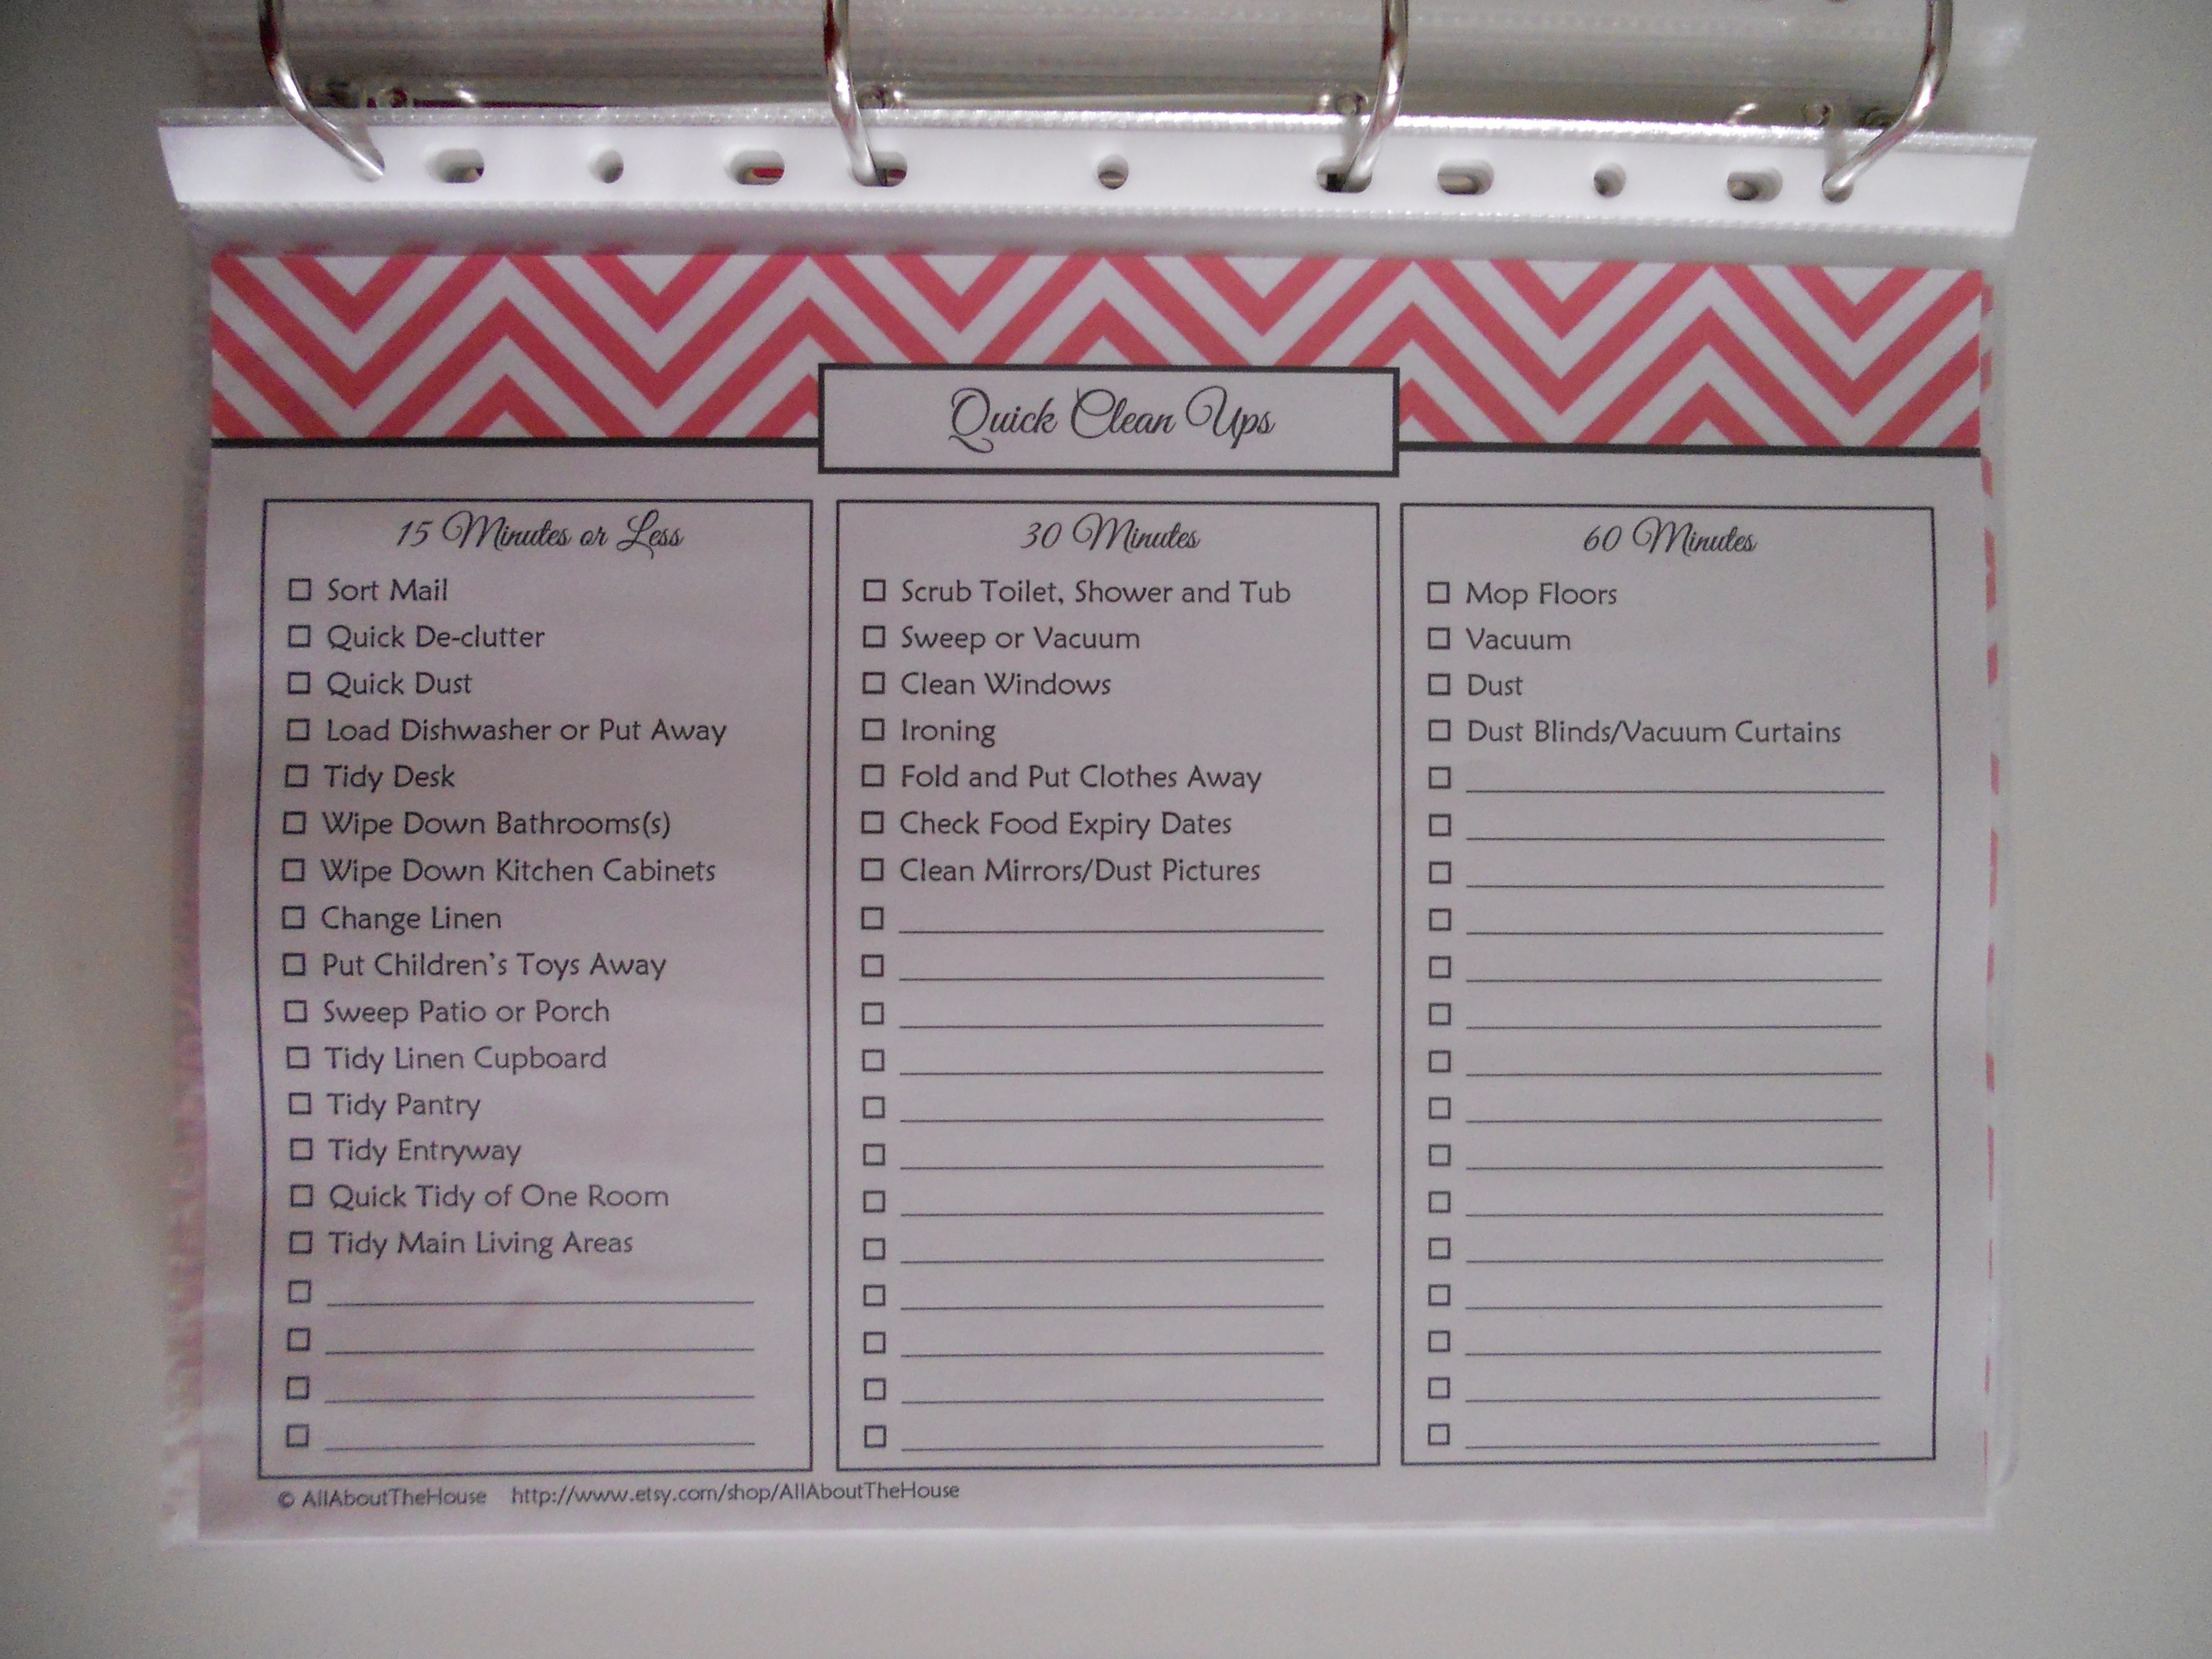
5. CLEANING
I like to keep the Quick Clean Ups sheet at the front of this section as I refer to it often.

The week of checklist is great for keeping a cleaning routine.
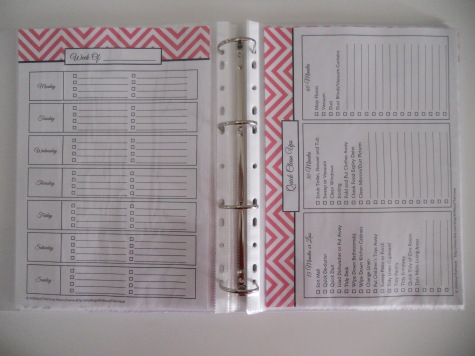
This sheet is handy for those monthly, quarterly, semi-annual and annual tasks we all forget about. Like cleaning behind the fridge or doing a backup/disk clean-up on your computer.
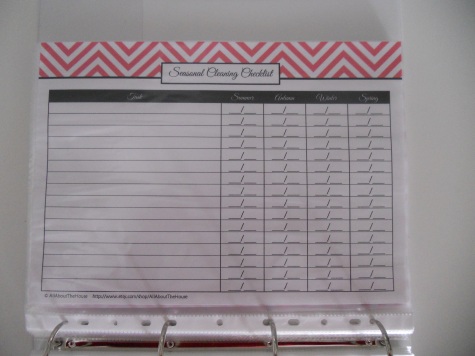
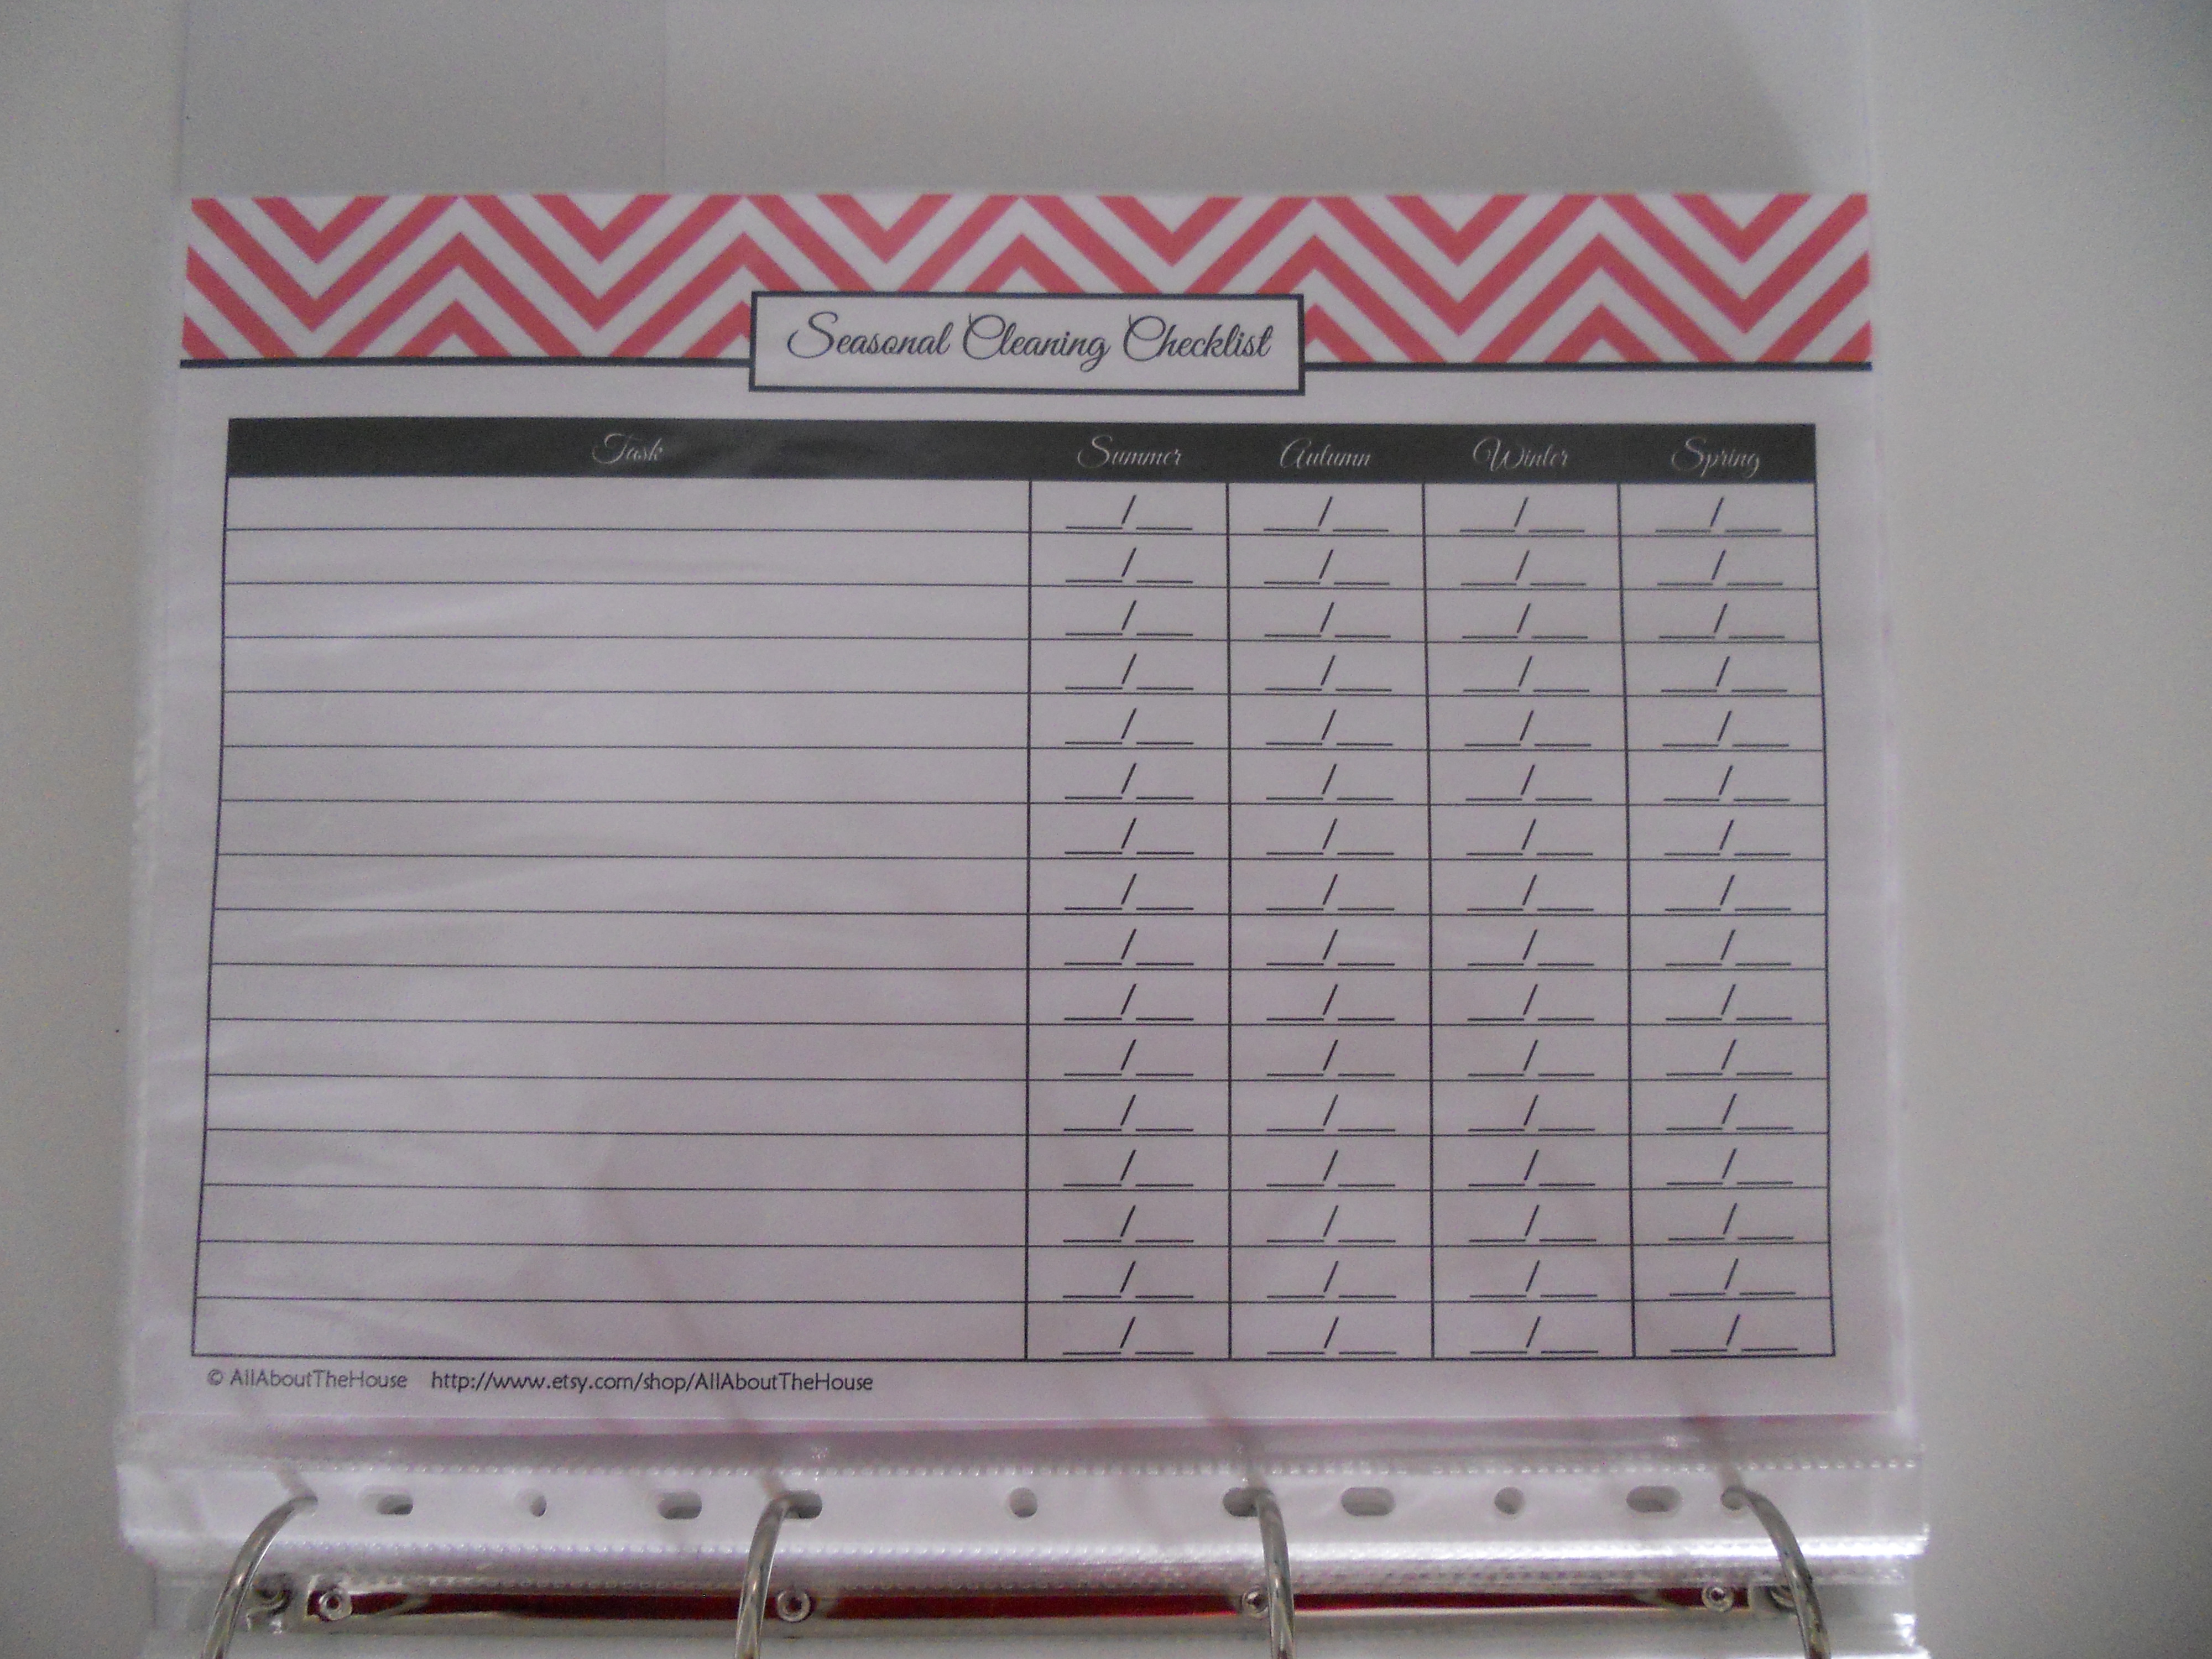
If you prefer to list your cleaning tasks then record the date completed for each season. Also handy for those chores you often forget about/avoid doing like cleaning out the gutters.
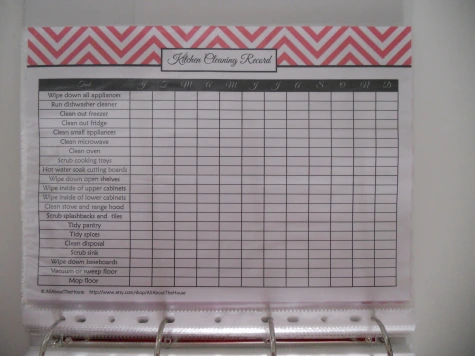
I don’t know what I did before this Kitchen Cleaning Record. It is so handy! I do a few on the list each week so all the cleaning tasks don’t pile up. And it’s always fun to check something off a list! (there is room to record the date as well)
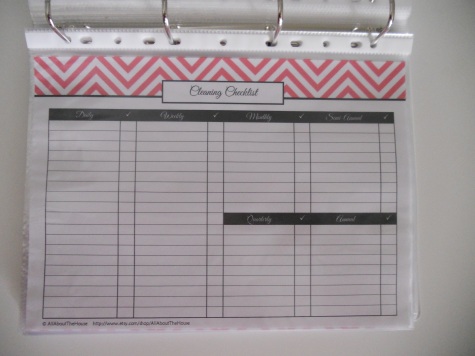
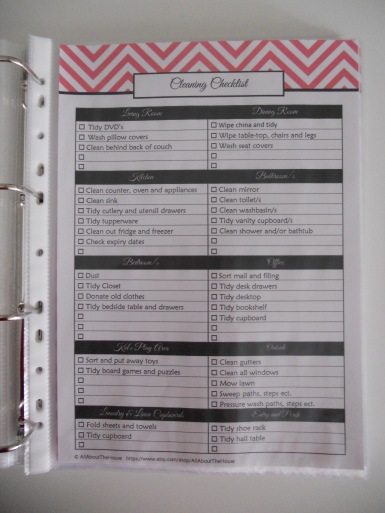
Another one of my favourite sheets from this set. A cleaning checklist sorted by room with relevant tasks for that room. Again, it’s great for those forgotten tasks like tidying DVD’s as well as general tasks like tidying your desktop. I don’t have a set timeframe for when I use this sheet, it’s more of a running to do list.
Note: The pink is more of a pink (not ‘coral’ as shown in the photos) my ink cartridges were running low.
FINANCES
I used to keep a finance section in my main binder but I outgrew it and now keep it in a separate binder.
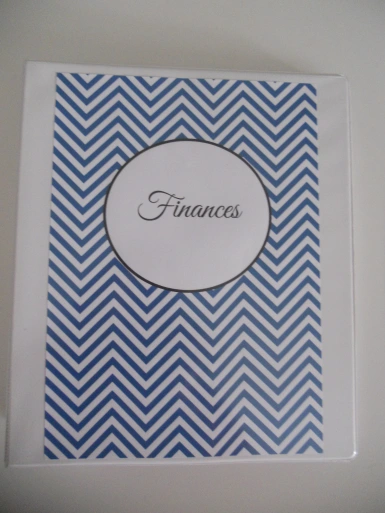
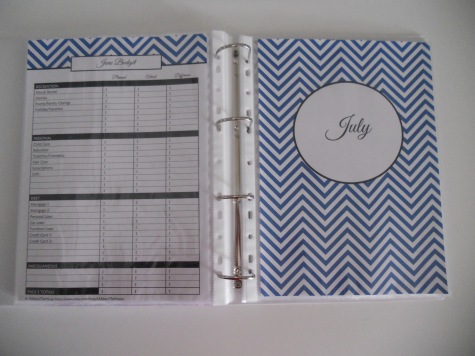
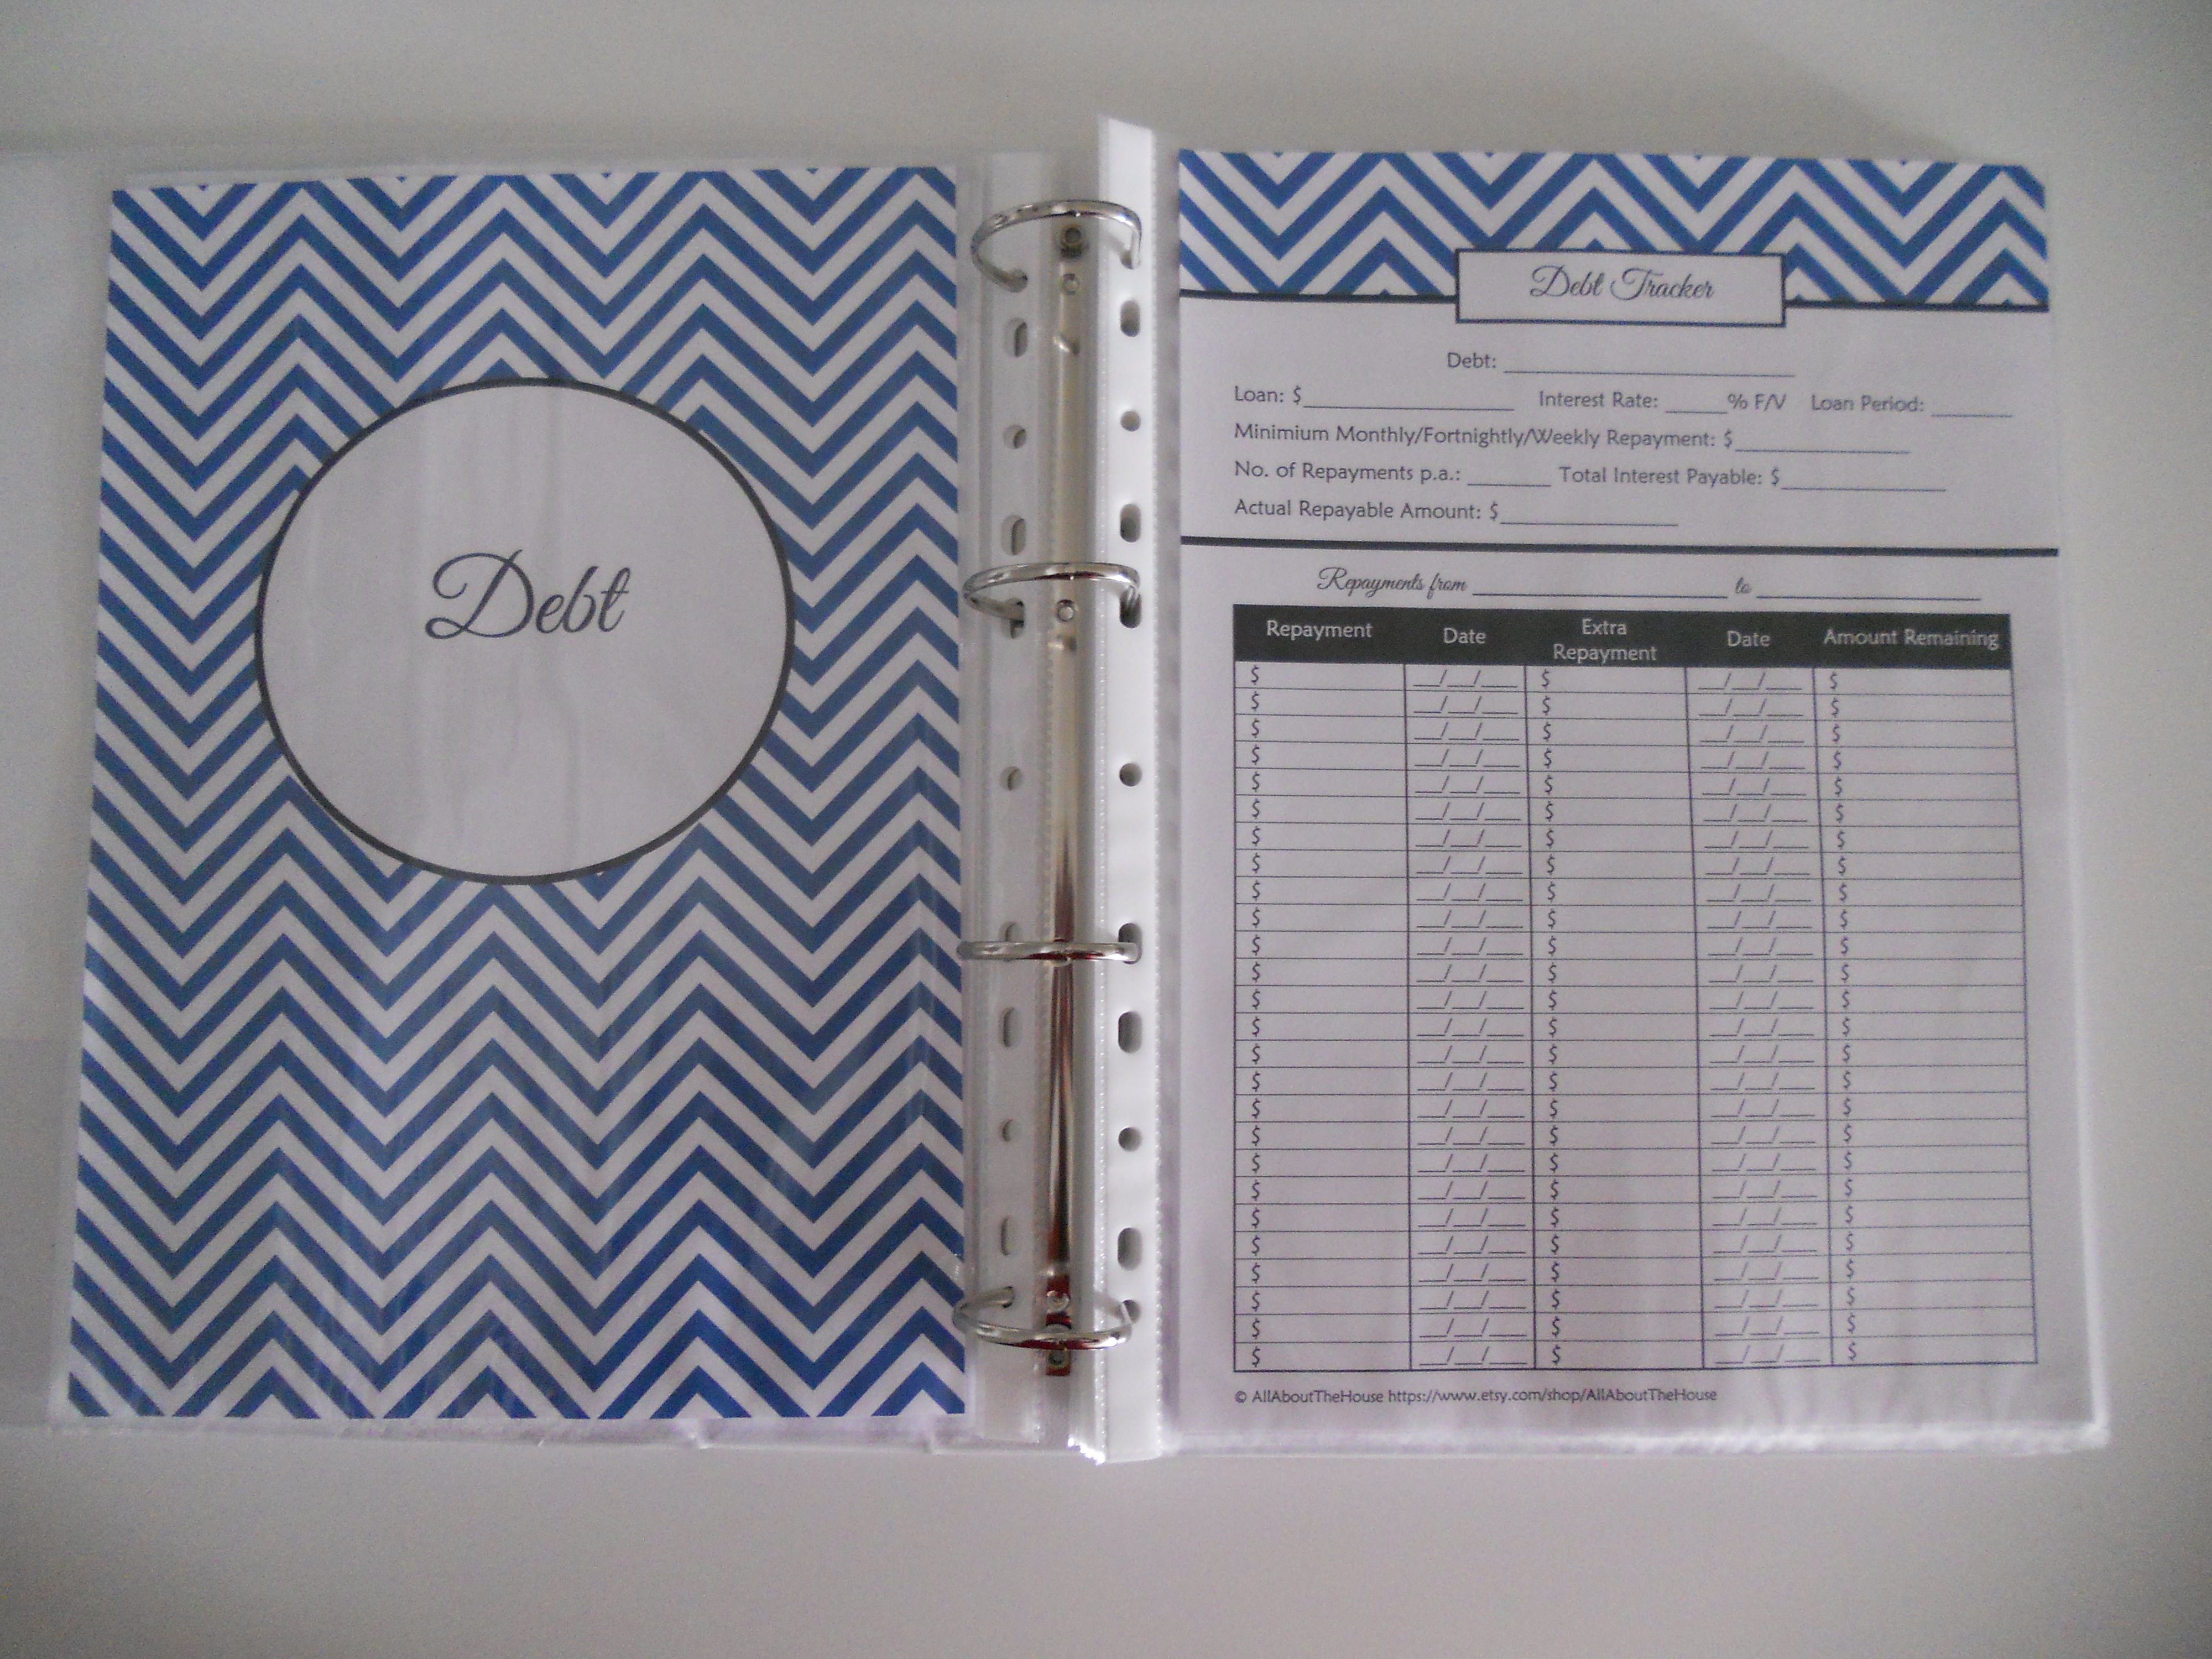
This cover can also be personalised with your choice of text.
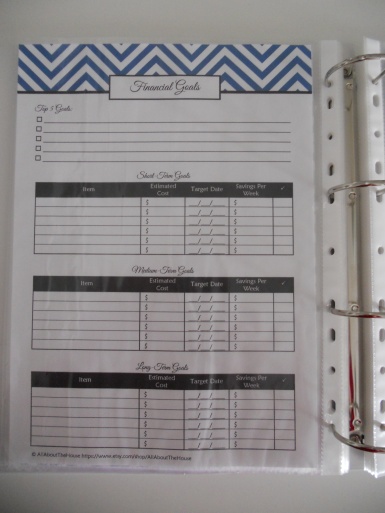
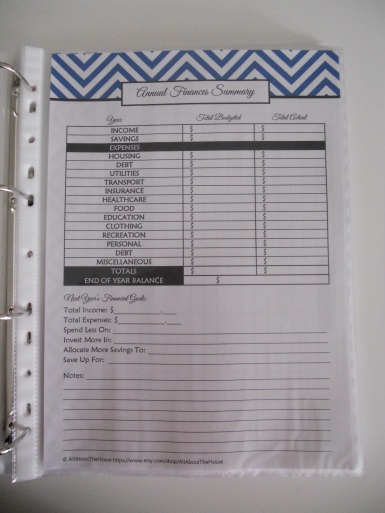
I like to keep my financial goals sheet at the start of the finance binder as a reminder.
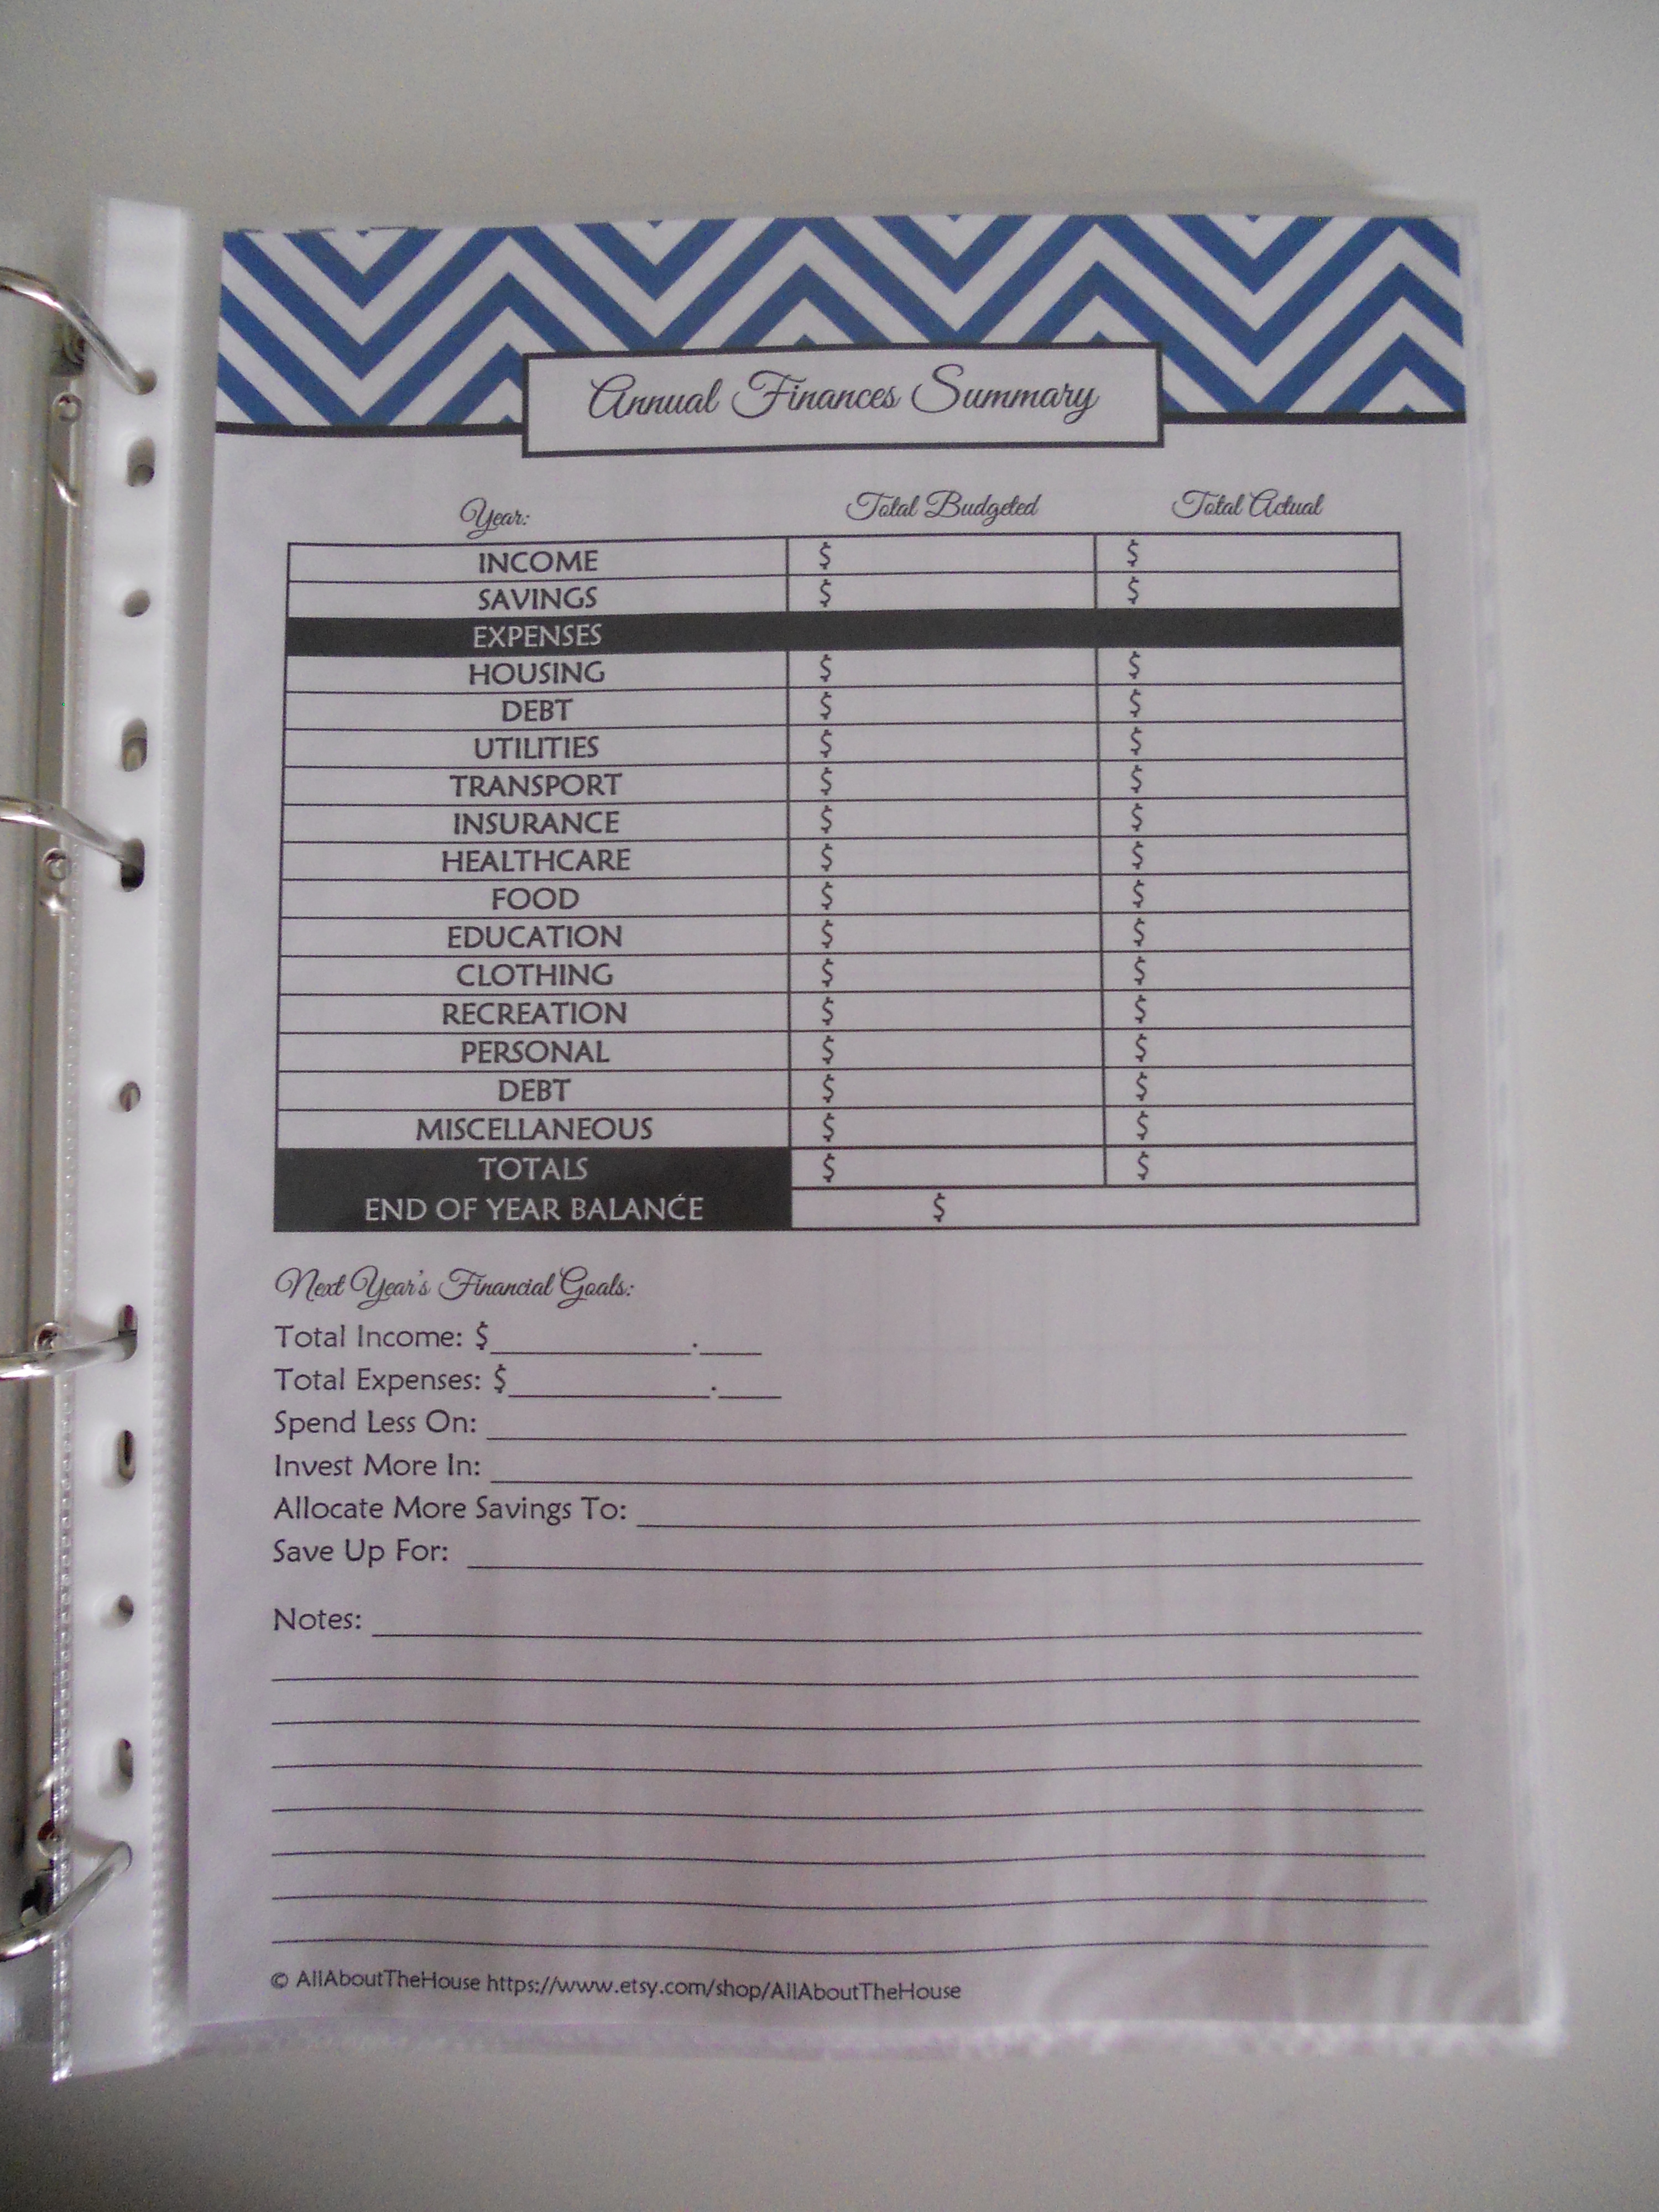
The annual finances summary is great for seeing what areas can be improved. I intend to keep this years sheet in my binder so I can compare it to how I do next year.
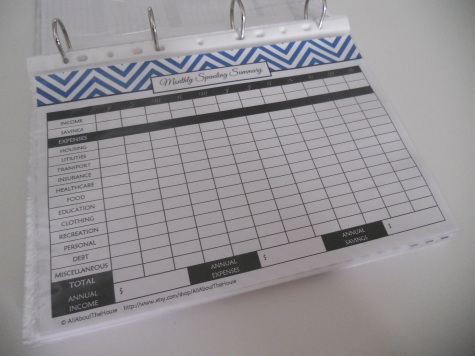
Monthly Spending Summary: This is where I record the totals for category for each month’s spending. This is like a neater/summarized/all on the one page version of the monthly budgets which can get messy when adding and subtracting, if I make a mistake ect. It’s also good to compare the previous months spending. After this sheet has been filled out I then do totals for the entire year and transfer that into the annual finances summary (above).

Following on from the debt section, for each month of the year I have:
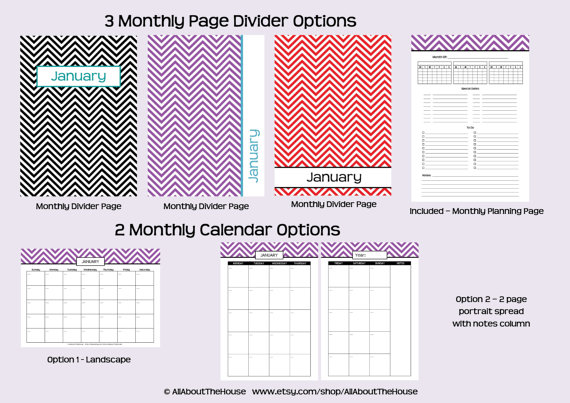
– Monthly divider page
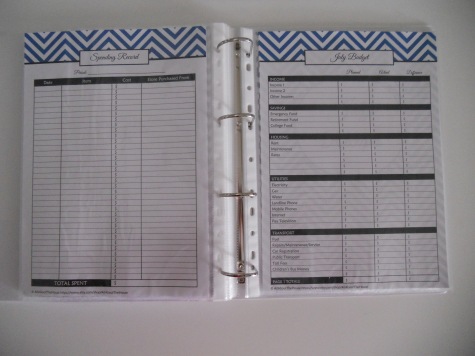
– Spending Record
– Monthly budget (3 pages)
– Monthly Spending Summary
– Note Paper e.g. I may write a note here if I returned something. I also like to keep a running total of how much I save each grocery shop.
– Monthly Calendar – to record when bills need to be paid, rent payments due, reminder to pay off the credit card for the month, transfer money into the savings account ect. This is the same as the calendar in my ‘Calendars’ section but in dark blue.
– Monthly Receipts Divider Page
– An extra plastic sleeve for storing receipts before they are chucked out or filed.
The sheet on the left is the spending record. Here I record the details of that month’s purchases. I make note of the store I purchase non-grocery items from in case I need to return something. In the space on the right of the page beside the table I list the section of the budget that the expense applies to e.g. if I topped up my car with fuel I would record a ‘T’ beside the table for ‘Transport’. Doing this makes it really easy to get the total actual spent for each item when entering figures in the monthly budget.
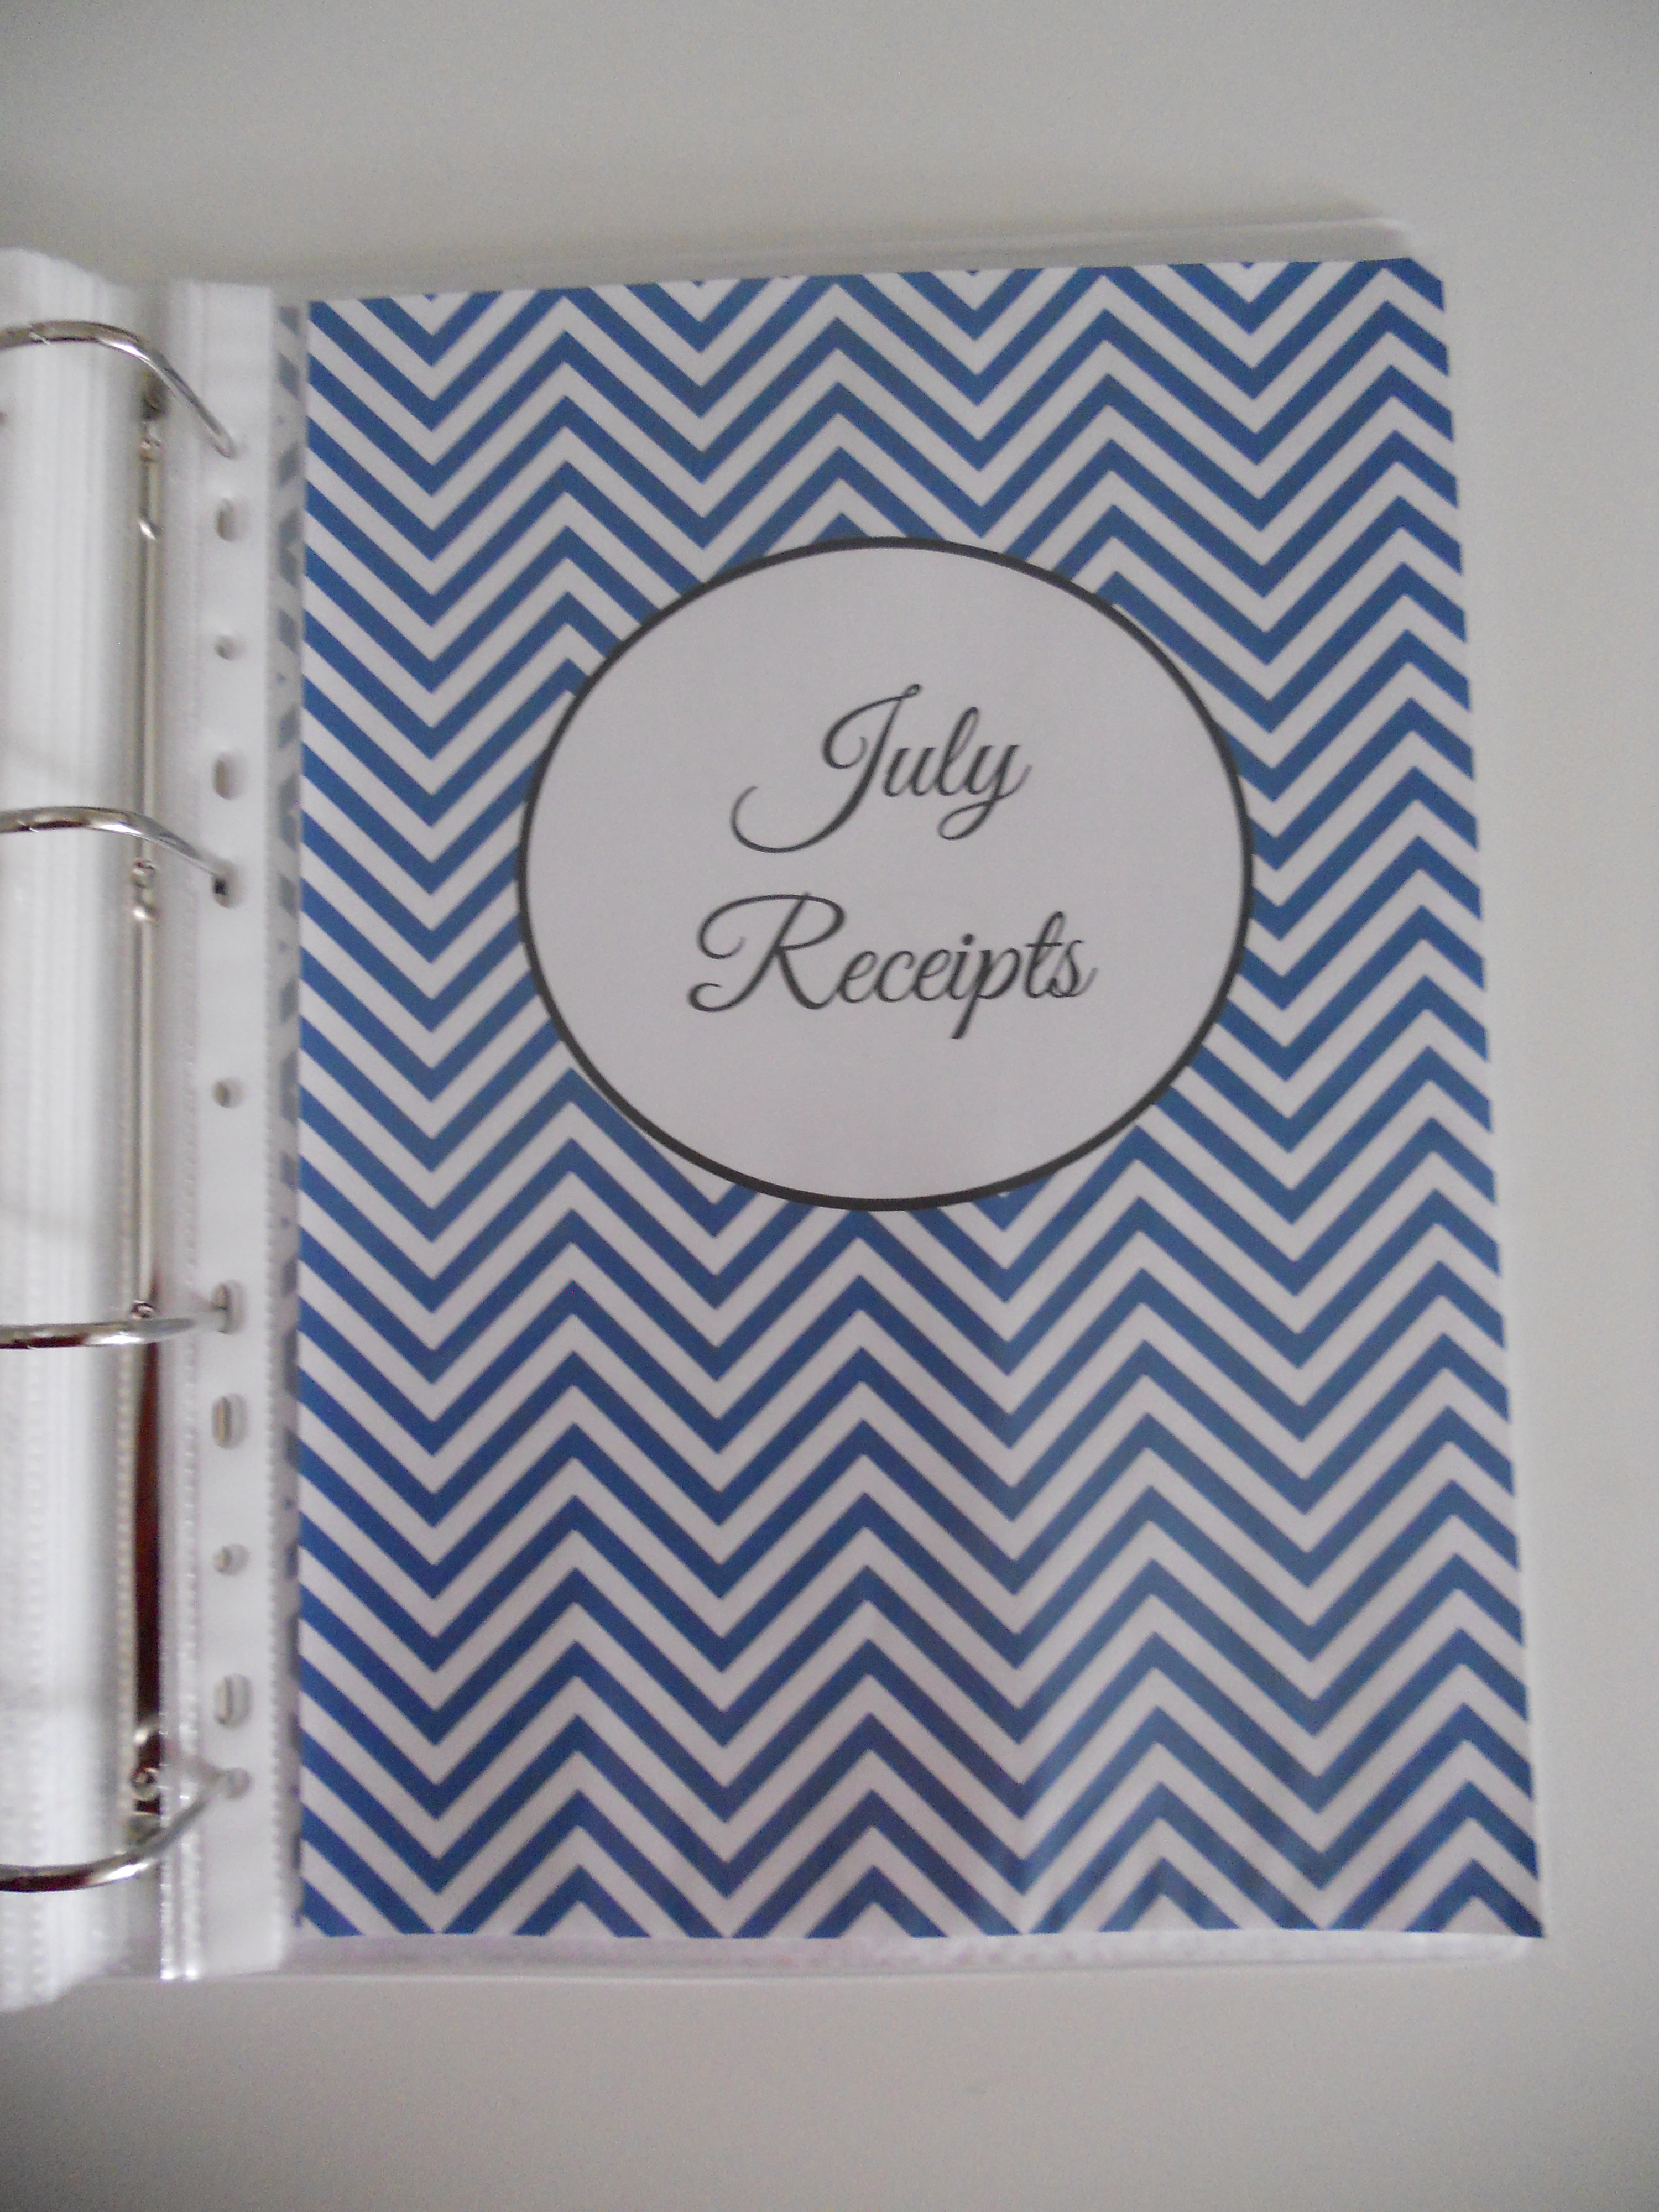
Following on is the next section divider: the Monthly Receipts.

Here I have an extra sheet protector where I basically shove all the receipts in until they’re either chucked out or filed in my receipts file.
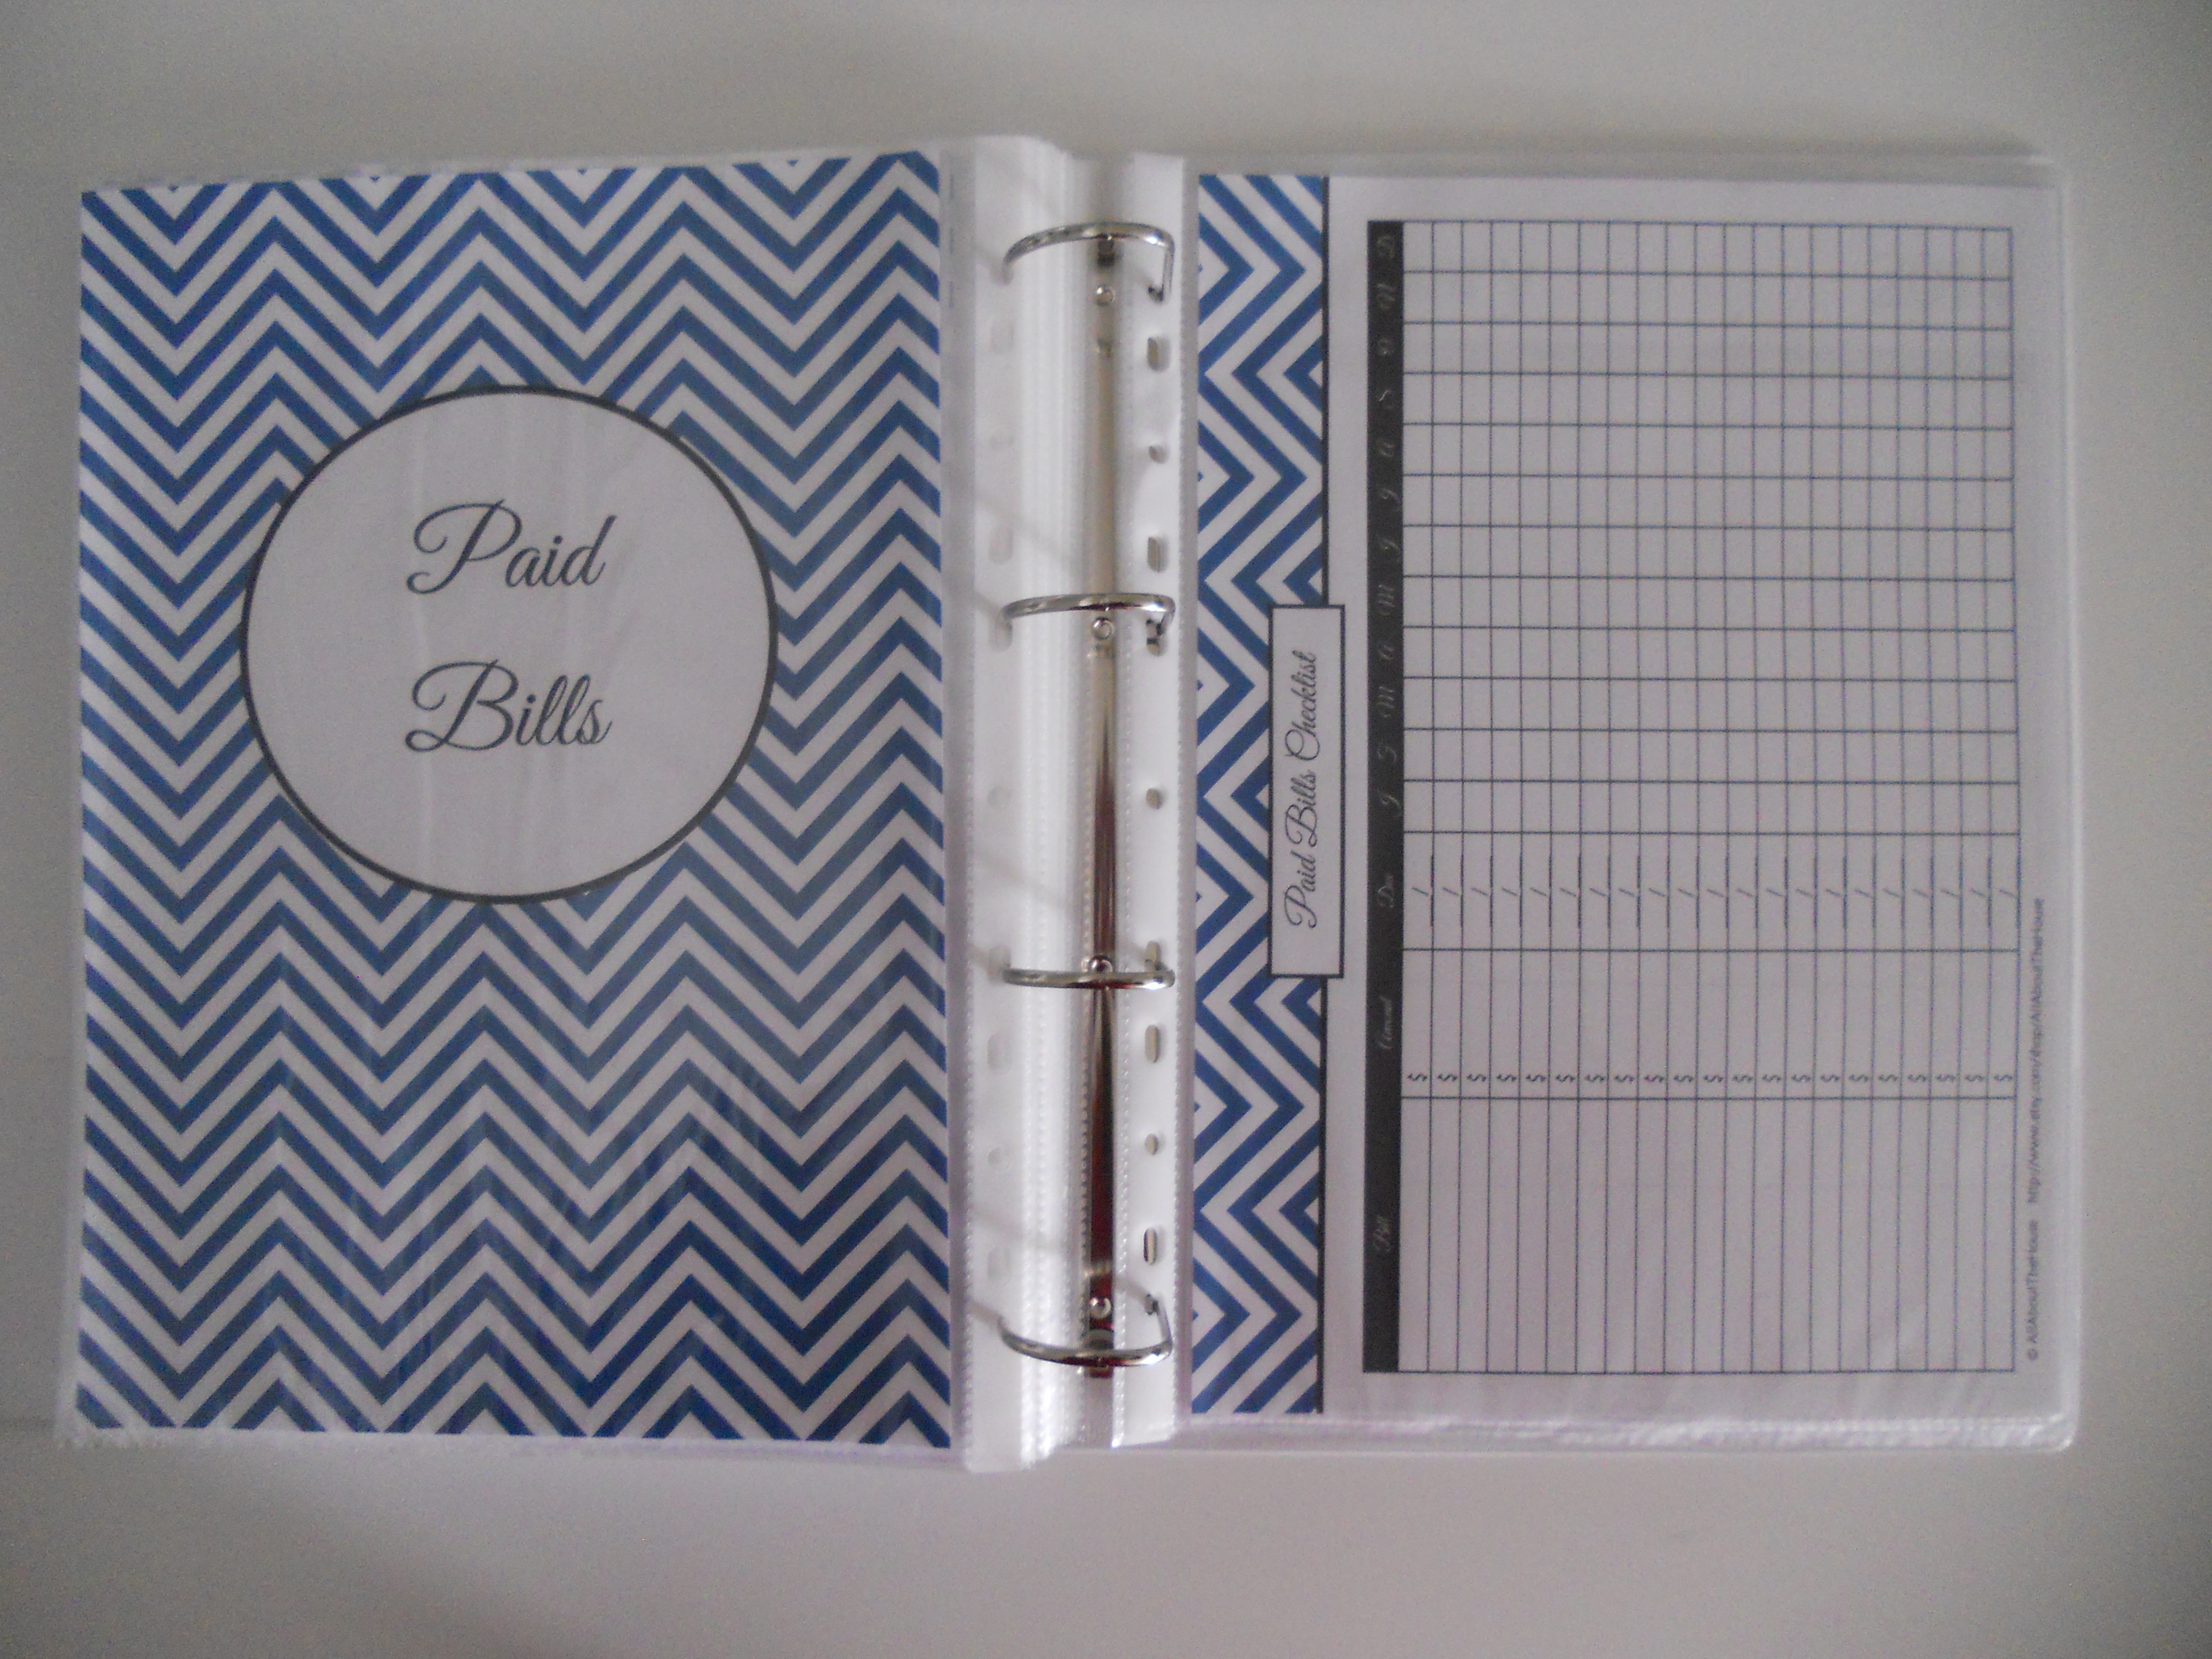
After the 12 months I have the Bills to Pay section:
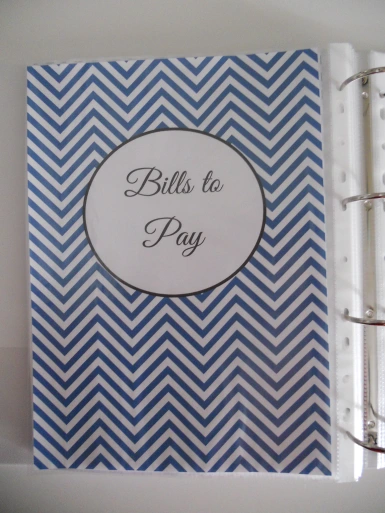
I store the bills to be paid in plastic sleeves behind the section cover. Then move them behind the paid bills cover after I’ve paid them. I also put a small tick in the upper right-hand corner.
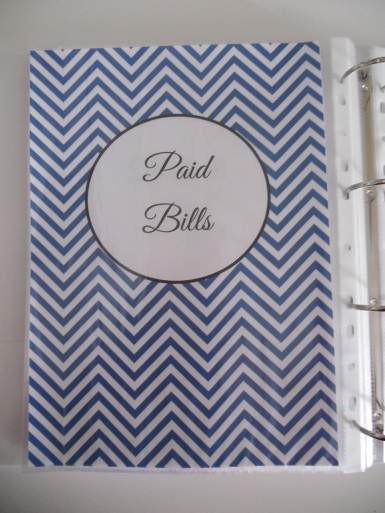

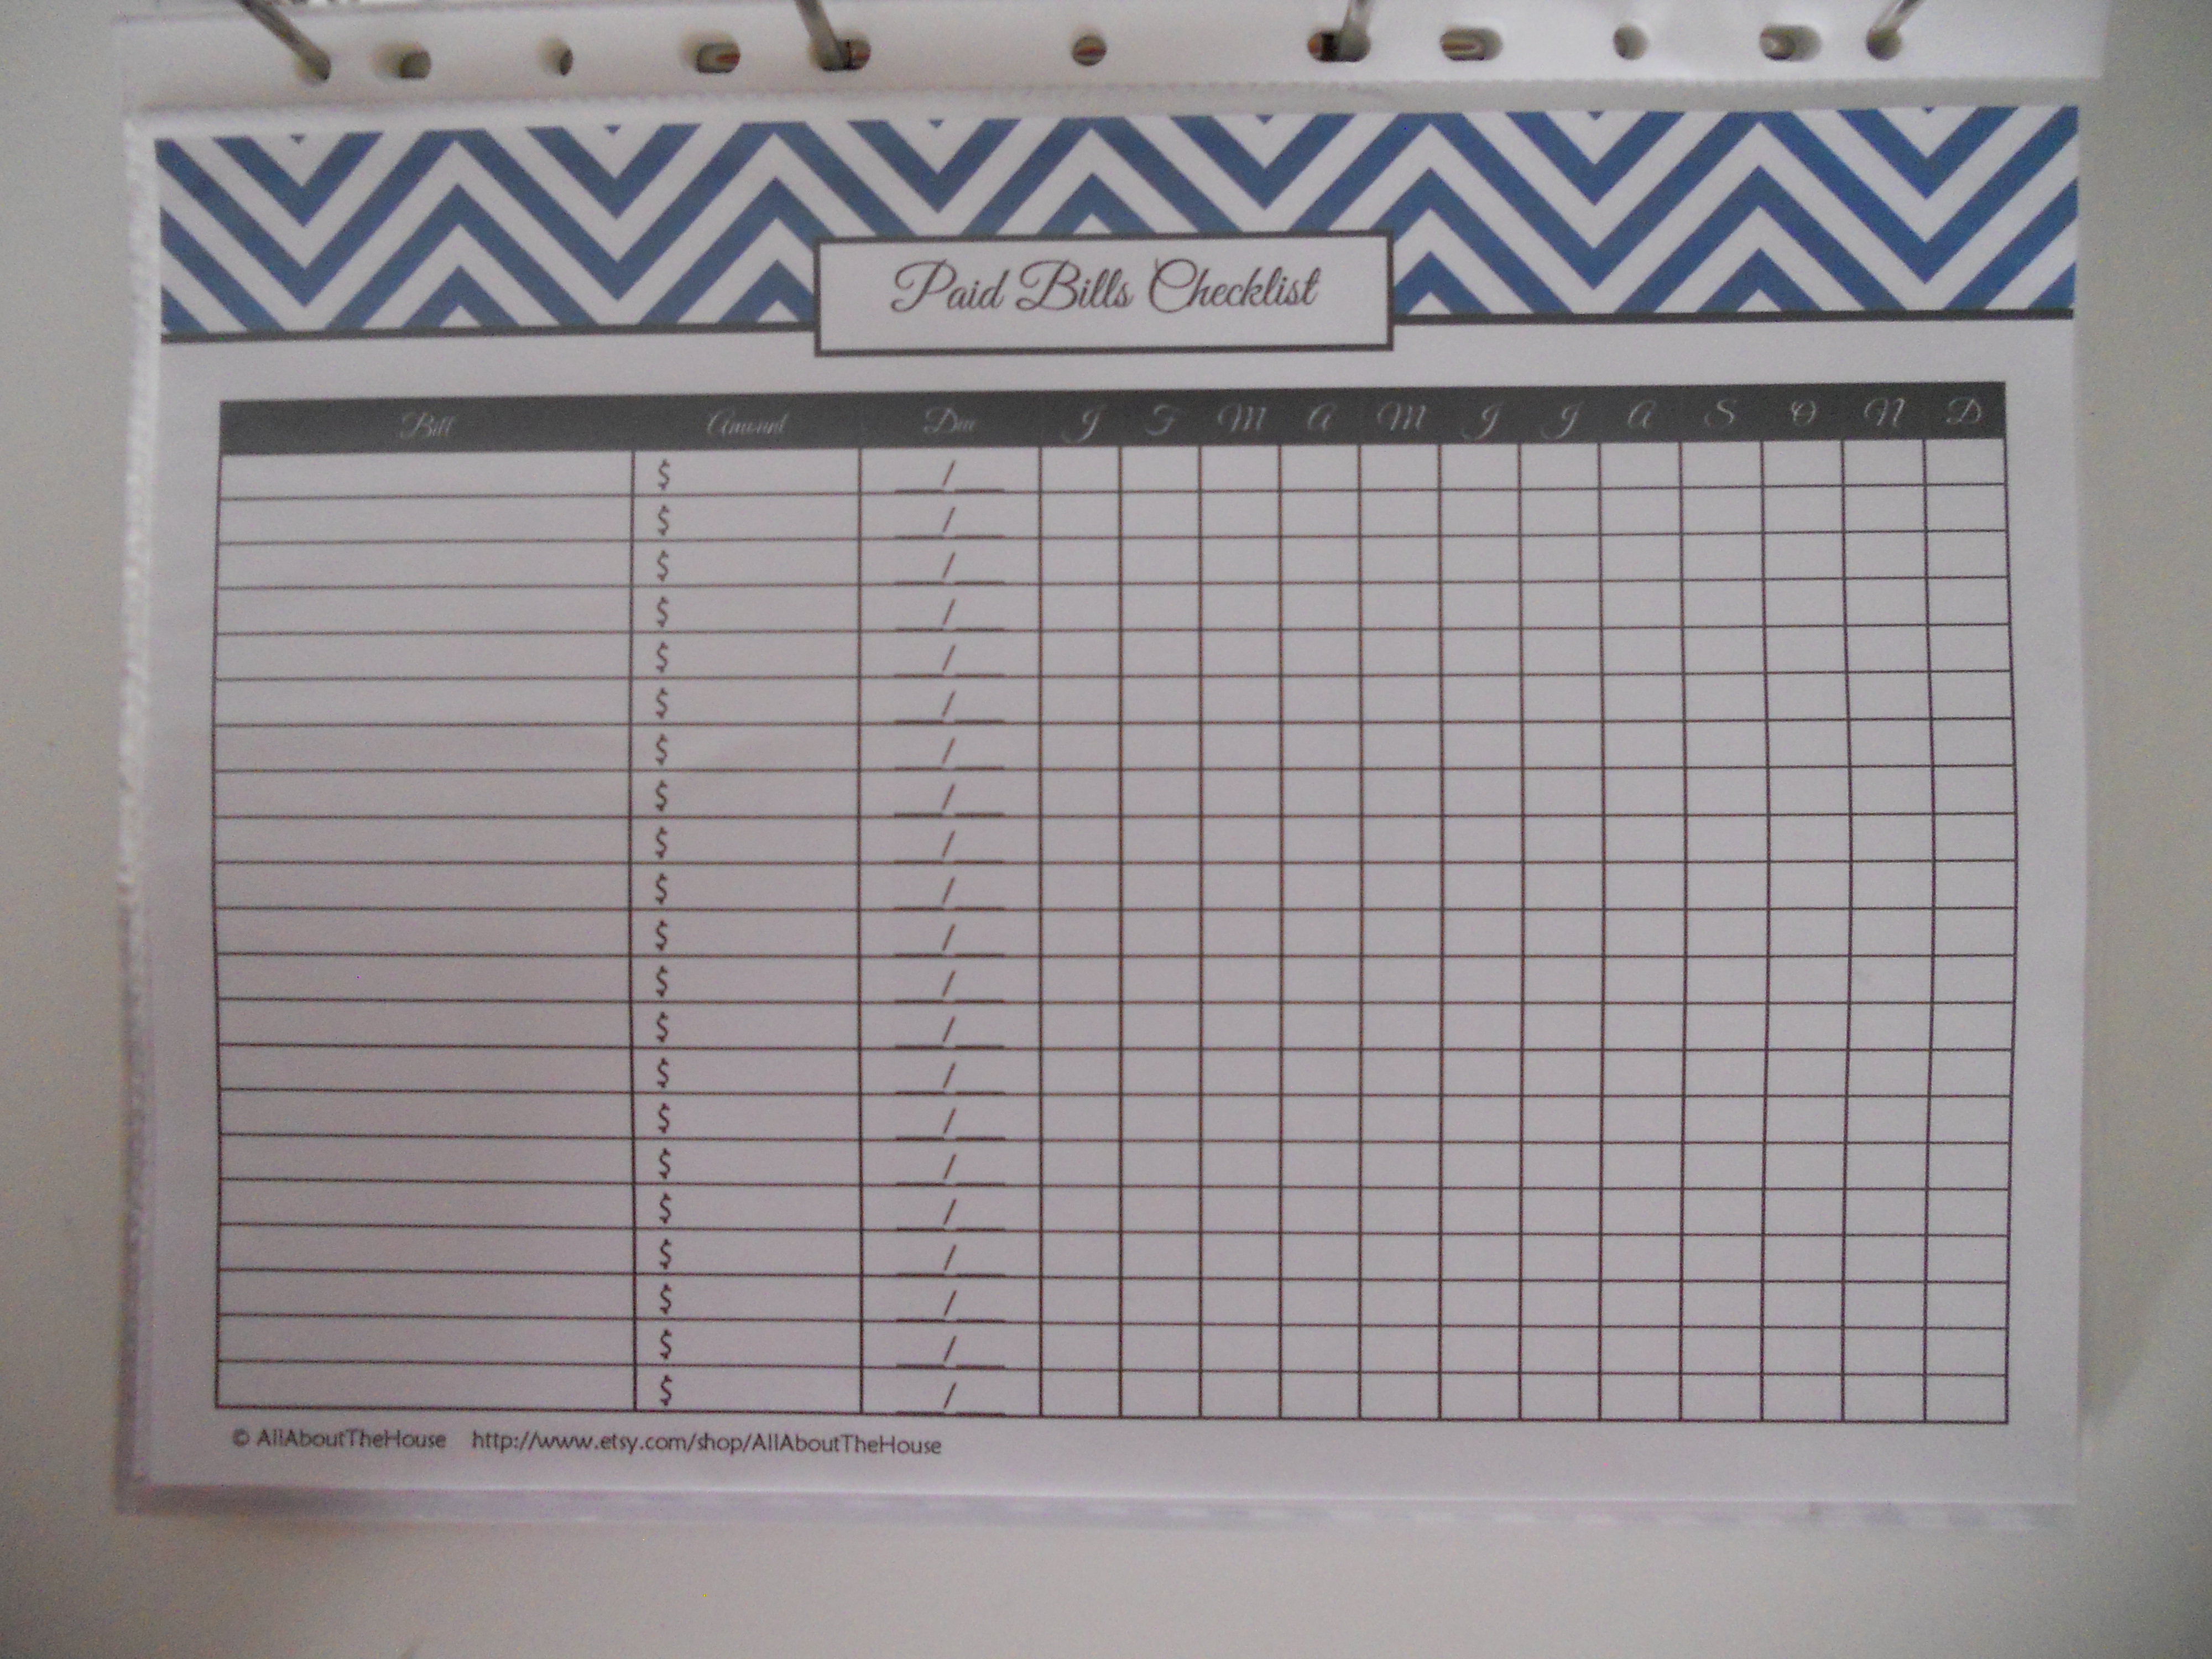
Paid bills checklist where I write each type of bill such as the water bill, electricity ect., how much to bill amounted to, the date the bill was due and the month it was paid. This is really handy when it comes to filing/finding something after I’ve filed it (I transfer the bills into an expanding folder after they’ve been paid and at the end of each month). If you’d like to try a free paid bills checklist, see here.

Note: There’s no writing on any of the sheets for privacy reasons.
After the paid bills section I have my banking and tax documents section which are just dividers and then plastic sleeves for storing relevant documents.
I know some people like to keep a pencil case with a calculator and pens ect. but I keep all my stationery supplies in my desk drawer so it’s not necessary for mine but I agree it’s a good idea if you keep your homekeeping notebook in your kitchen.
So that’s how I put together my household binder. It really does save me so much time. I love that it keeps everything together in the one place. I keep it on my desk so it’s always within reach.
In addition to my household binder, I also keep a separate binder for my etsy shop.
I will also be blogging about this binder in an upcoming post.
On a side note: if you choose to purchase the starter kit, be sure to select ‘borderless’ in you printer menu, otherwise there will be a white border around each of the sheets.
If you think these planner pages might work for you, click here to purchase through the online store. Also available on Etsy.
So, how have you put together your household binder? What sort of printables have you used? I have considered putting together a miscellaneous section with things like a gift lift, bucket list, a health and fitness section, adding a medical appointments sheet to the important information section and an entire Christmas section – anyone else have any ideas? Comment below and if I like your idea and create a printable and/or set based on your idea for my shop – you will get the printables for FREE!
Happy Organising,
Rachael
***UPDATE***
My household binder has grown! I have added some new sections (which I keep separate to my main household binder as these are less frequently used and my binder was just about bursting!)
– Home & Inventories. Read about that in detail in this blog post.
– Health and Fitness. Read about that in detail in this blog post. I will admit I don’t use these as often as I should…
– All to do lists have been moved to the book of lists. Those printables are available here.
– Party Planning. Read about those printables here
– Travel Planner. Read about that set here
– Blog Planner. I have bound this into it’s own notebook. More on that here
– Christmas Planner. Read about in detail in this post.
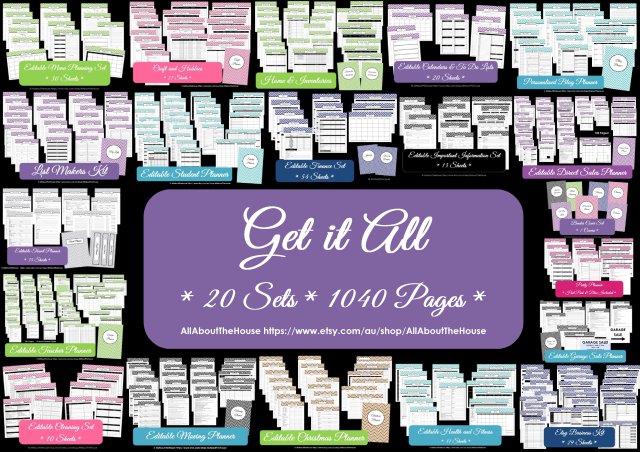
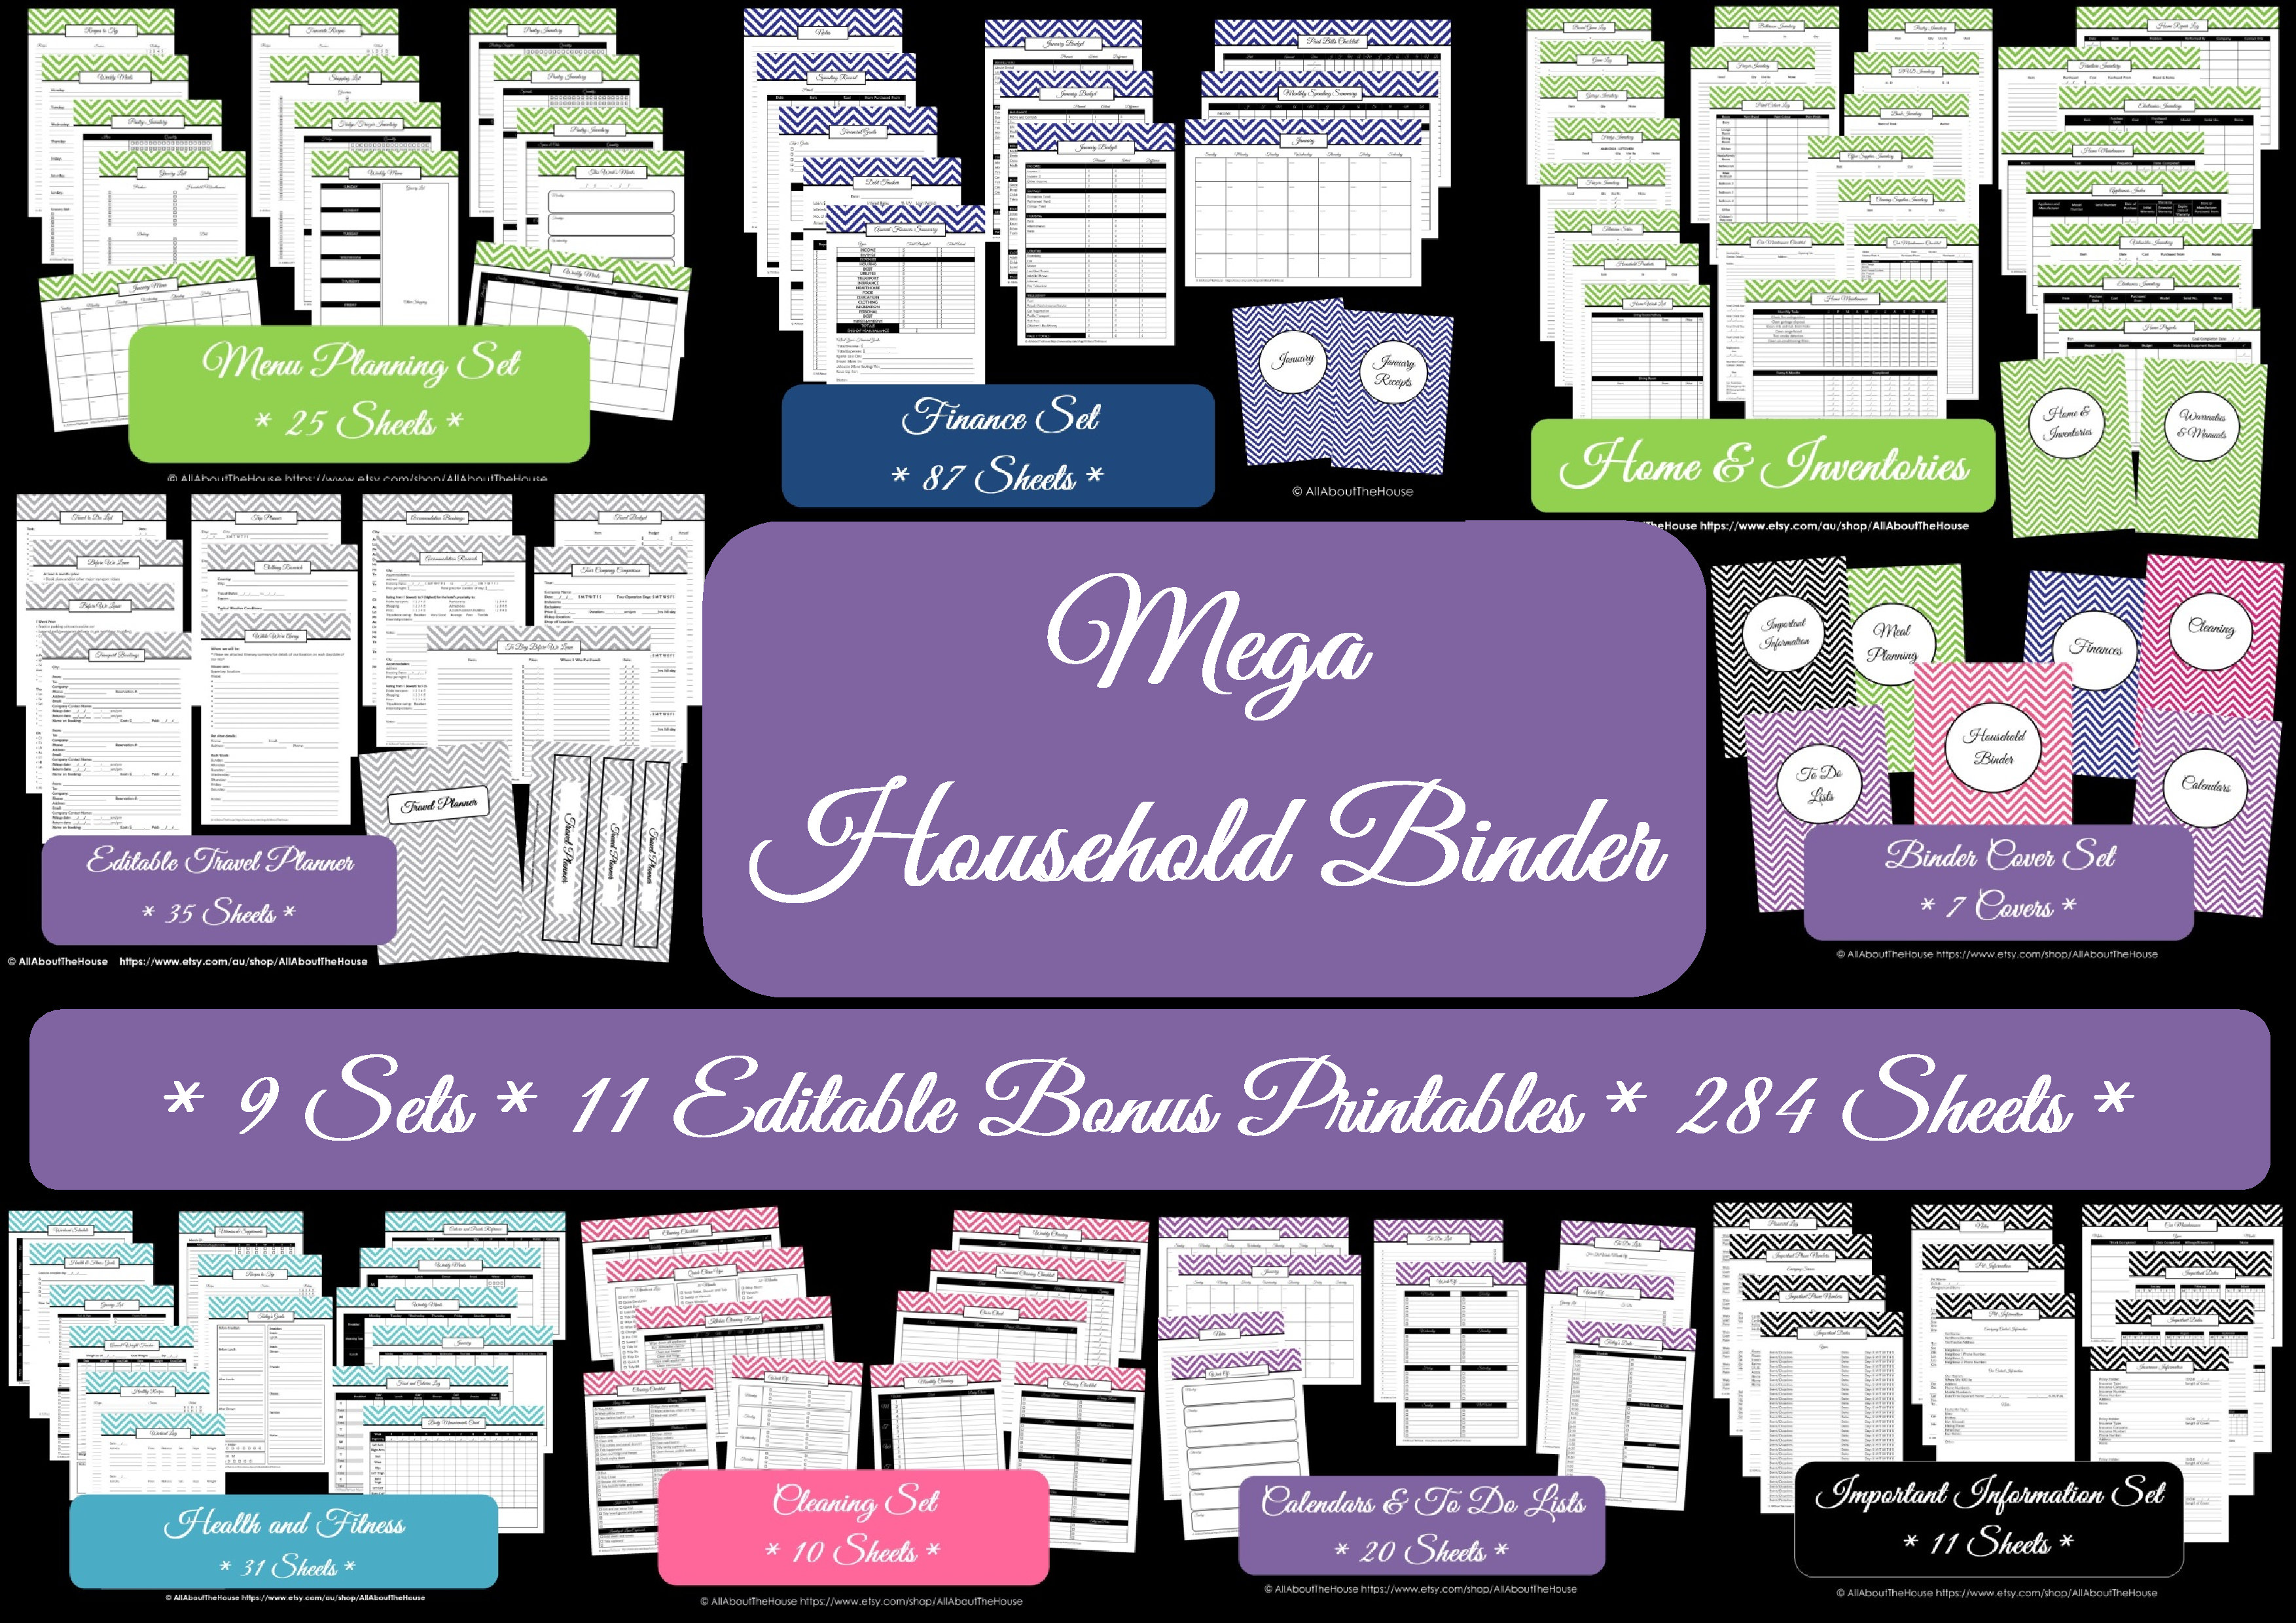
These extra sets have been bundled together to give you even bigger savings!
Get it All
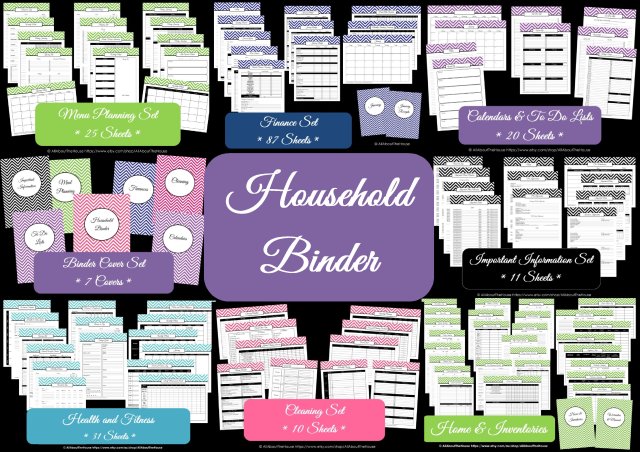
Household Binder
Mega Household Binder

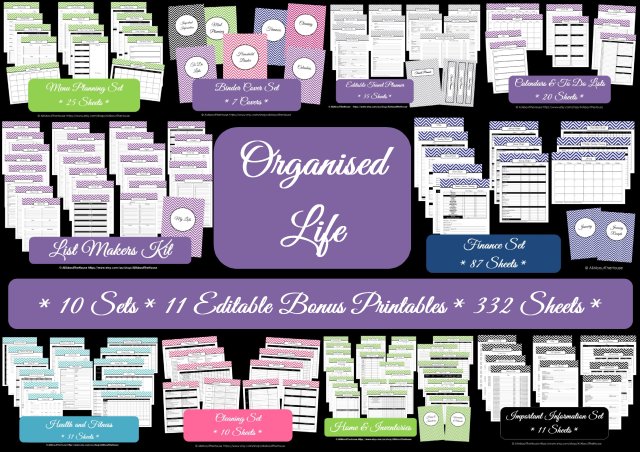
Organised Life
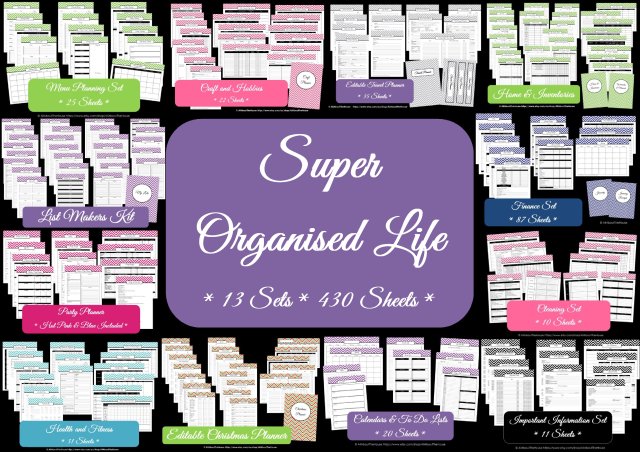
Super Organised Life
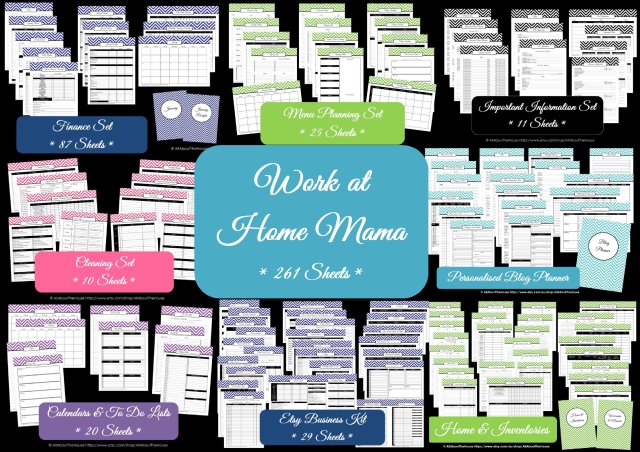
Work at Home Mama
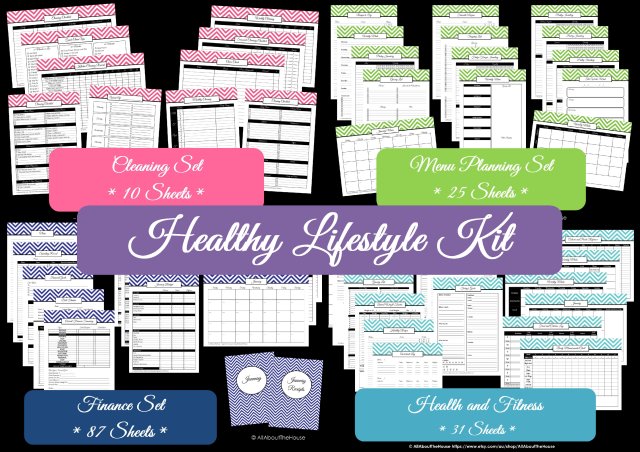
Healthy Lifestyle


