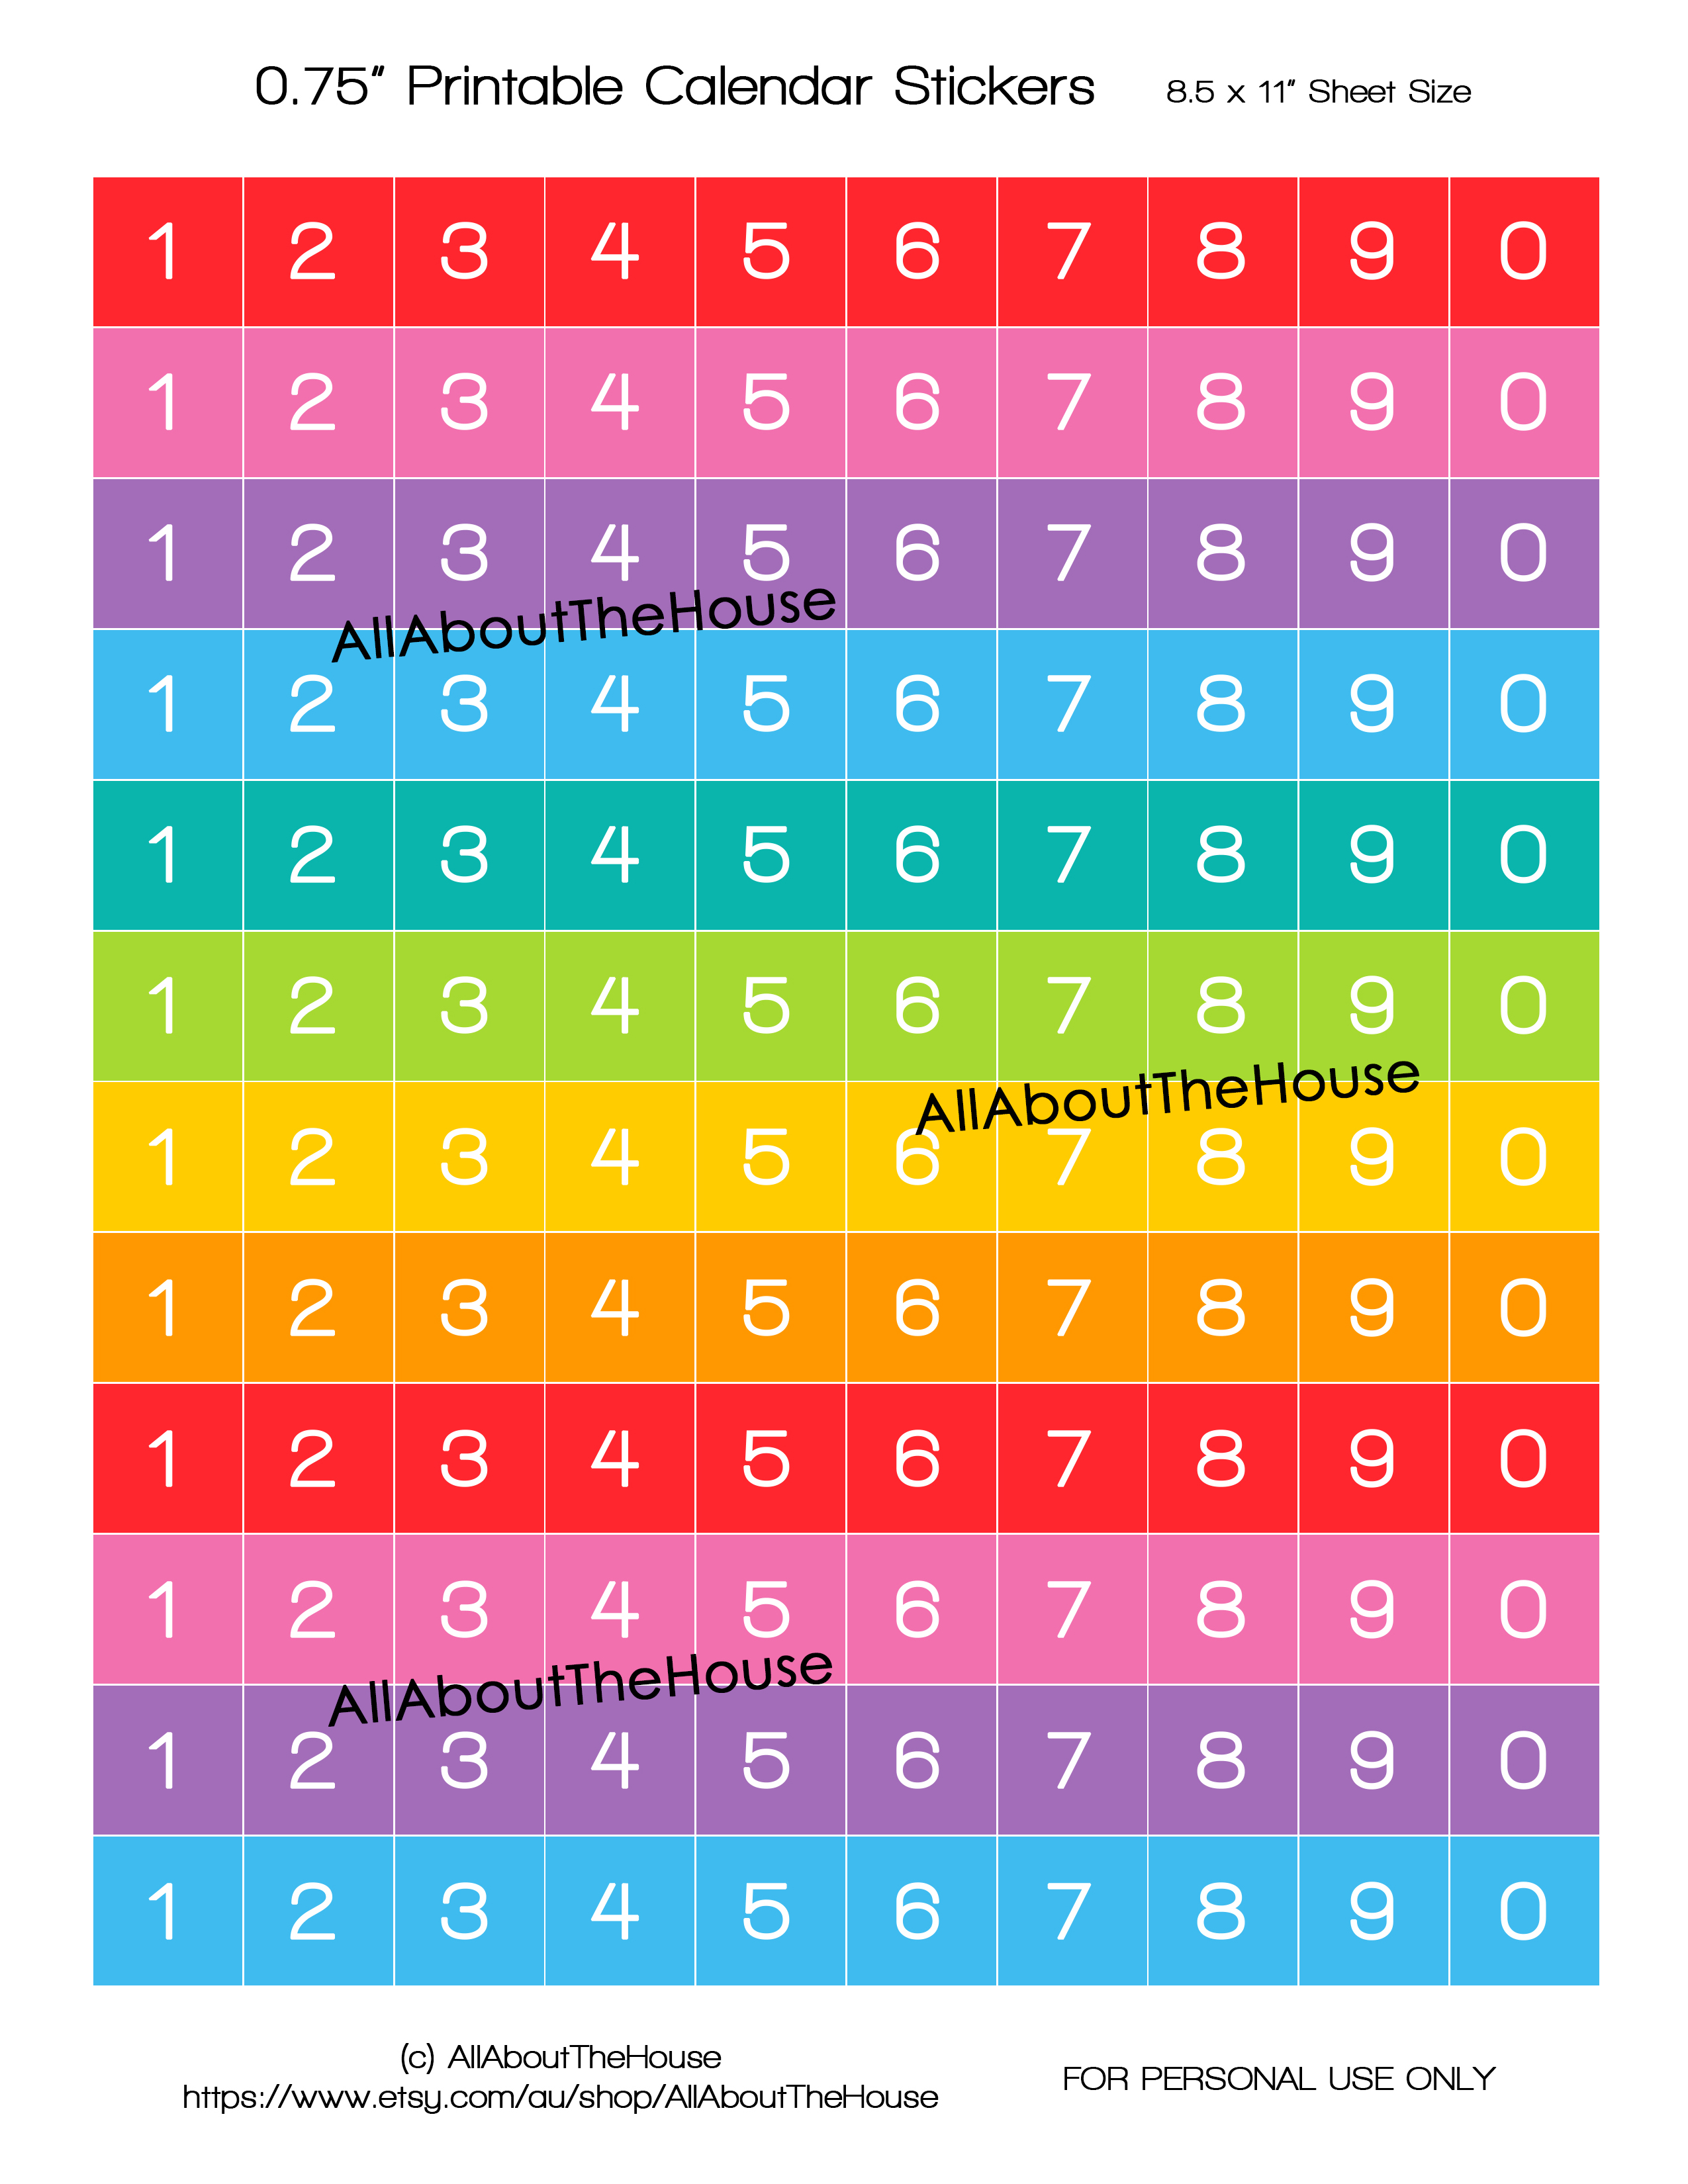
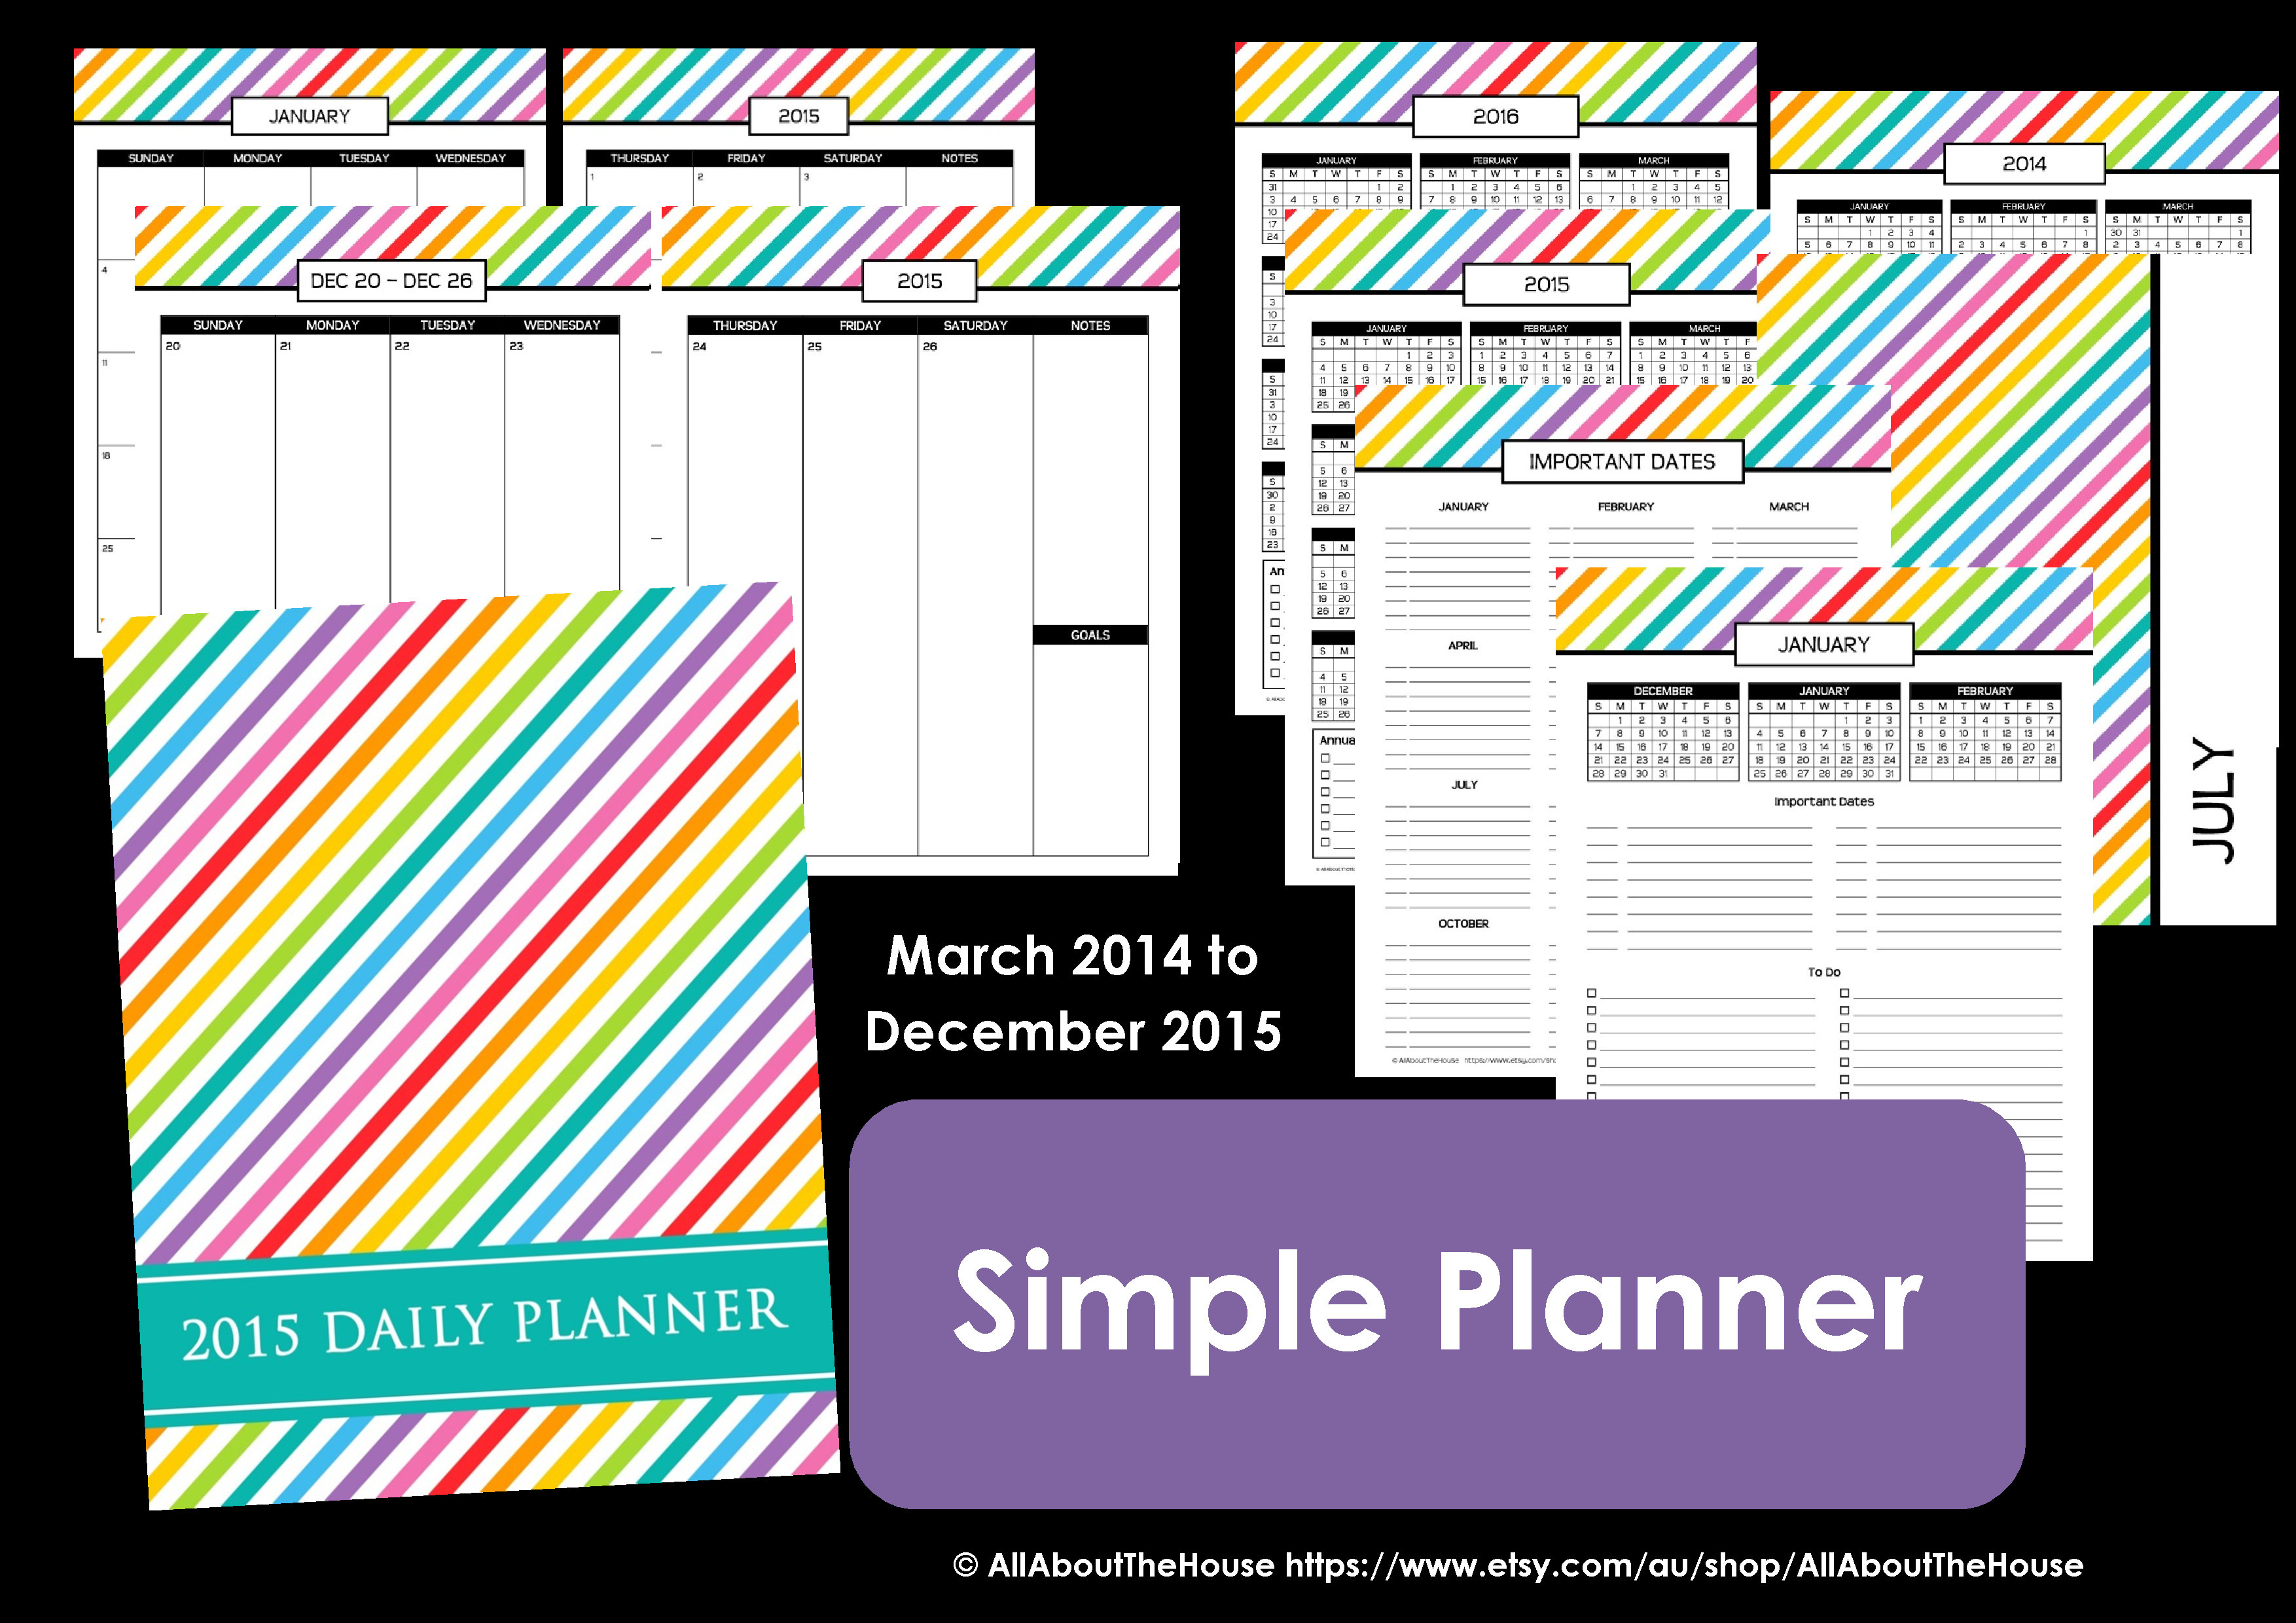
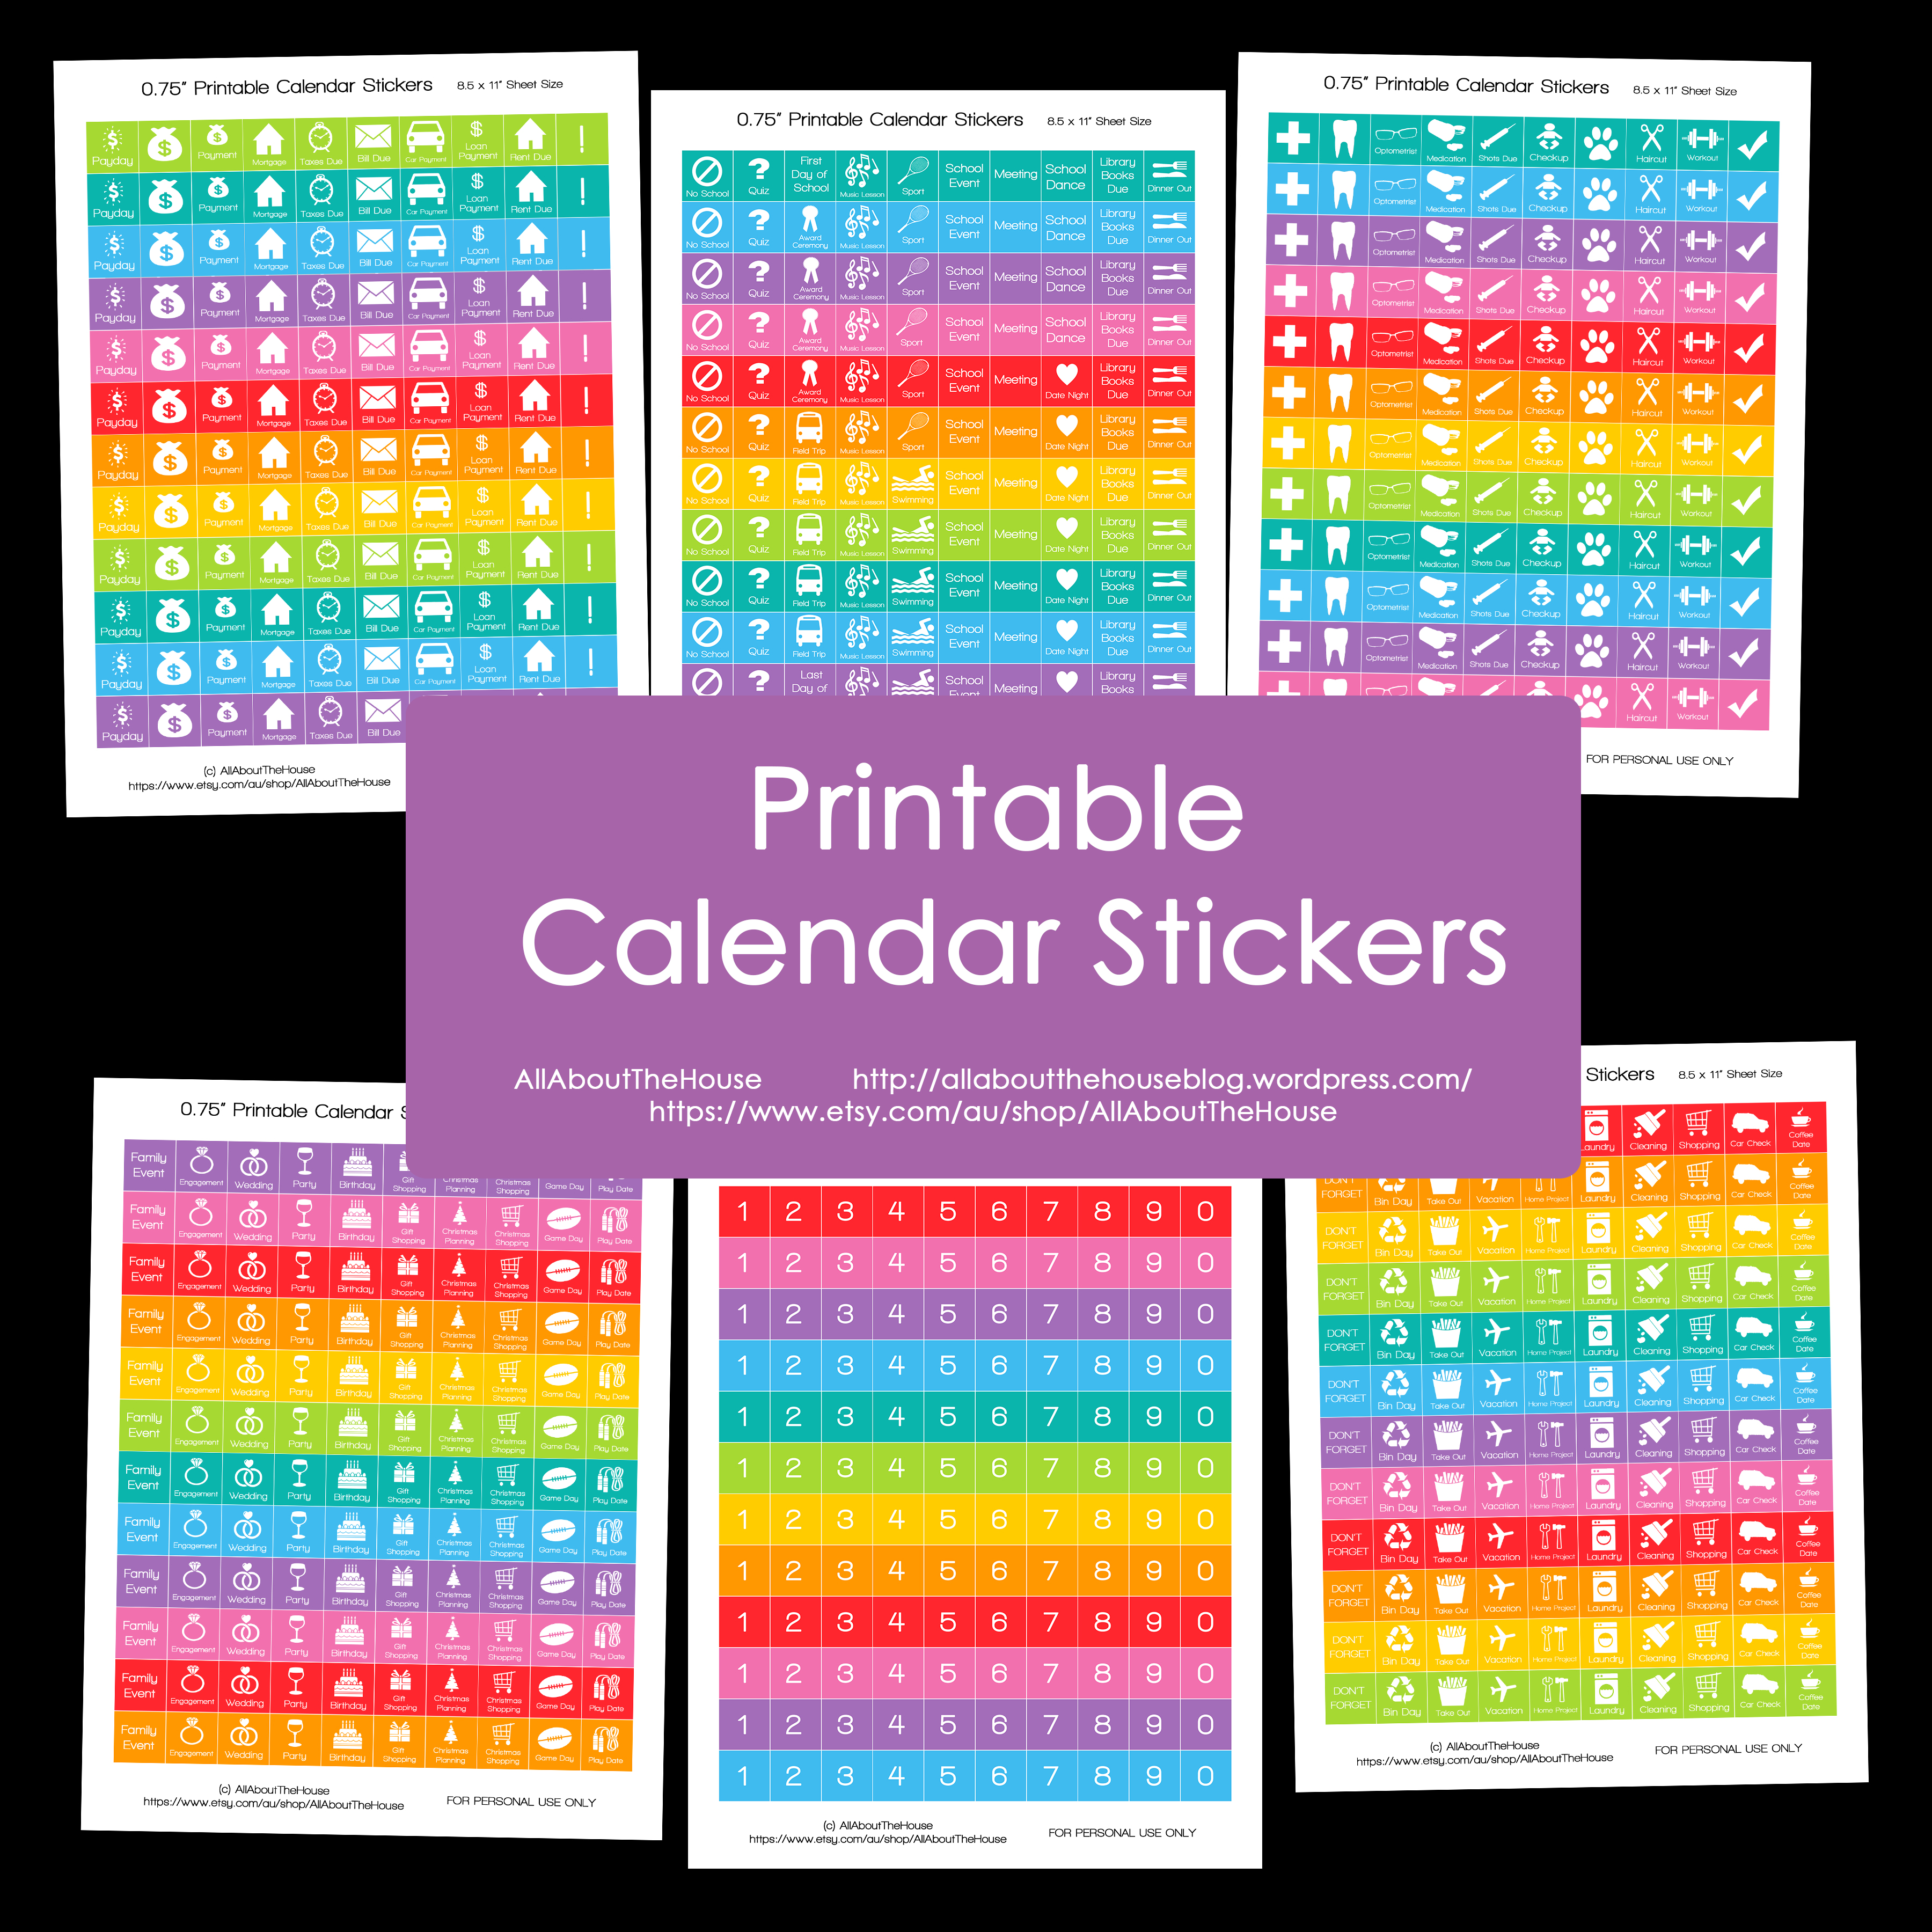
Today’s post is for all you die-hard Erin Condren fans! You guys loved my calendar stickers so I’ve made stickers that are especially designed to fit the Erin Condren Life Planner! (They can also be used for other planners such as plum paper and my 2015 printable planners)
And for those of you who have asked for a smaller size for the other calendar stickers, please see this post which has helpful screenshots on how to change the page scaling (e.g. 100% to 50% will make them 0.375″in size.
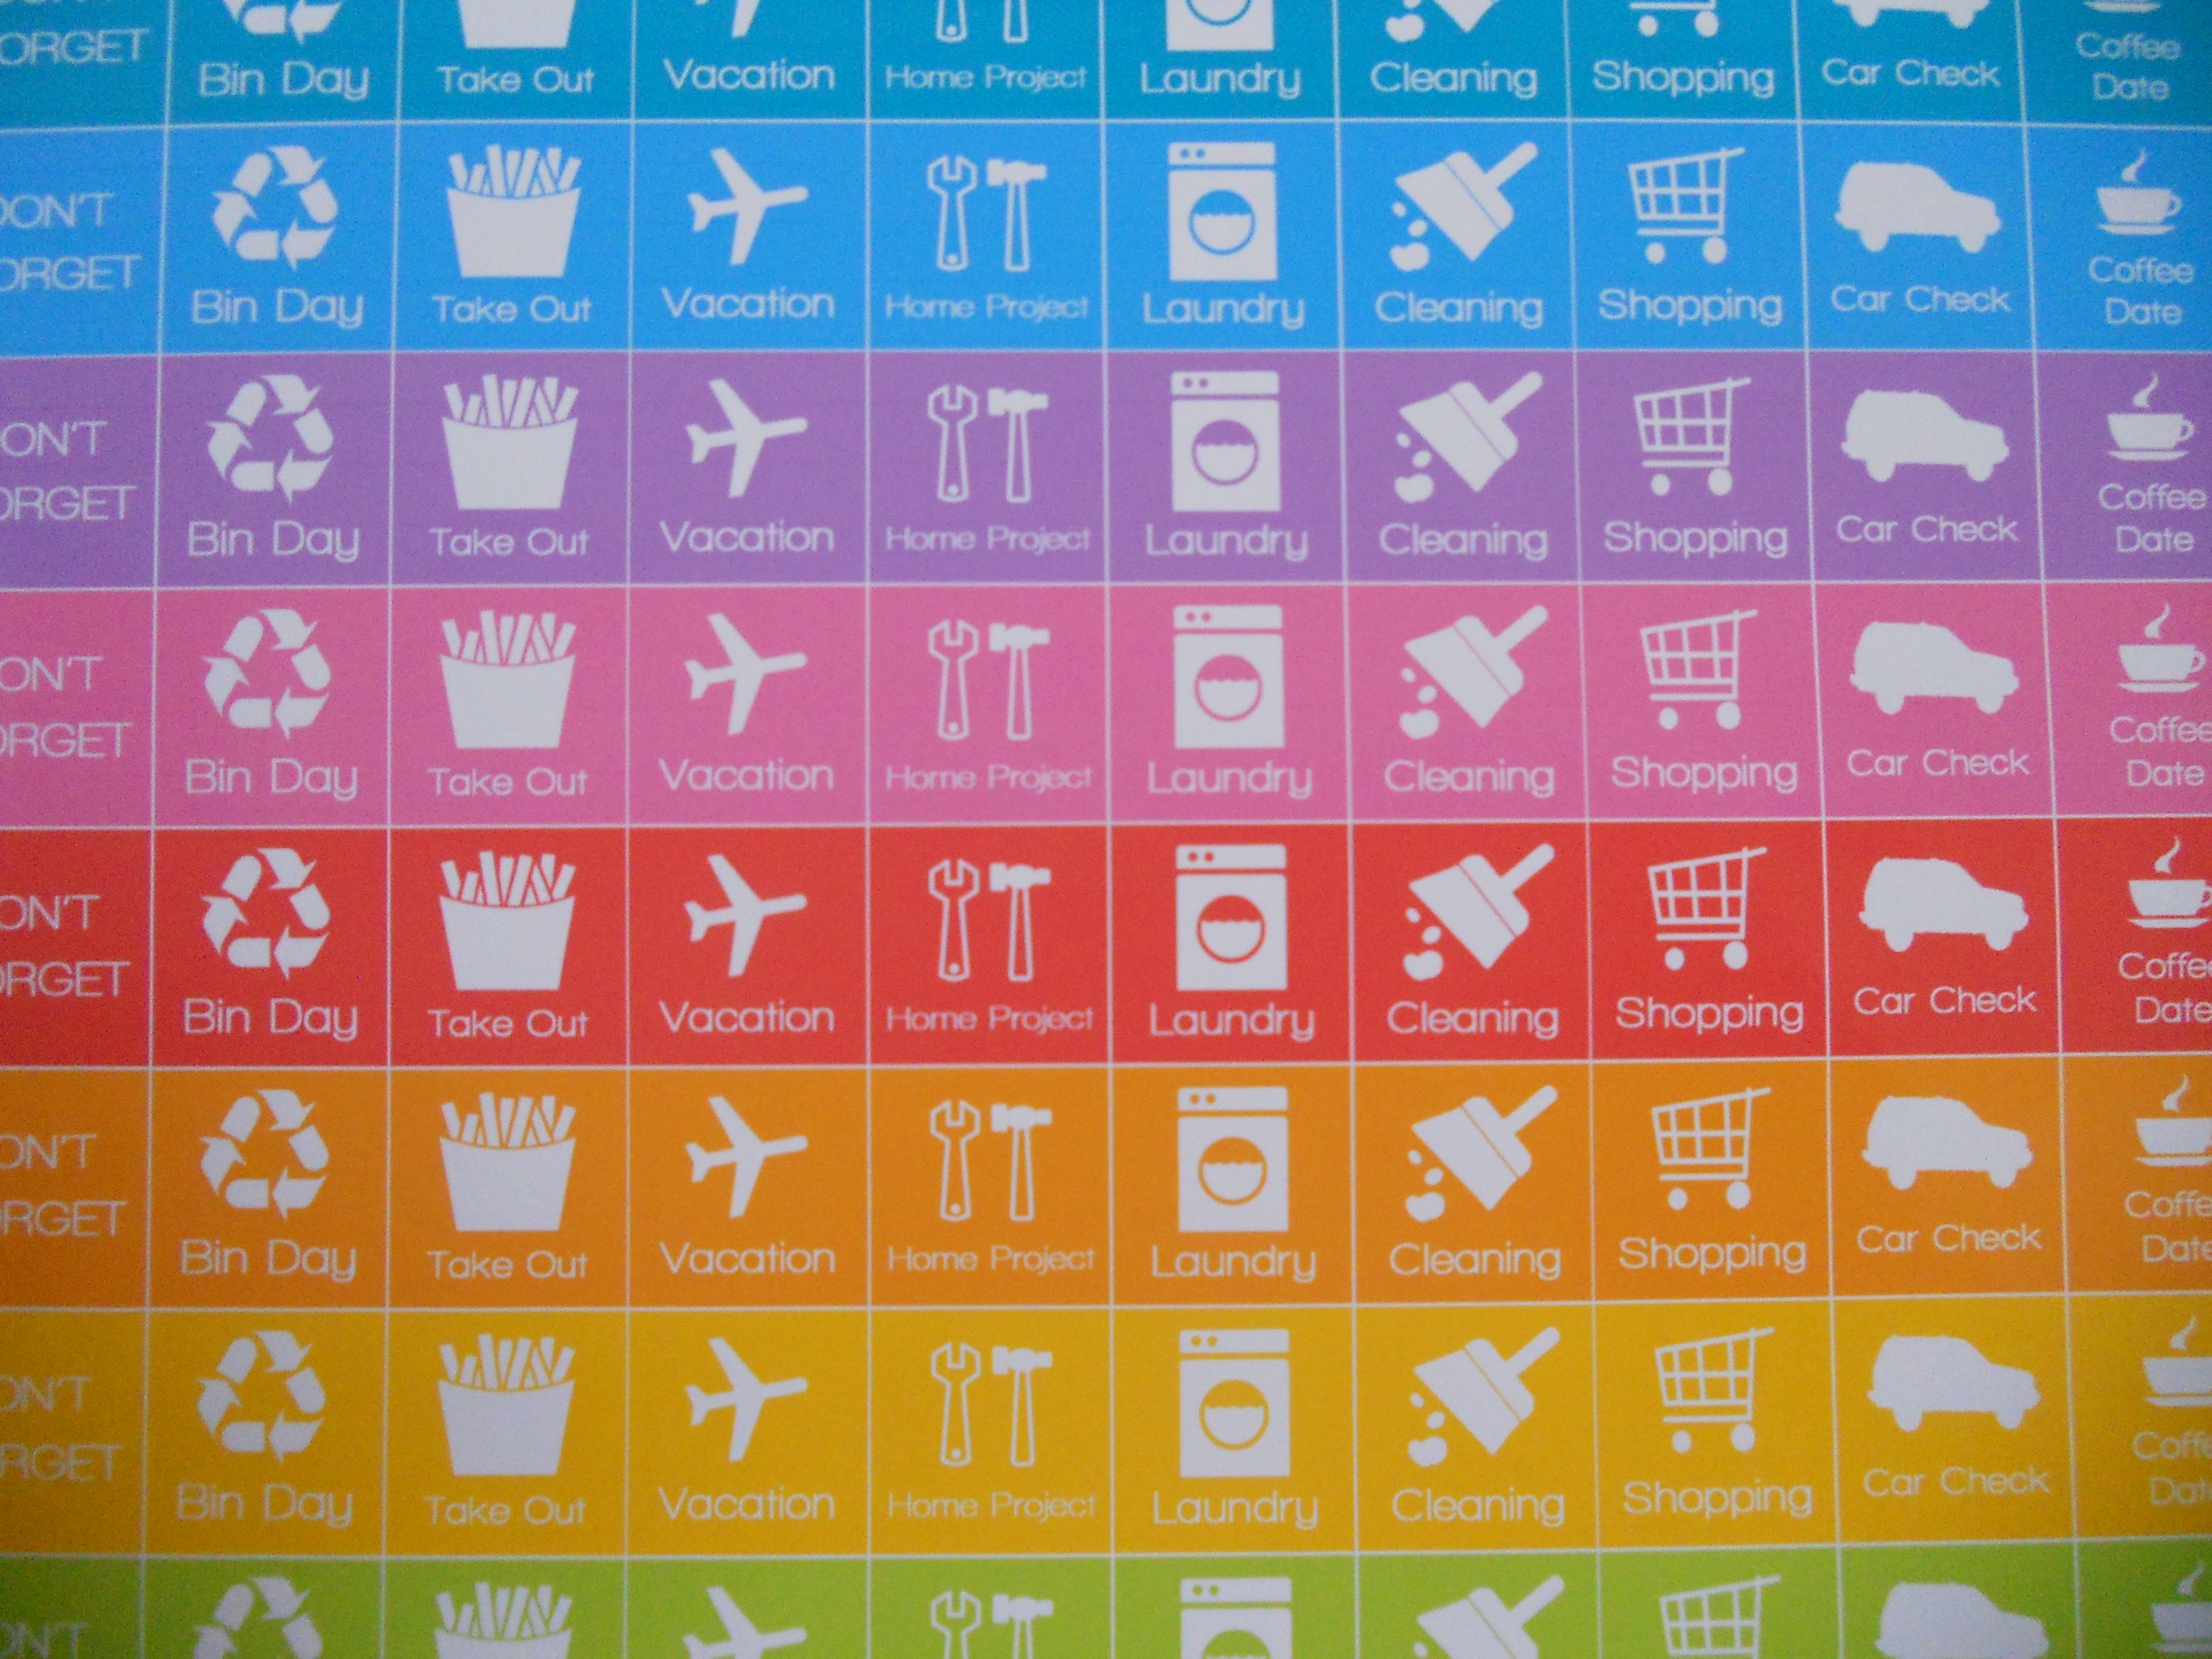
UPDATE: New half inch (0.5″) square stickers are also available with each sheet featuring a different icon e.g. gas pump, dollar sign, laundry, trash can ect. Visit my Etsy store, AllAboutTheHouse for the full range. More stickers have also been added including triangle corner stickers, ECLP full box, daily sidebar and checklist stickers for the ECLP Horizontal version, flag stickers and much more!
These templates and designs take a long time to make and I have priced them affordably so you can add a special personalized touch to your planner without breaking your bank. Please do not abuse this and respect the time it takes to create these designs. These files are strictly for PERSONAL USE ONLY.
So, here are the newest stickers!
Morning/Day/Night Sections (but can be used in other sections of the planner – or in any planner) – The stickers are close together on the template making it easier if you are cutting them by hand or using a guillotine (which I recommend) or paper trimmer.


Full Box stickers for the white spaces underneath the Morning/Day/Night titles
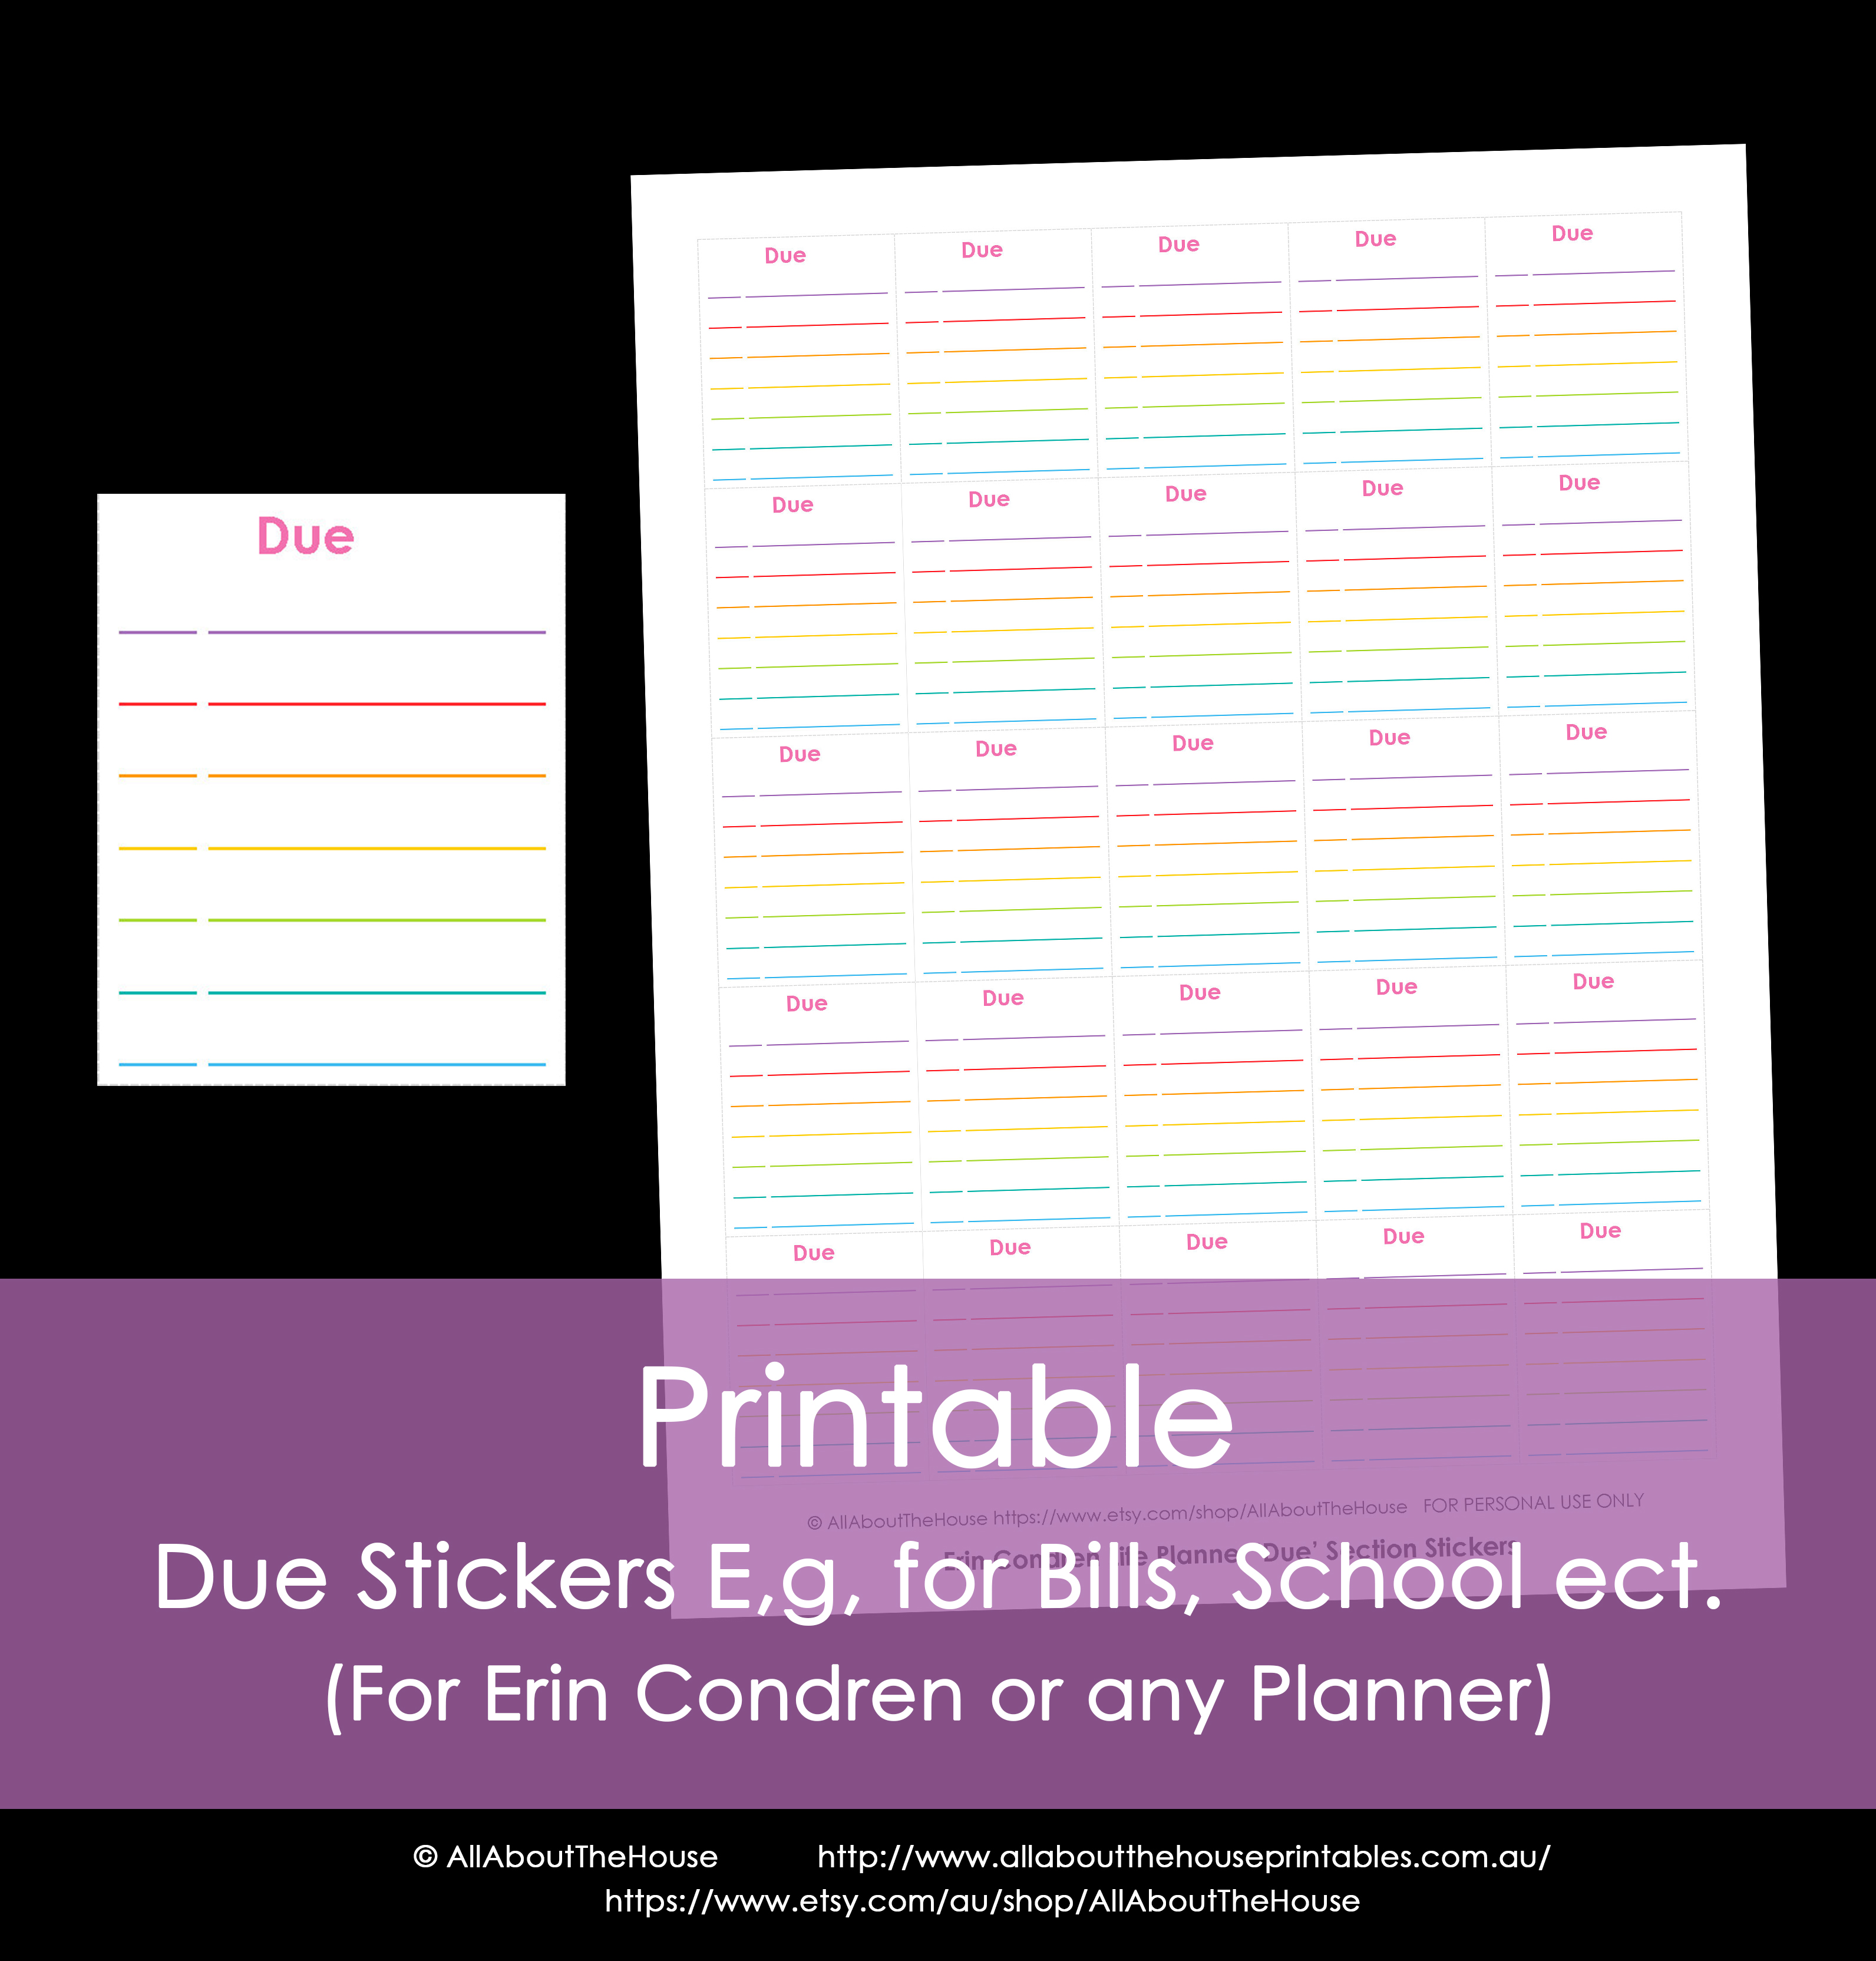
Due Stickers – for school assessment due dates, bills to be paid, goals, to do’s ect. (they can be used daily, weekly or even monthly – whatever works best for you)
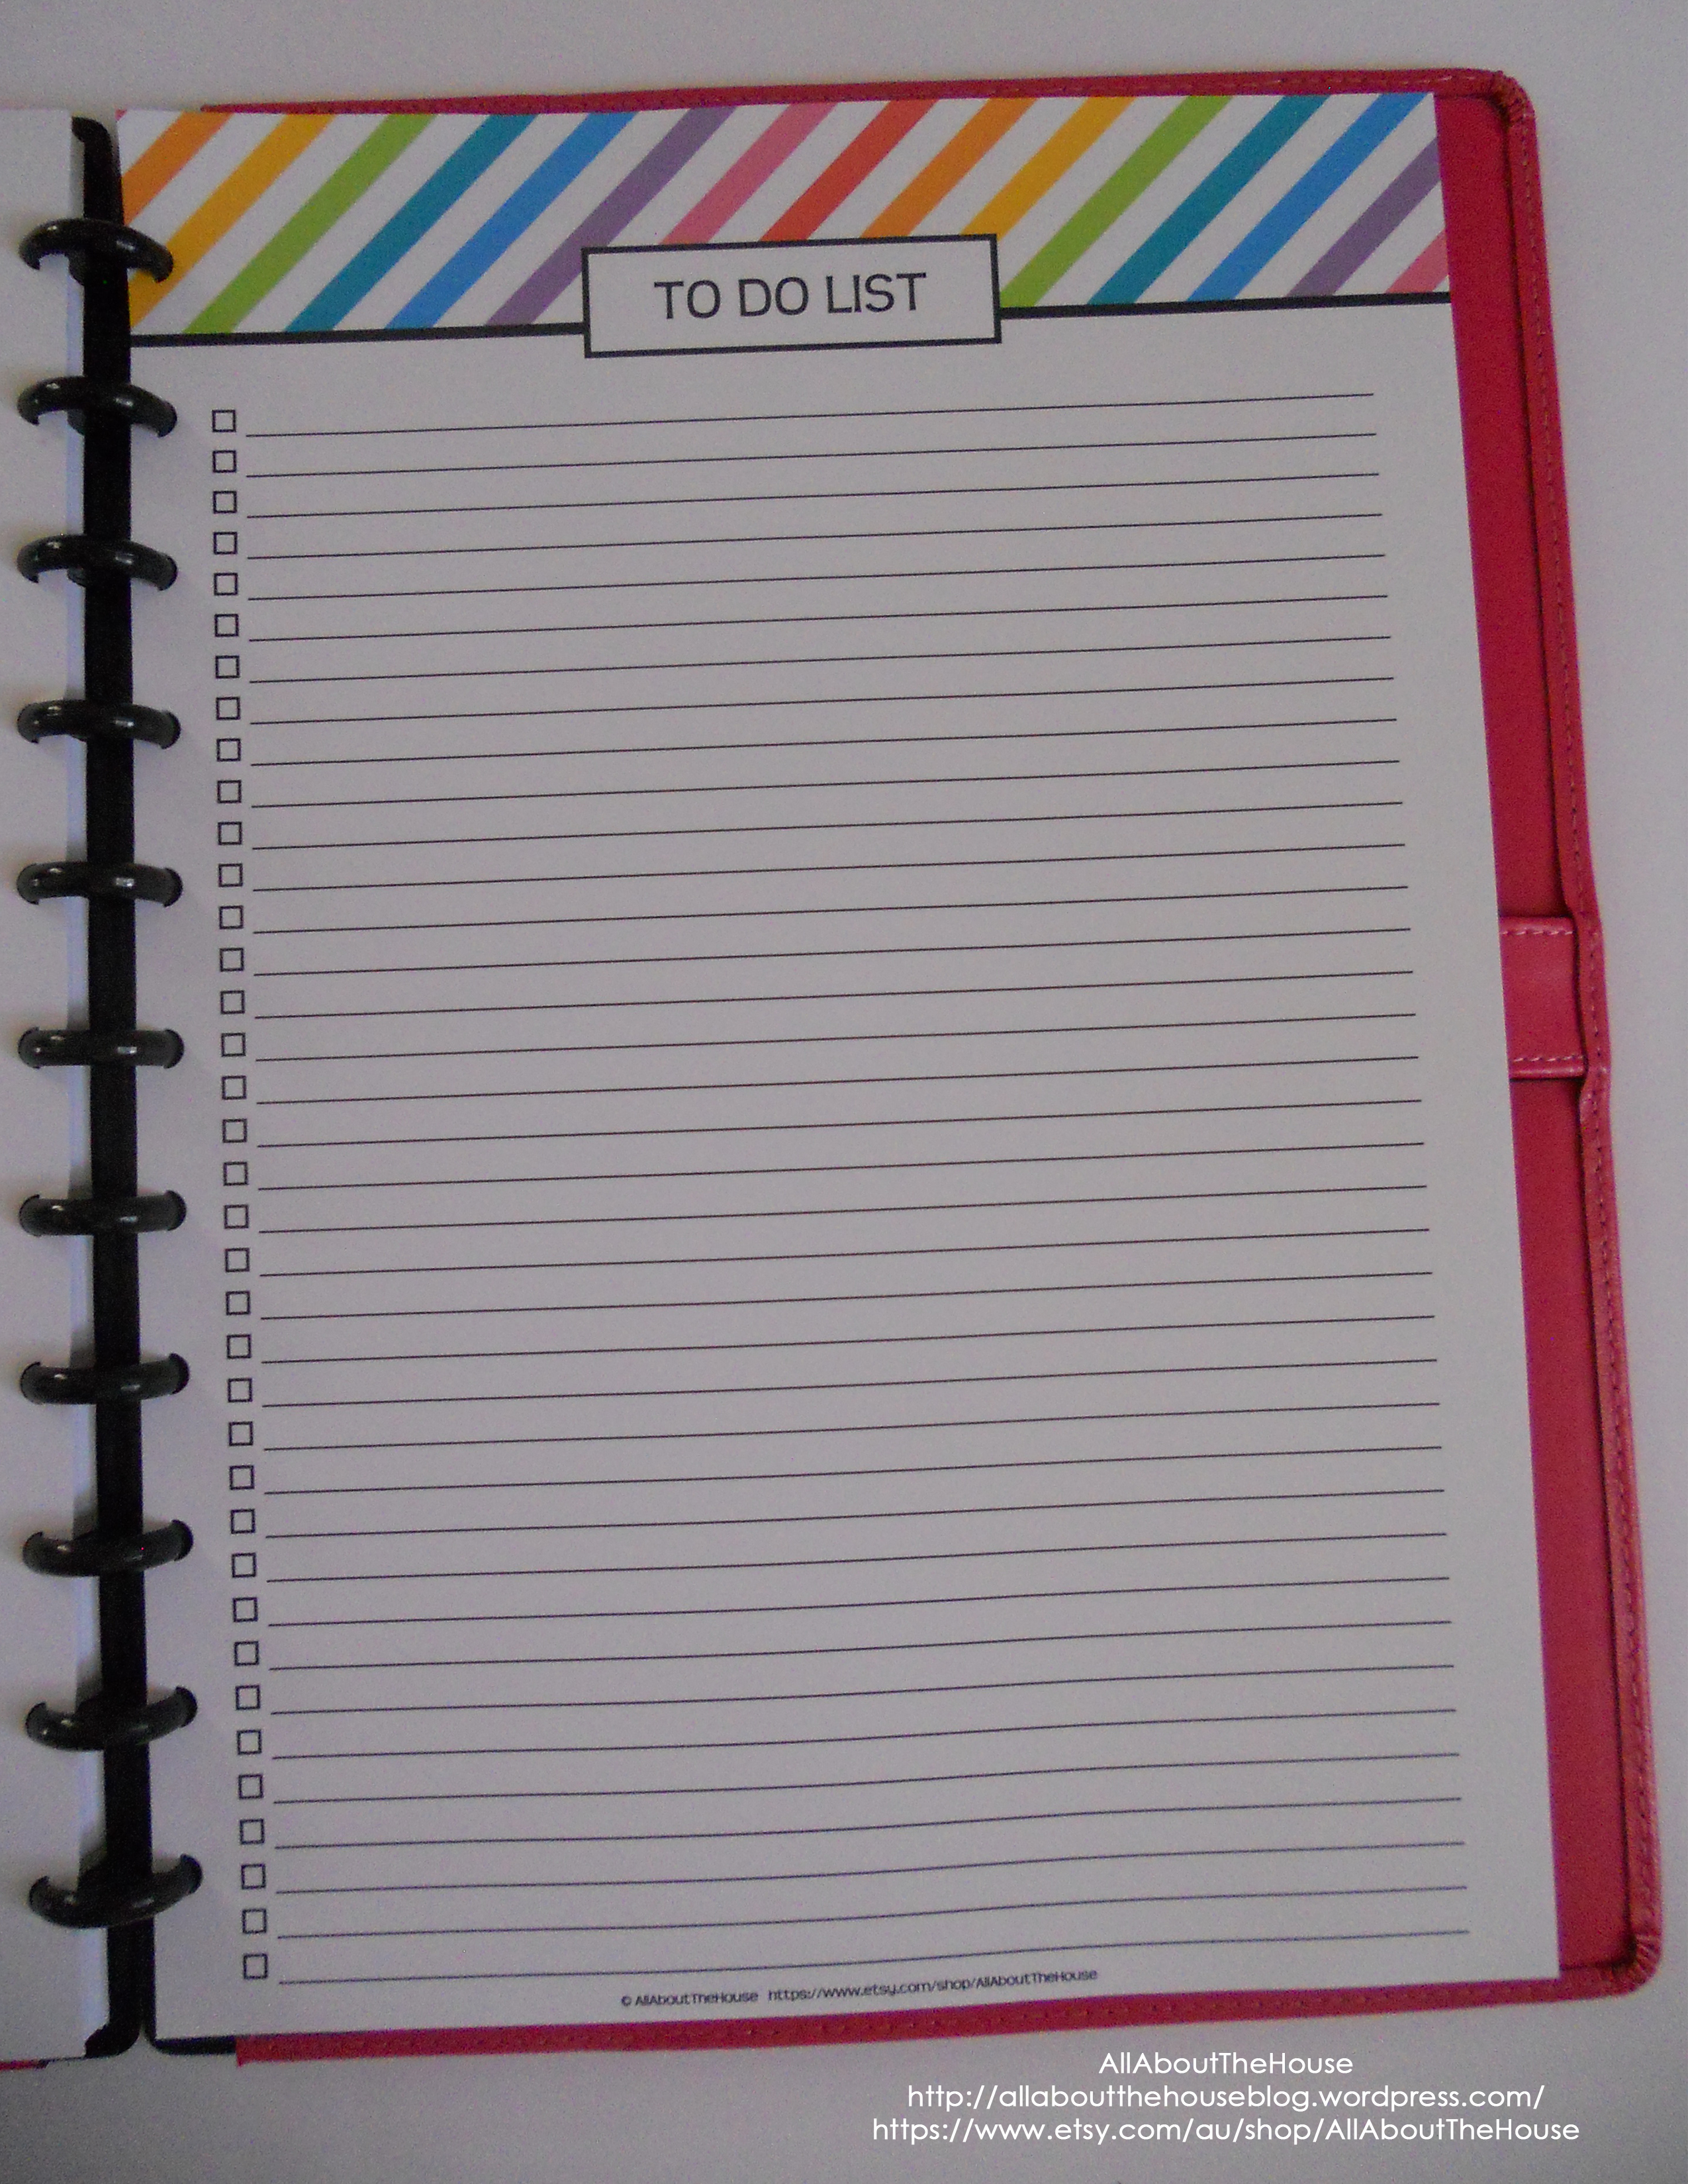
Tick List Stickers – can be used for to do lists, chores, goals, homework, work tasks, blogging to dos, bills to pay ect.

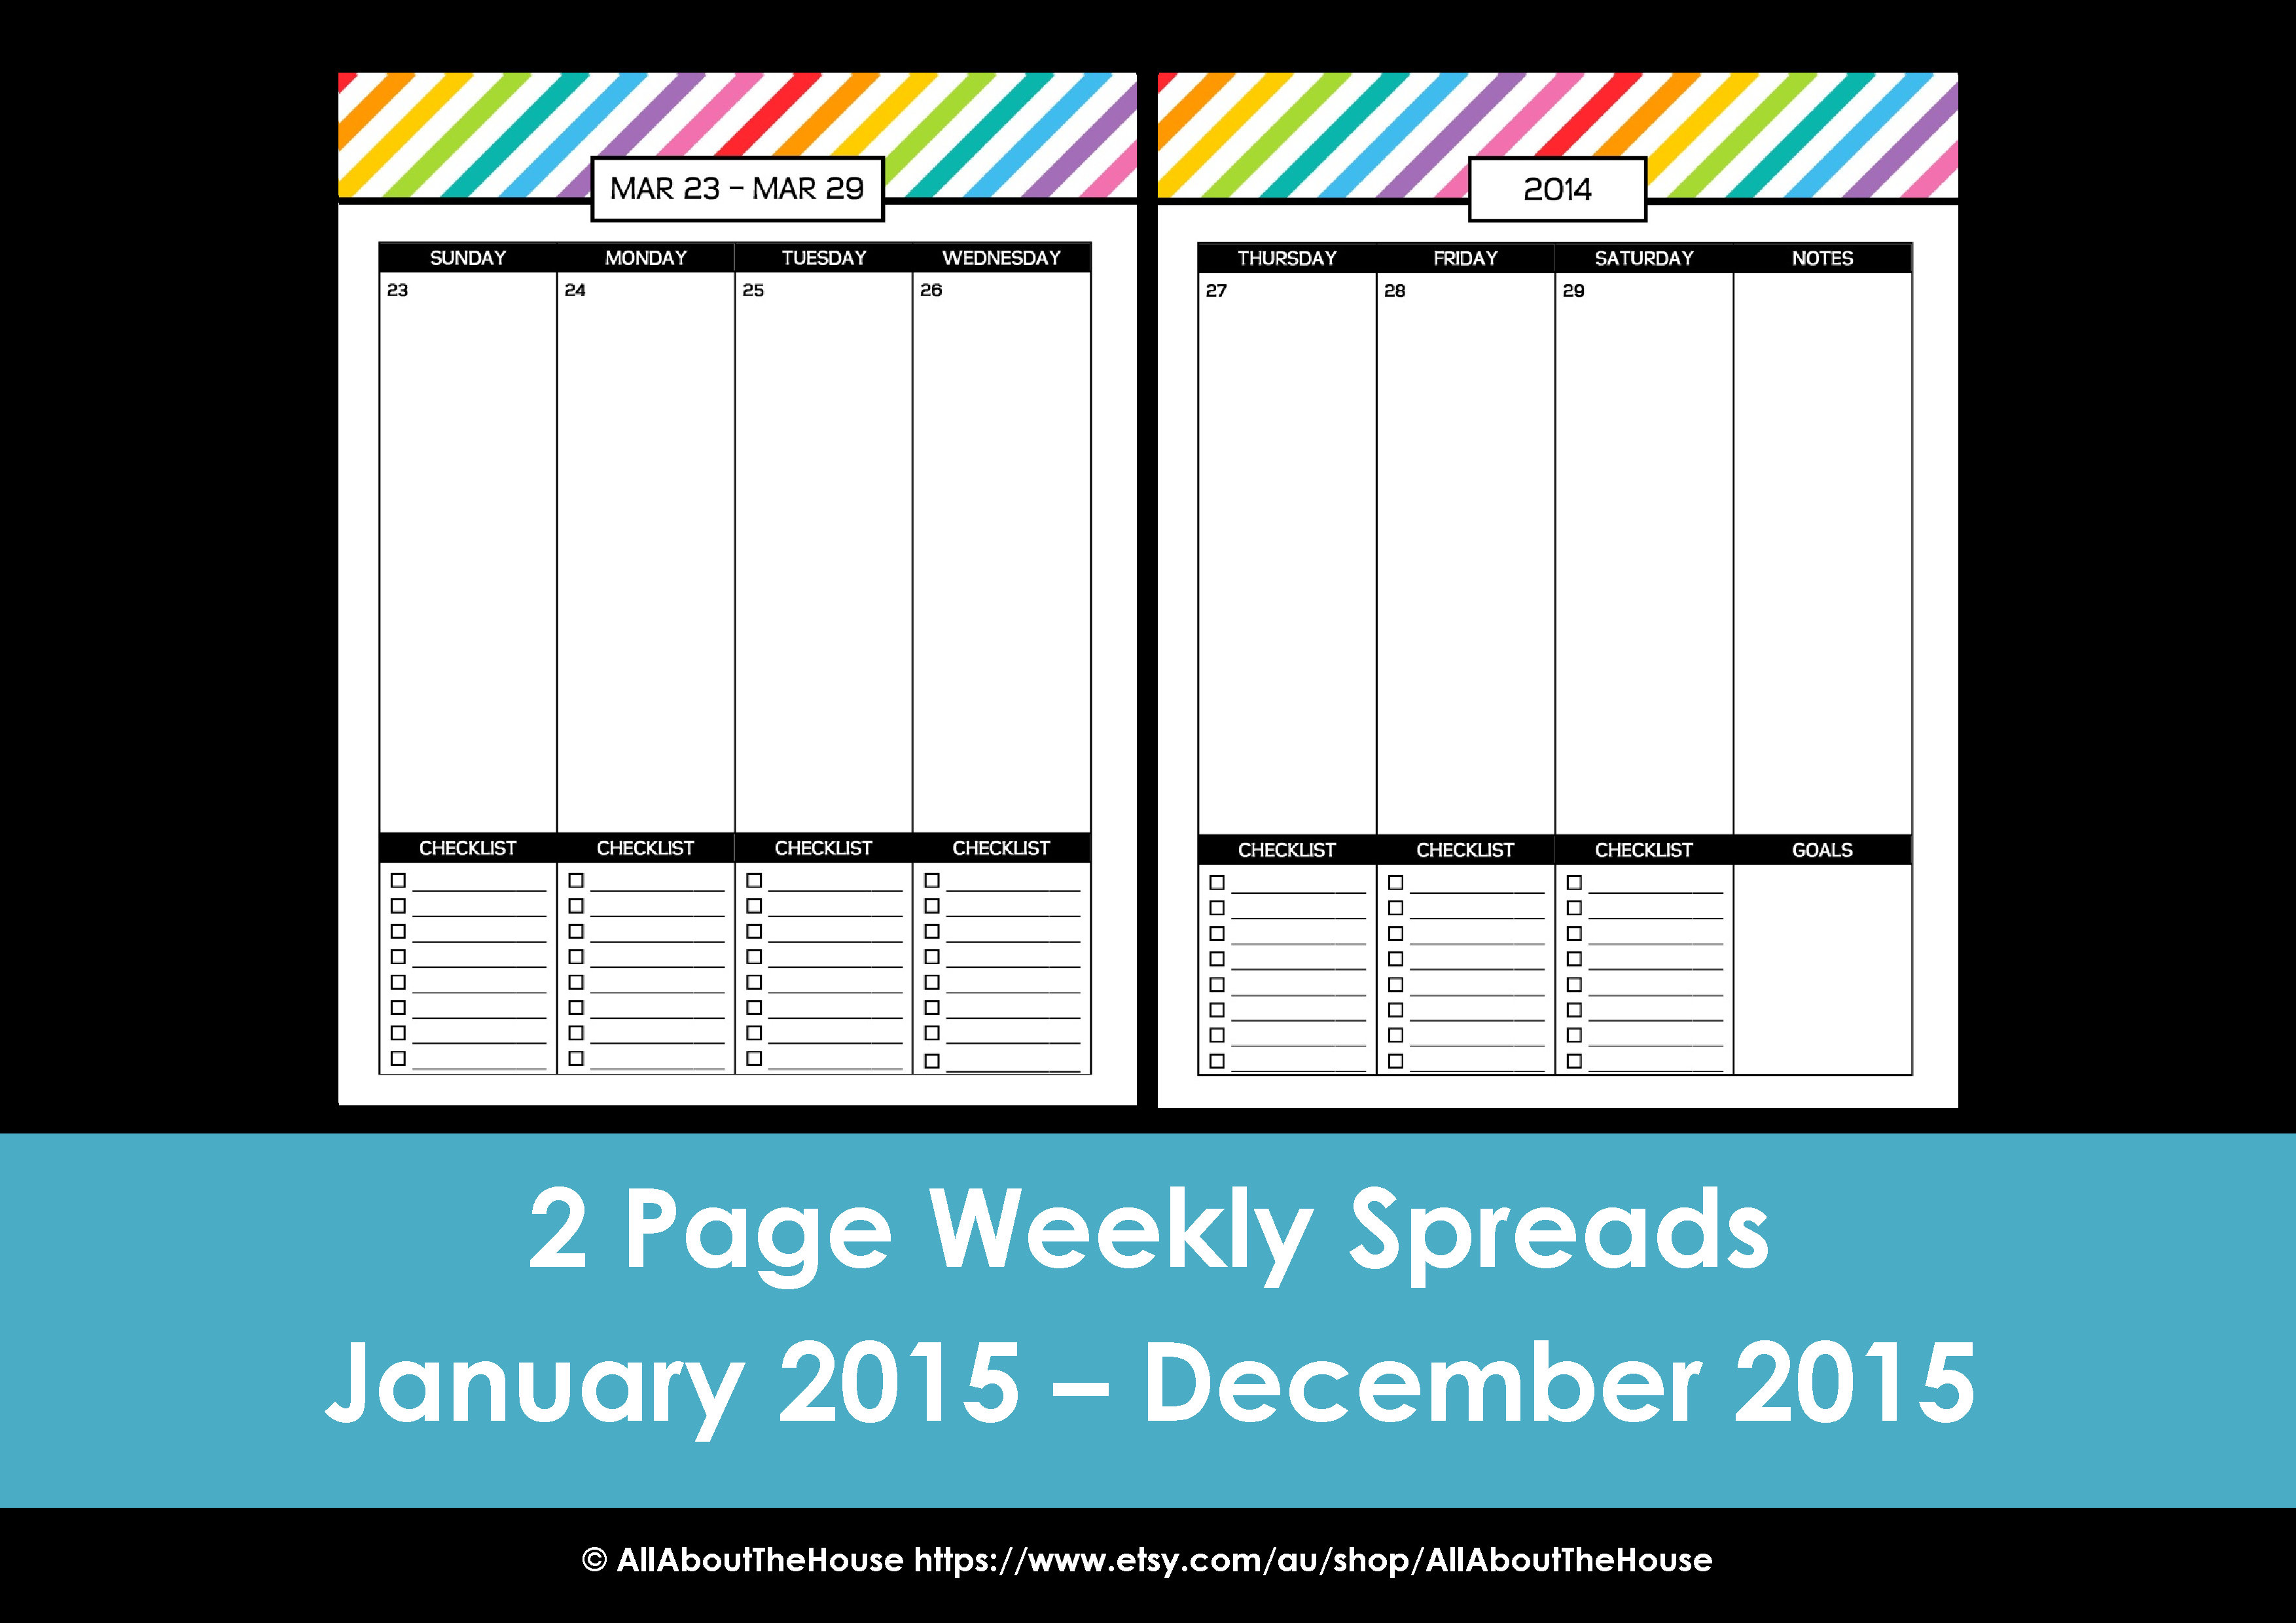
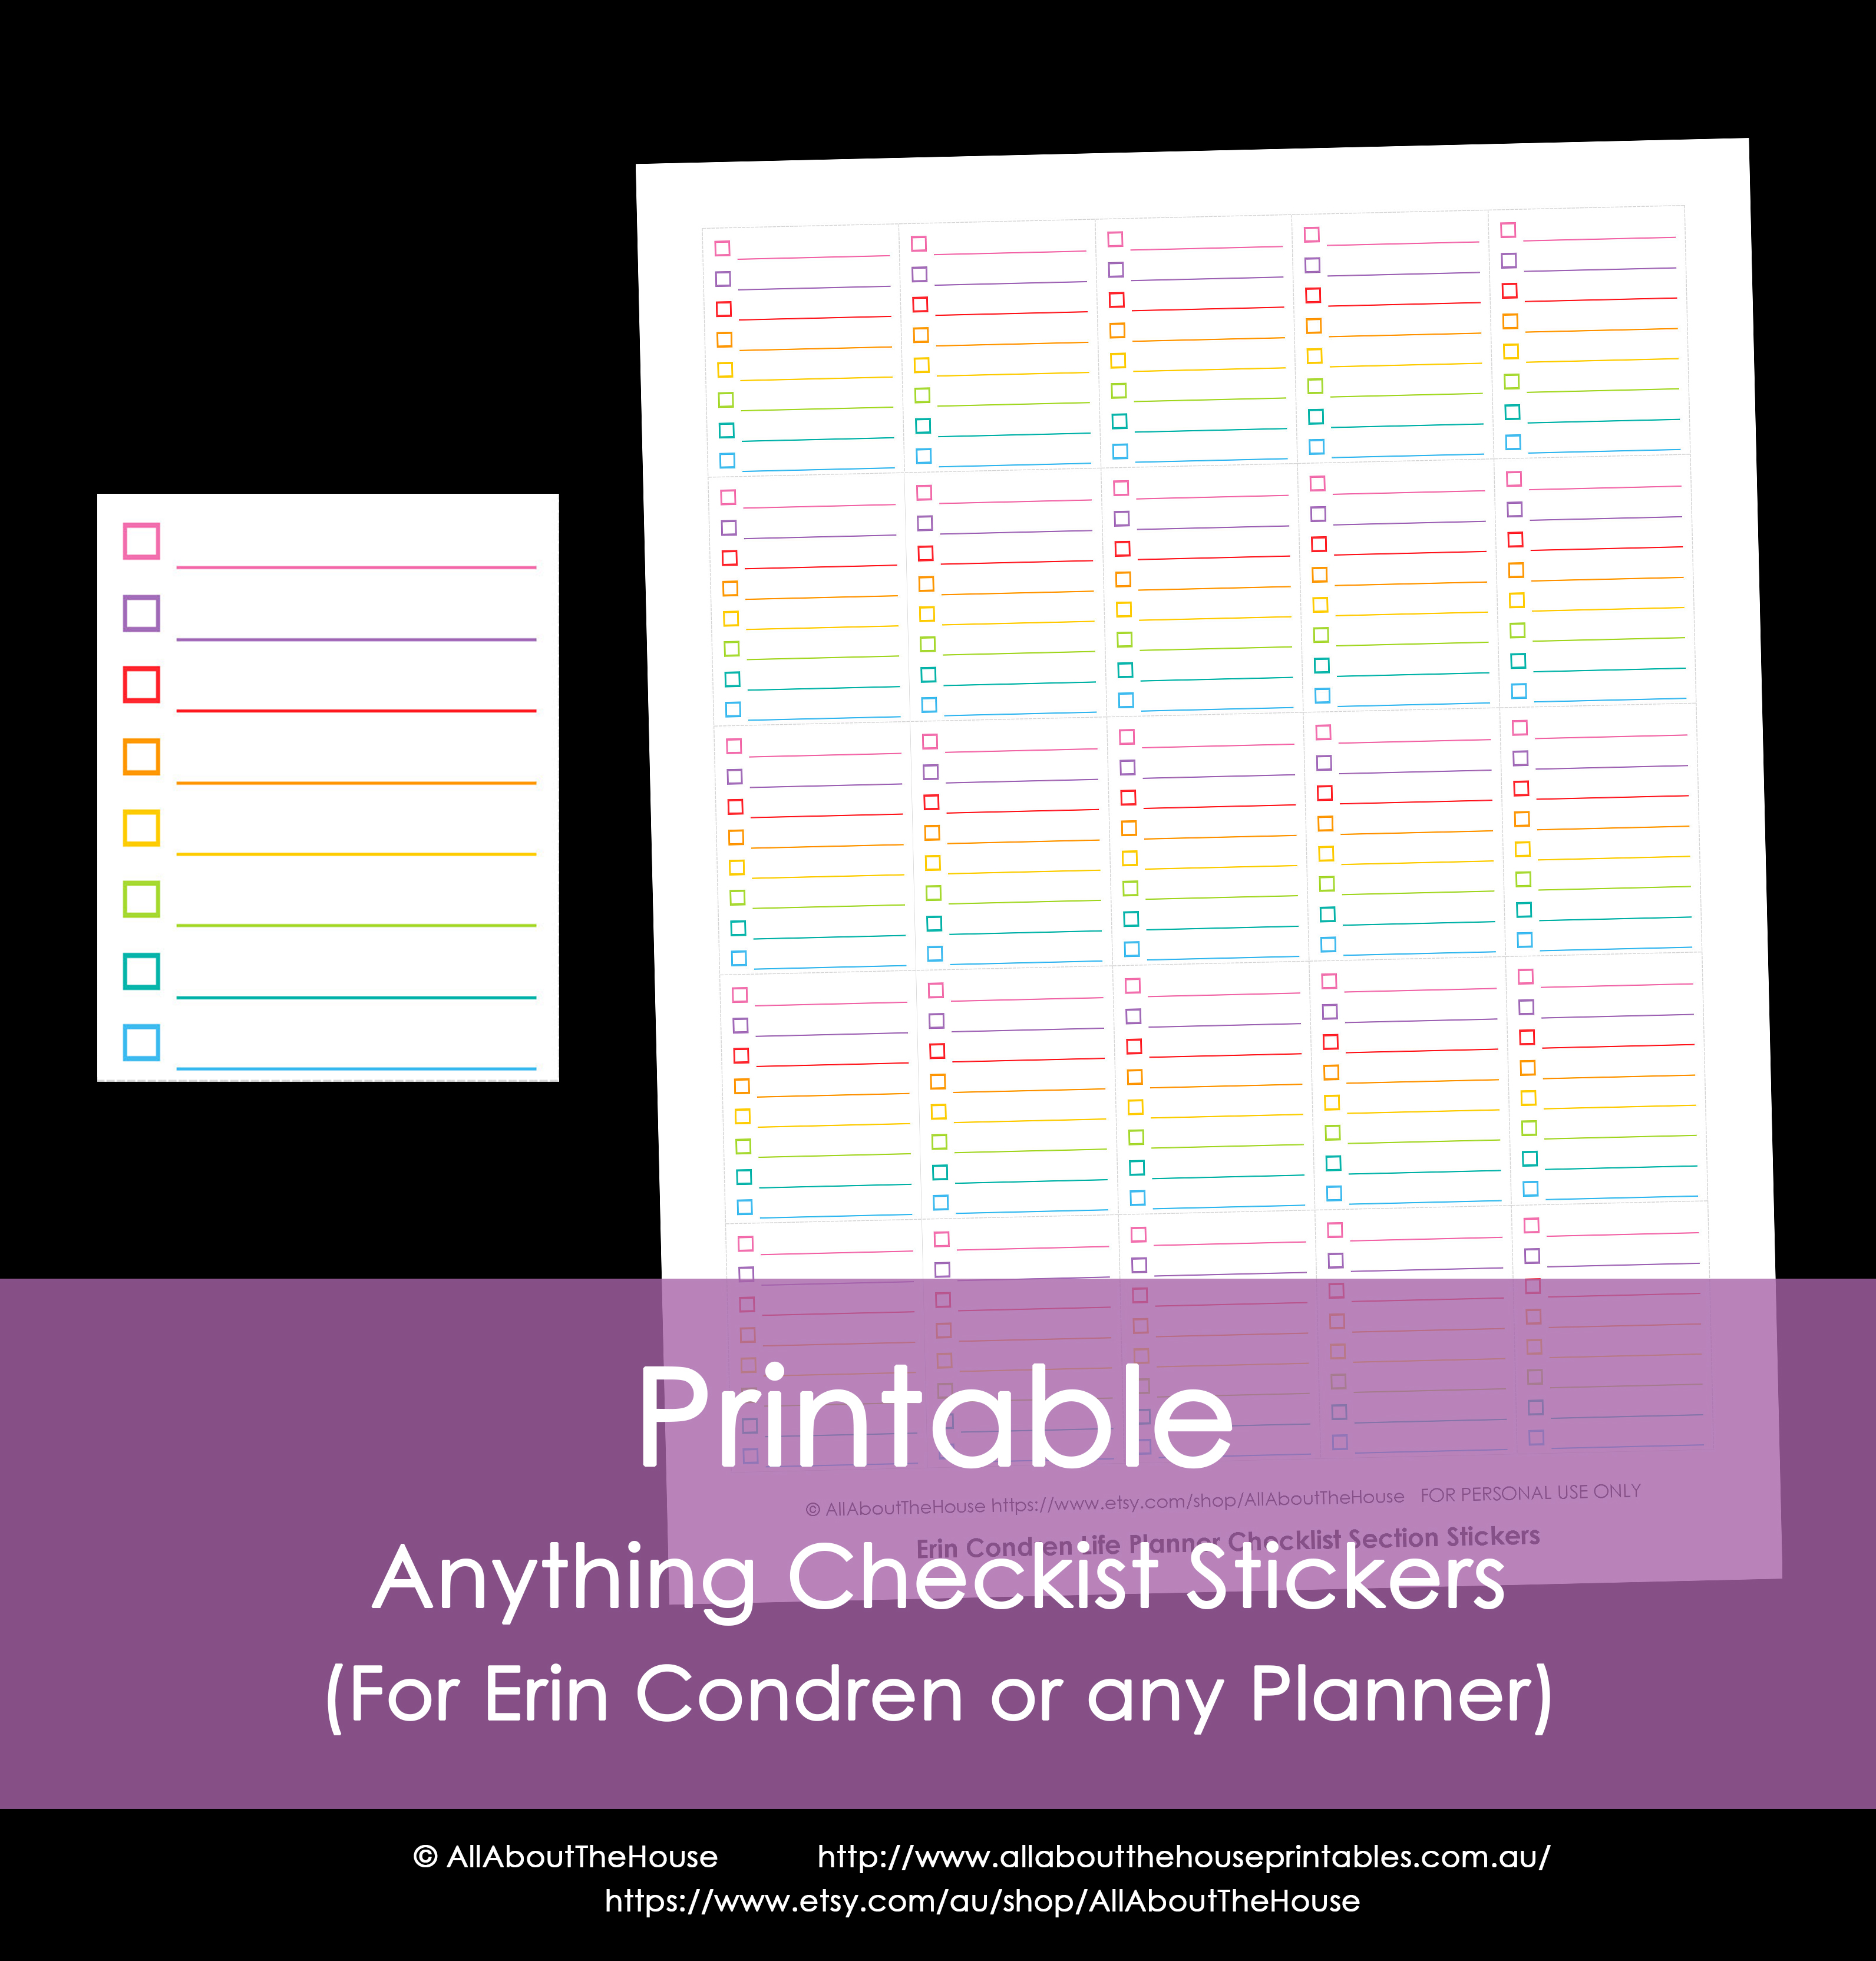
Checklist stickers – use for to do lists, chores, goals, homework, work tasks, blogging to dos, bills to be paid ect.
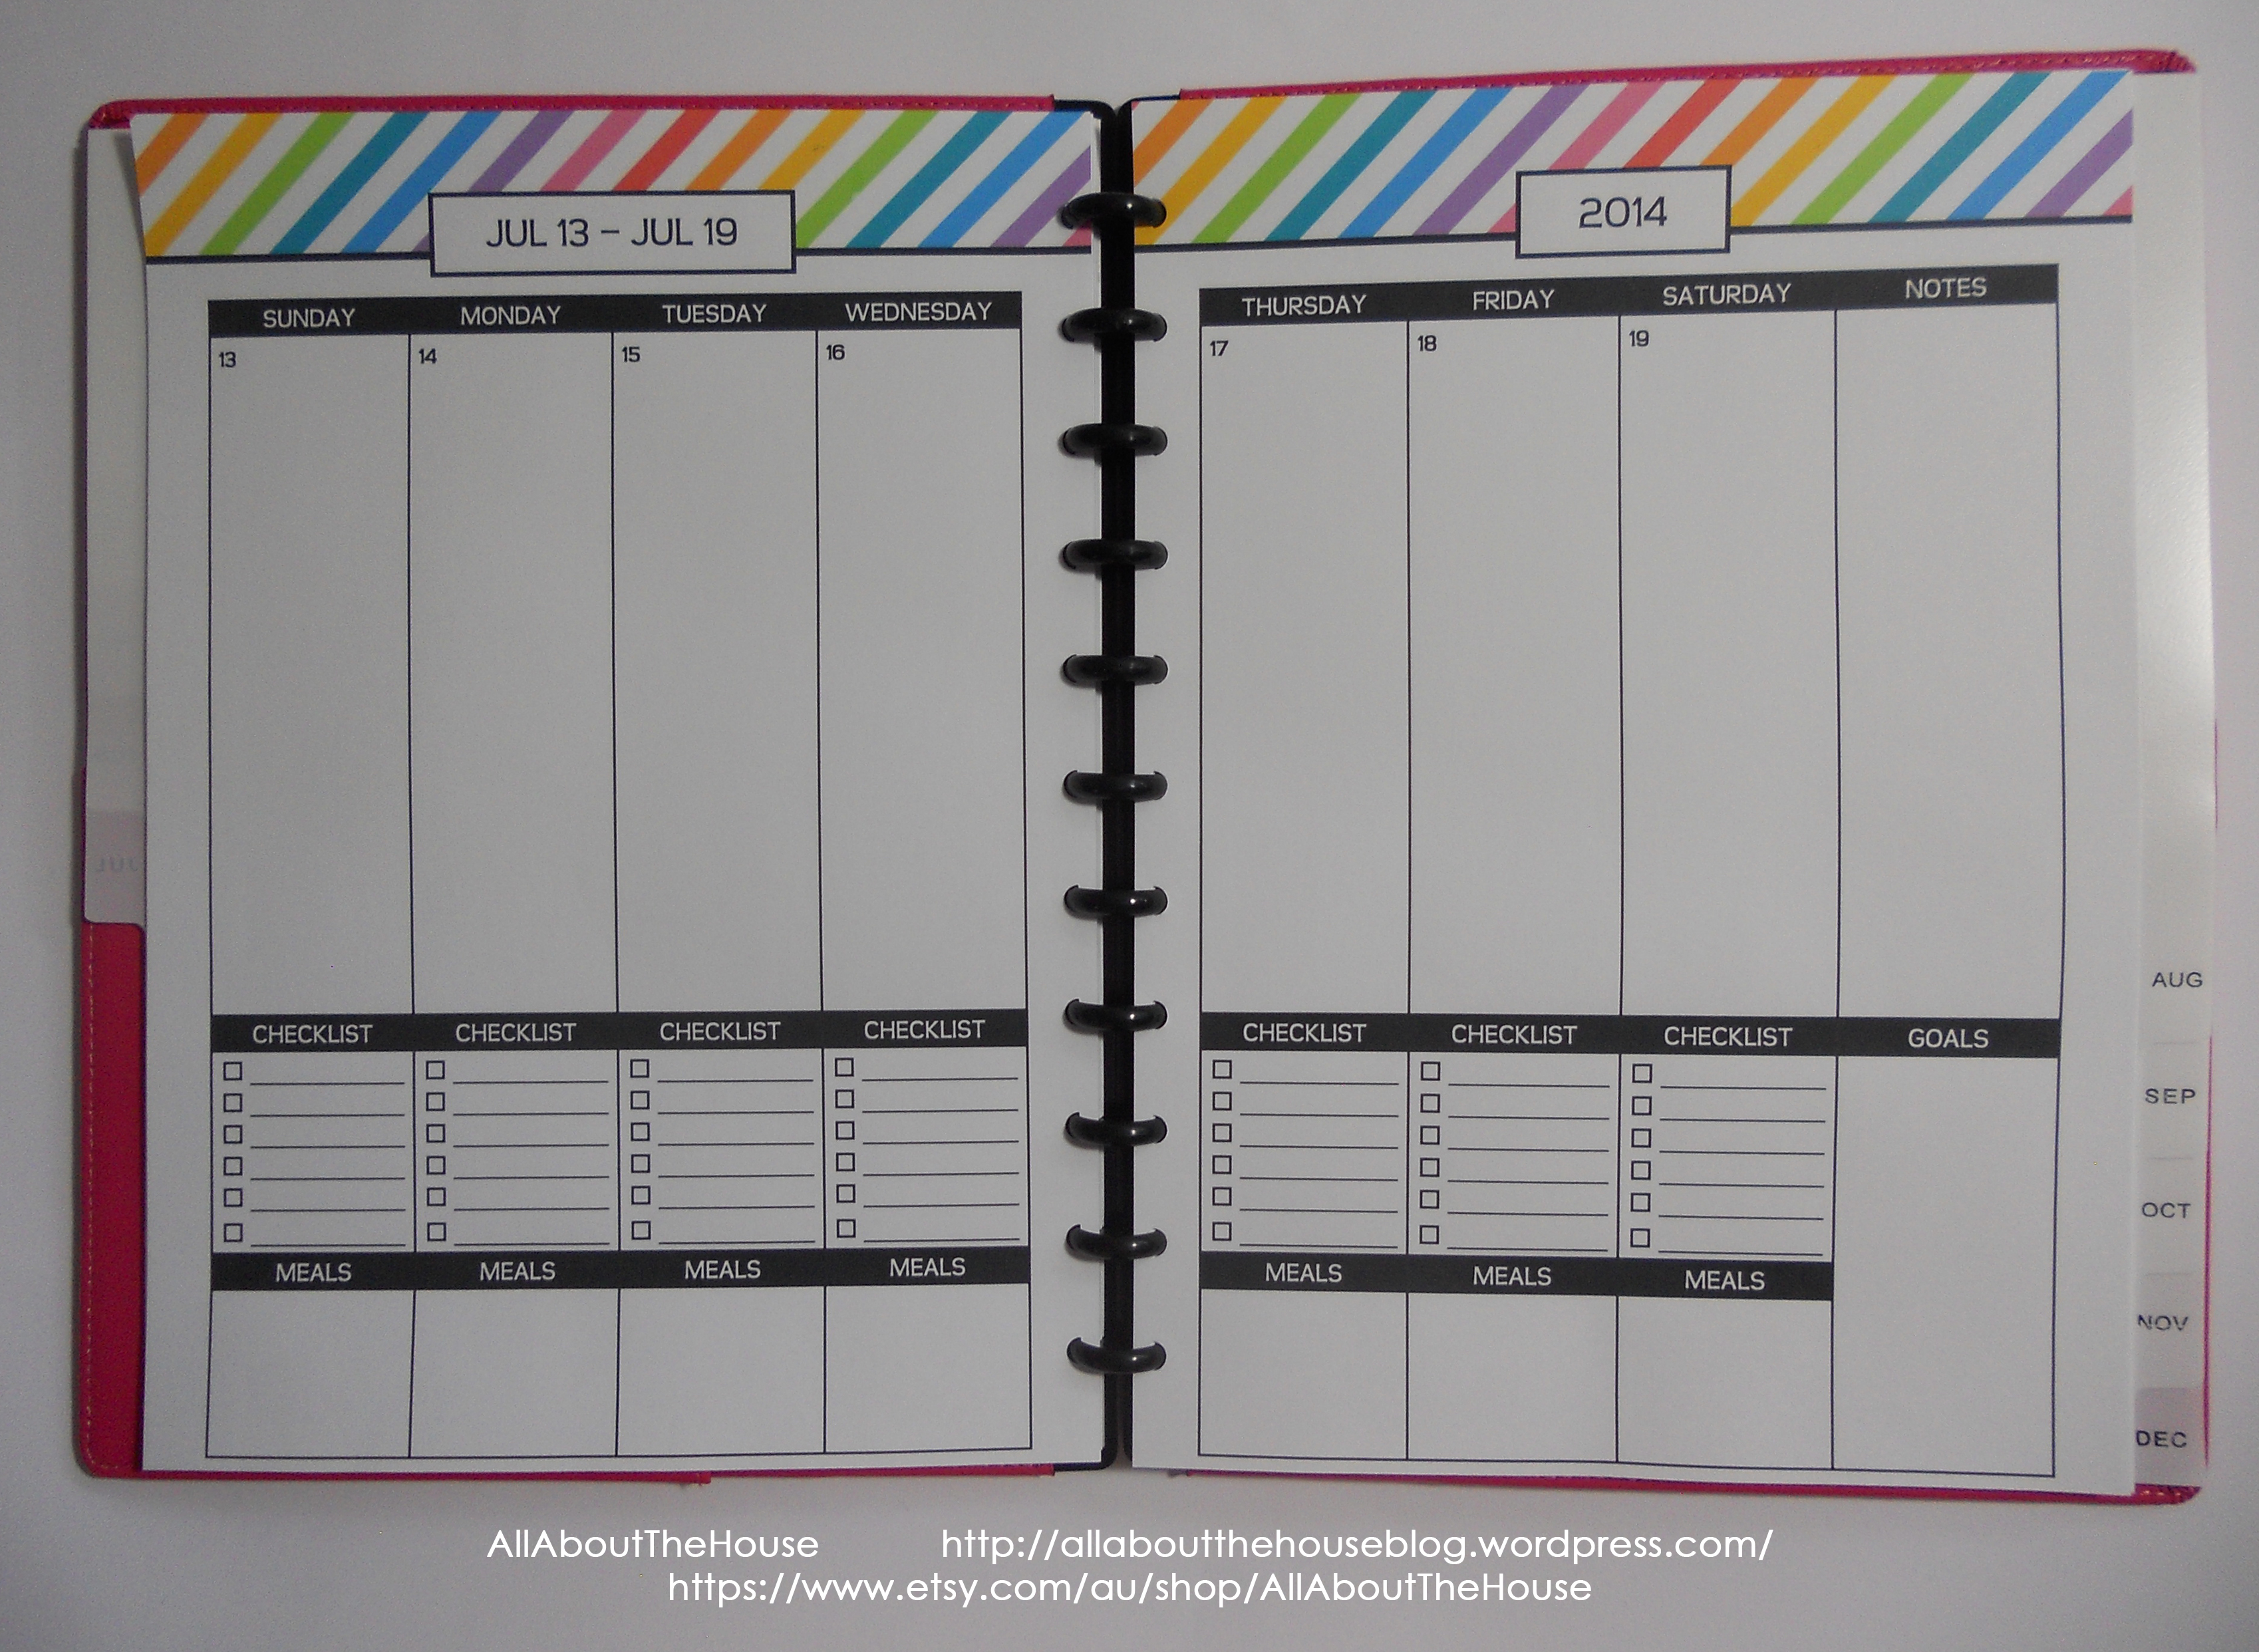
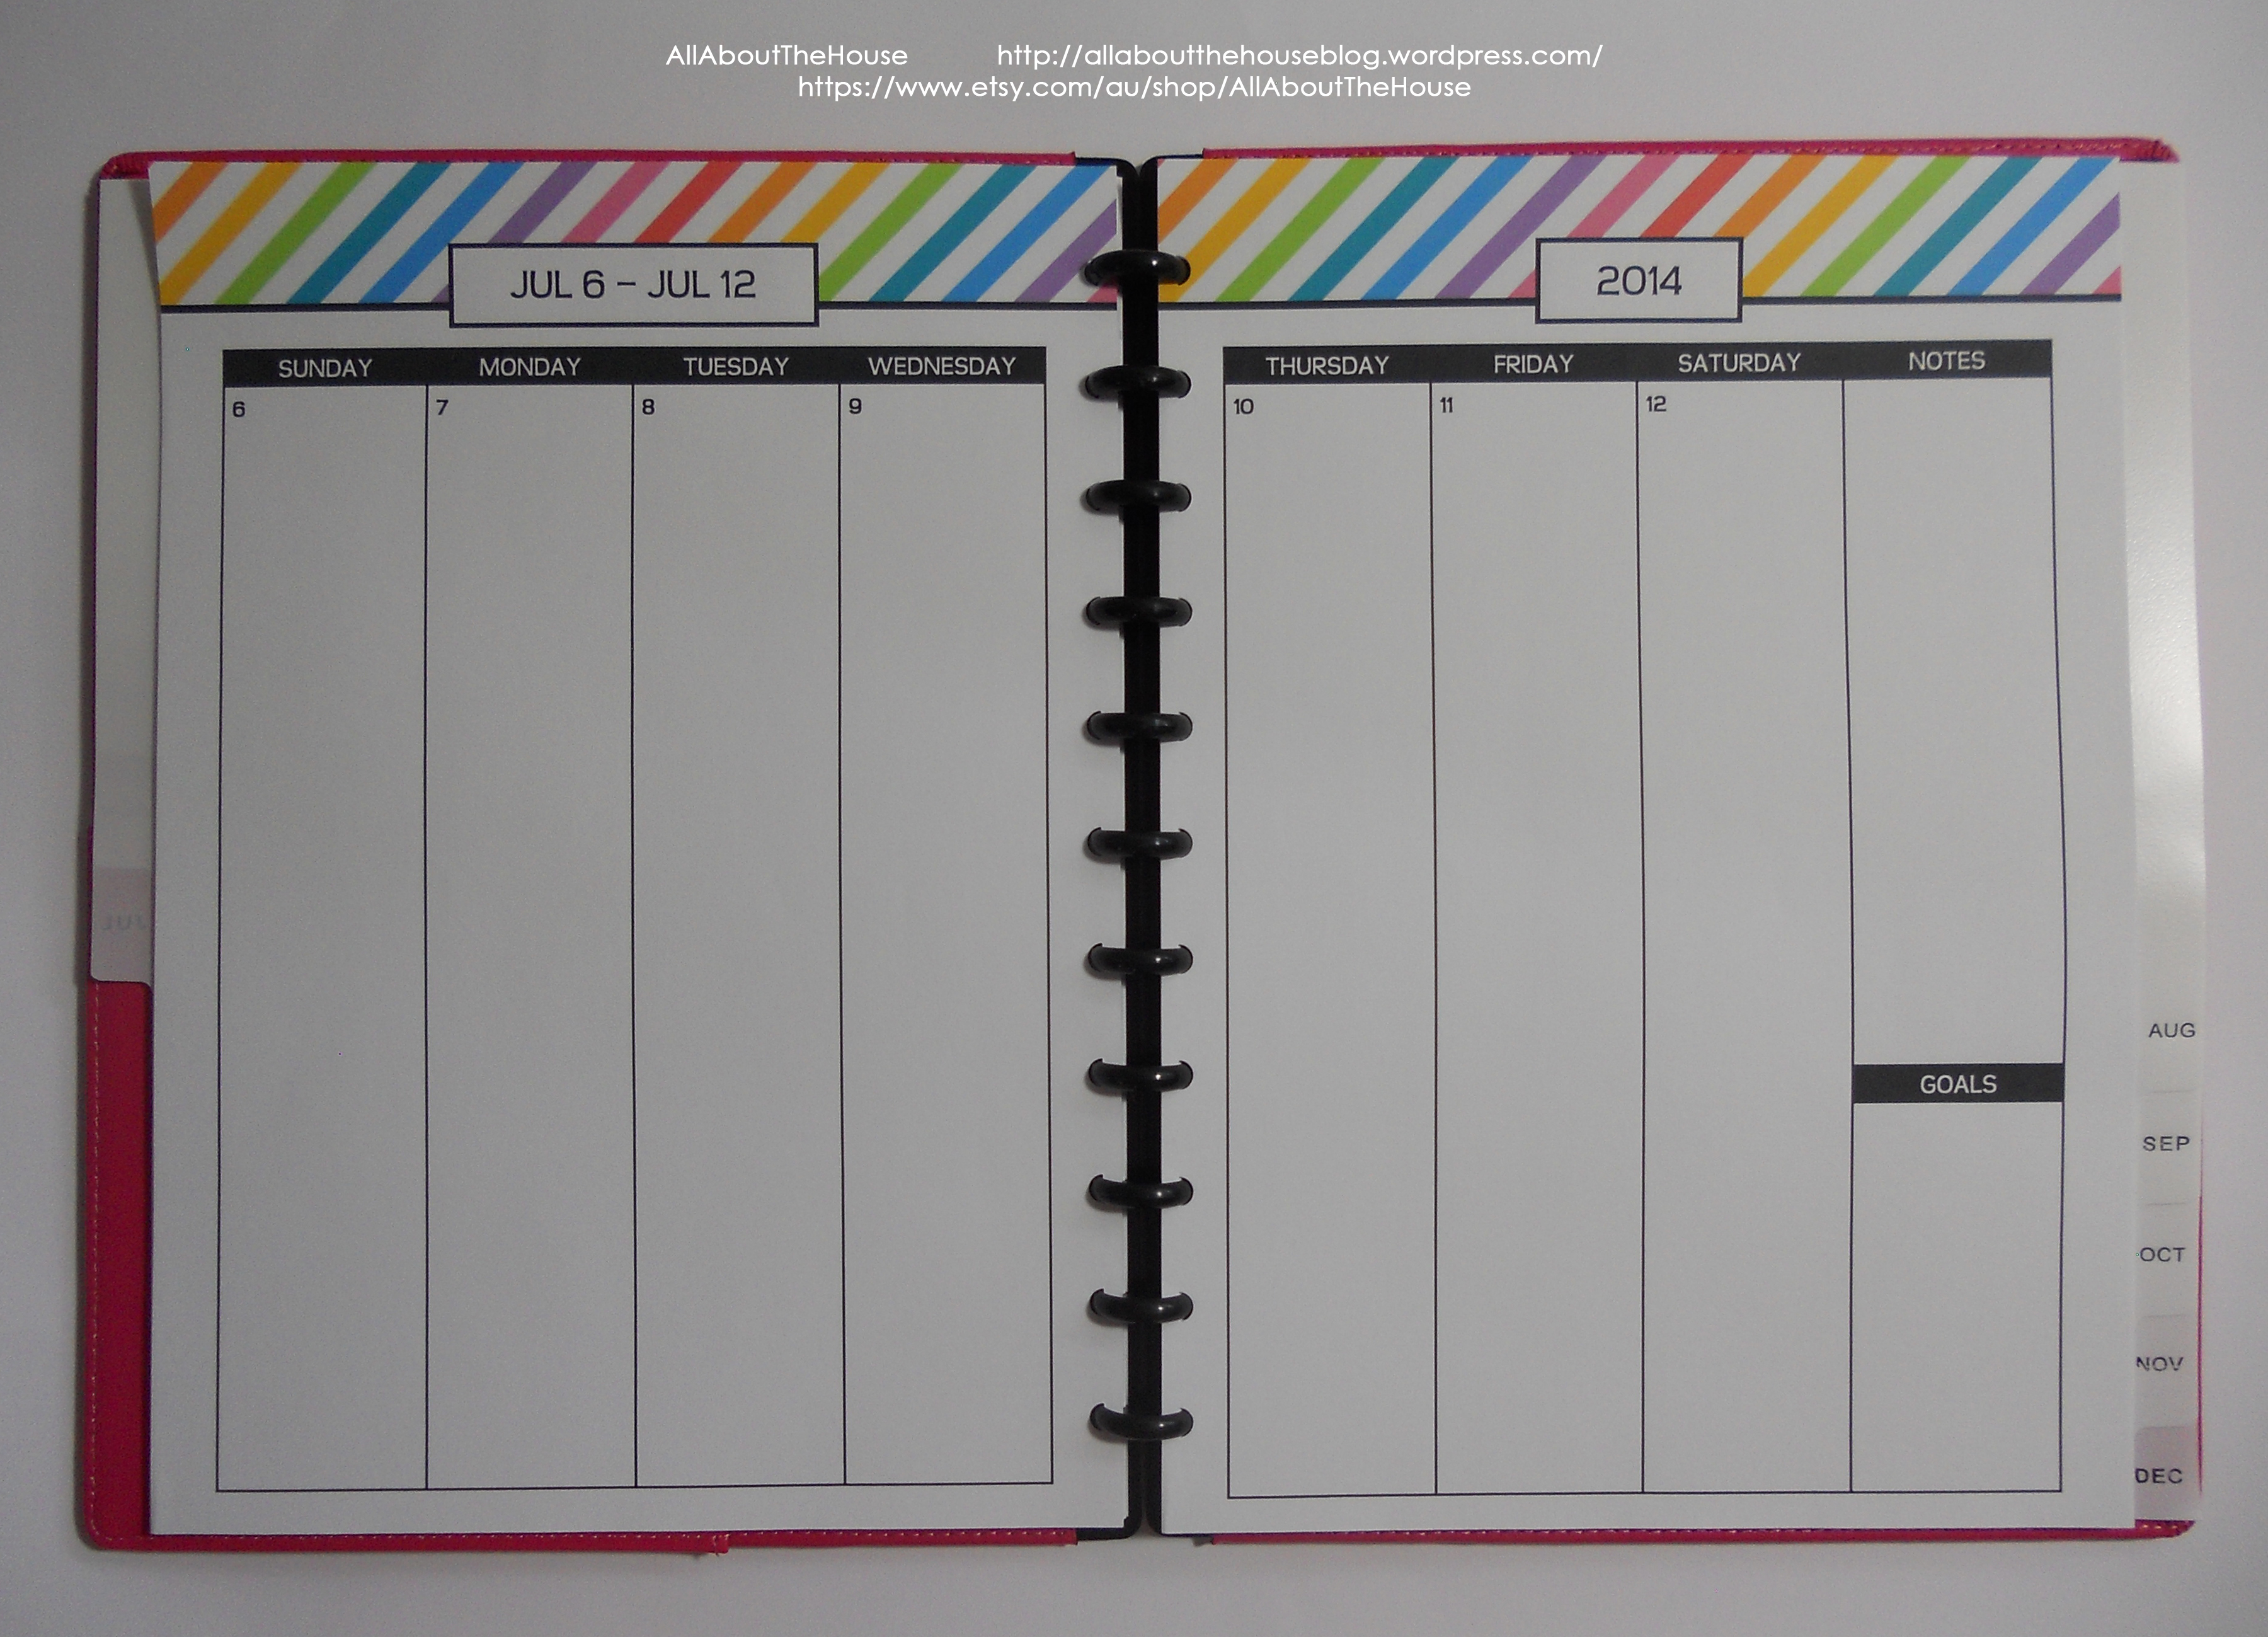
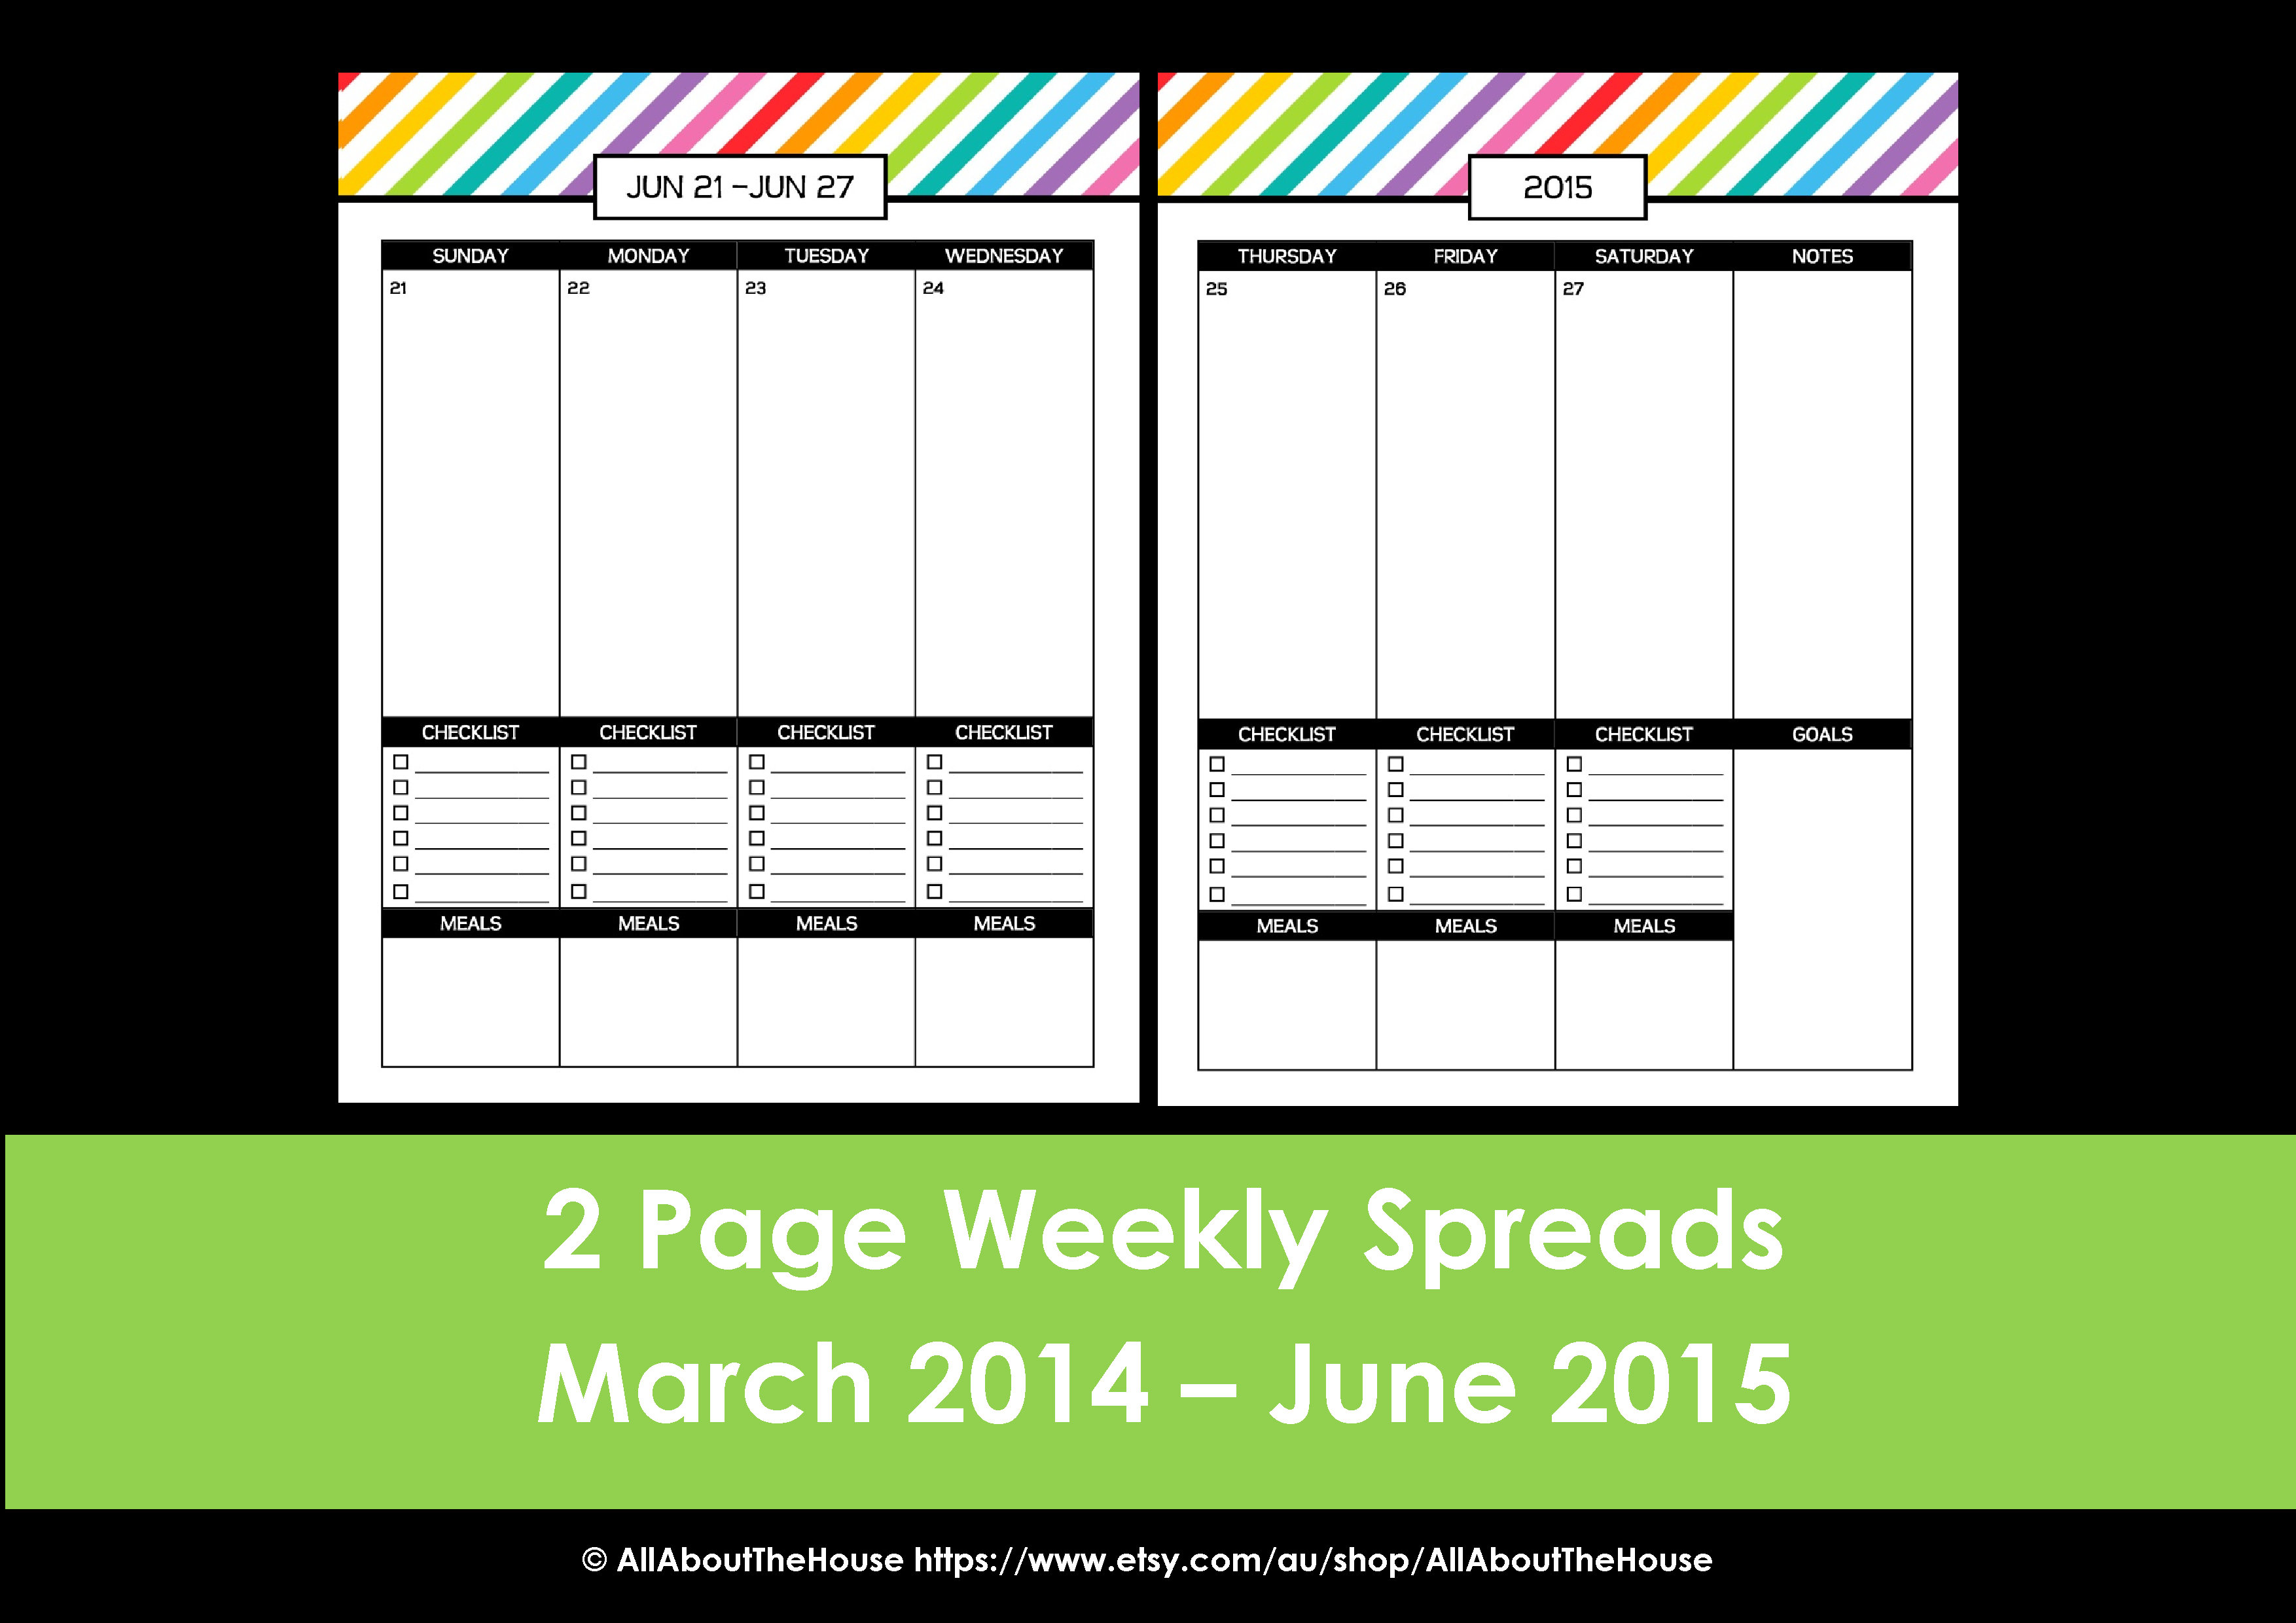
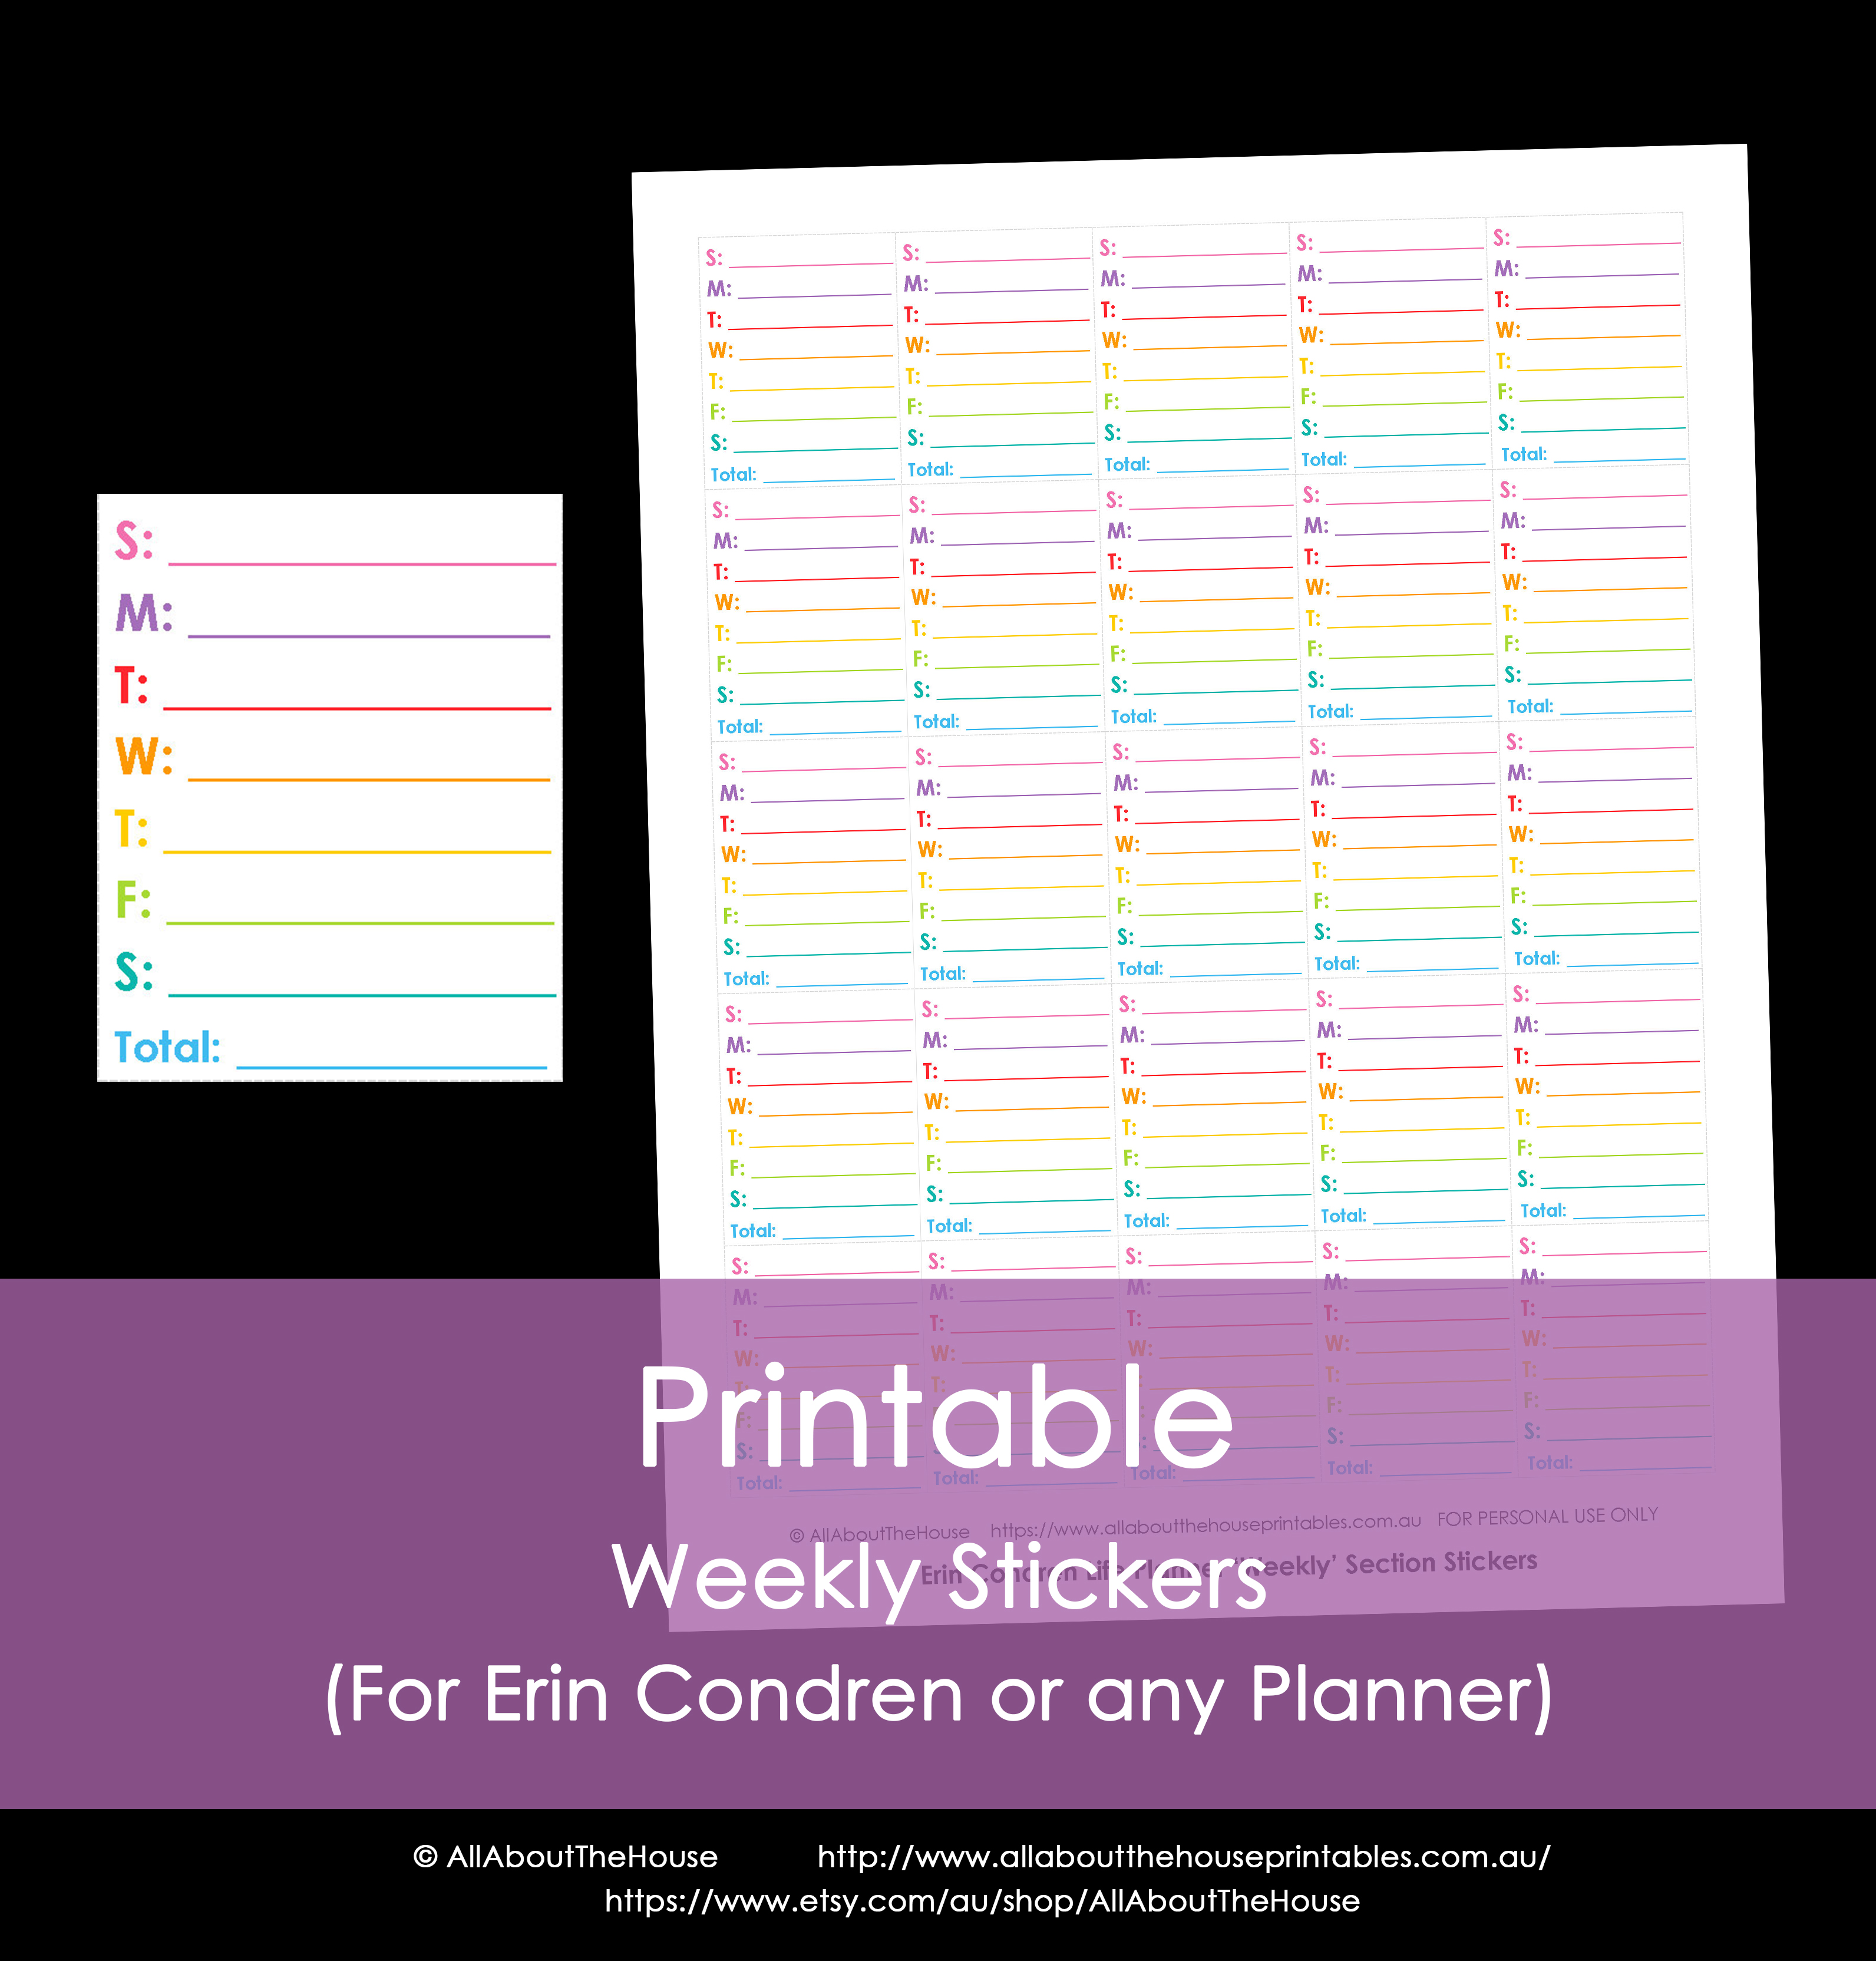
Weekly Stickers – Sunday and Monday start versions included – can be used for expense tracking, income tracking, meal planning, weight and measurements, calorie counting, number of steps, routine chores, prioritising most important task per day, gratitutde, medication/prescriptions, exercise for the week, hrs worked, hrs studied ect.
Numbered List – for priority to do lists, time scheduling ect.

Heart List Stickers – can be used for to do lists, chores, goals, homework, work tasks, blogging to dos, bills to pay ect.

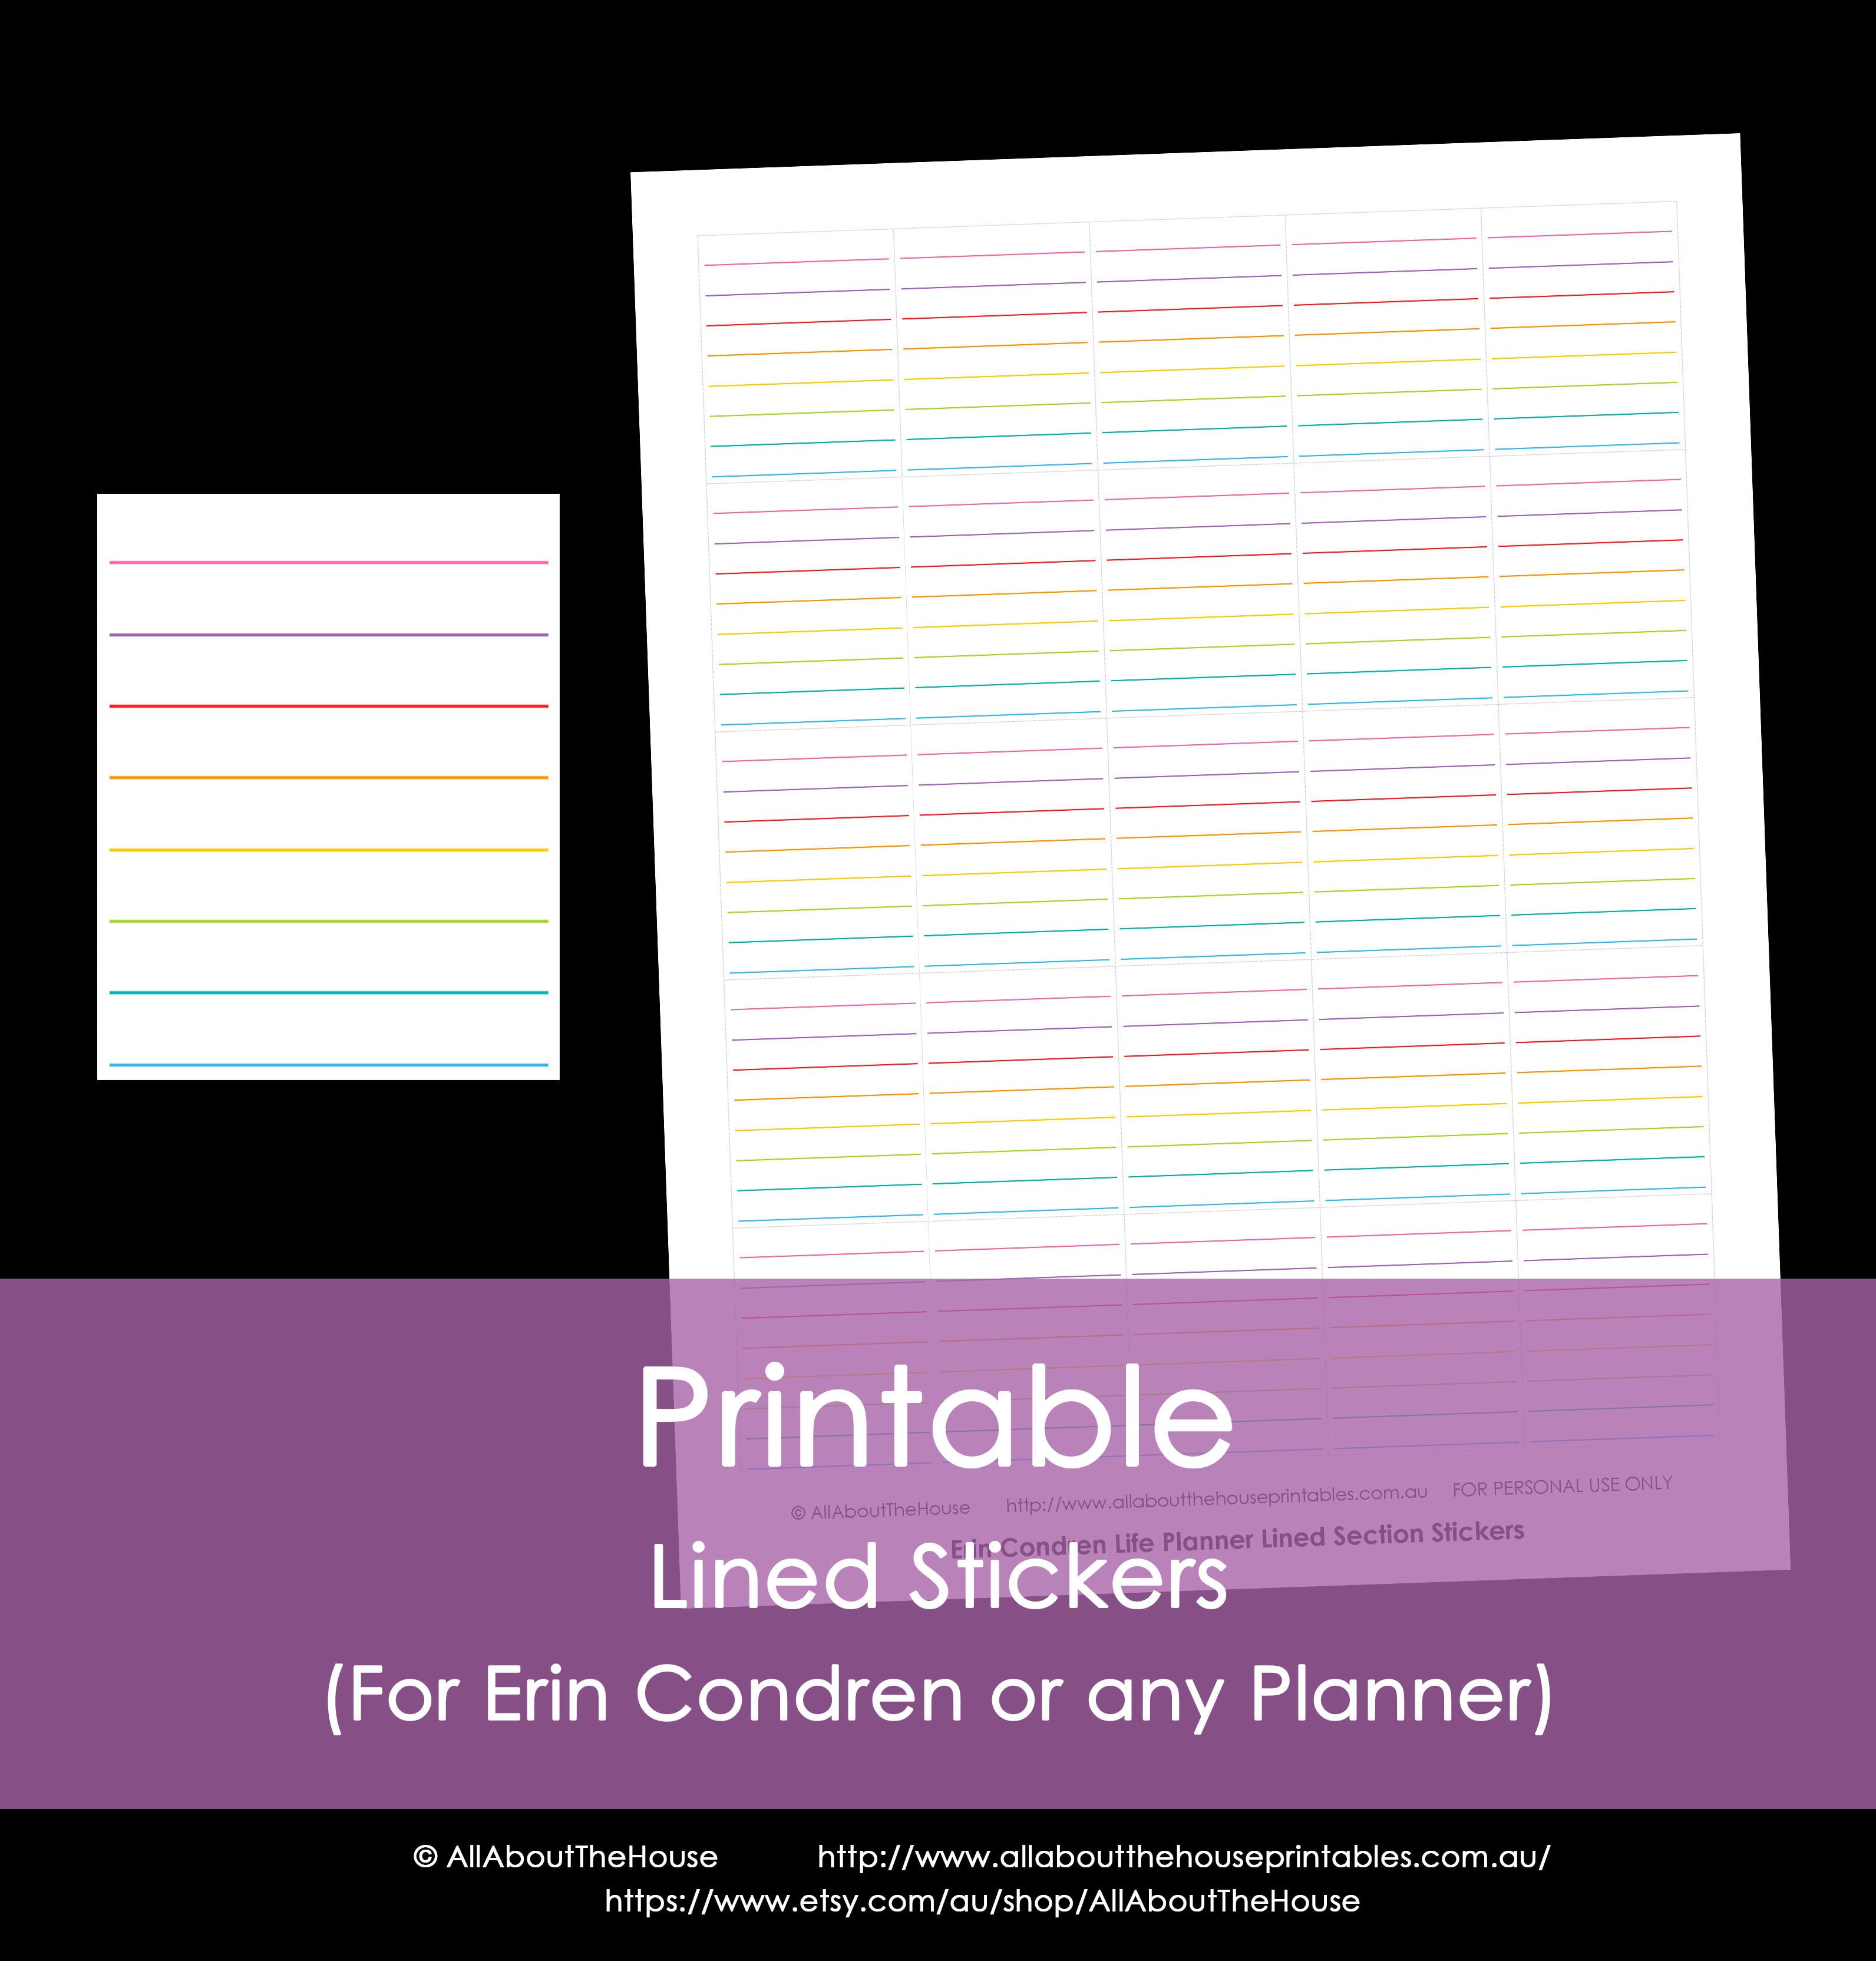
Lined Stickers – for general note taking, do lists, chores, goals, homework, meal planning, work tasks, blogging to dos, bills to be paid ect. Need half box size? (for underneath each day) – just cut to size
Flag stickers – large and small – width will fit the width of the white boxes under the morning/day/night headings. The small flags can be used in any direction e.g. lengthways or vertically (as shown below).
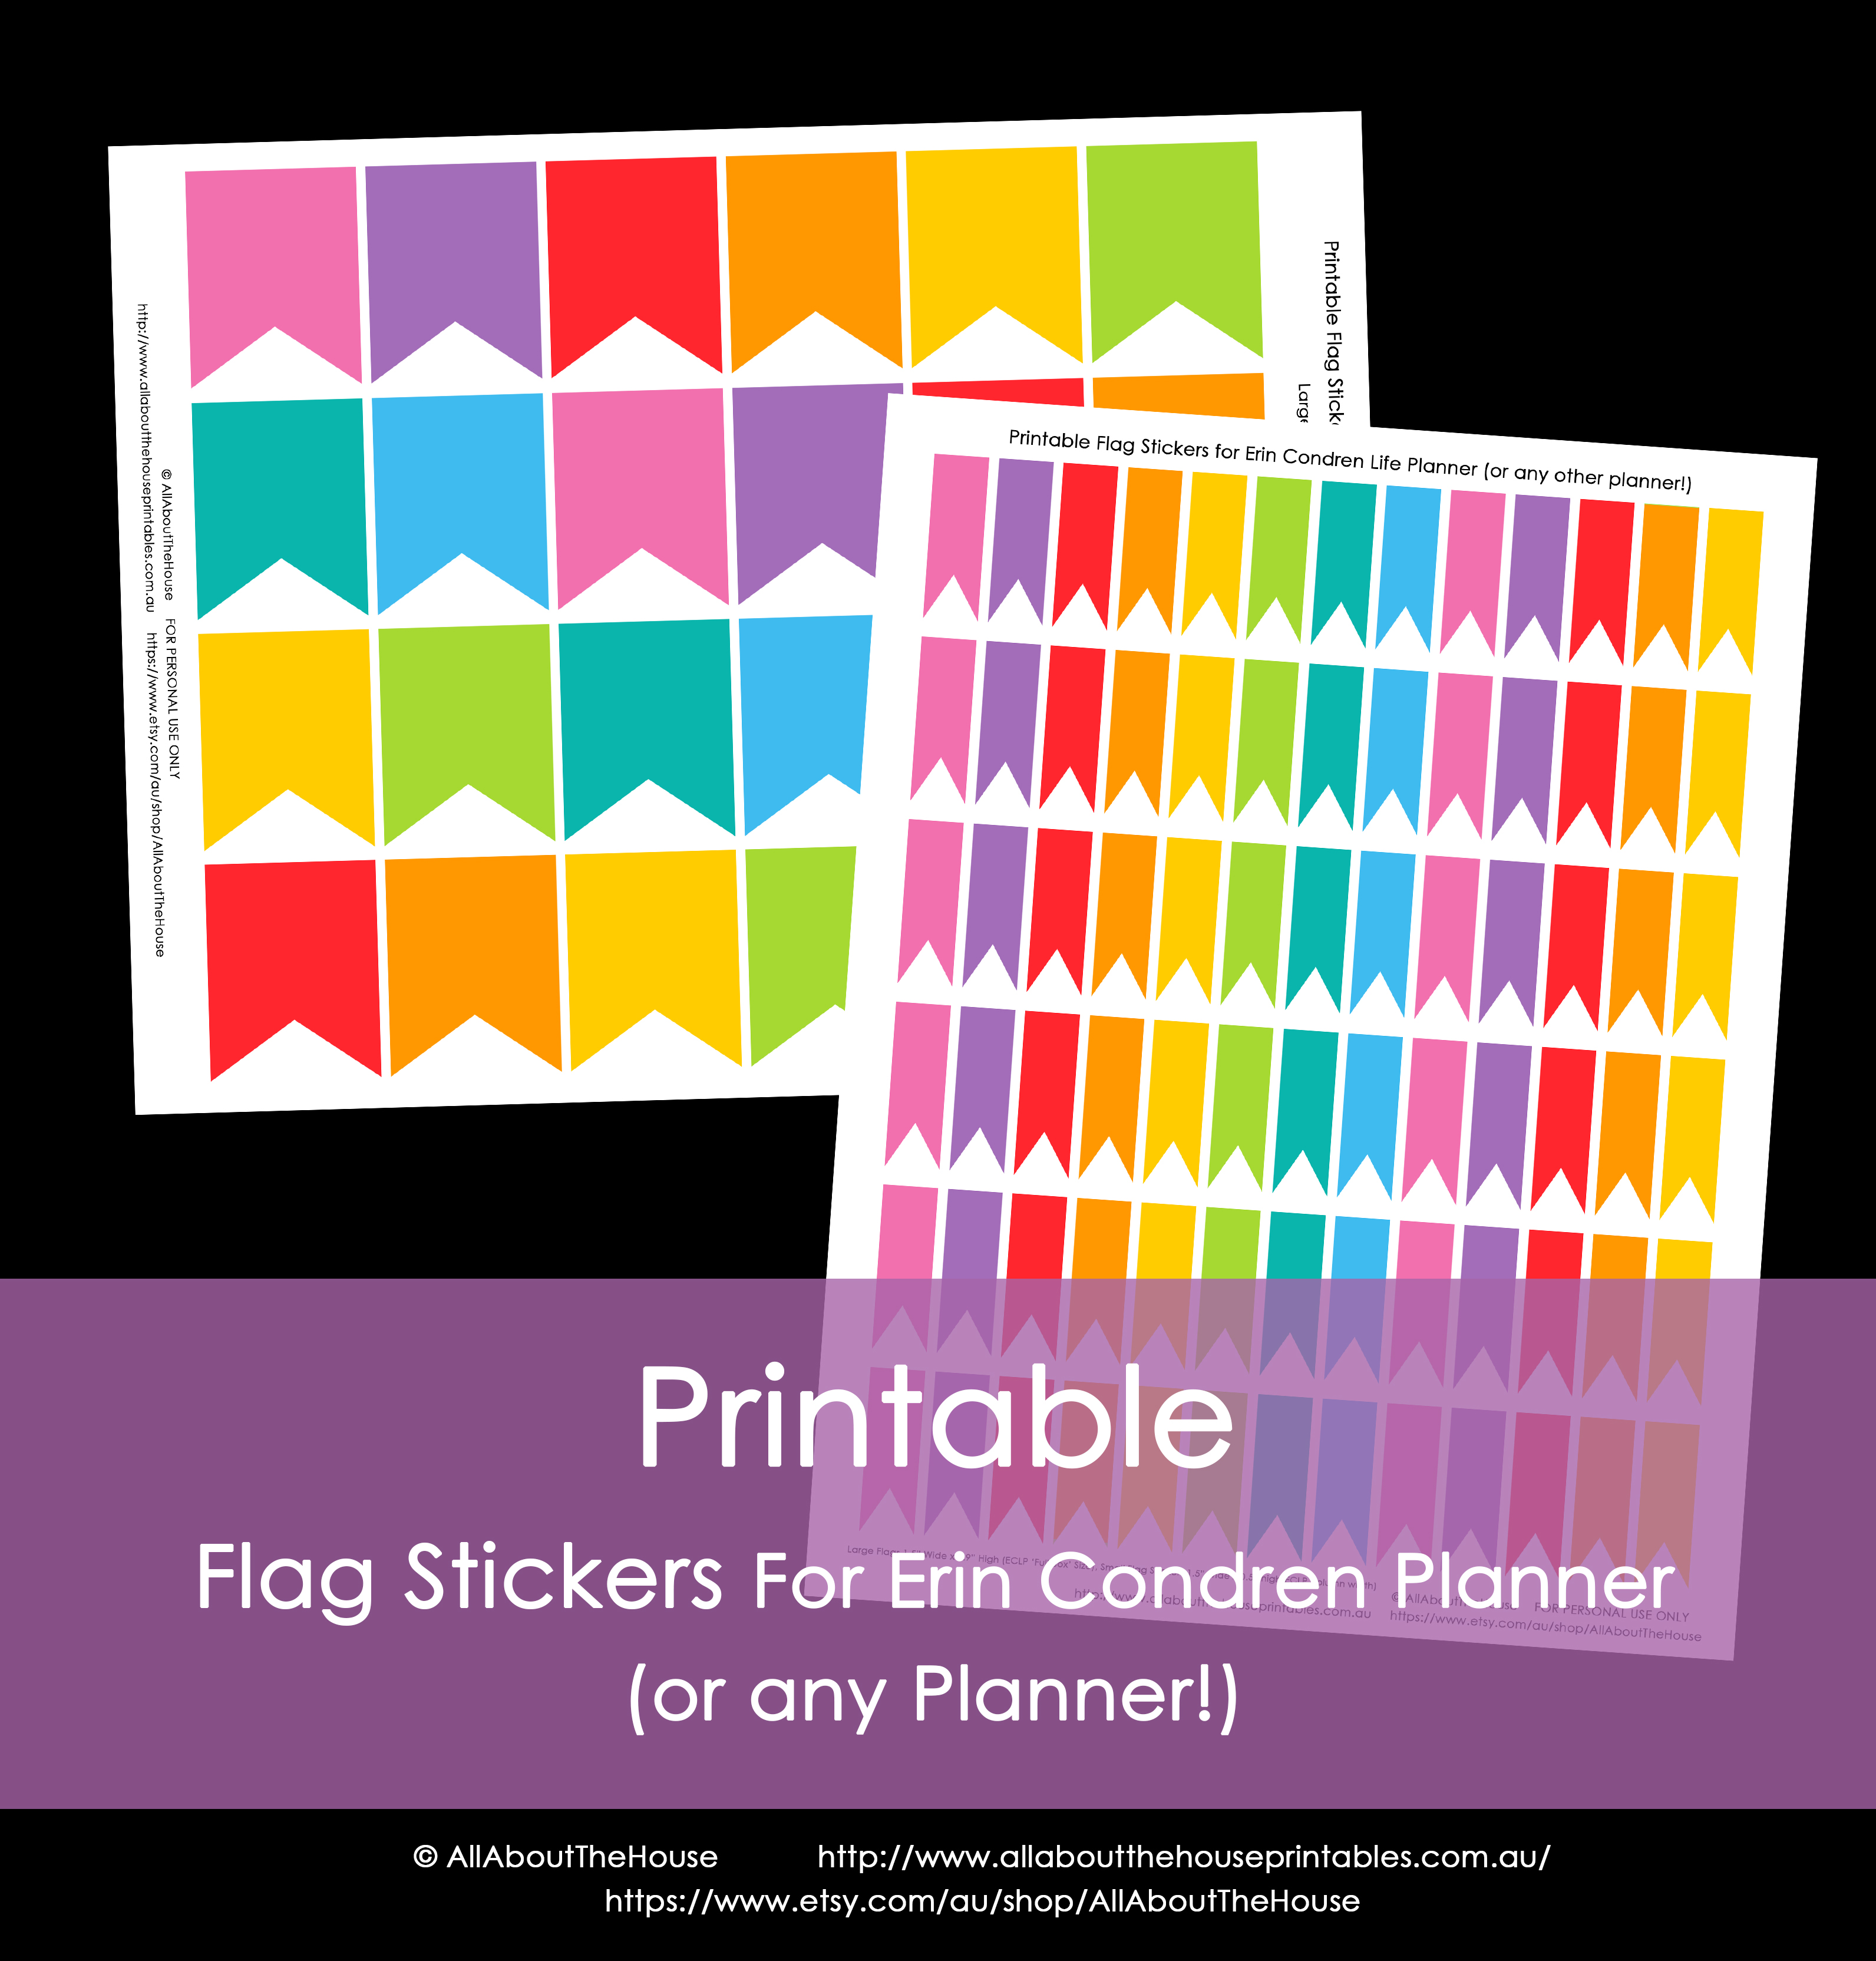
Large Flags (for the sections underneath the Morning/Day/Night titles) – in rainbow (as shown) and grey

Small Flags – you can rotate and use these in whatever direction works best for you – they fit the width of the white box underneath the ‘morning, day, night’ titles – they come in rainbow and grey

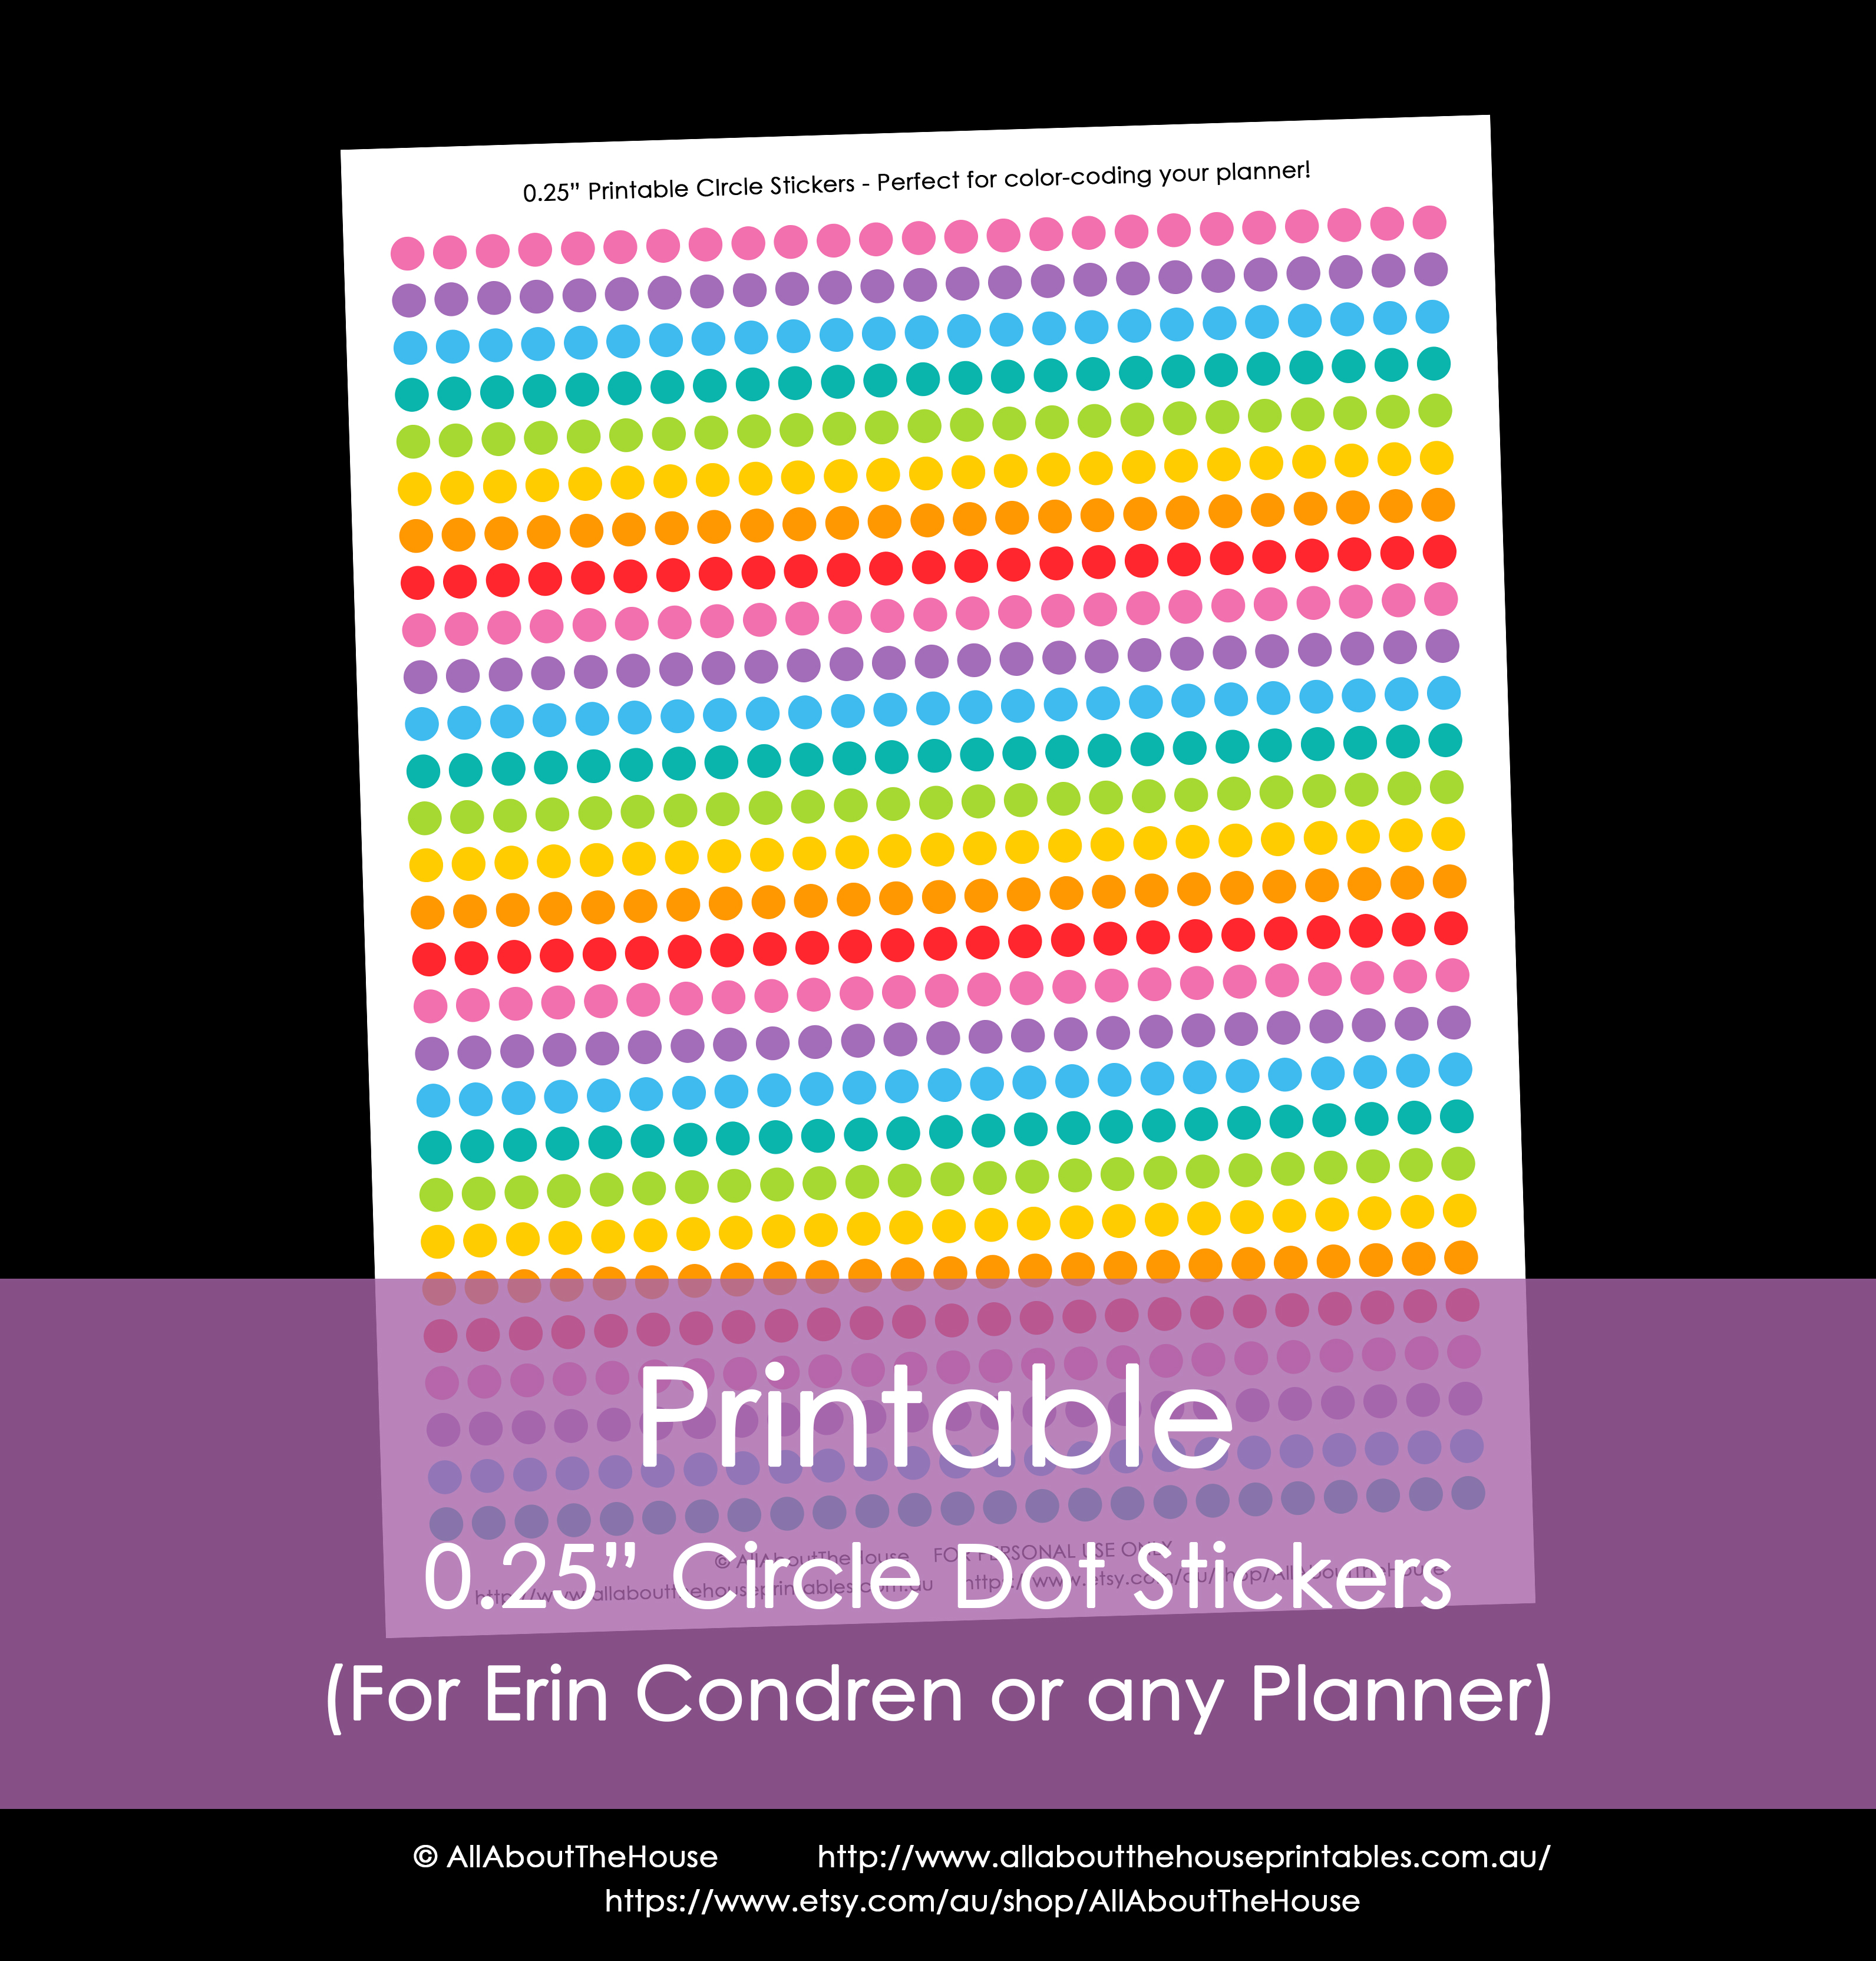
0.25″ (quarter inch) Round Stickers – great for colour-coding. Cut into strips and use in the white boxes underneath the morning/day/night titles, or print a strip and place over the lined goals section on the side (if you need another size or e.g. 0.25″ square stickers ), please contact me

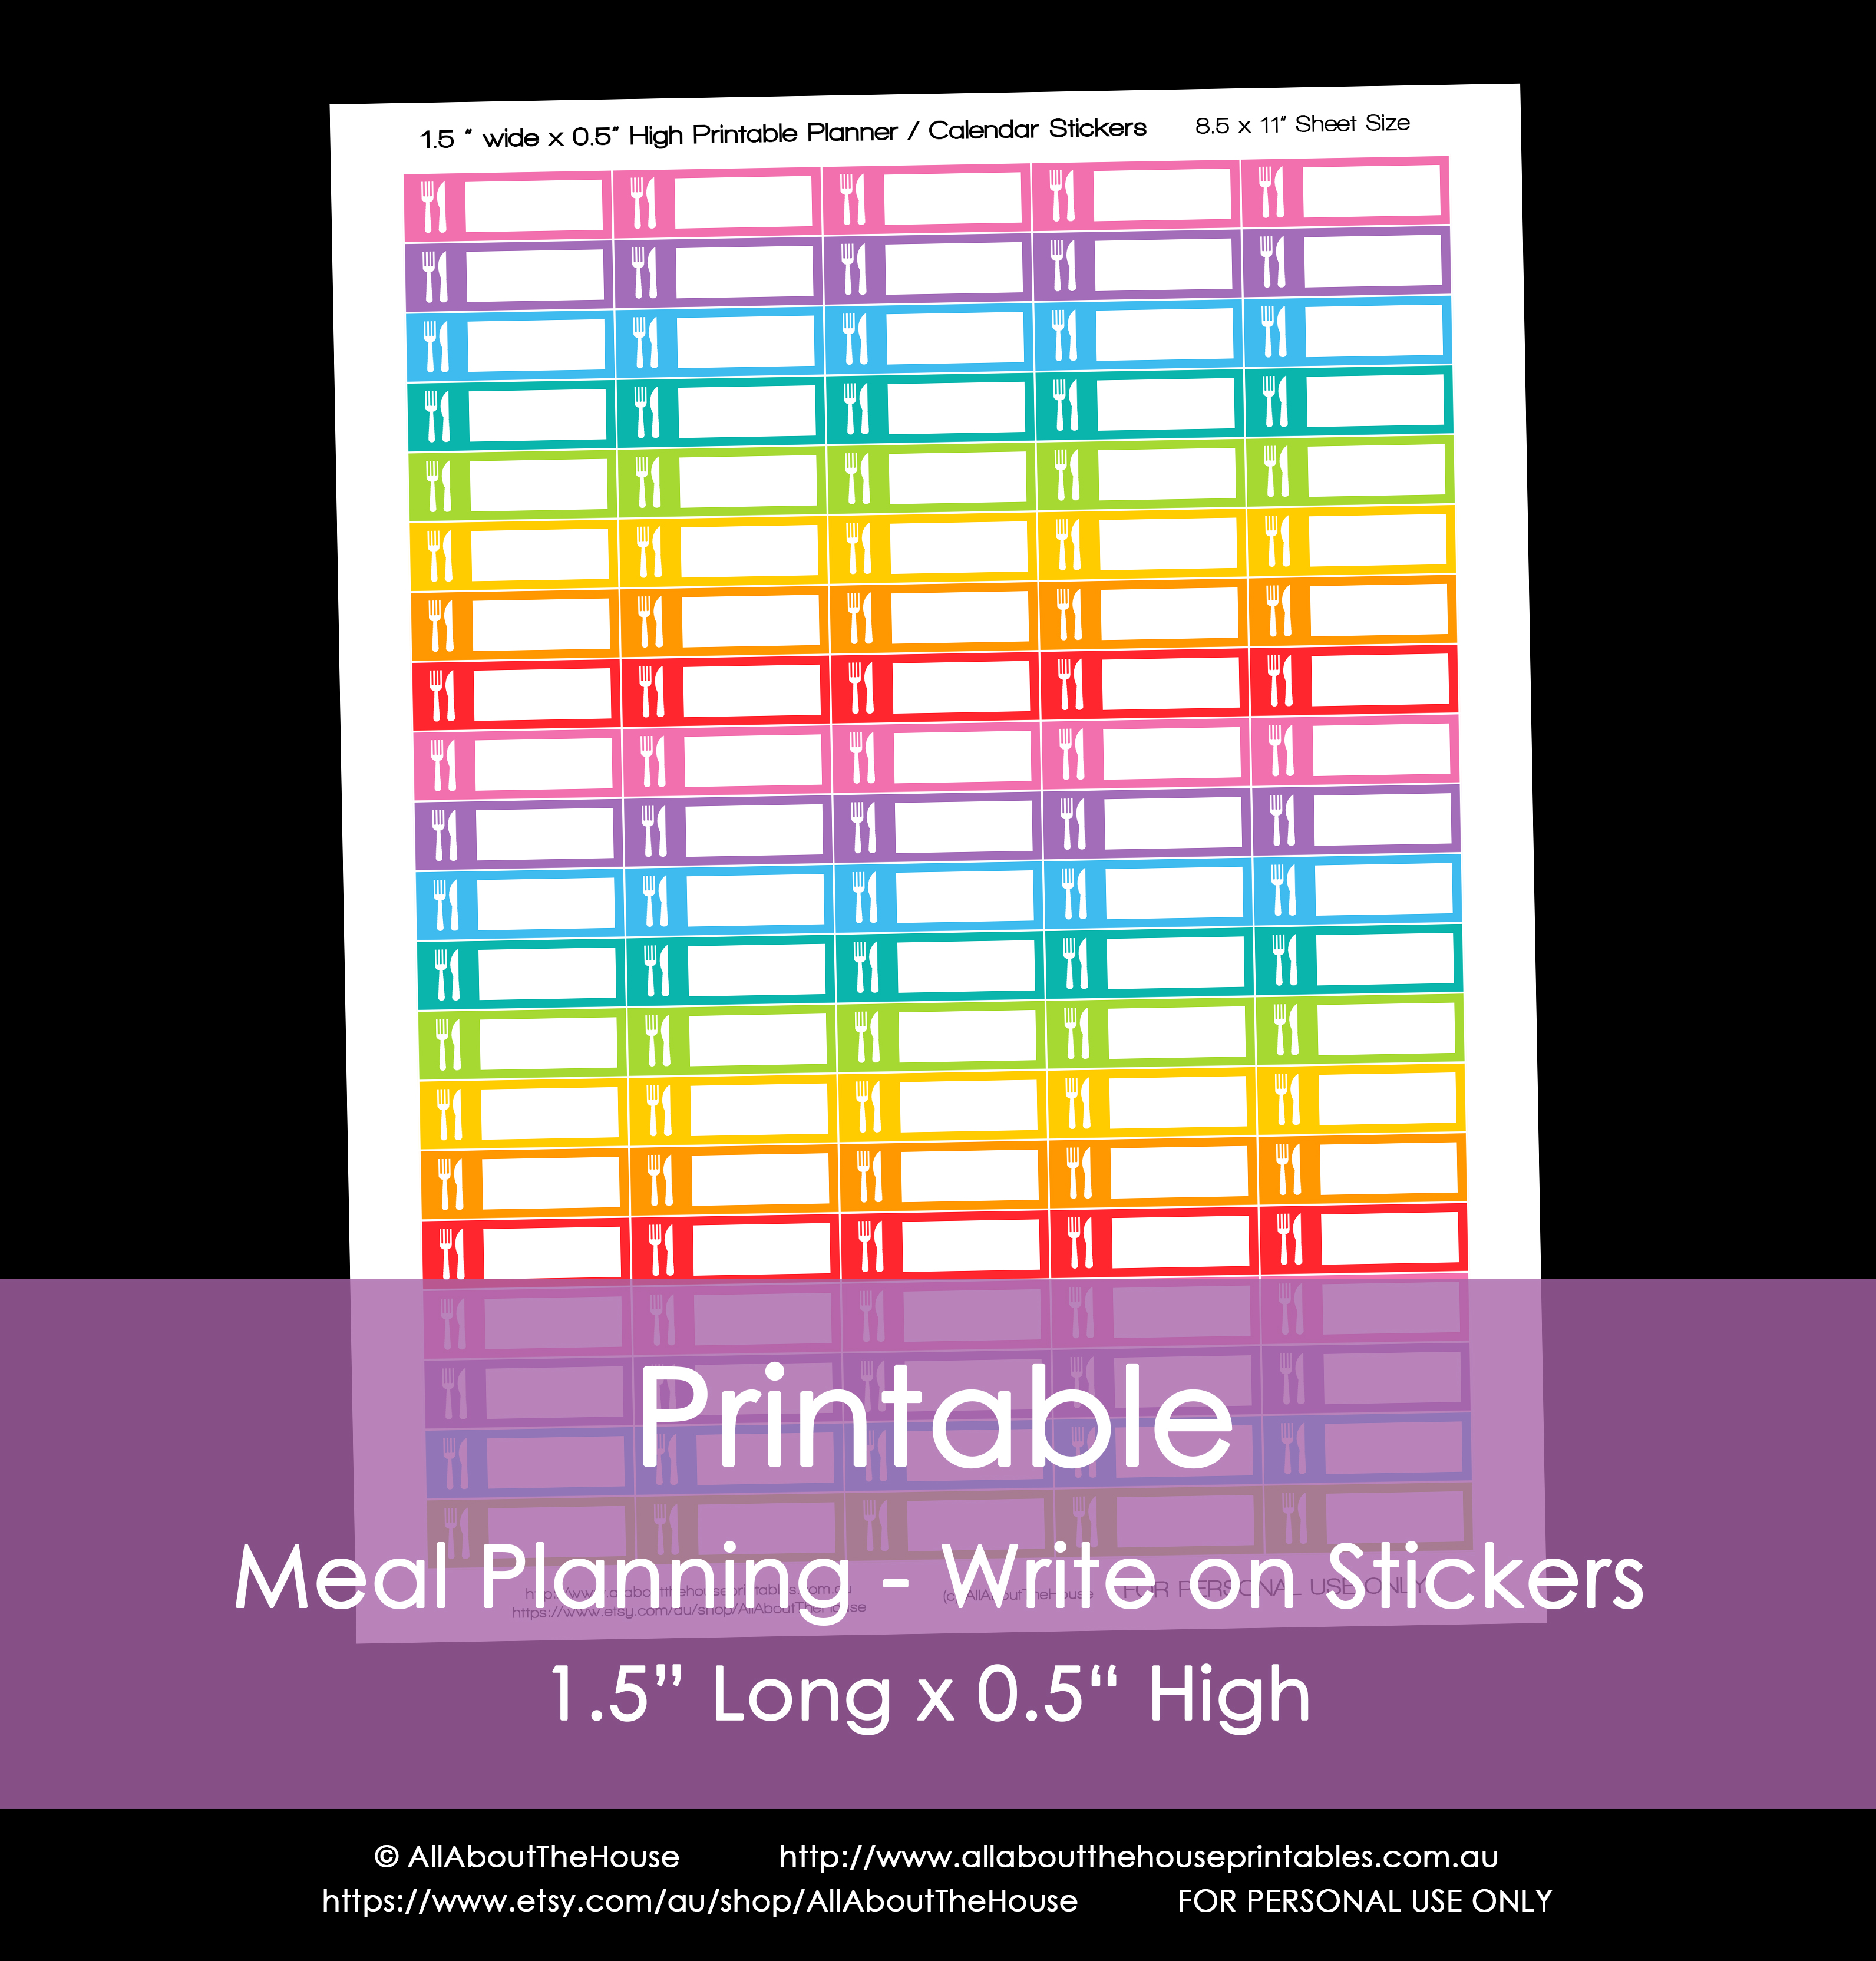
Bill Due/Payments stickers – write the bill and amount in the white space. I use a different colour for each type of bill e.g. pink = electricity, purple = phone ect.

Study – High school/college student stickers

Shop all calendar/planner stickers on Etsy or in the online store – there are now over 250 stickers to choose from!
If you just can’t get it enough, you can now purchase all planner stickers currently available for one low price! Visit the Etsy shop to purchase!

And for all the planner addicts, you can purchase all stickers and all chevron planner printable sets currently available here
UPDATE: Unfortunately I have had to remove the Get It All bundles due to customers computers not being able to handle the MASSIVE number of files (hundreds) through one download link resulting in me having to send them via email which meant I was actually losing money.
The Get It All planner bundle is still available. But the Get It All sticker bundles have now been replaced with Choose 5, Choose 10, Choose 15, Choose 30, the Mystery Bundle (which contains a lot of best sellers!) and the Sticker Subscription (you choose the duration for the subscription).
A note about printing: matte sticker paper is recommended if you want to write on the stickers. See here for a list of places to purchase label paper from. Re-positionable full sheet label paper is available from Staples among other places. I’ve found that buying label paper online is cheaper than in store. Online Labels sells 100 sheets for $30 or just 30c for a whole page of stickers!
I also get asked how I cut the stickers. I use a paper trimmer I purchased a few years back. I can’t remember where I bought it from but it is similar to this one. I prefer that style of paper trimmer to this style as I find it easier to see where I’m cutting and easier to cut multiple sheets at once. I print off sticker sheets, set up my paper trimmer in the front of the tv and by the end of a show I’ve cut all the stickers! For the flag stickers I use scissors for the flag ends. If you want round stickers I recommend using a craft punch such as this one.
These stickers are STRICTLY FOR PERSONAL USE ONLY. NO COMMERCIAL USE is allowed including: reselling, printing and selling, sharing, giveaways and posting them on your blog for others to download. If someone you know would like a copy, please direct them to my store. You may NOT PROFIT FROM these stickers in any way – thank you for respecting the time it takes to create these designs!
I get a lot of enquires regarding if there is a printed and shipped to your door option for these stickers so I want to know:
I live in Australia – I know many of you live in the USA so the other thing I would like to know is:
I have some good news – you can also purchase the Photoshop templates I have created and make your own stickers. AND you CAN sell the stickers you make with the templates in digital and/or printed form. But you CANNOT sell the photoshop template, share, sell, giveaway (such as make directly available for download from your blog – please direct people to my store to purchase themselves if they are interested). If you are interested in purchasing, please contact me at allaboutthehouseetsy@yahoo.com.au
Customers often ask me how I make these stickers. To see if this would be feasible, please let me know how much you would pay for a comprehensive guide on how to make your own calendar stickers? (for personal and/or commercial use). I would include in the guide 5 different ways for making calendar stickers (with free and paid software) and where to buy sticker paper from (USA and Australia).
Are there any other sticker designs, colours or sizes you would like to see? If so, please comment below – I am a bit obsessed with making stickers at the moment!
For those of you who love washi tape, check out my sister’s Etsy store, CarefullyCraftedbyJo.
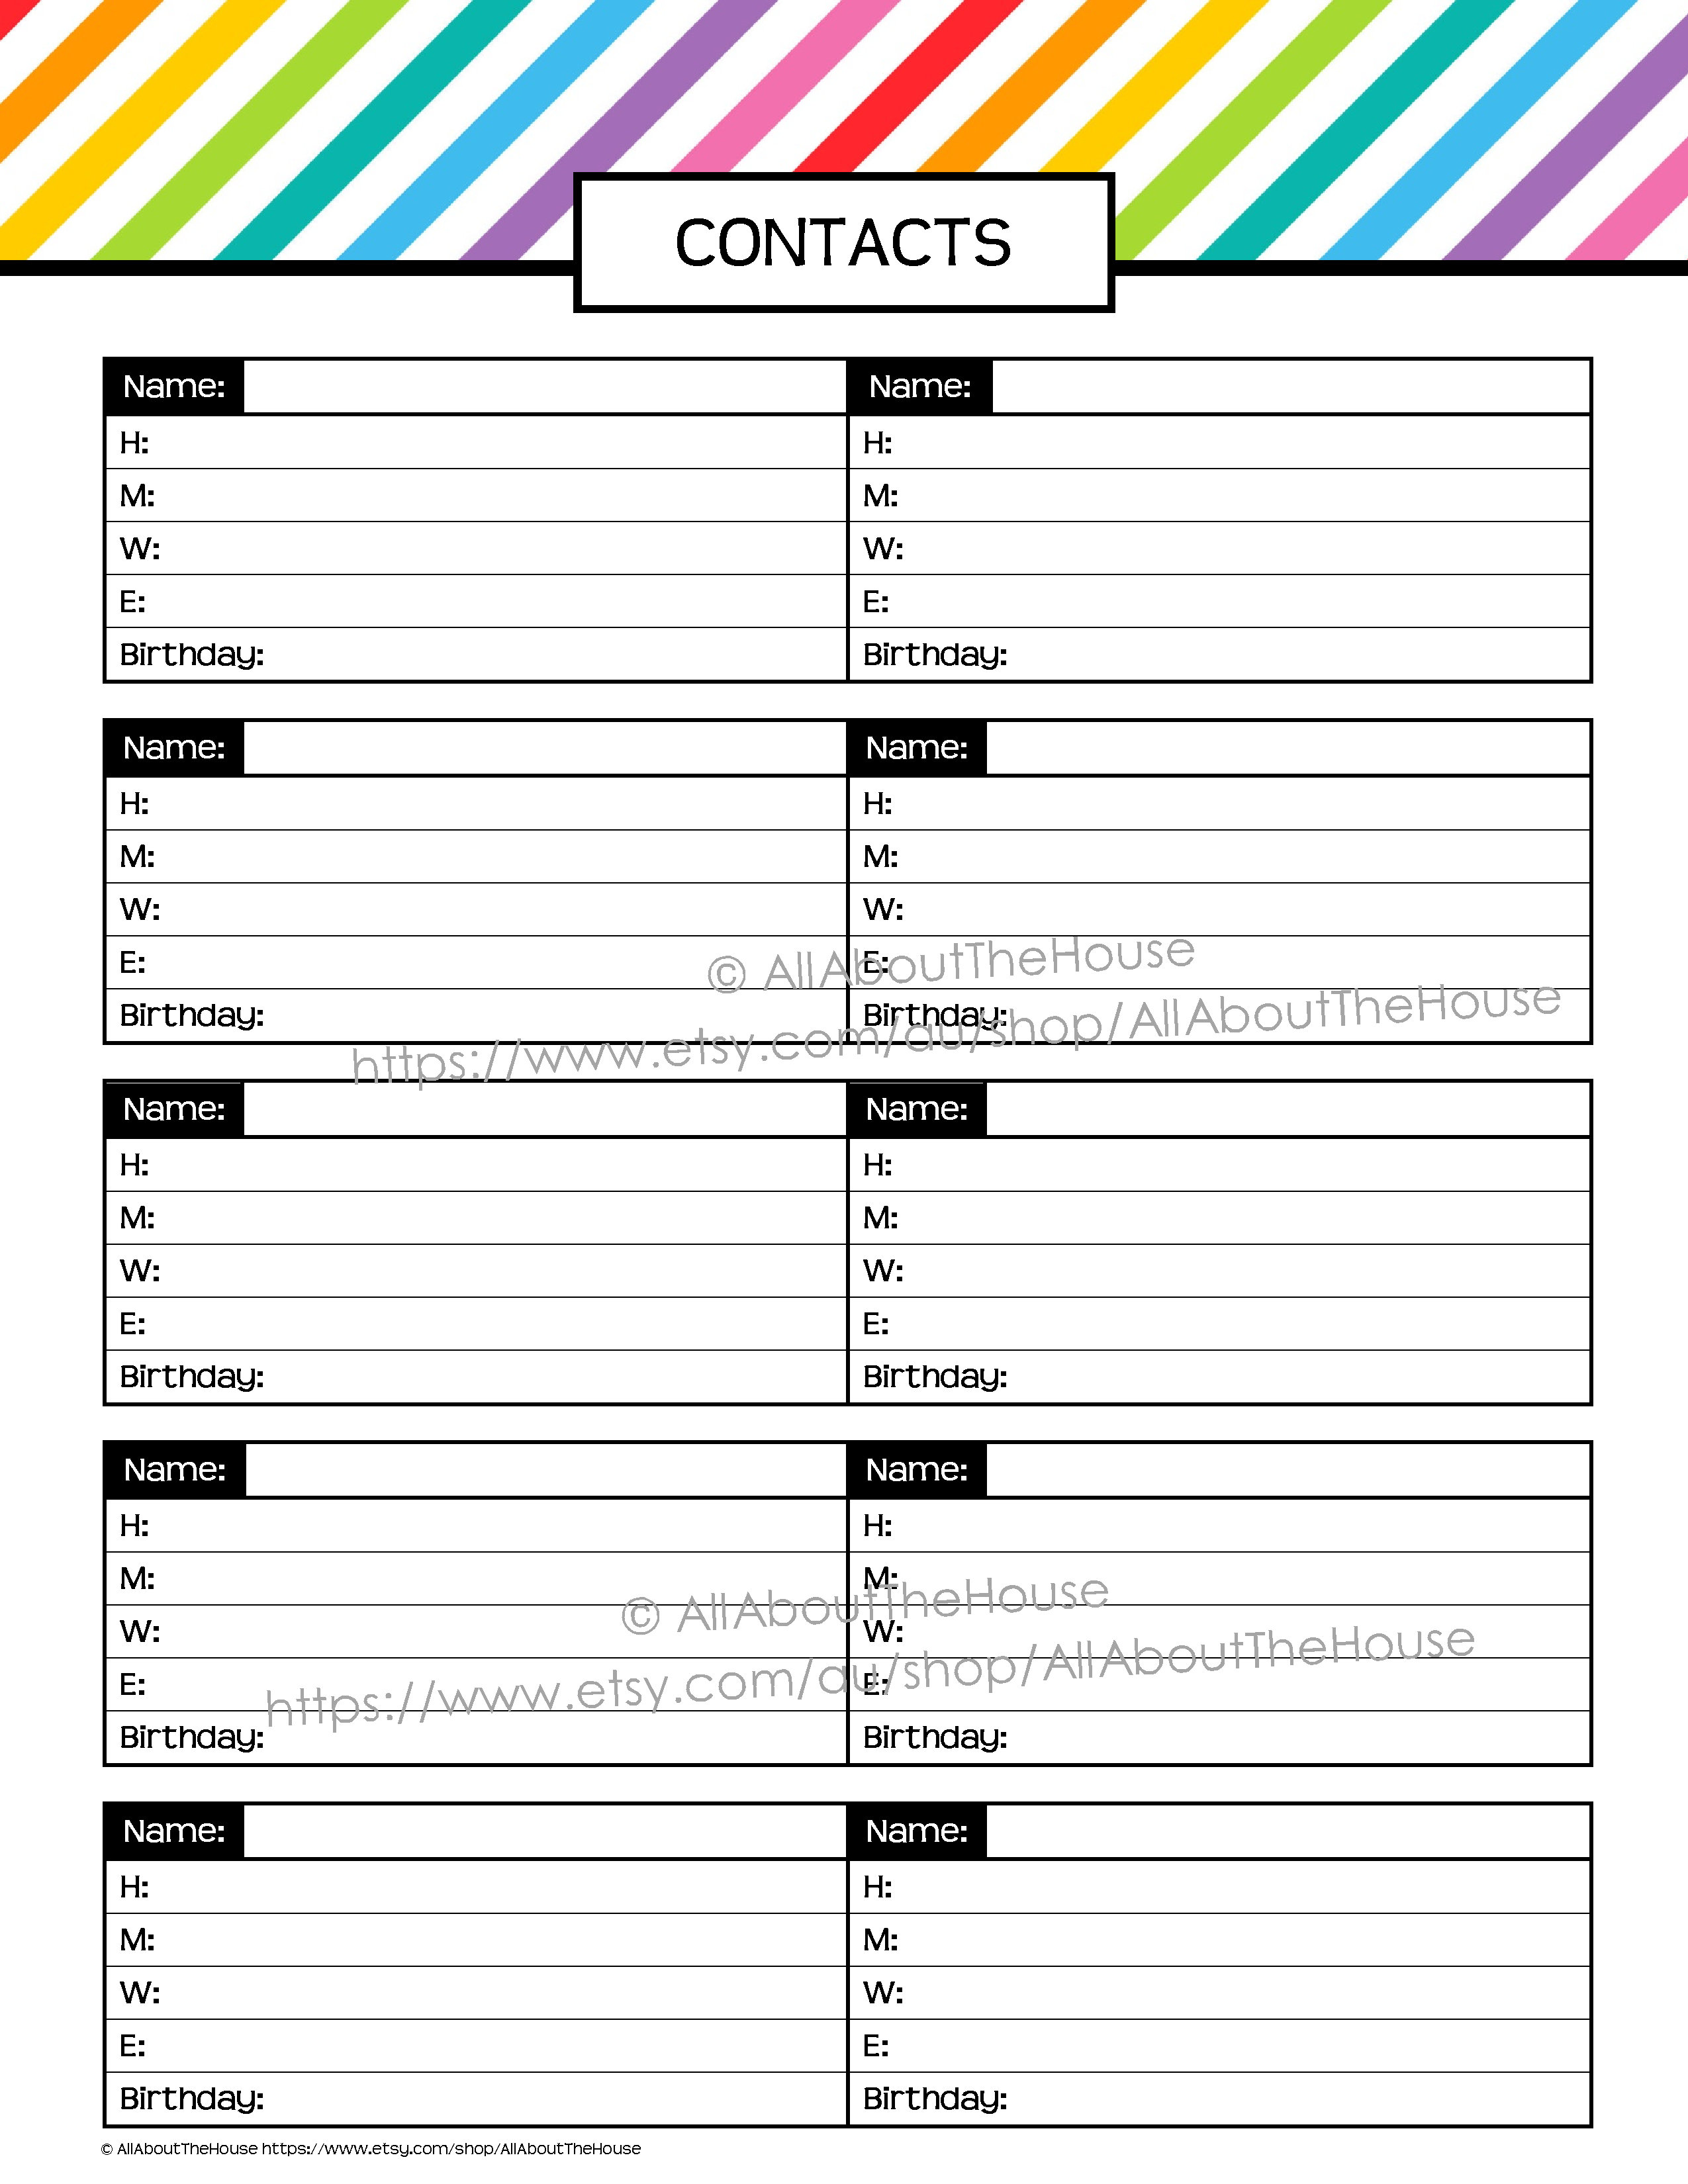
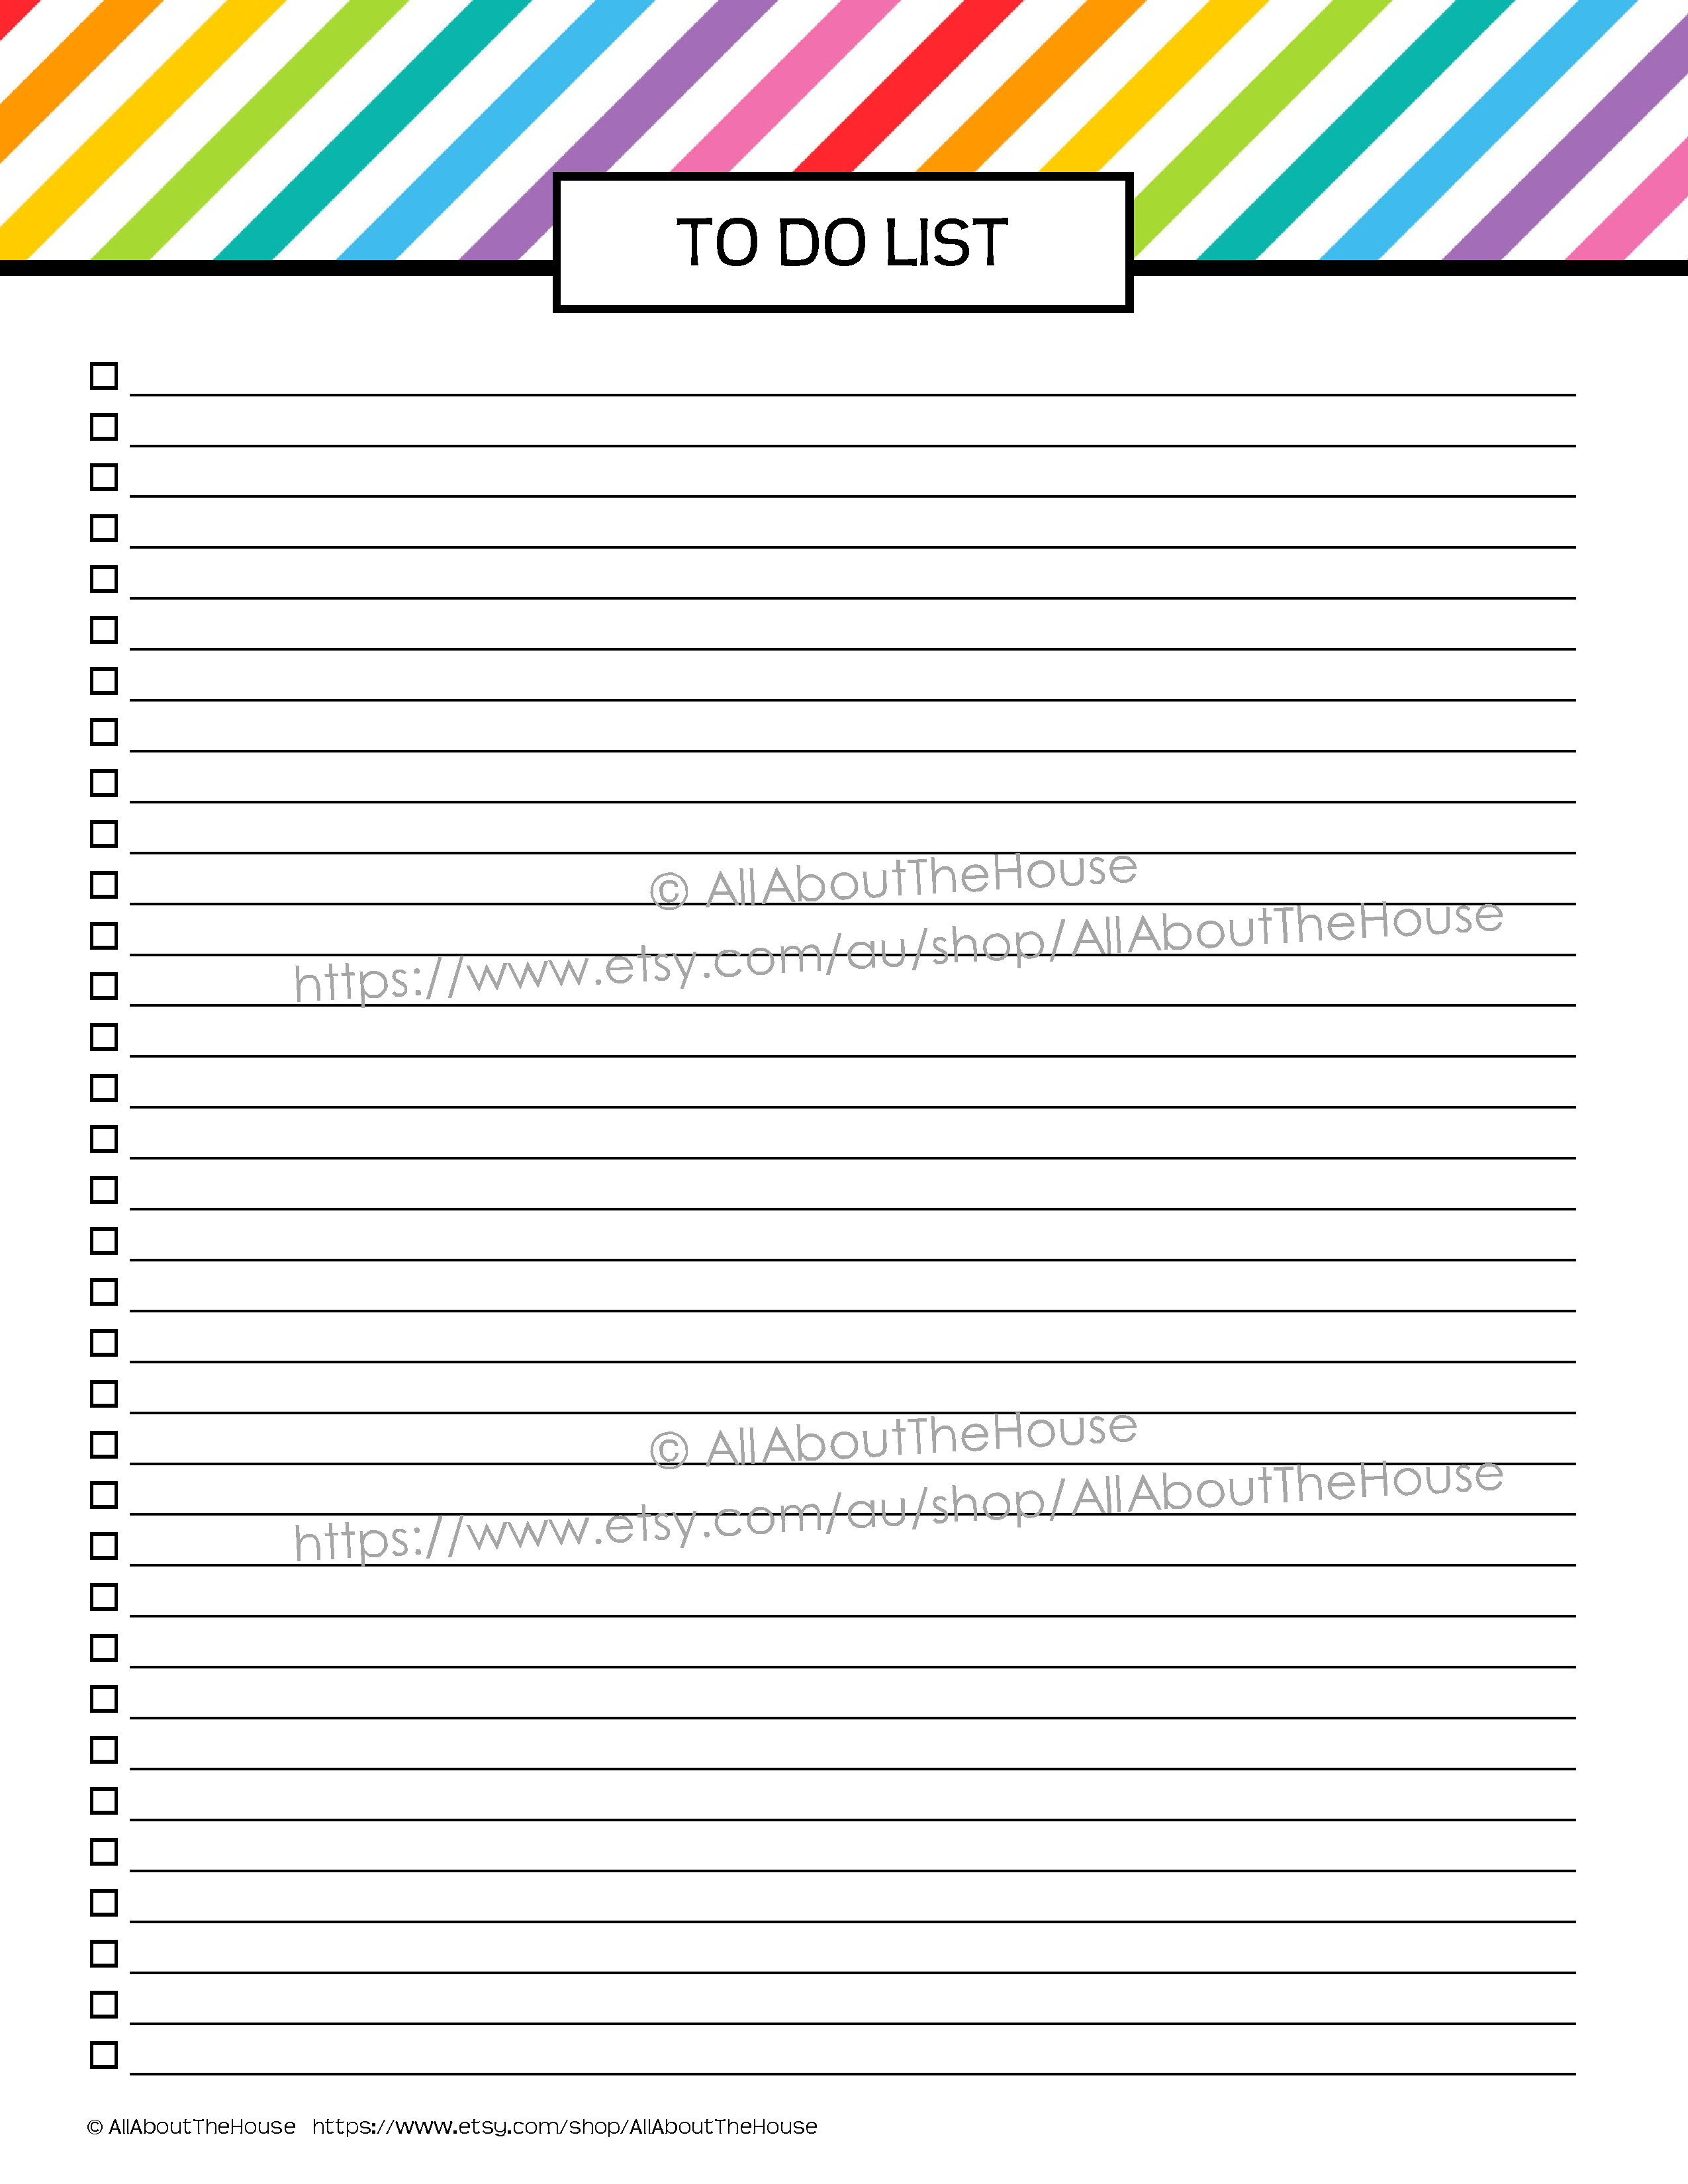
Because I am so grateful for my customers I’ve also made FREE dashboard printables! These use the same colour scheme as the Rainbow Planner and all of the calendar stickers.

The dashboards are 2.75″ wide x 6.75″ high which will fit pretty much any planner including: letter size planners, arc (letter size and junior size), A4, A5, filofax, portable daytimer, franklin covey, Plum Paper, both sizes of my Rainbow Planner and of course the Erin Condren life planner (or any of her notebooks ect.).
To make your dashboard
1. ‘Purchase‘ the template (it’s free – just add to cart and ‘checkout’) then print the template onto letter size 8.5 x 11″ or A4 size paper
To make double sided dashboard take 2 copies of the template e.g. one side the checklist, the other lined for notes and use double sided tape or glue tape (so the pages aren’t too fat to laminate) to adhere together before laminating. I recommend printing onto cardstock but this is not necessary.
2. Laminate
If you do not have a laminating machine – your local office supply store e.g. Staples, Officeworks ect. will do this for you inexpensively
3. Cut around the dashboard, leaving approx half an inch of laminate on one side for punching the holes
4. If using with your Erin Condren planner, you can purchase coil clips from her website. Otherwise use the Arc punch if you have an Arc notebook (this is what I did), or use a hole punch if you are using a 3 ring binder or similar.
5. Use dry erase markers or fine tip pens to write on and wipe clean with a cloth, tissue ect.
You can also print a bunch and turn them into a tear-off notepad. Add a magnet and place on your fridge for a grocery list, meal planning ect. There are many tutorials for how to do this, here are a few: Playful Learning, She Knows, Skip To My Lou, ChicandJo, agusyornet and ThreeBySea. When I made mine I used modge podge. If you’re concerned about printer ink – the stripes also print nicely in greyscale.
A note about free printables:
You may:
You may not: