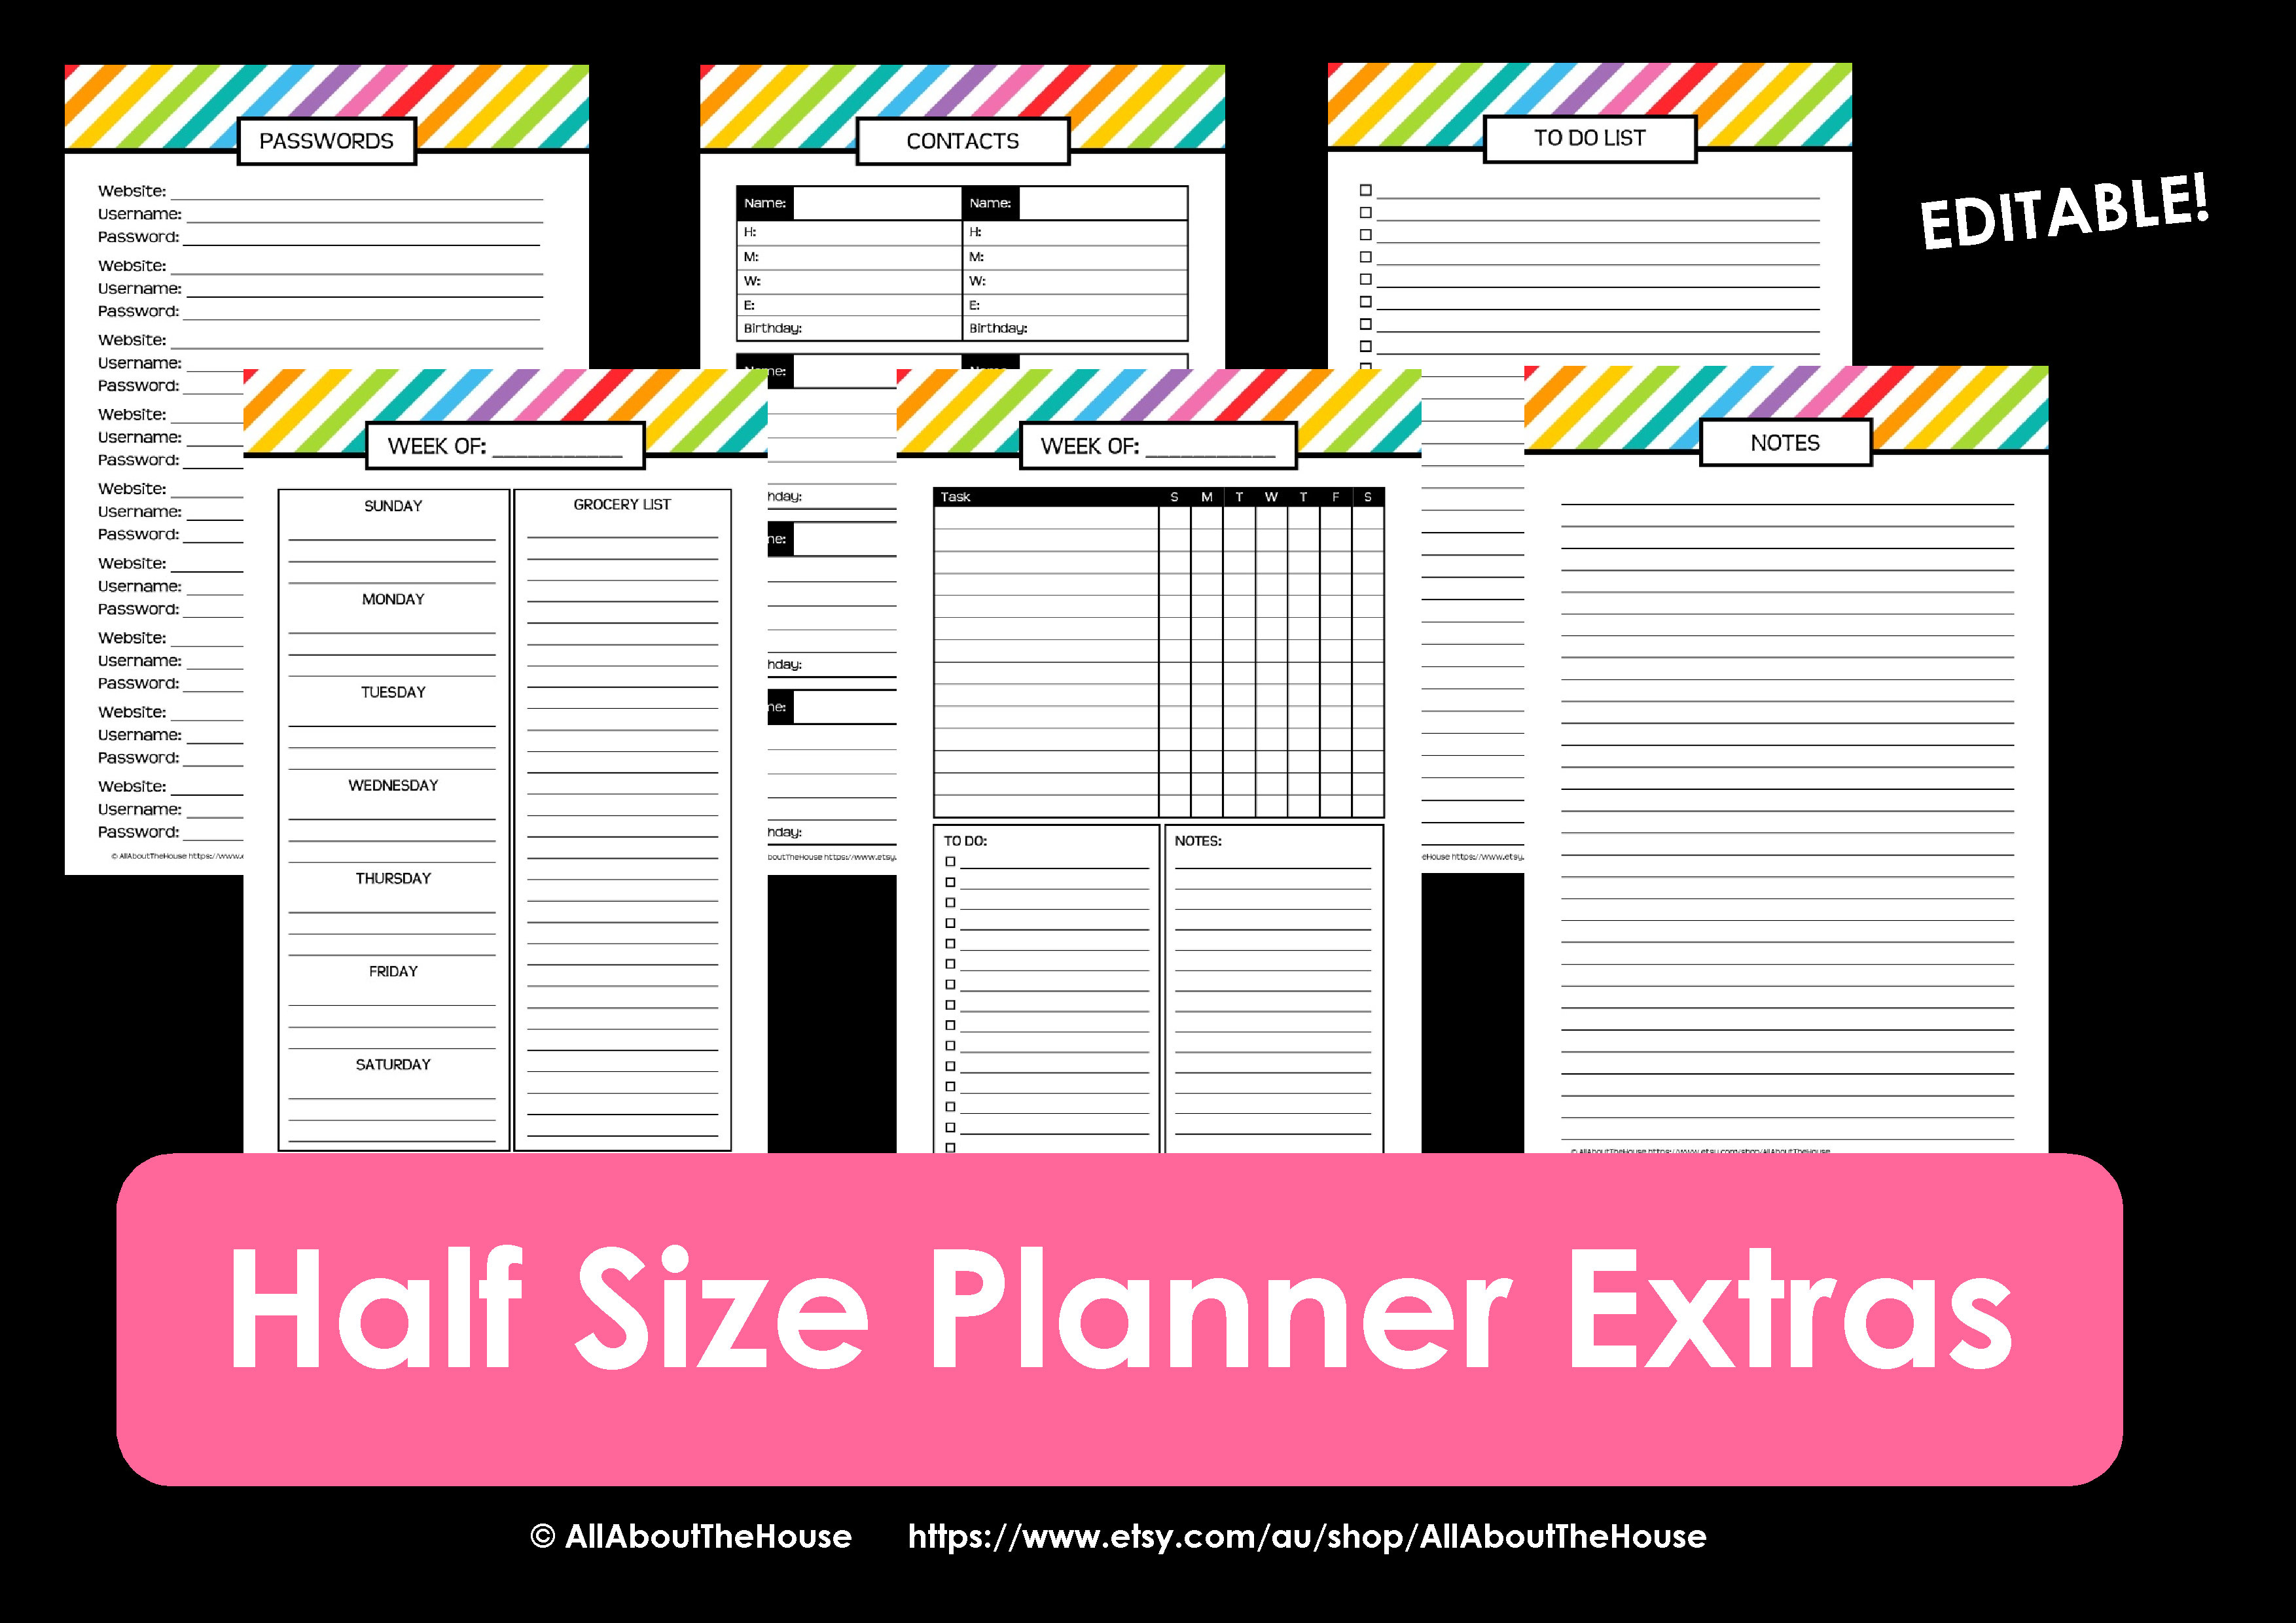
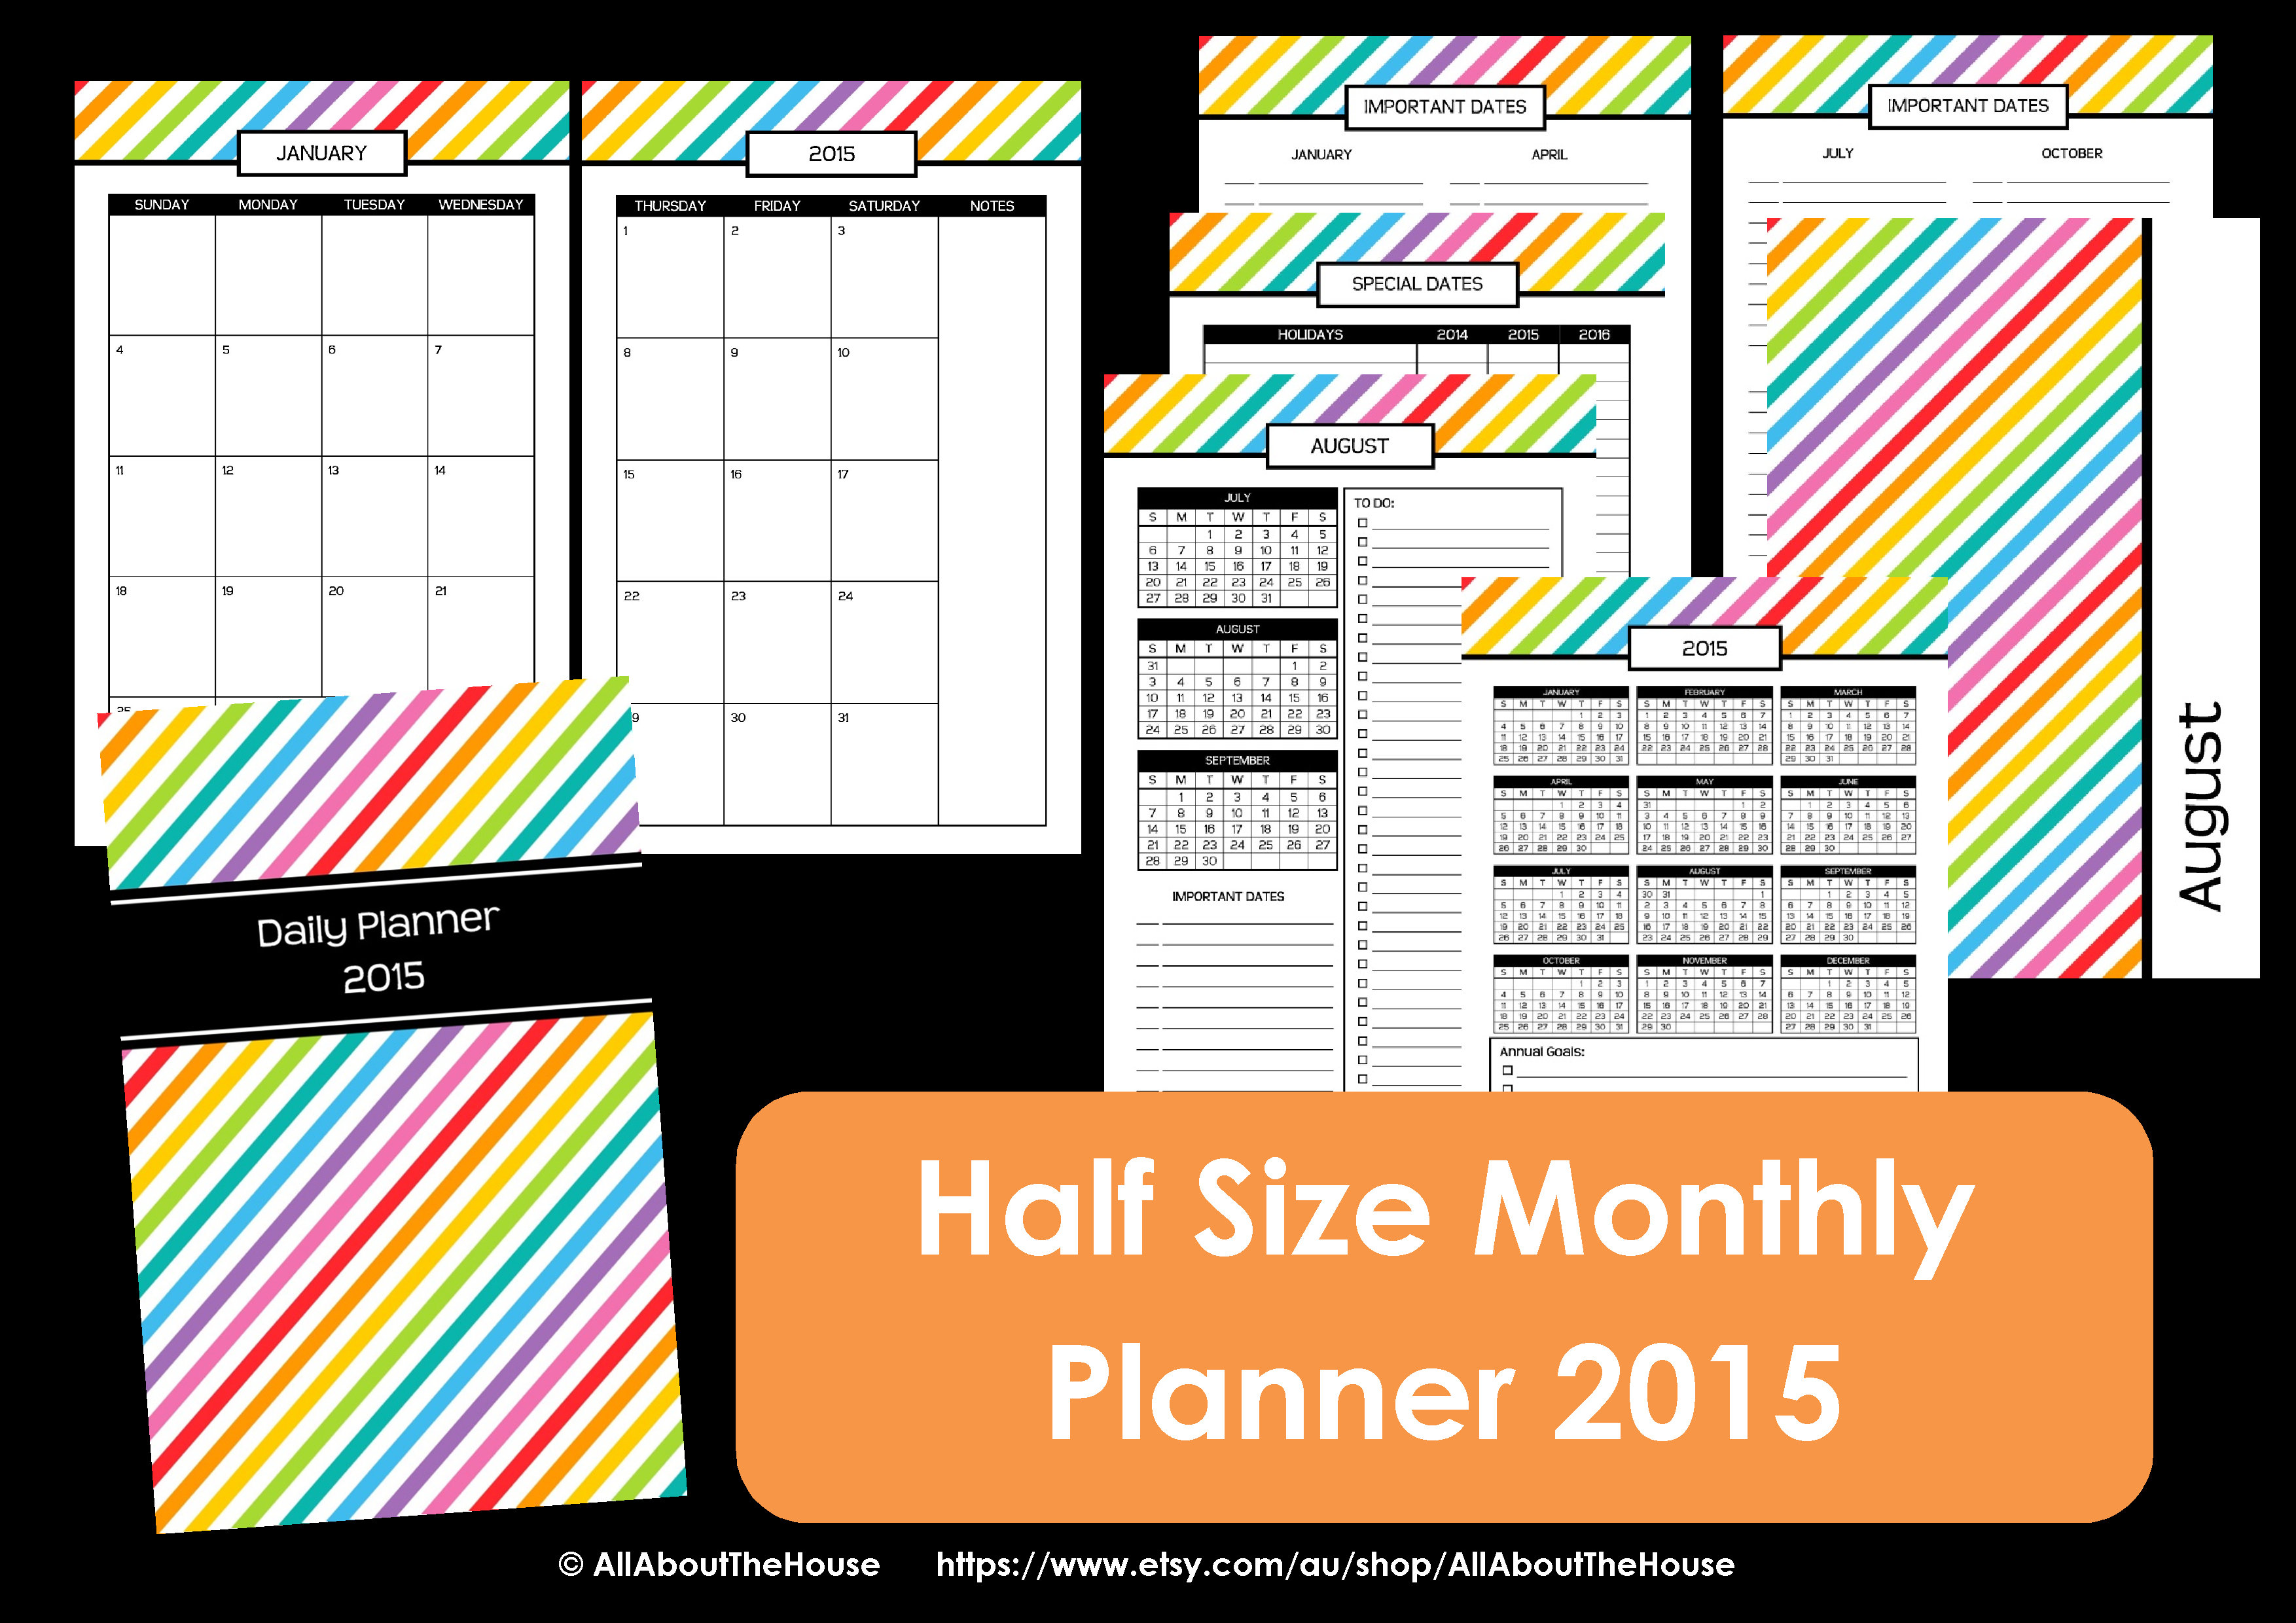
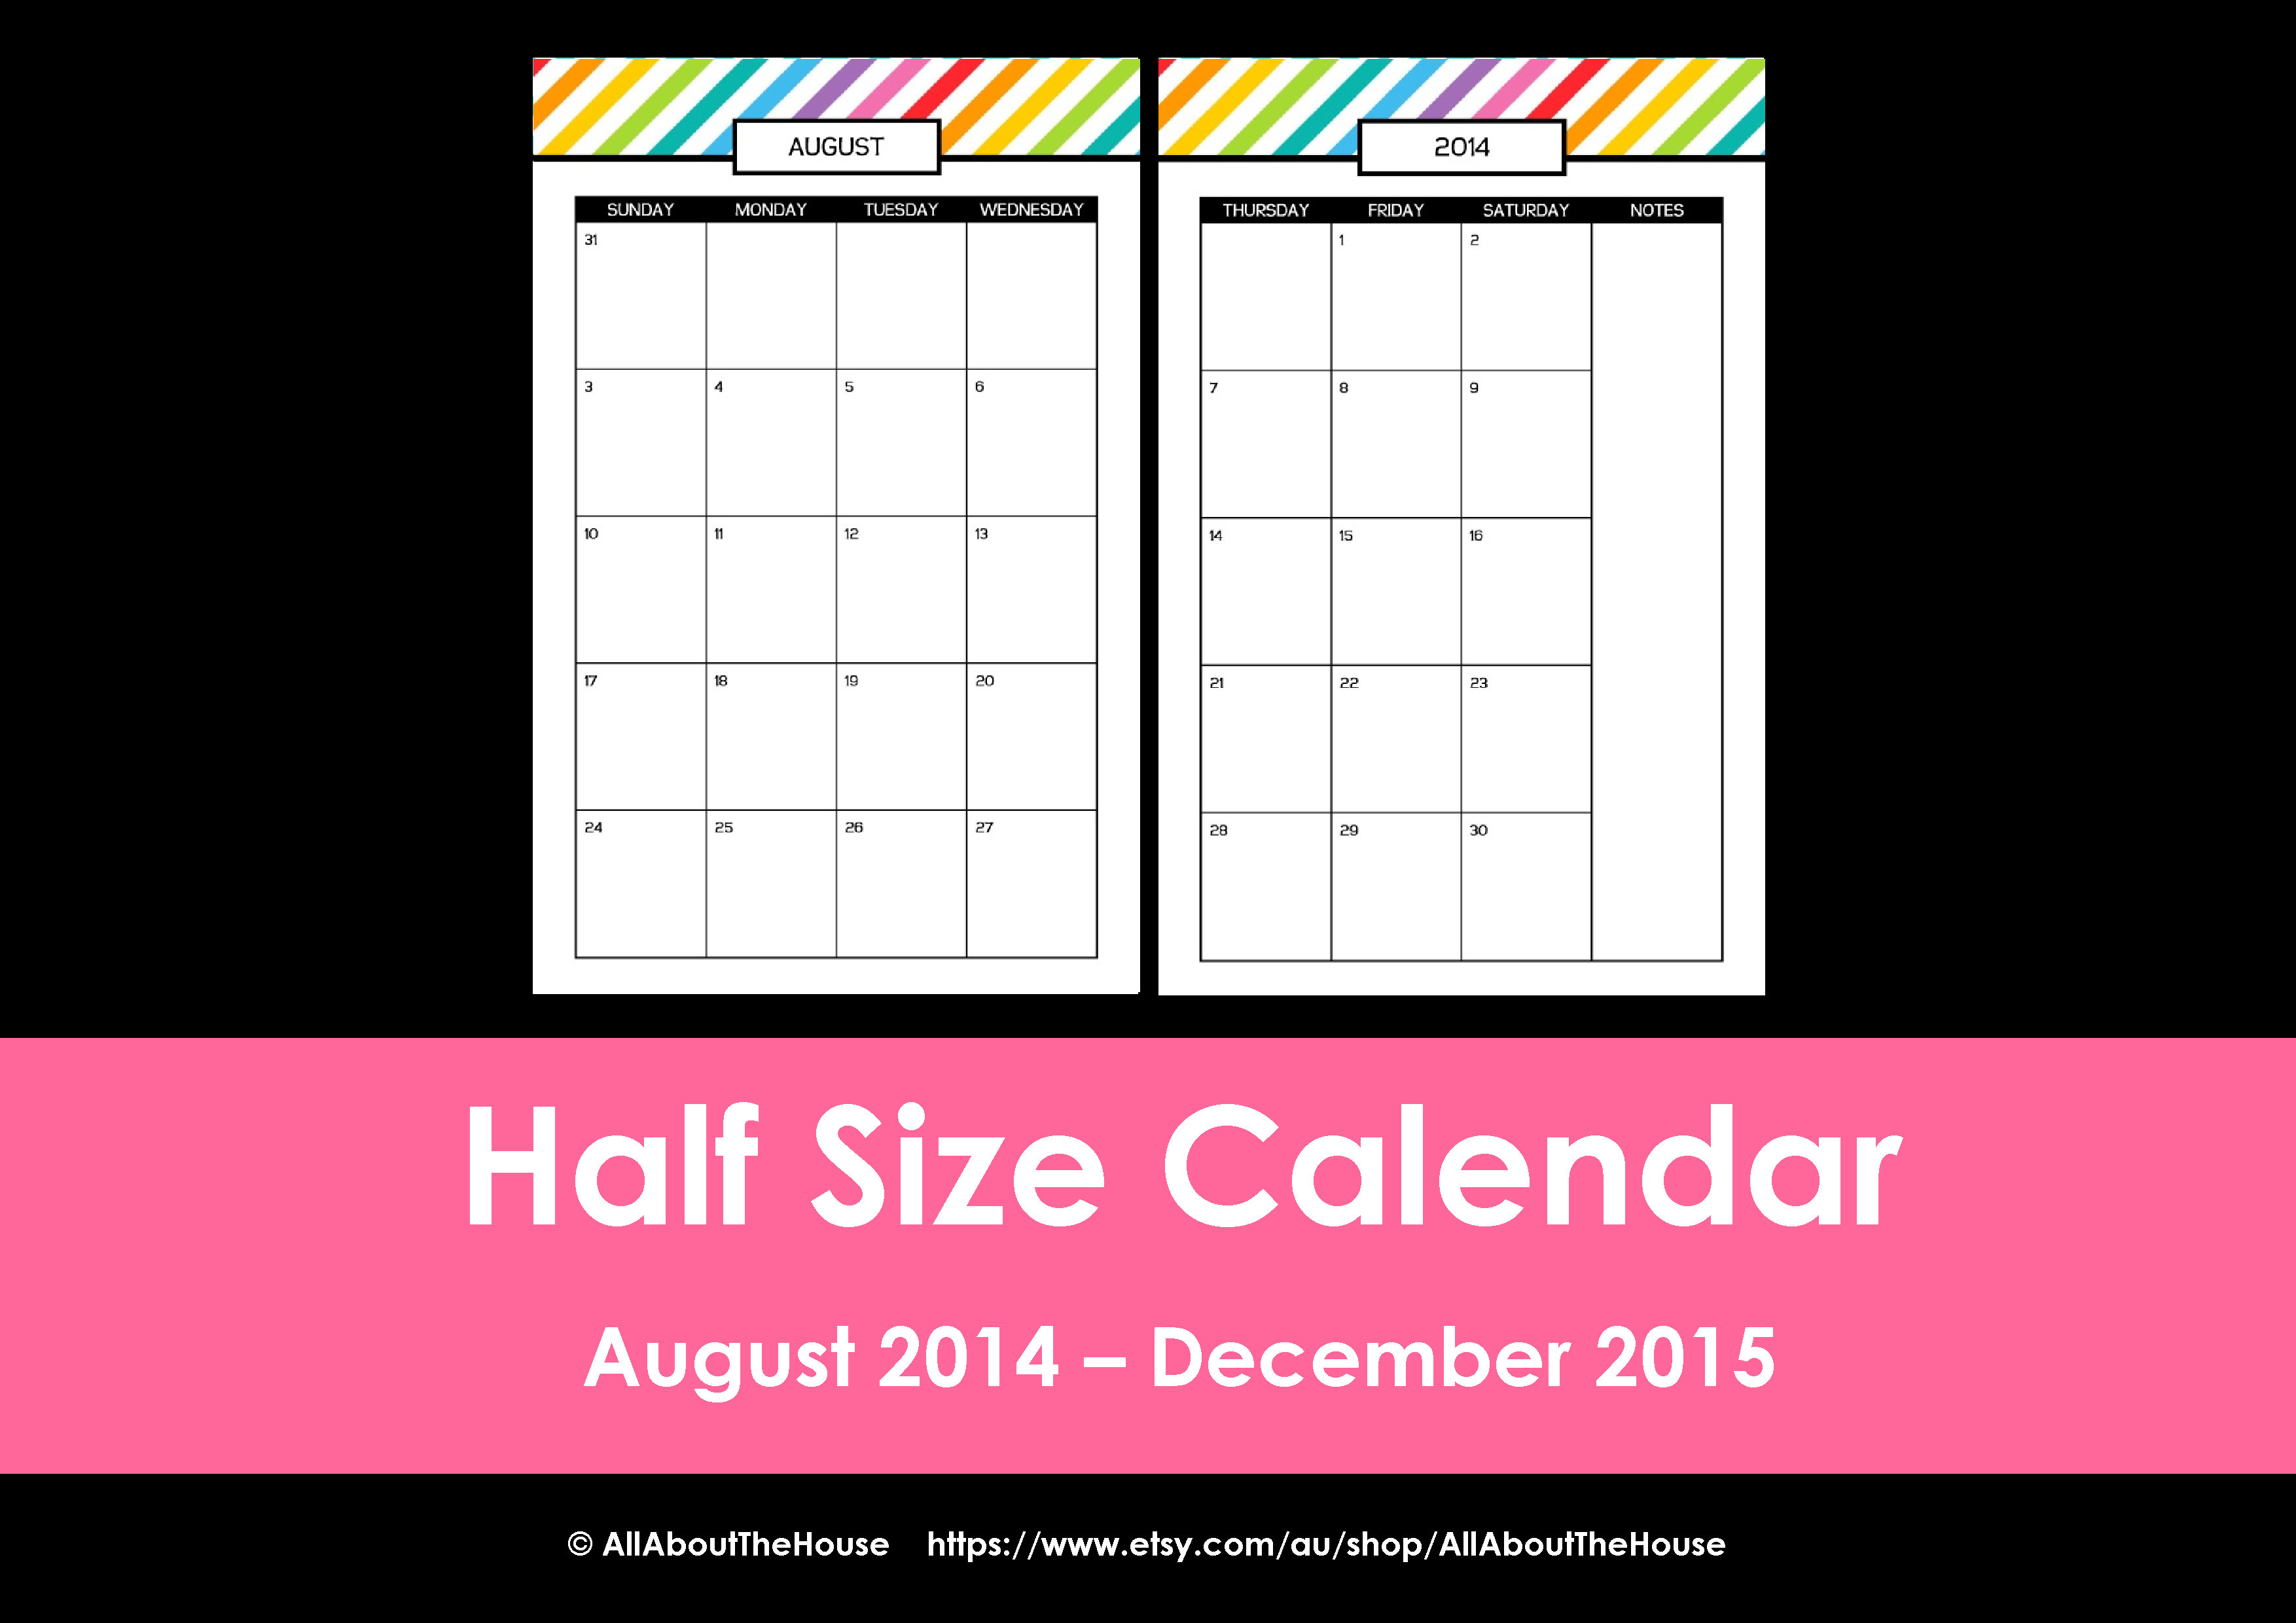
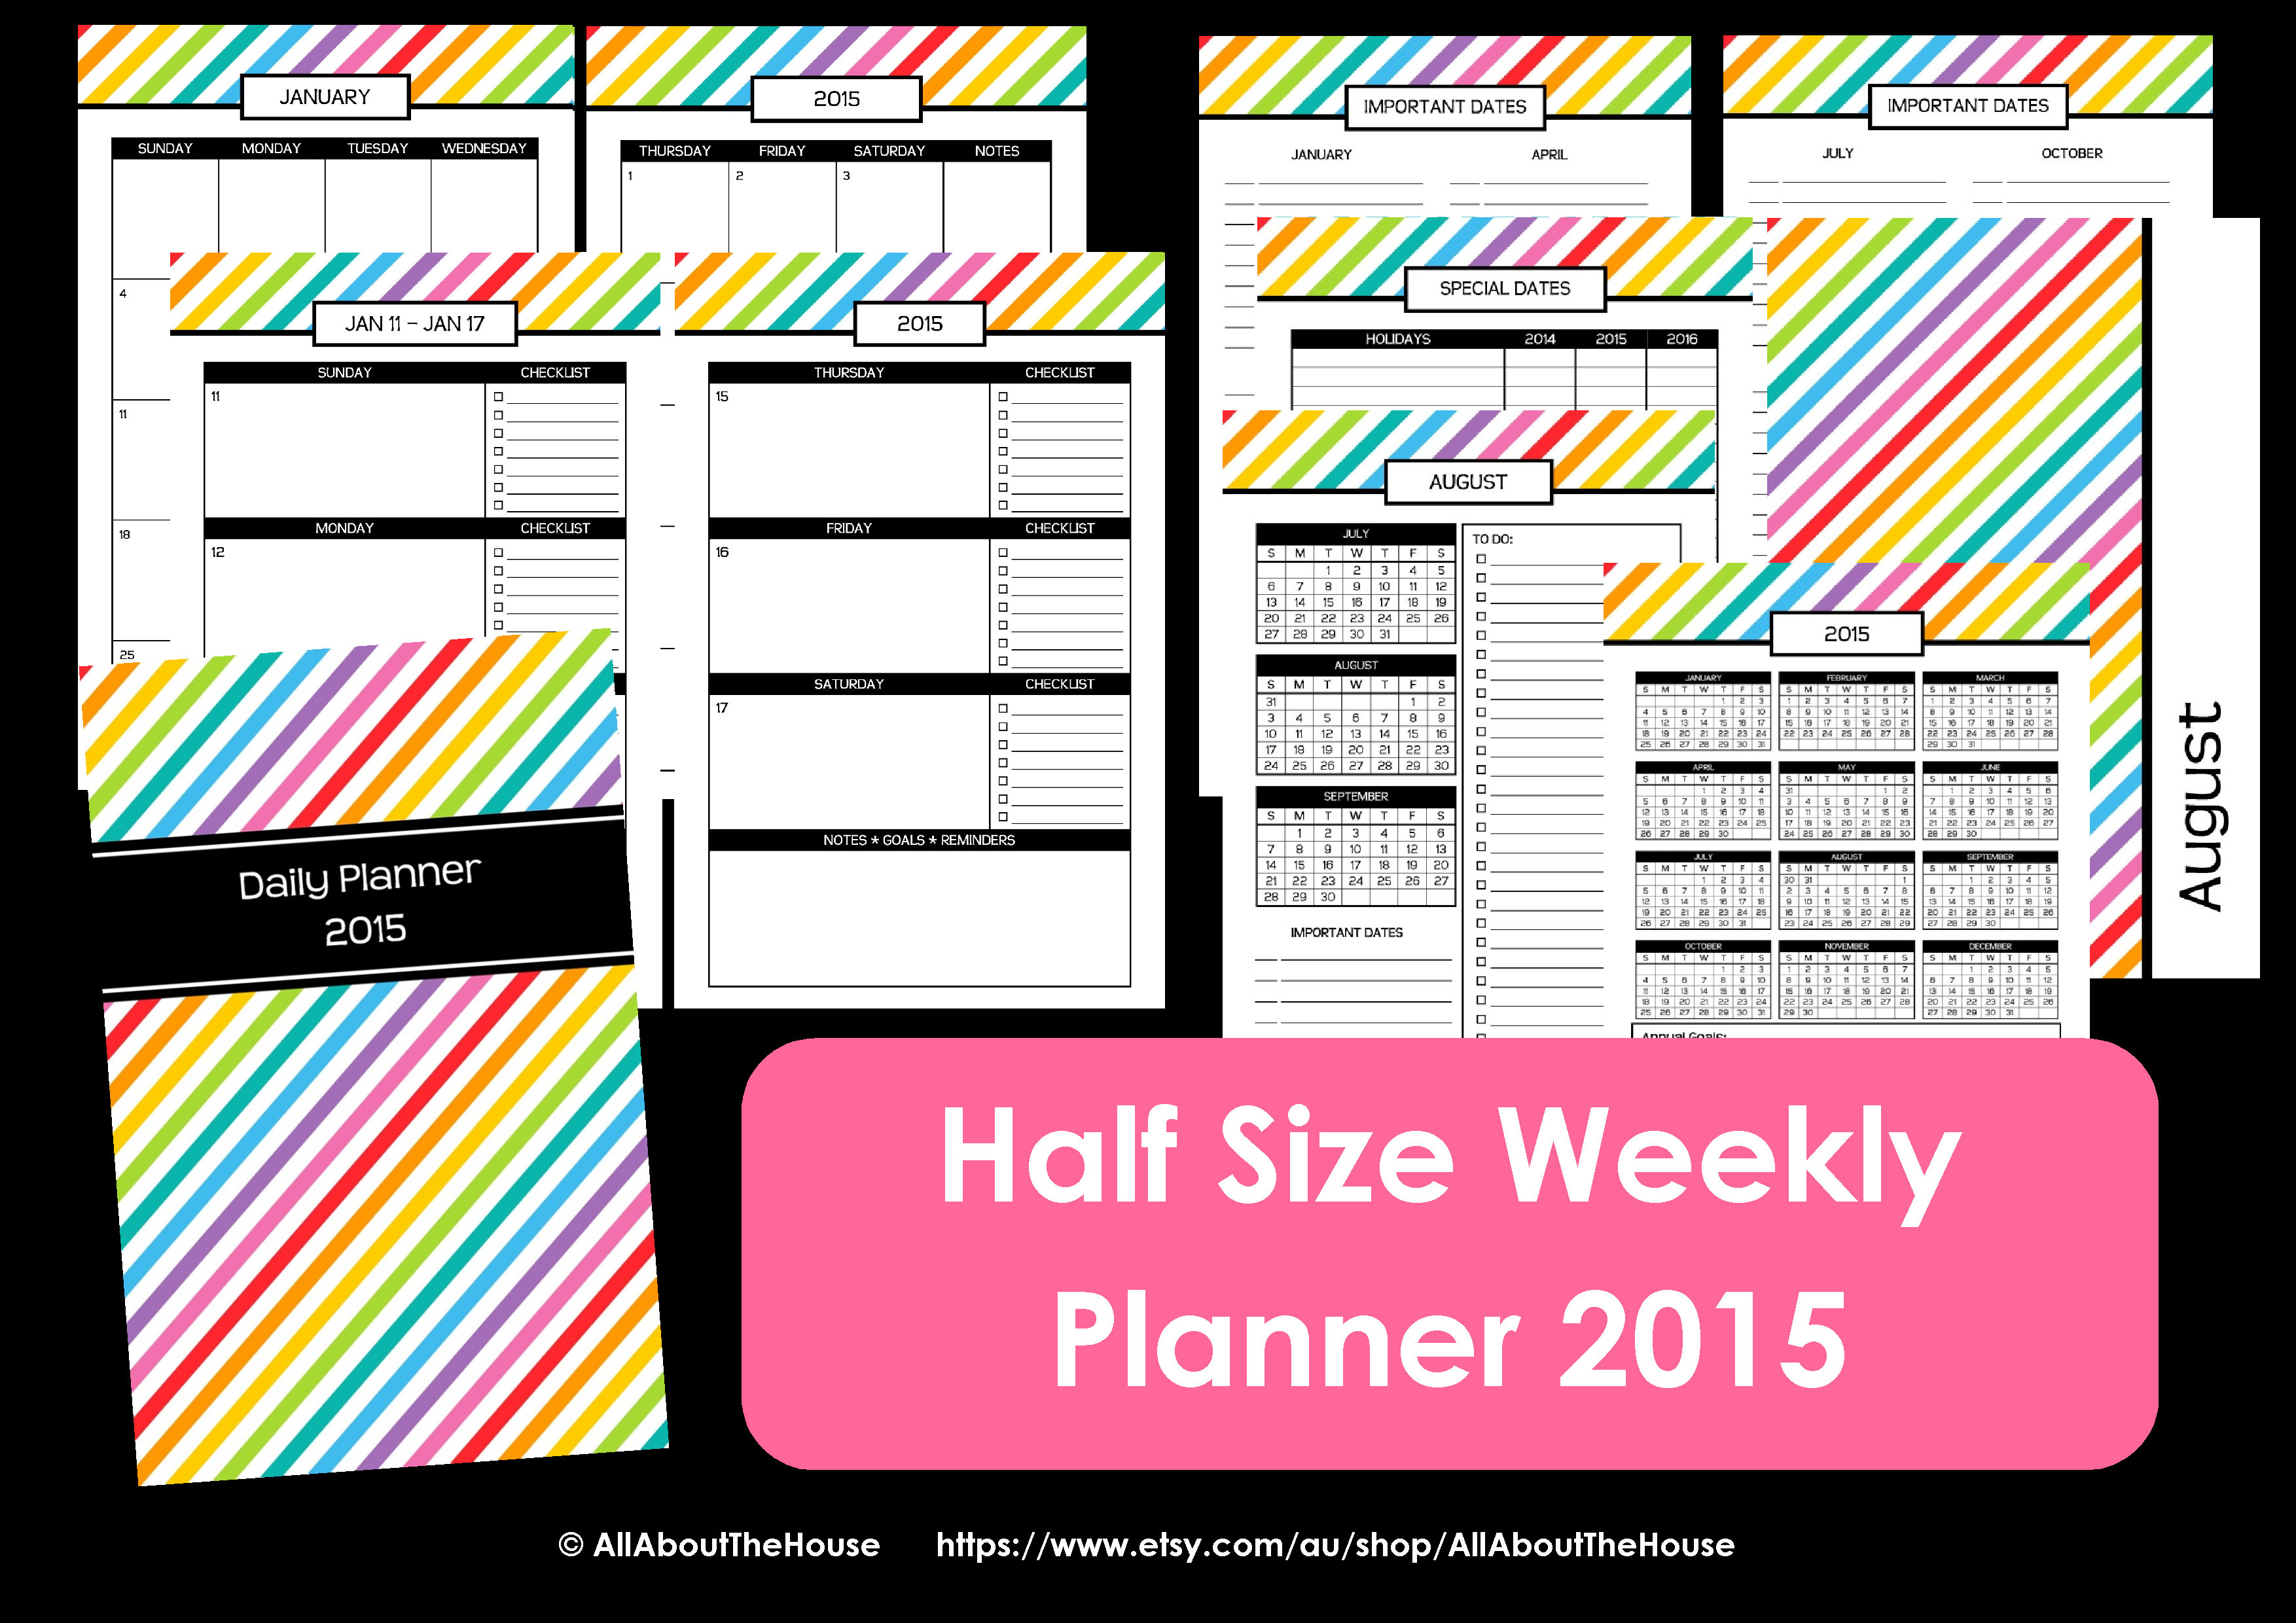
After many requests for half size planner pages, I have created the half size day to a page planner versions as well as the half size extras. Go here to check them out!
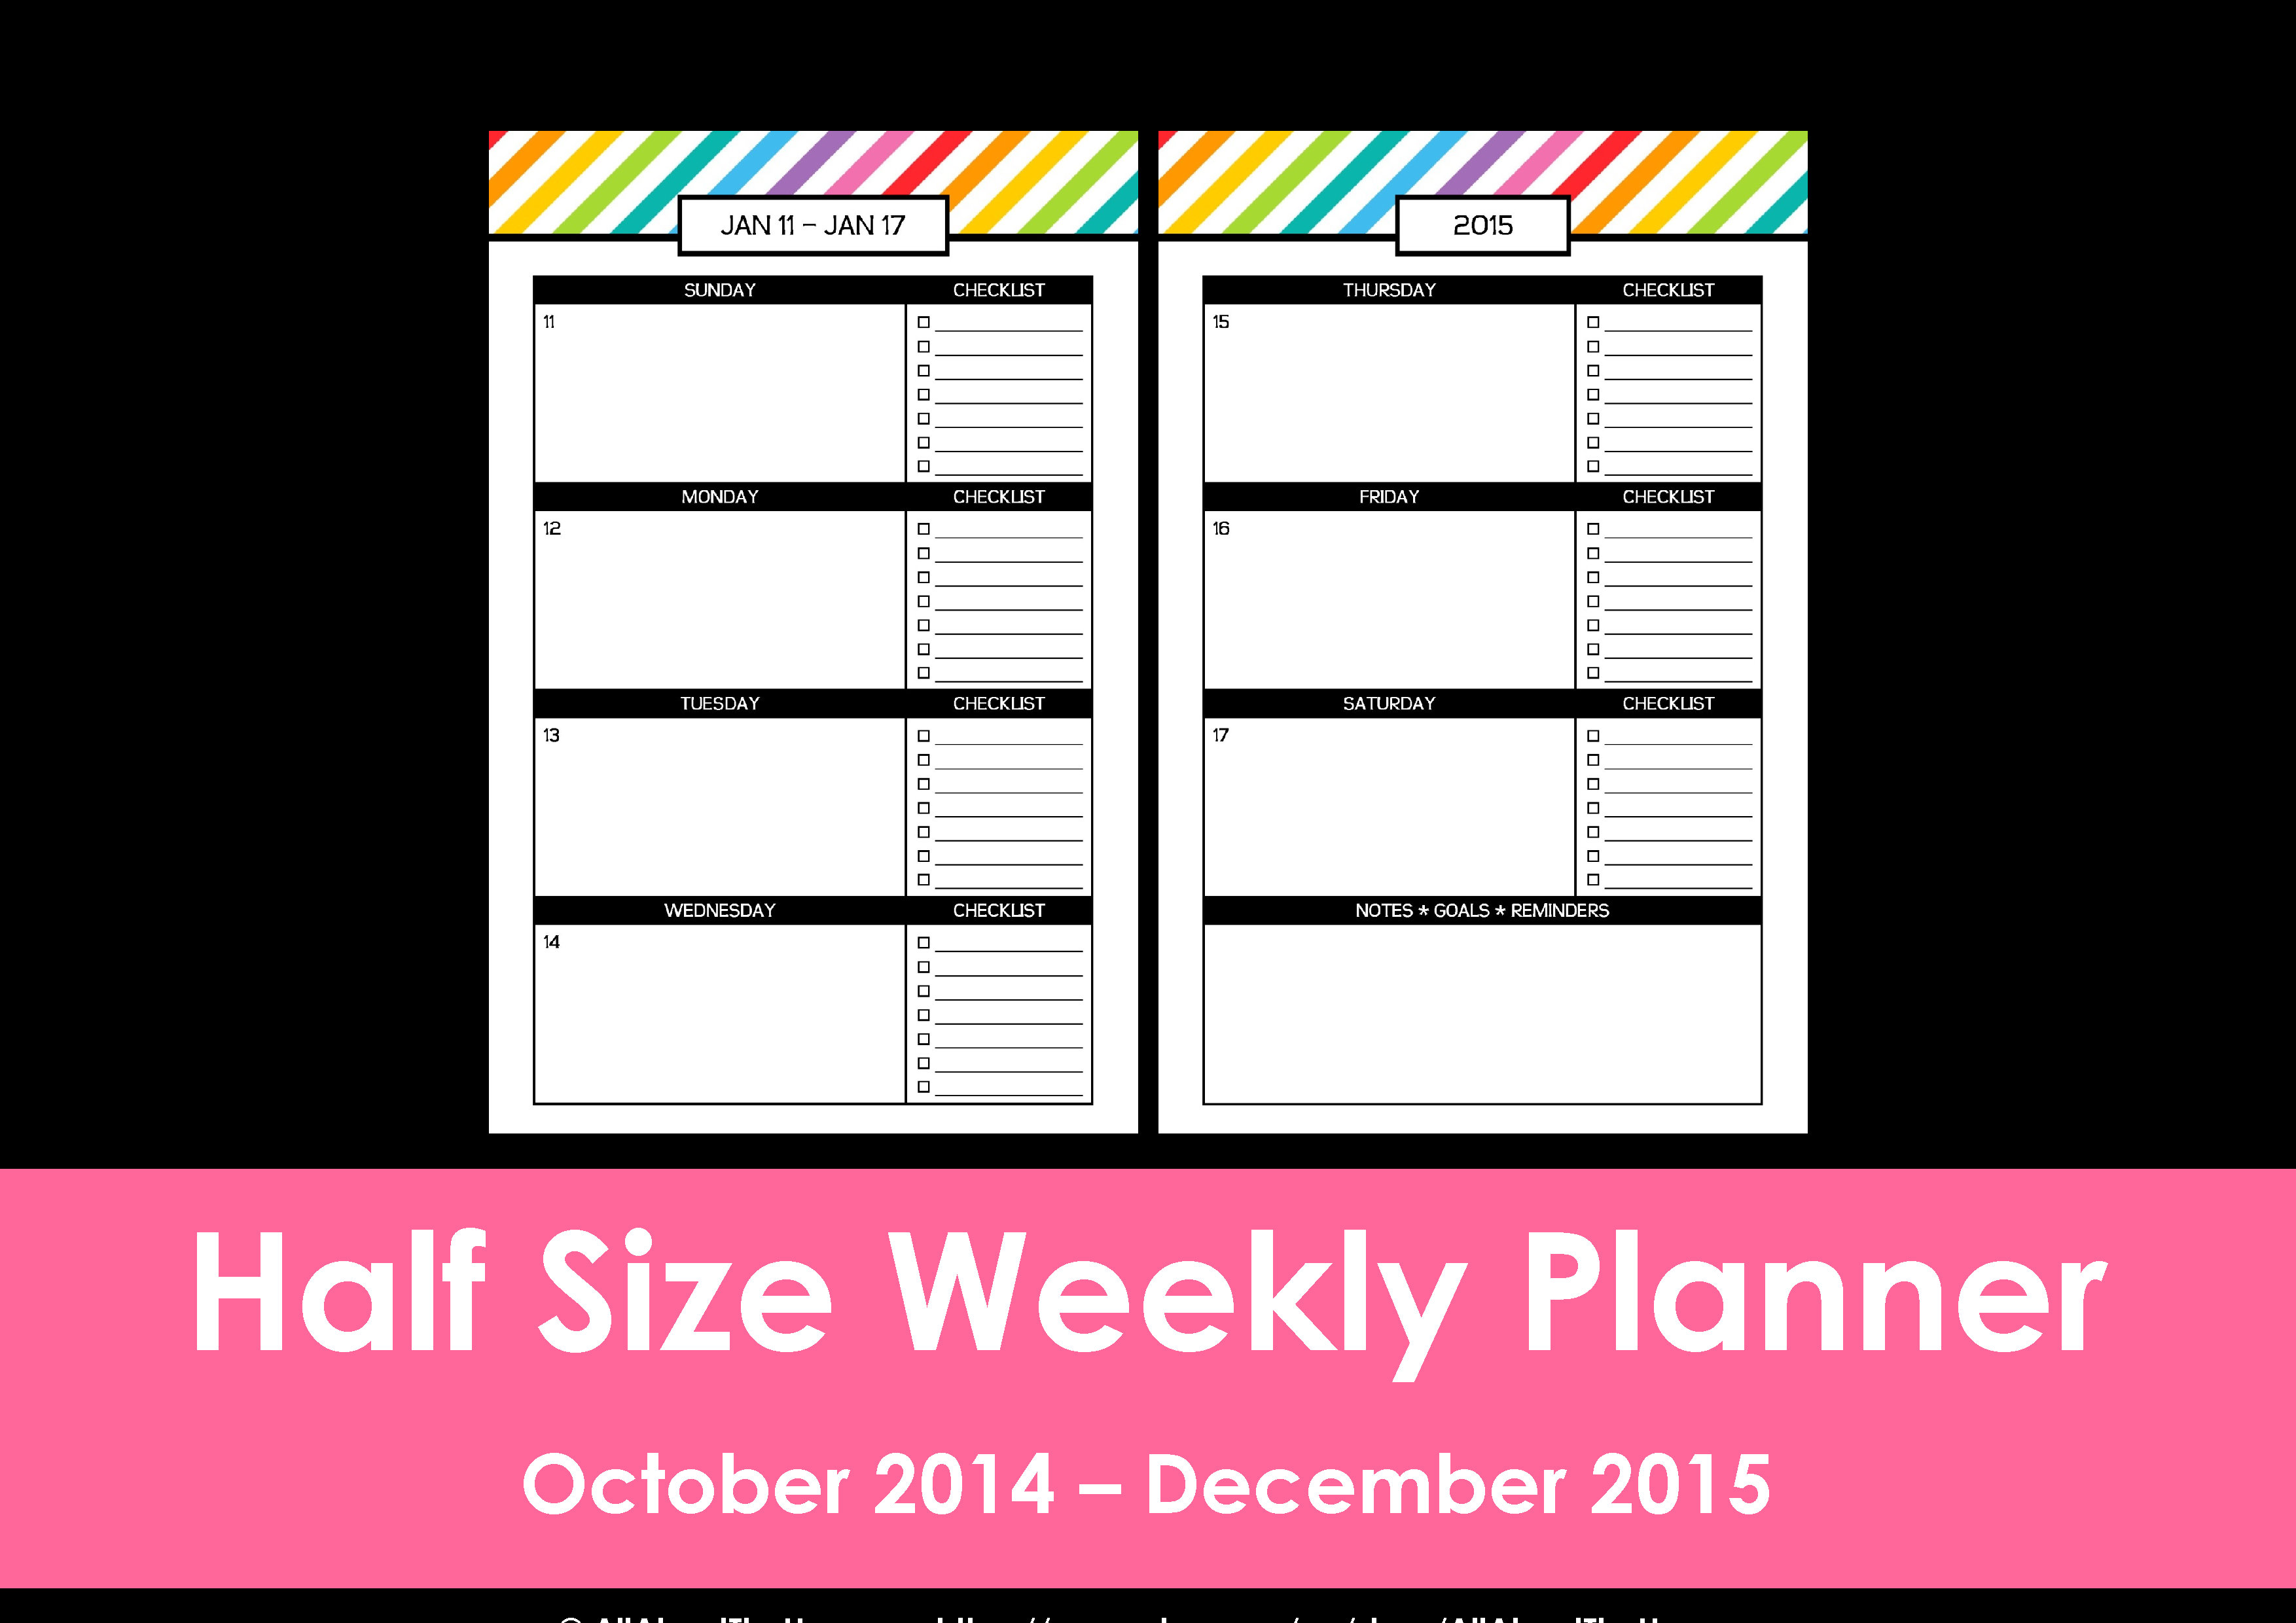
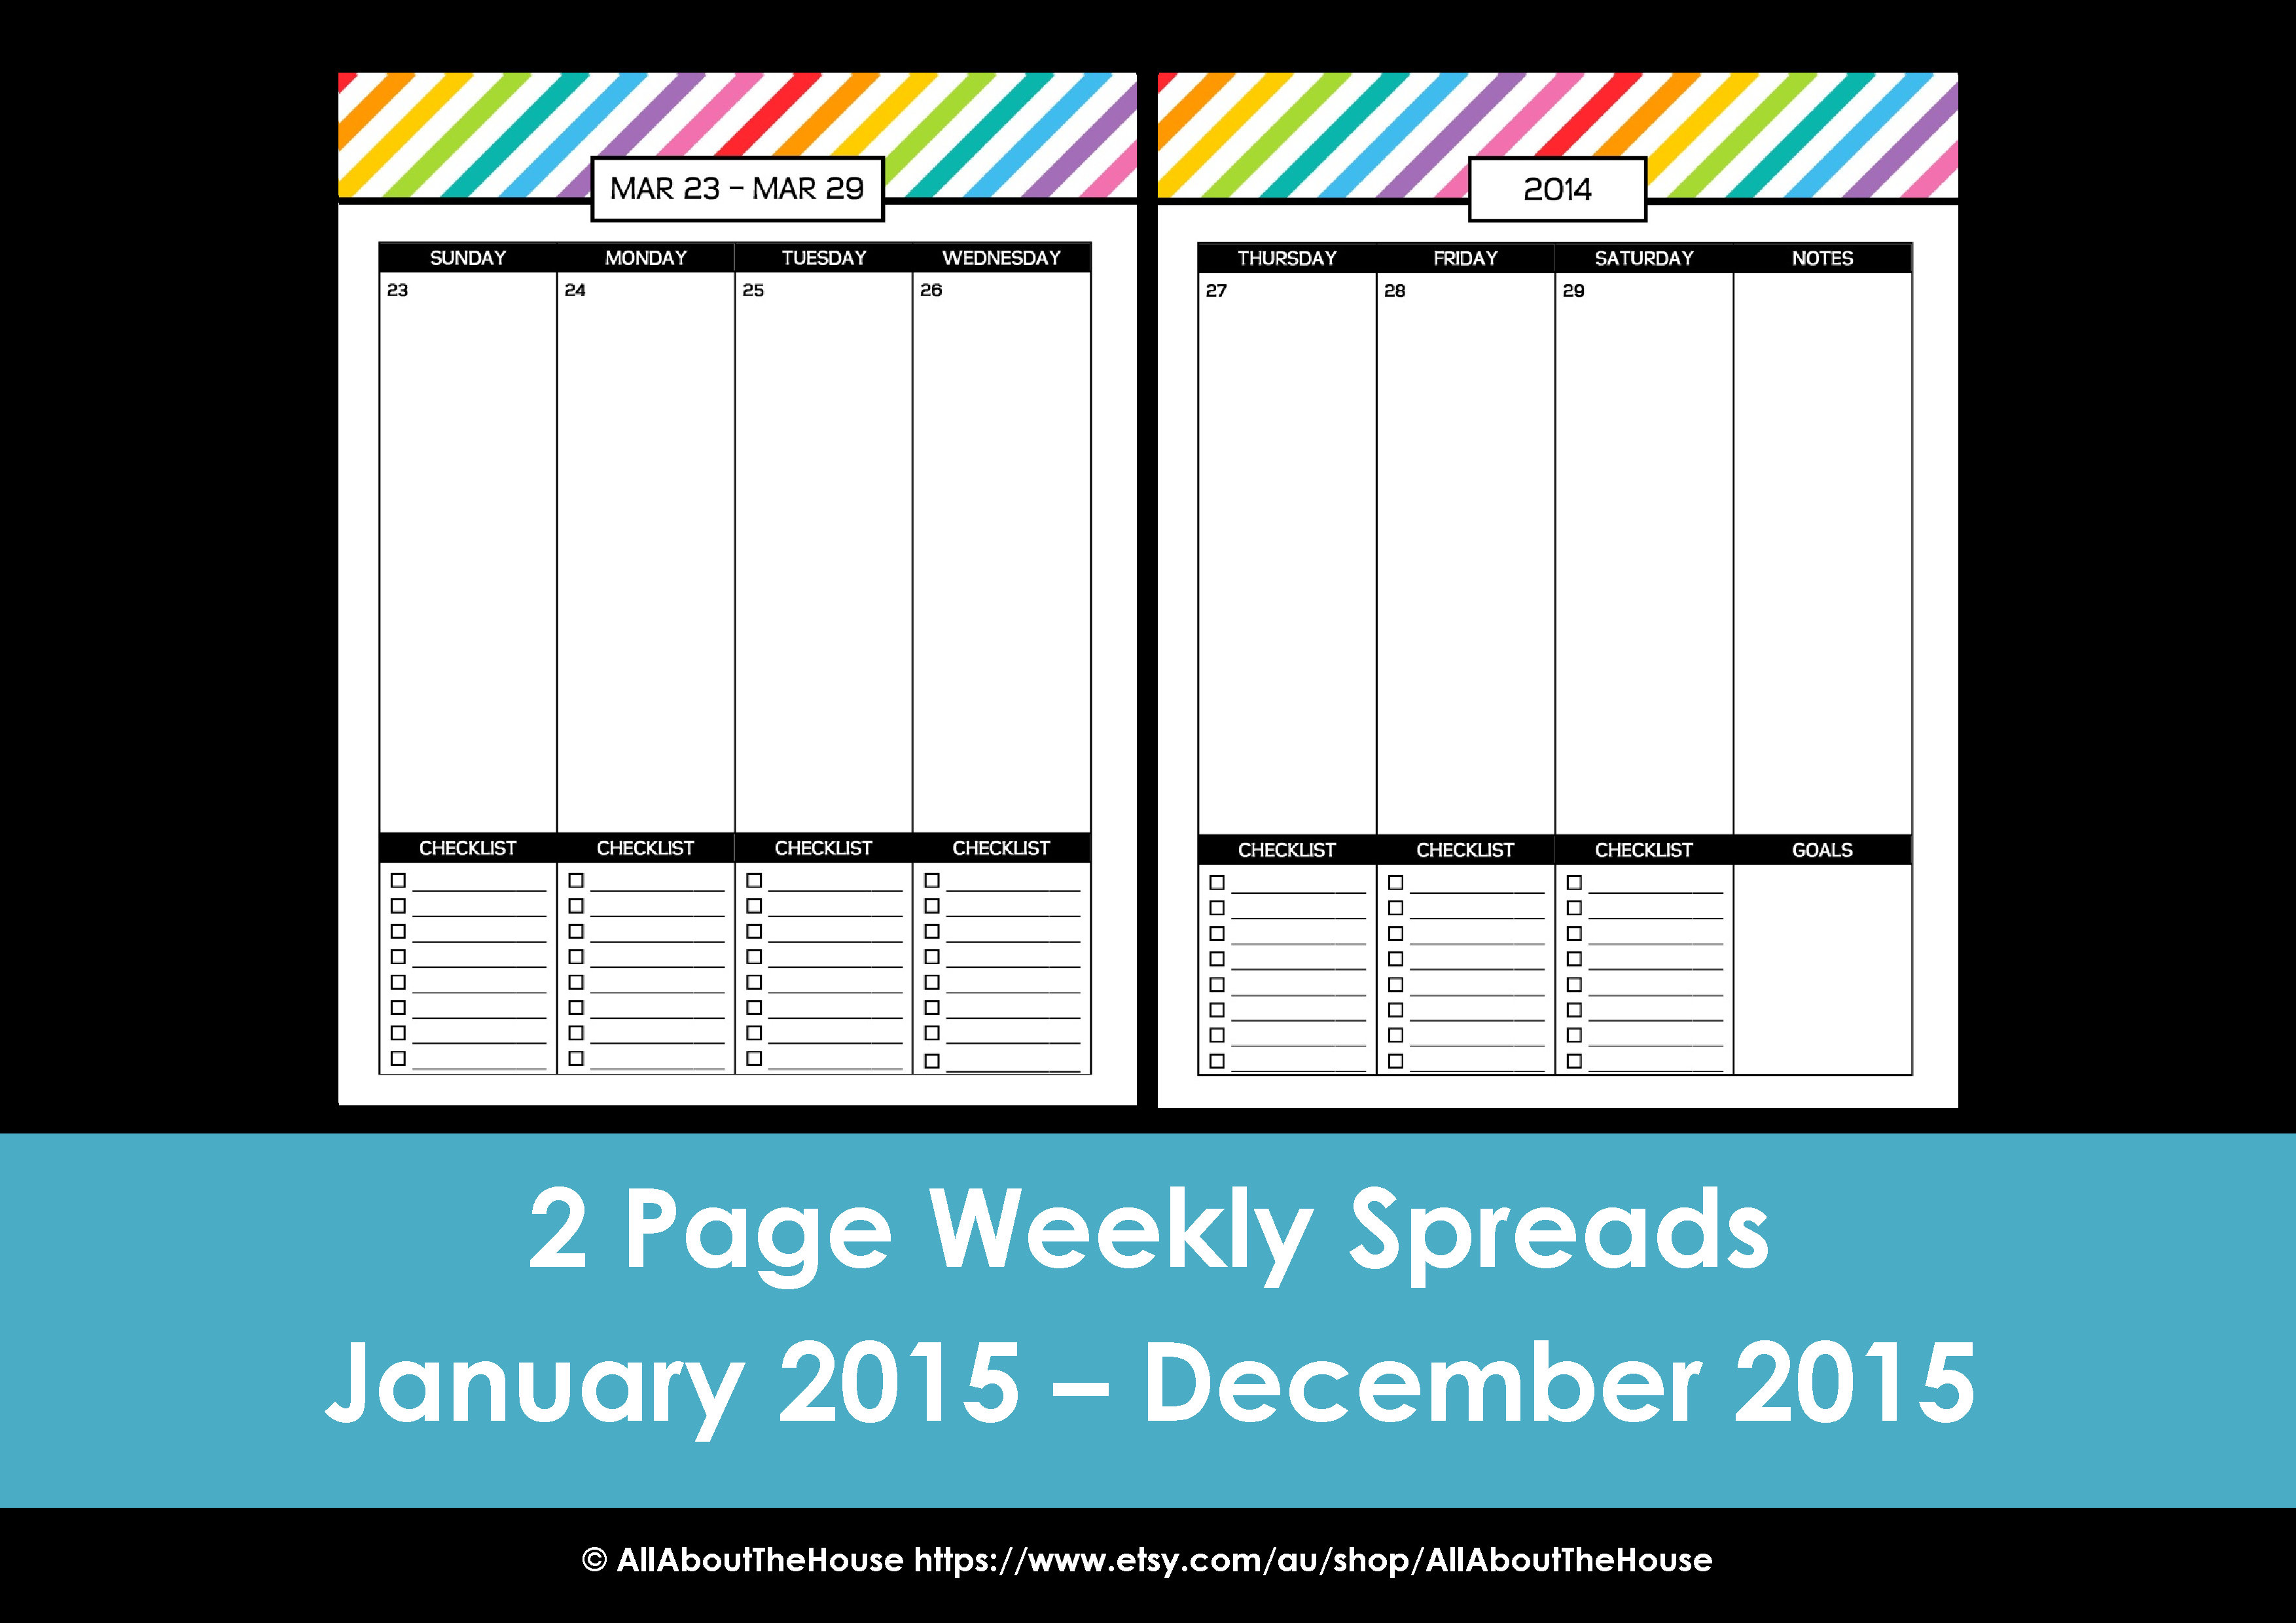
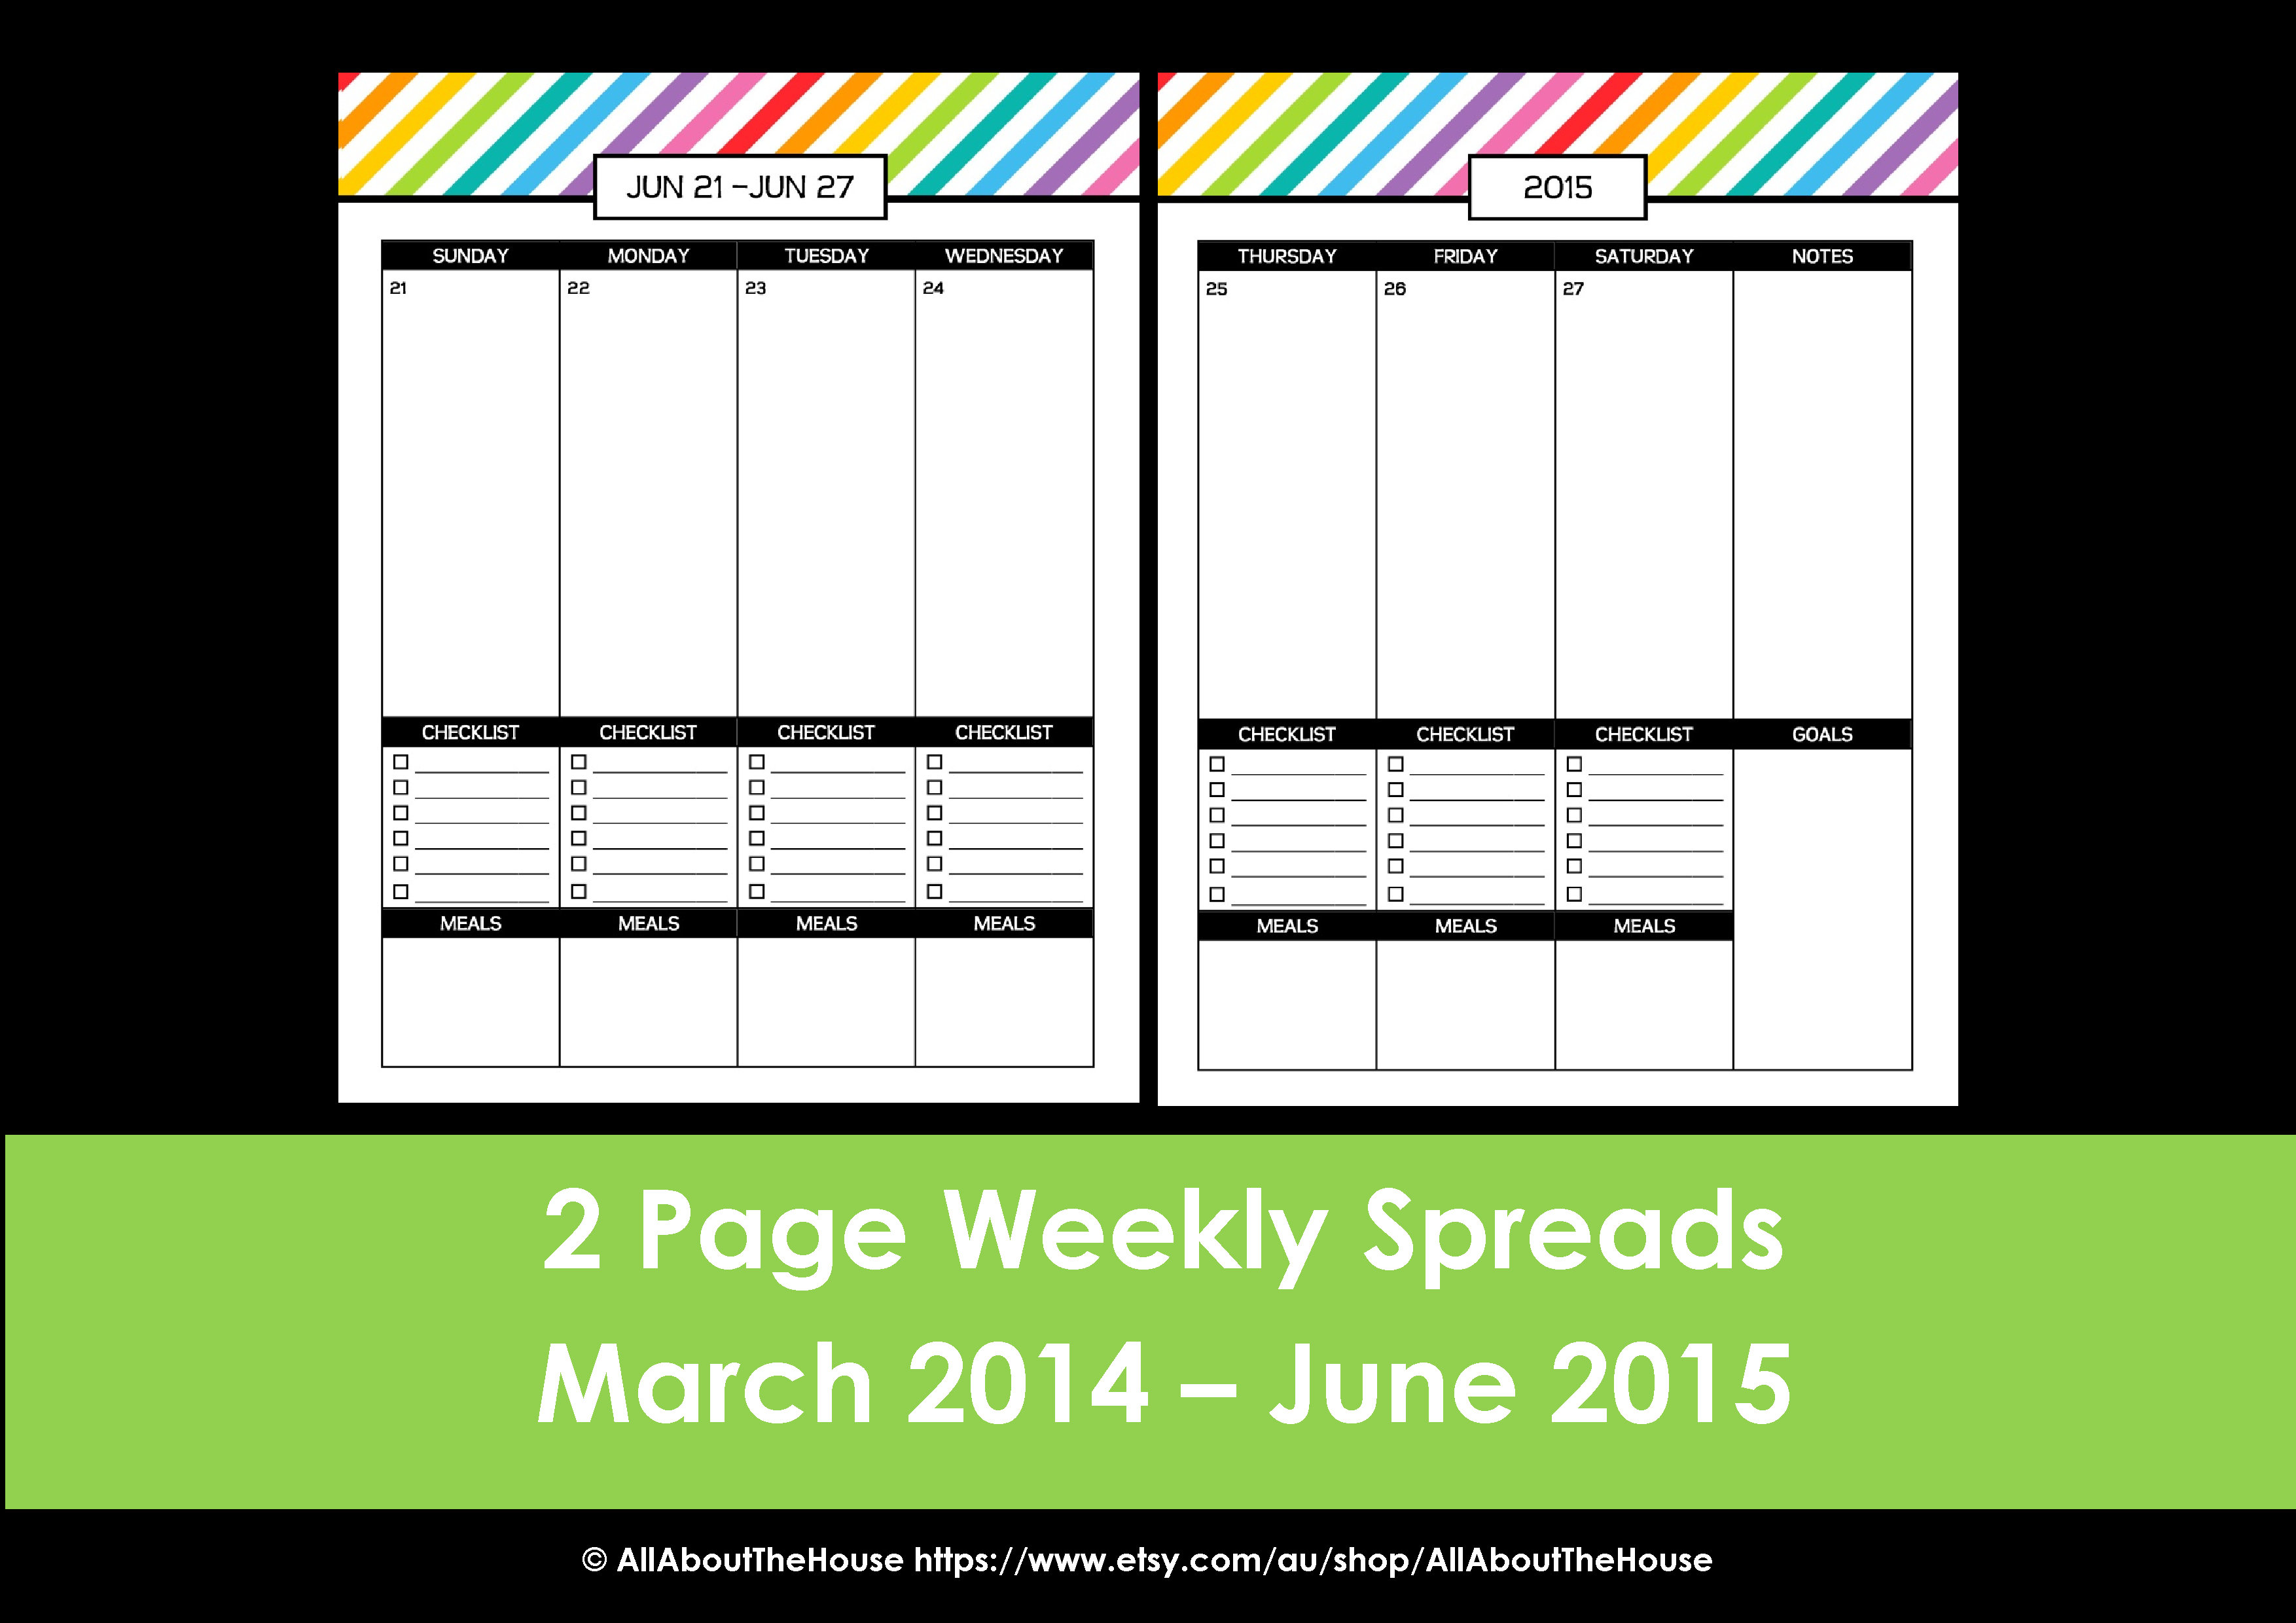
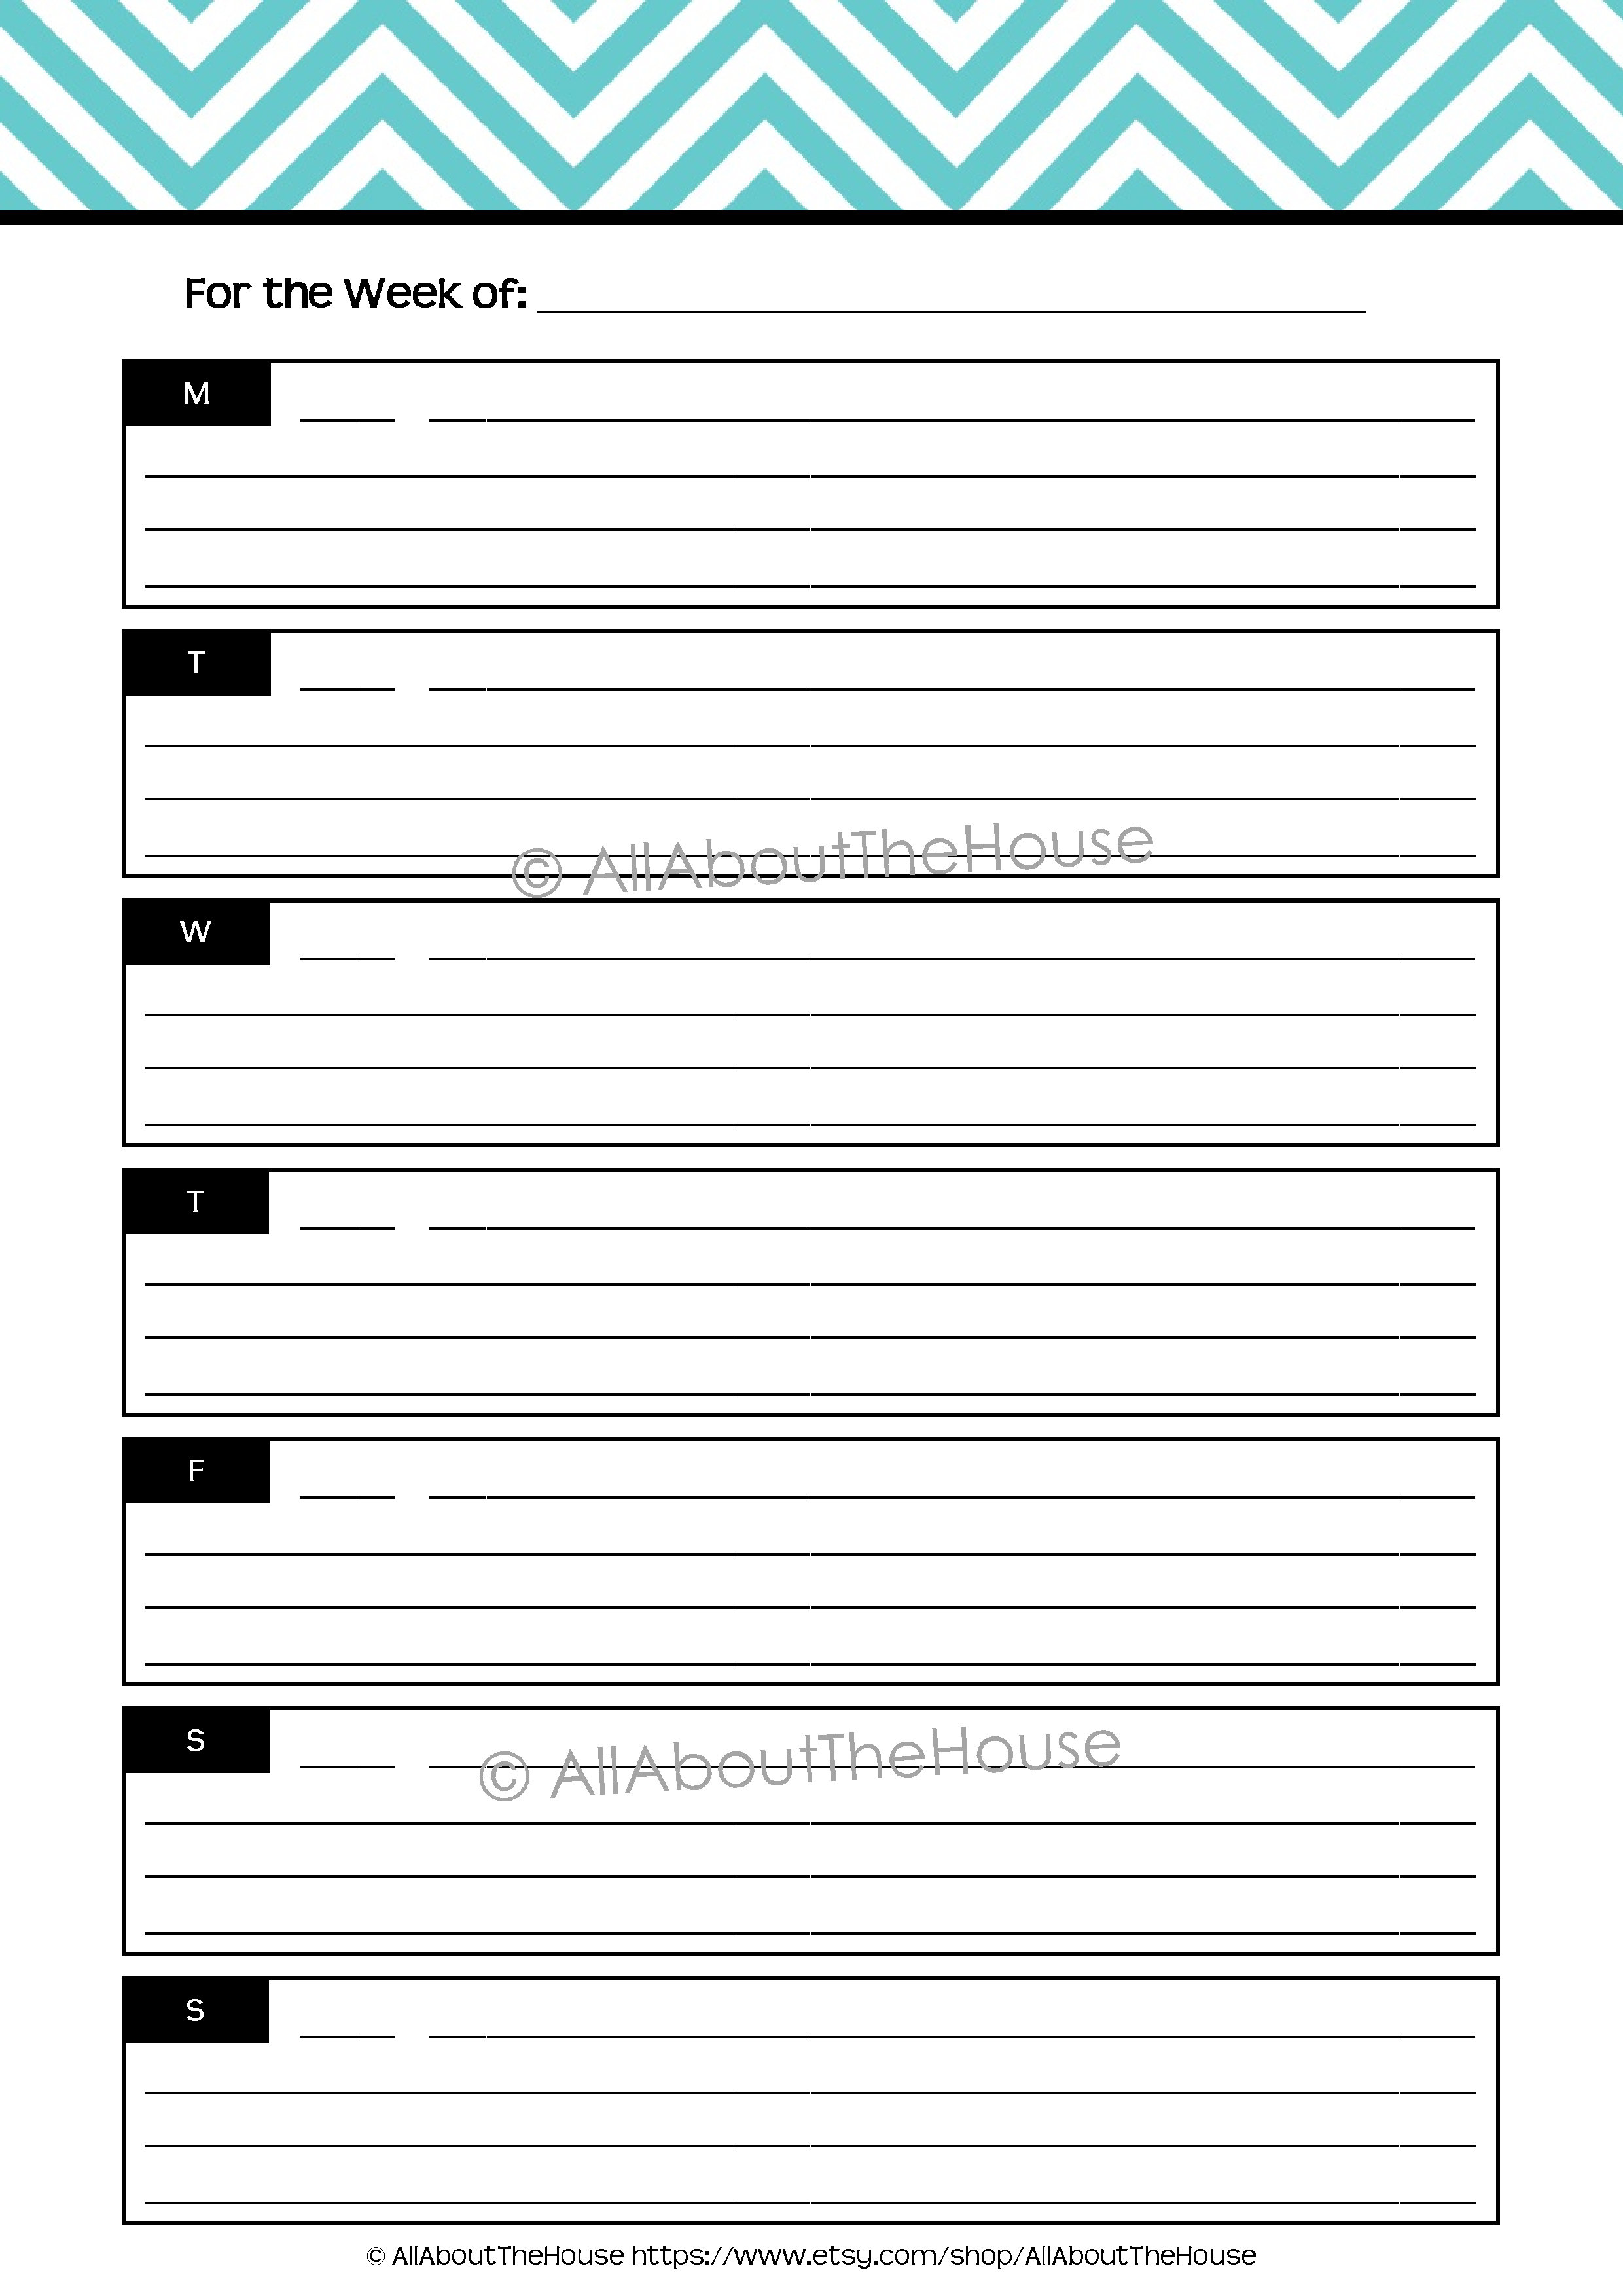
I have also designed a new half-size weekly layout that allows more room to write with the days going across the page than the columns like the letter size (full size) planner style.
I hope you guys like this new planner style as much as I enjoyed creating it 🙂
If you’re concerned about using up printer ink you could have the files printed at your local office supply store (send me a convo via etsy and I will give you a print release) the chevron and stripes patterns also print nicely in greyscale.
Printing instructions are included. Before printing you will need to pre-cut letter size paper in half (most office supply stores will do this for you if you don”t have a paper trimmer, you can also buy pre-cut paper reams)
You can read more about the rainbow planner and chevron planners in THIS post.
Please excuse the poor quality photos – the colours are actually much brighter in person!
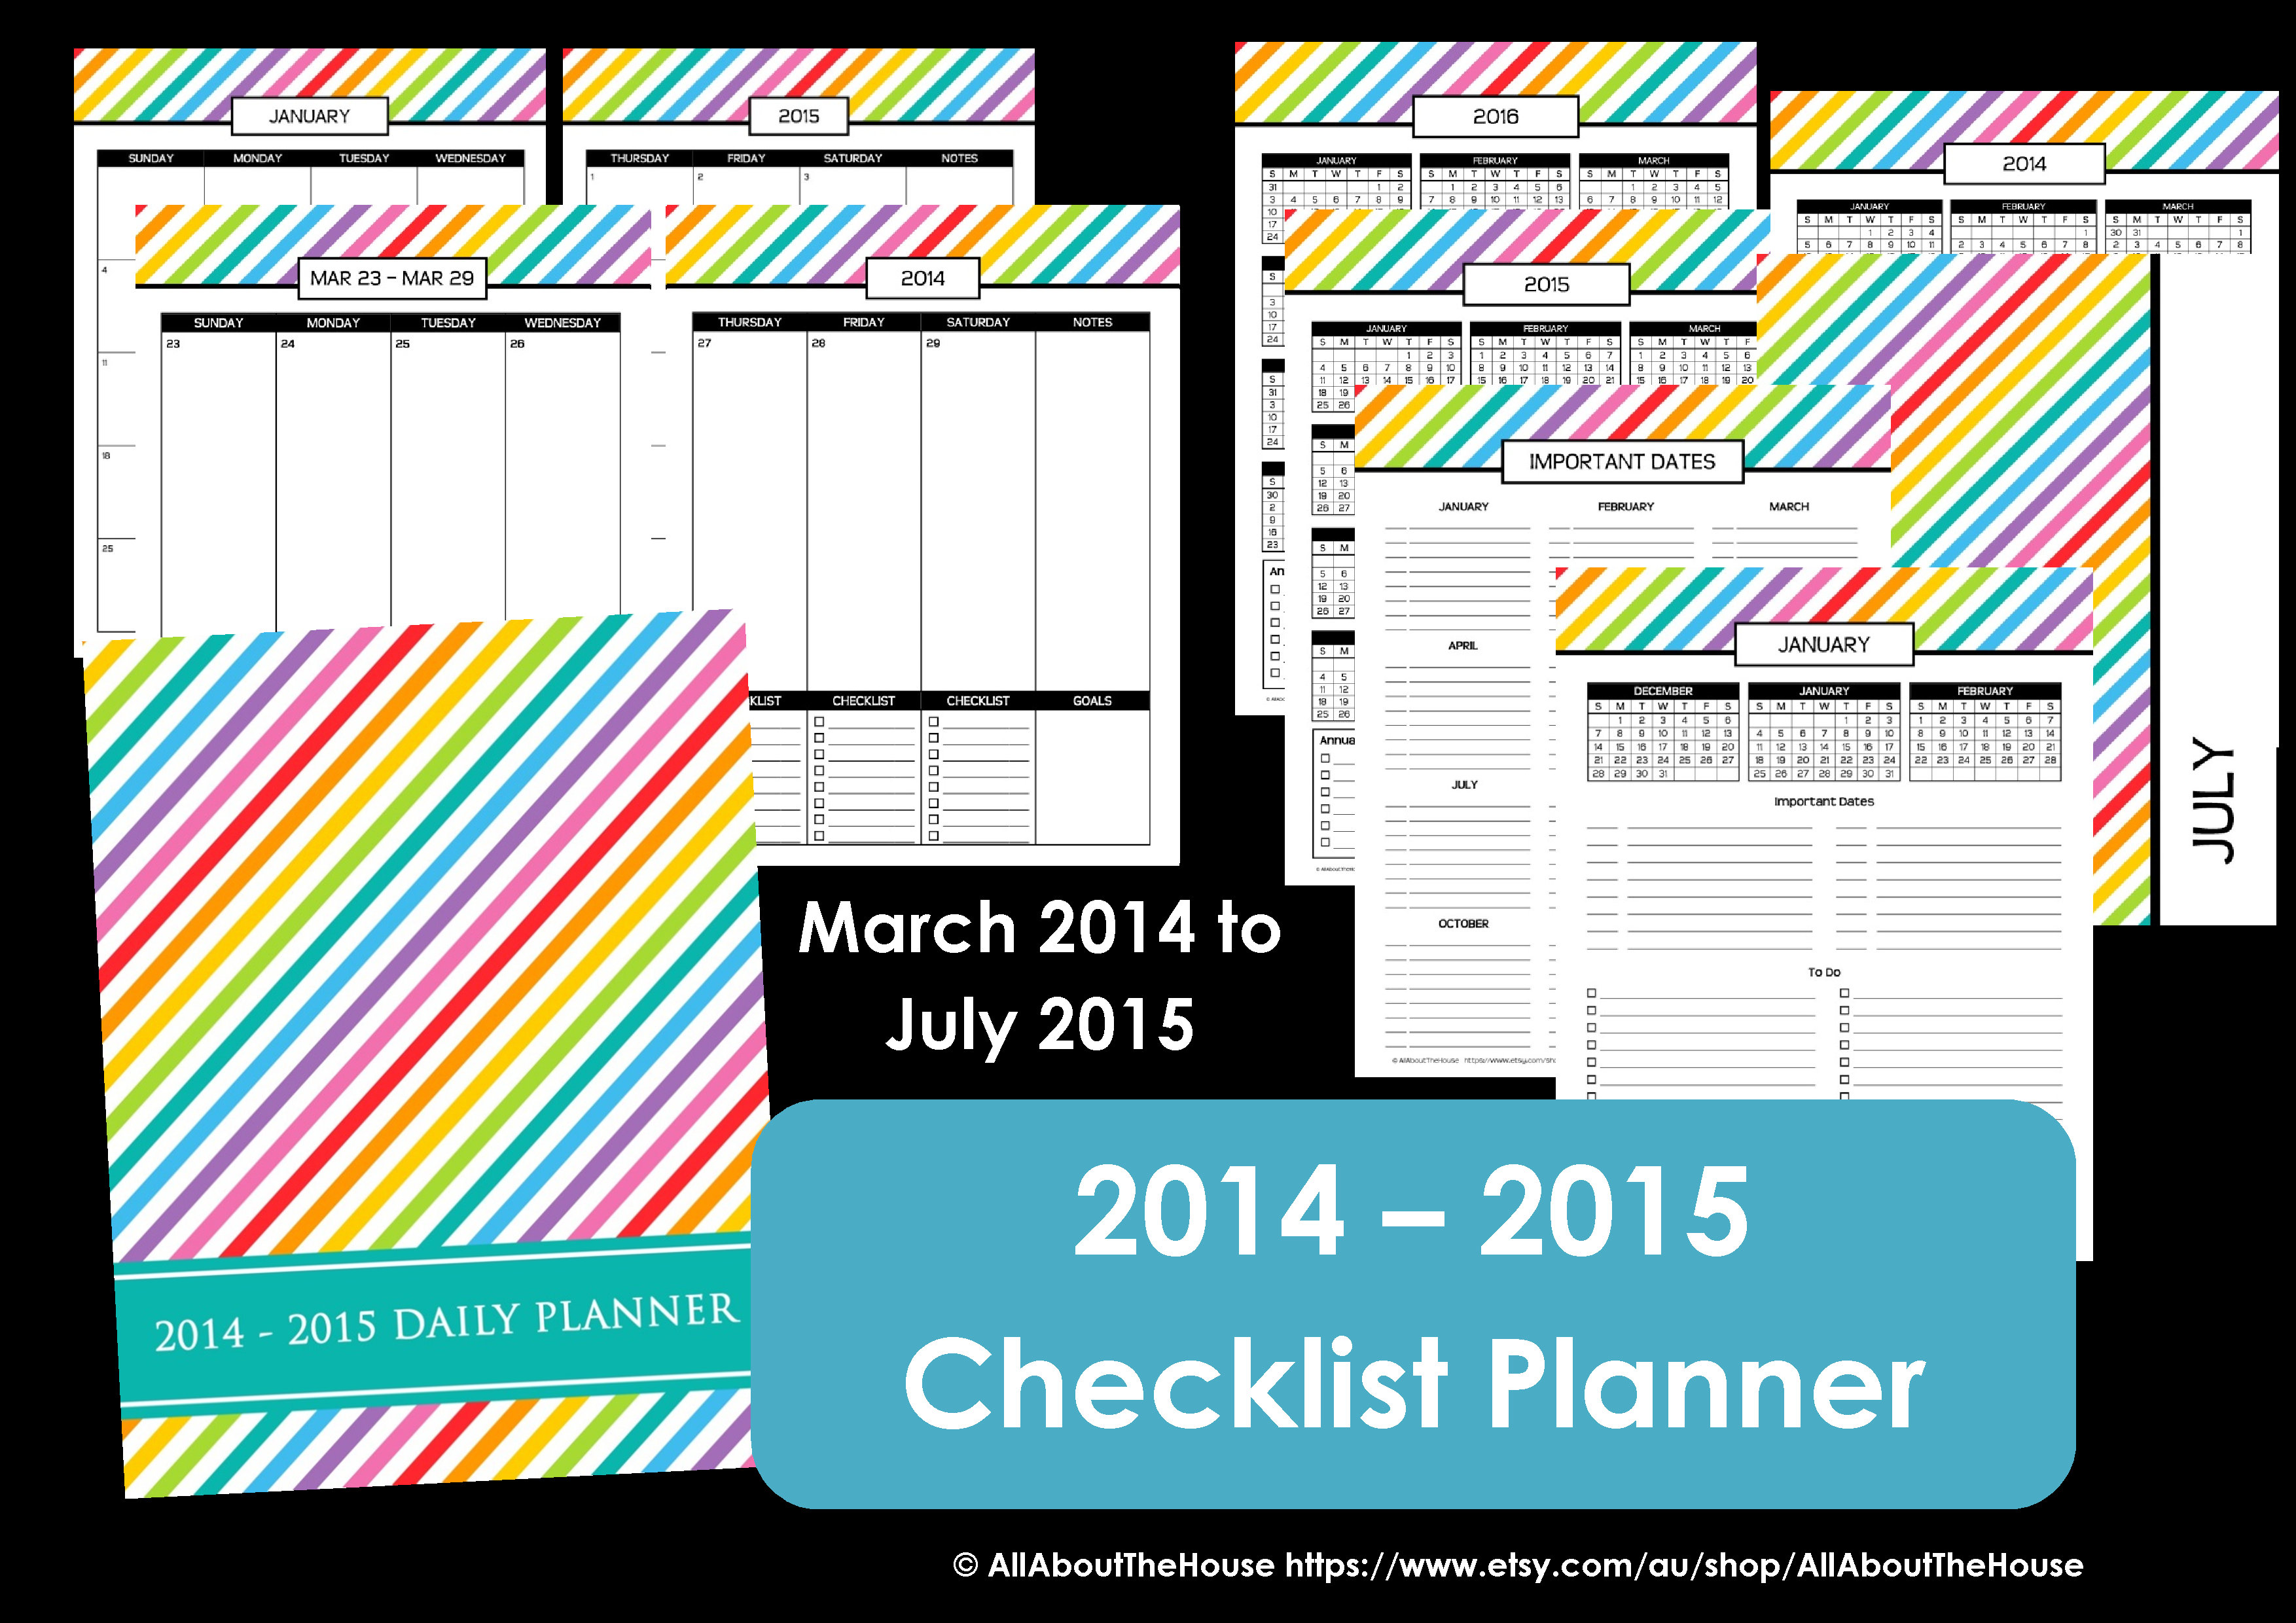
I. Am. OBSESSED with it! I created the whole planner from scratch (well, except the arc notebook I used to assemble it of course). The planner pages are 8.5 x 11″ in size. I know a lot of people prefer the smaller planner sizes but portability and compactibility isn’t an issue for me as I carry a large handbag. I’ll discuss printing options if you’d like to use the pages in an A5, half size or filofax planner at the bottom of this post.
One of the most important things about a planner is its’ pretty cover page! I am OBSESSED with pretty cover pages. Every binder I use has to have a cover page. I created one cover for the planner then came up with ideas for another cover. And another one. I ended up with about 15 covers before I finally gained some self-control. I get bored with covers easily so I intend to use a different one each month. This is the one I am currently using:
I’ve listed all the other covers in my Etsy shop if you’re a cover addict like me. These covers are personalised with your monogram and/or other wording that you would like. Due to customisation these are sent within 48hours of your purchase.
These covers are an instant download so you can use them right away!
You could also pair the planner with one of my other binder covers
Let’s take a tour of my planner!
After the cover page is the ‘this belongs to page’ in case my planner ever gets lost.
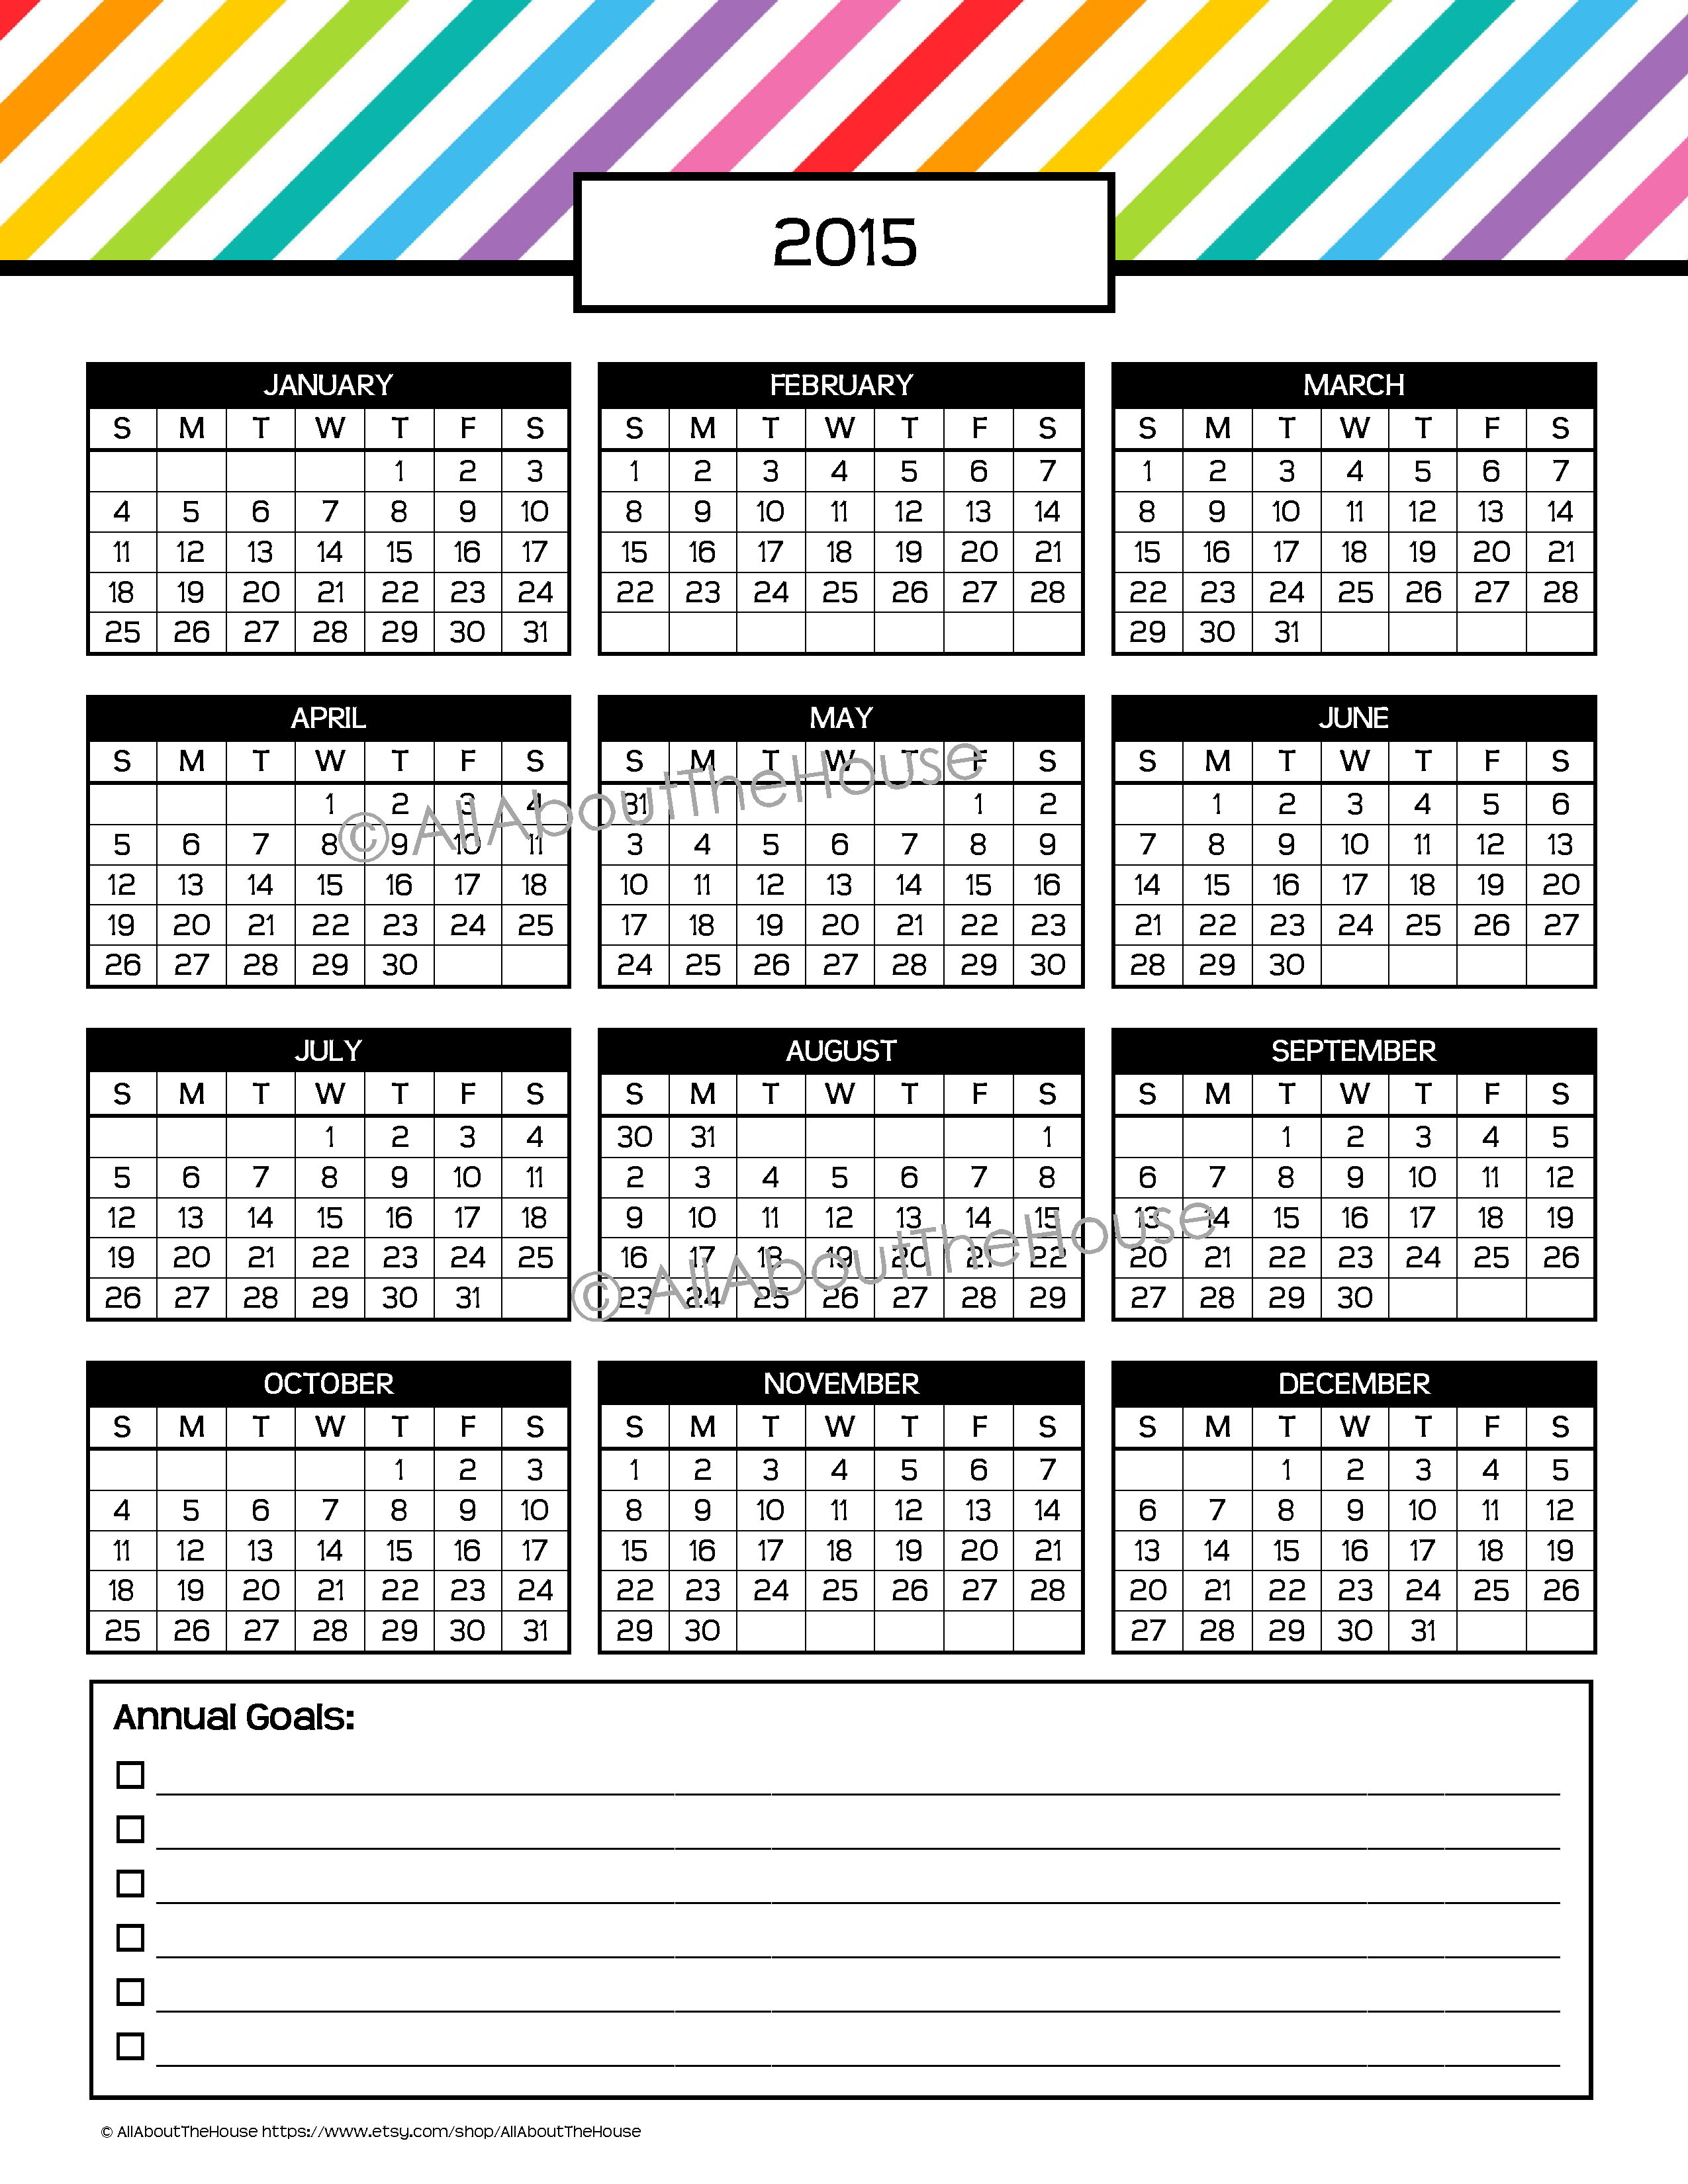
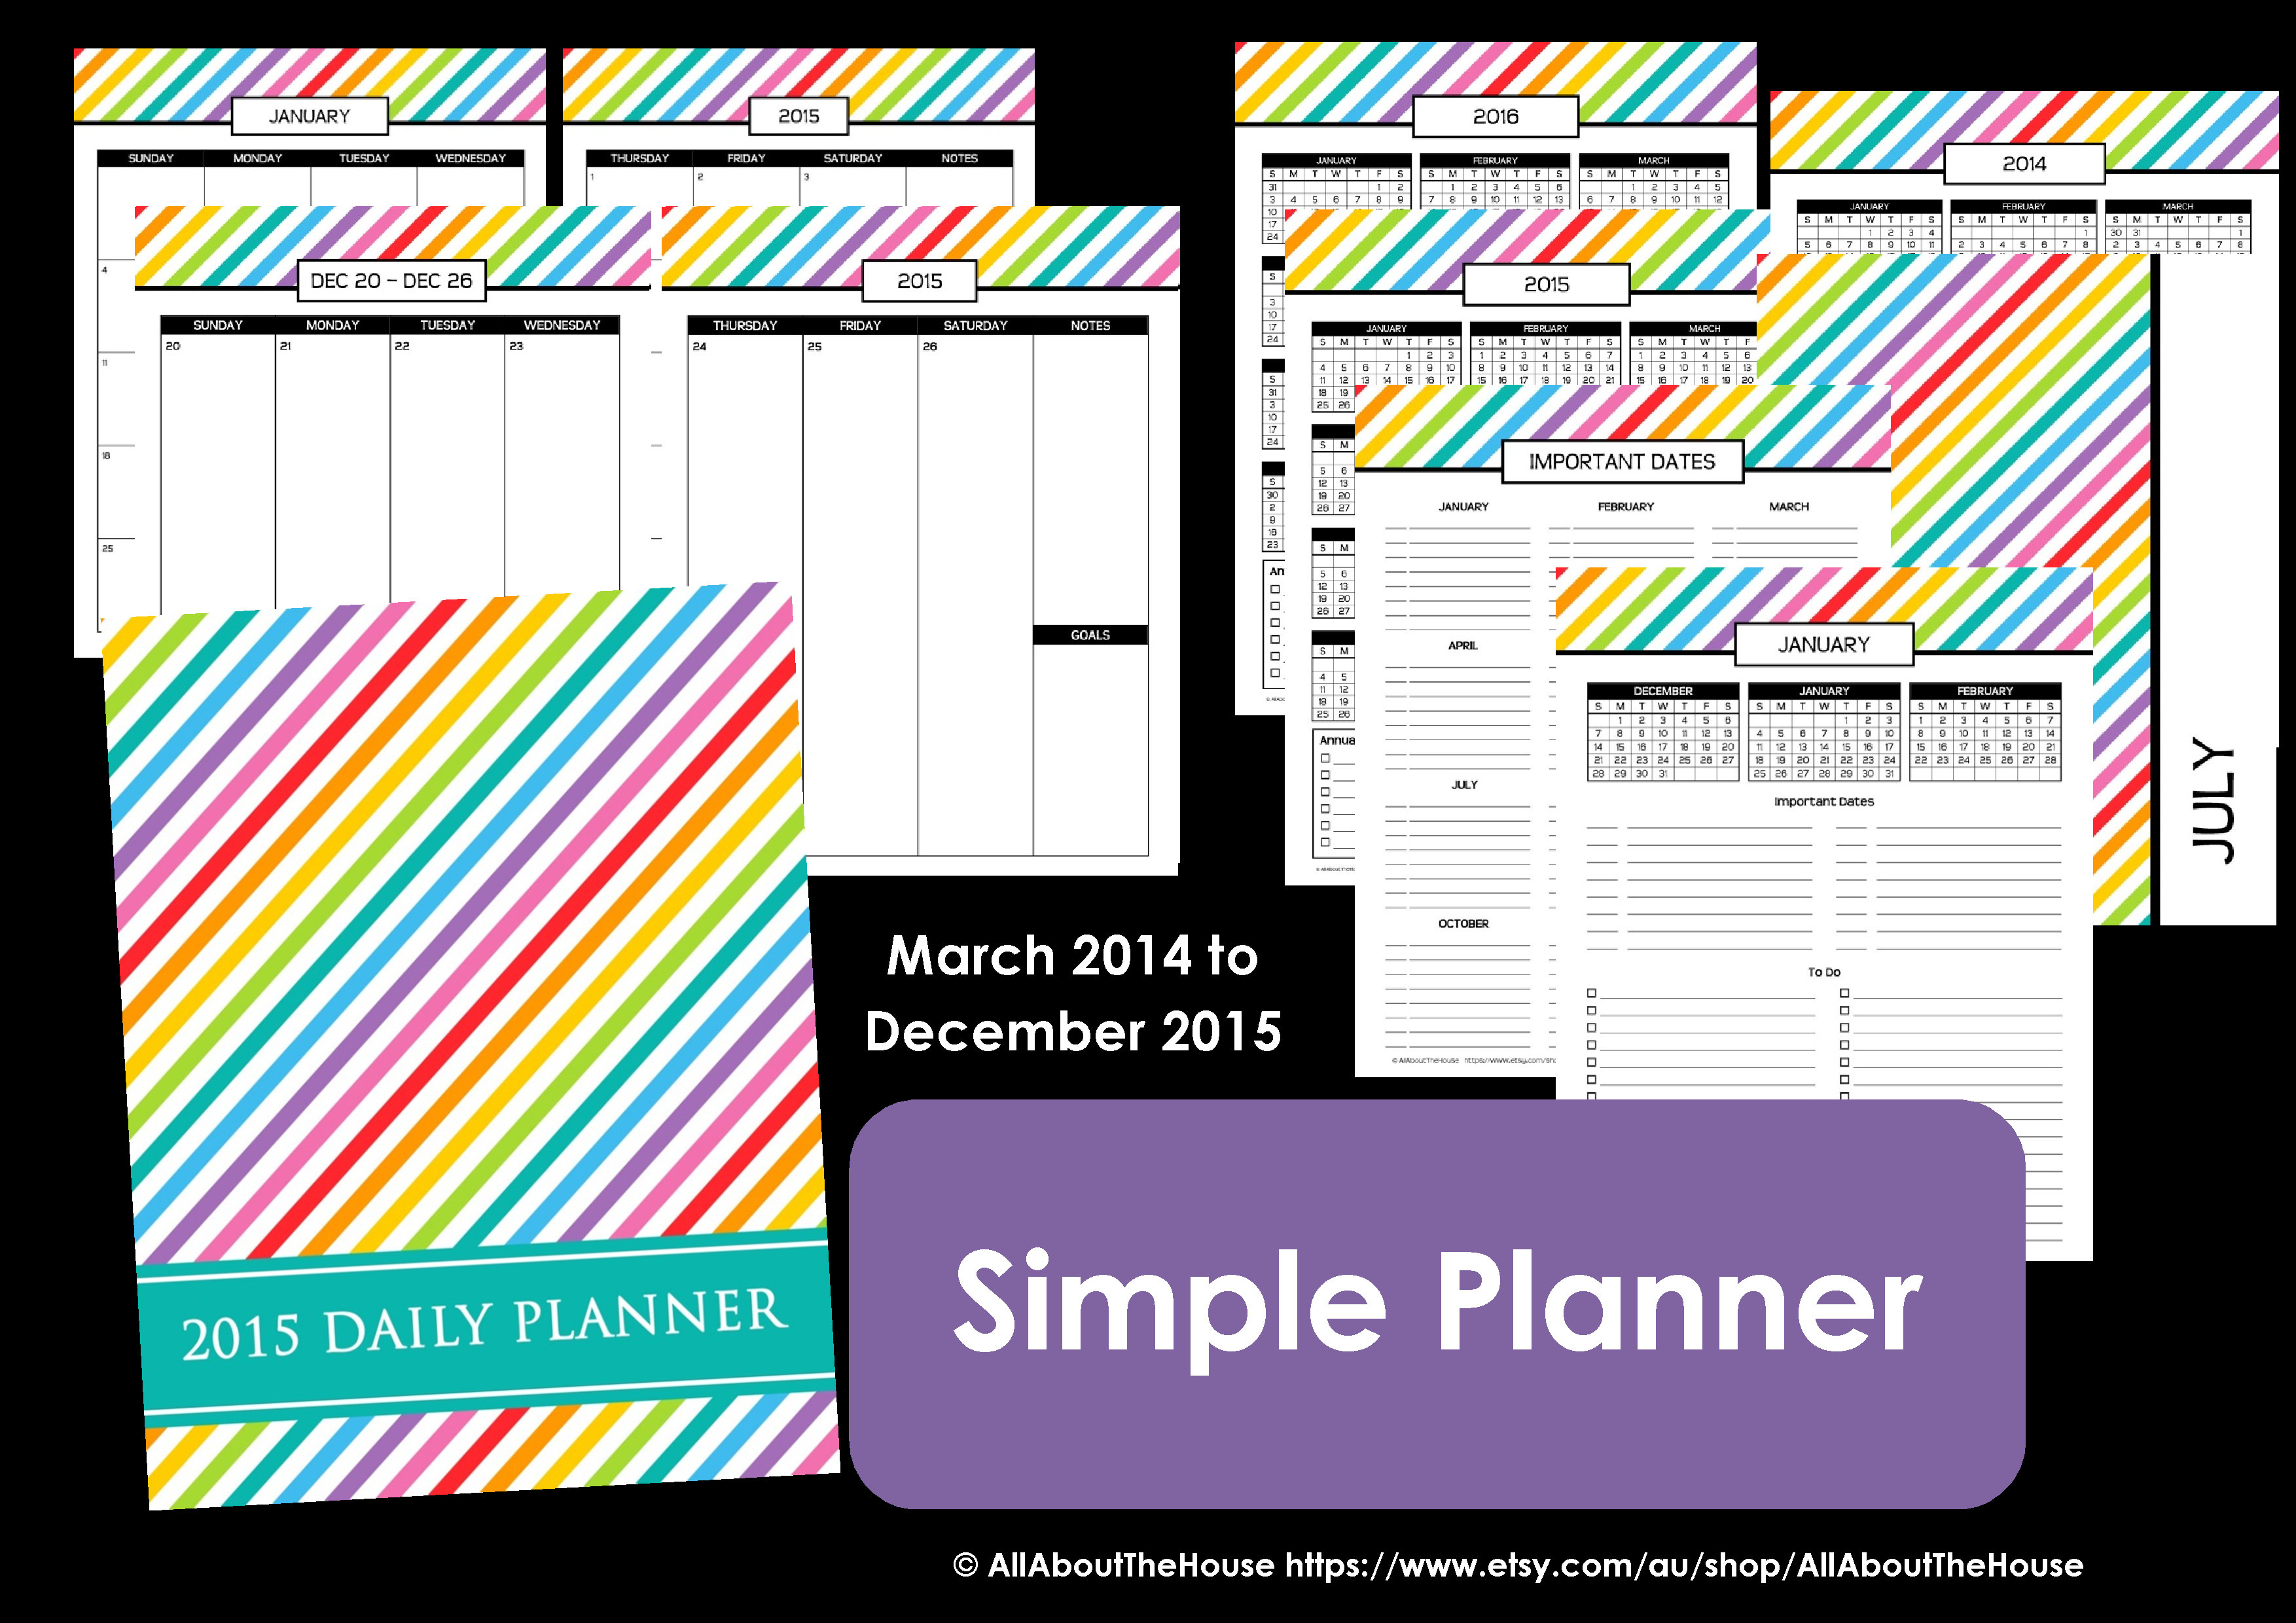
Followed by the 2014 and 2015 dates at a glance pages (with space tor record those new years resolutions/goals that I’m going to try and accomplish)
I forget to take photos of these pages in my assembled planner.
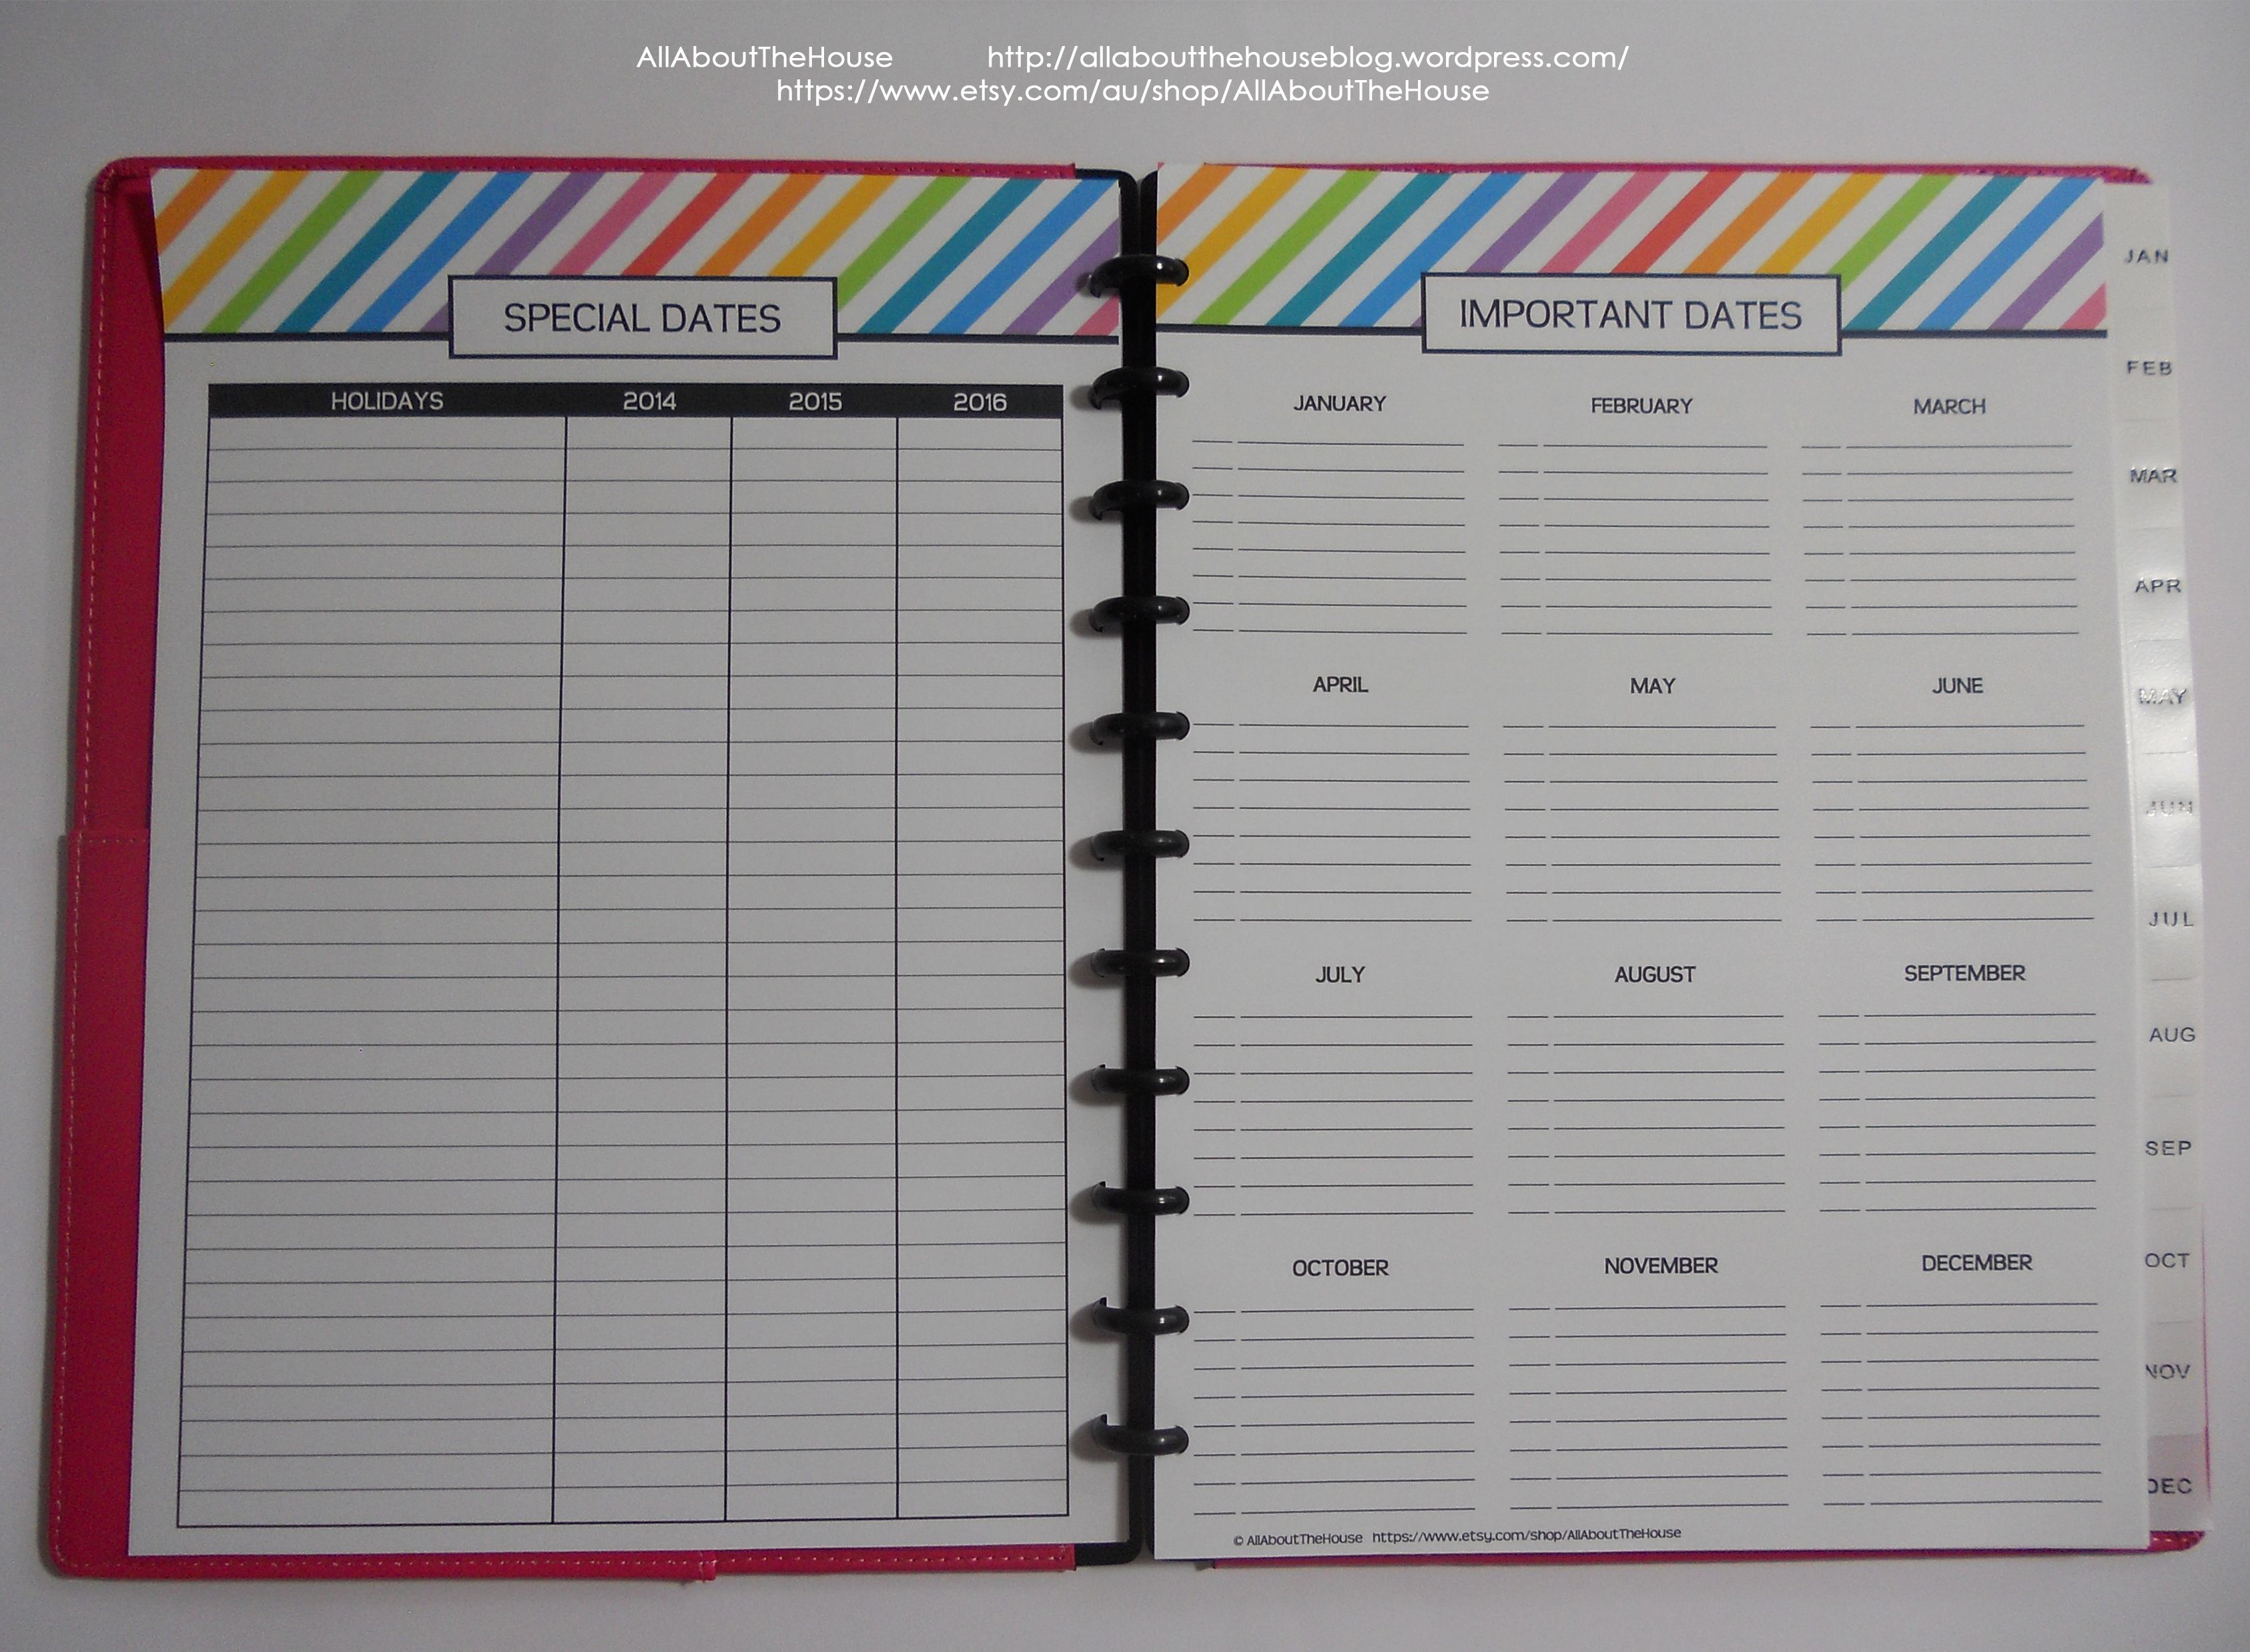
Then the ‘special dates’ page where I list national holidays for 2014 , 2015 and 2016. This sheet is not pre-filled so you could live anywhere in the world and still use this planner! I live in Australia which is why this page is not pre-filled with American holidays. You can find a summary of national holidays relevant to your country on this website
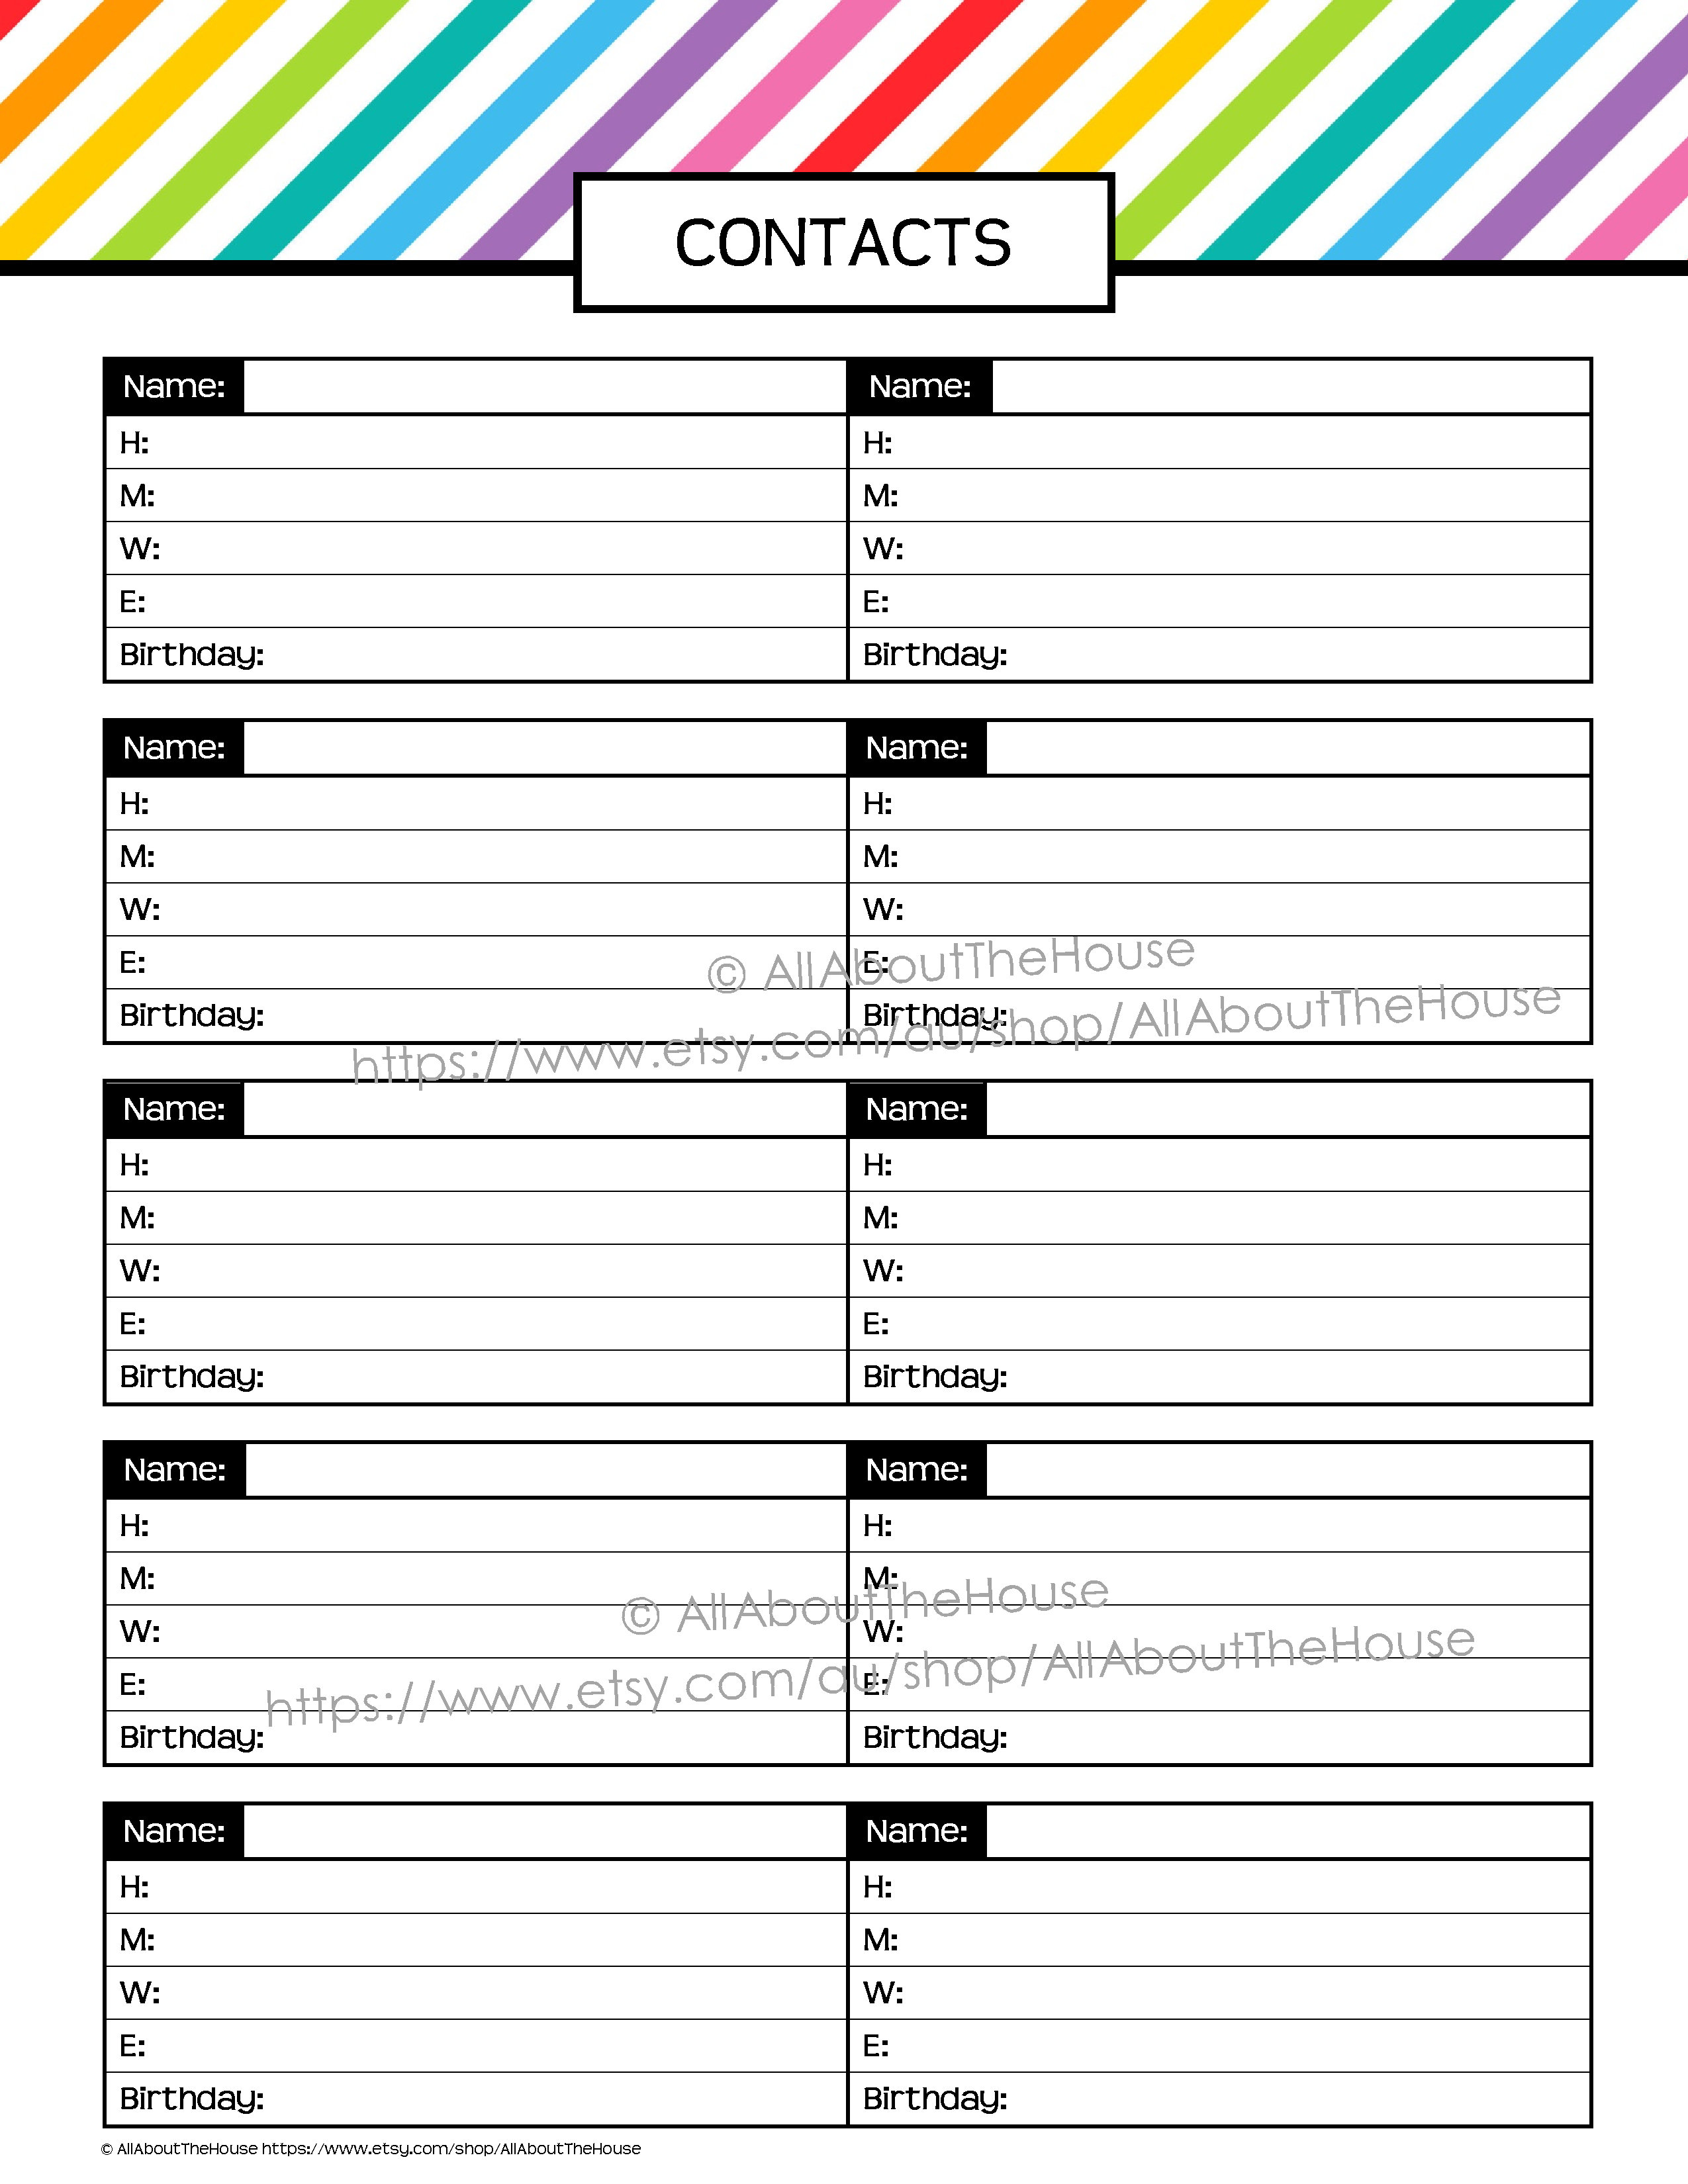
Important dates where I list birthday’s, anniversaries ect. You could also use it for annual planning.
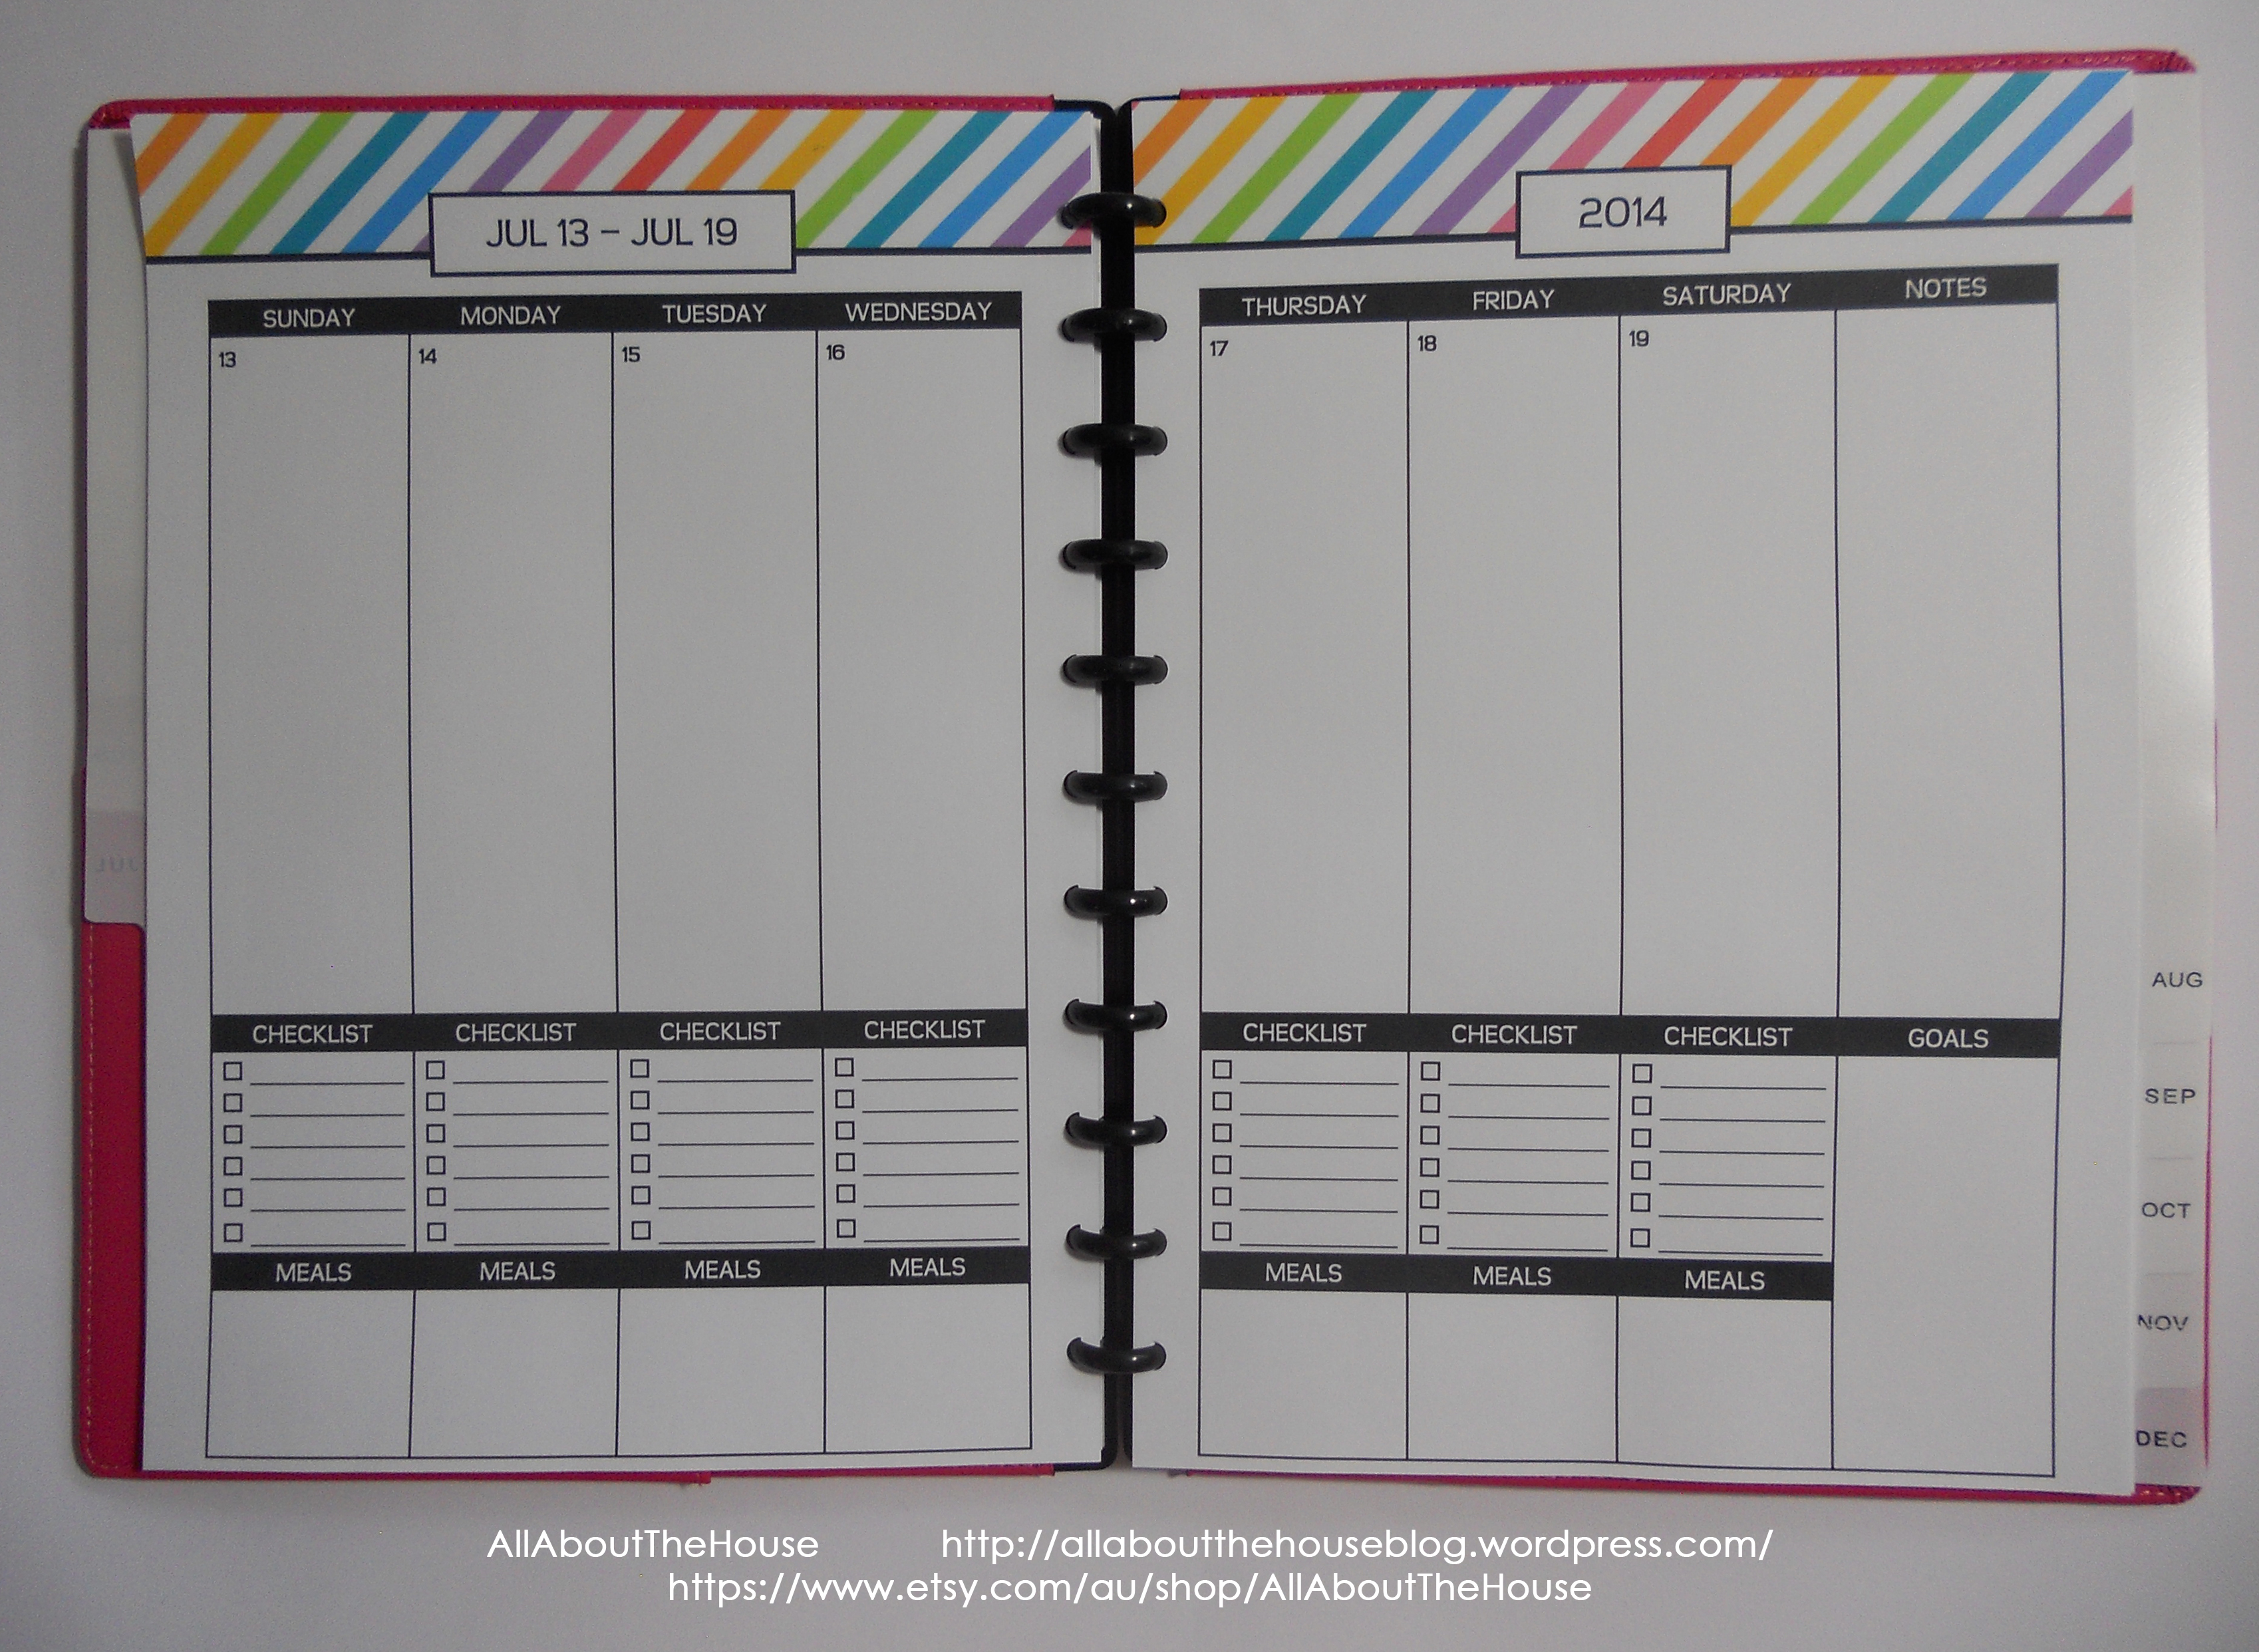
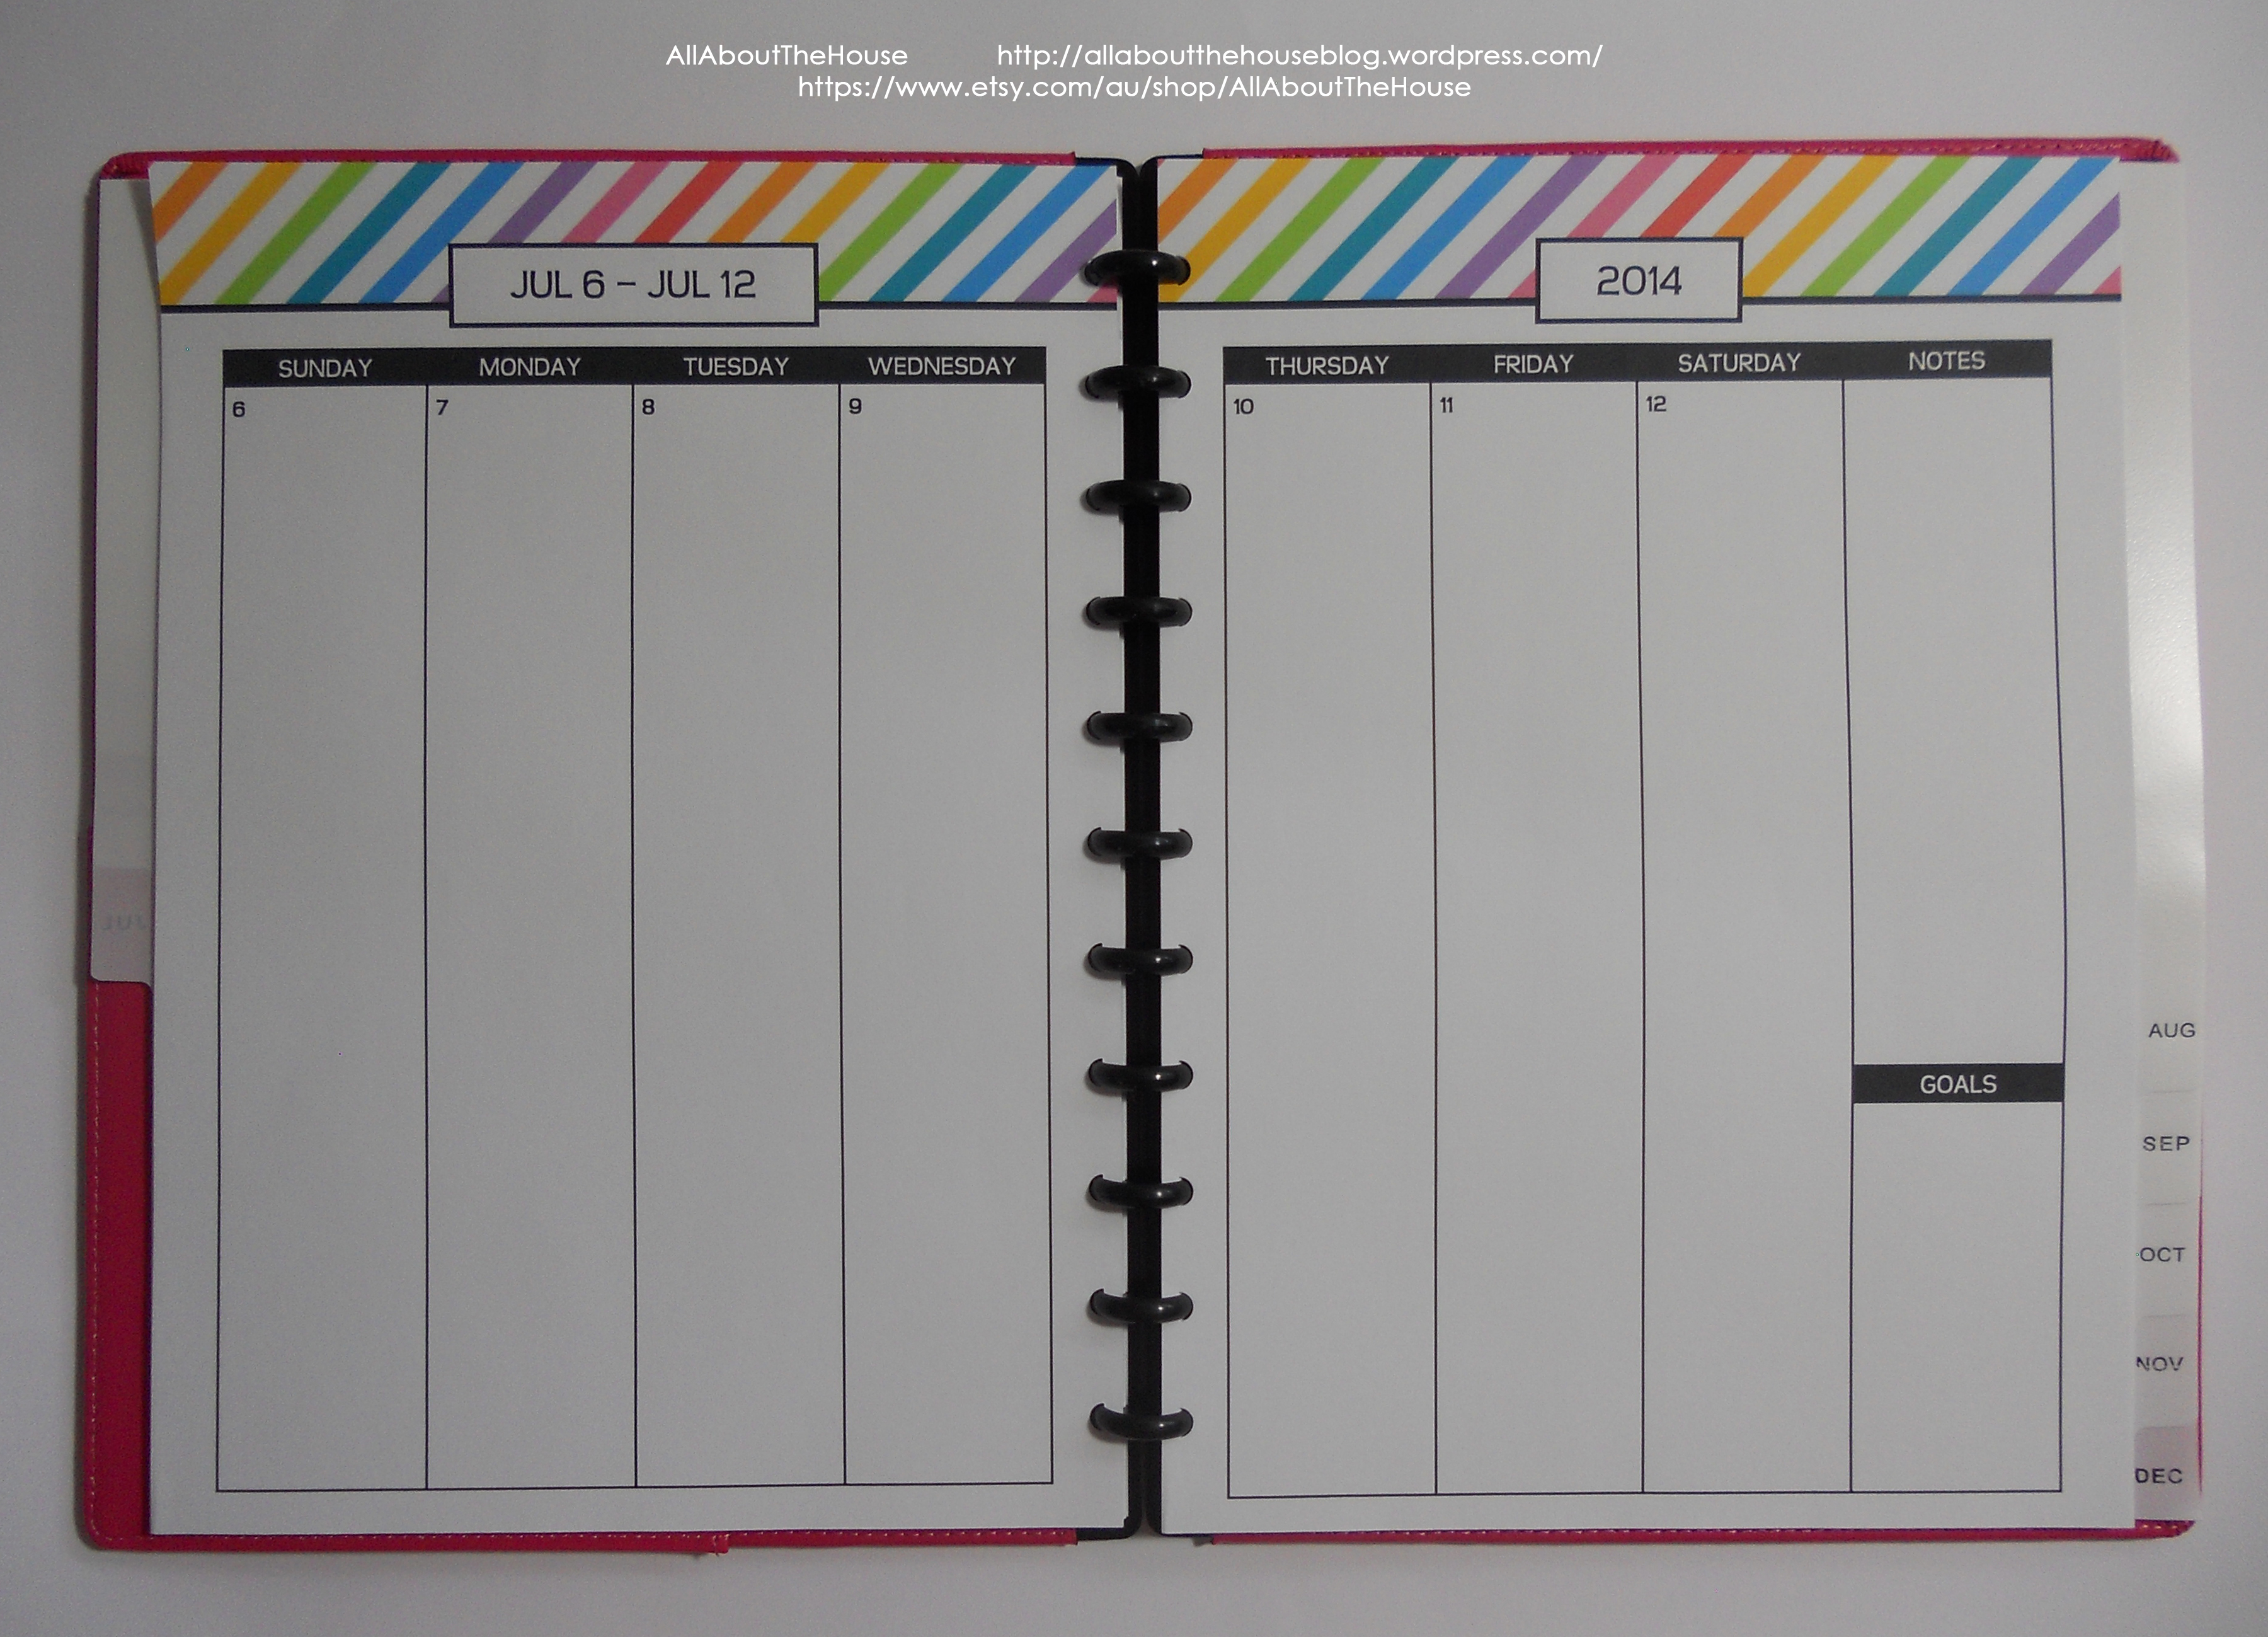
This is the weekly spread that I personally use. I am obsessed with lists so this layout has been working perfectly for me!
The ‘simple‘ version where you can make it your own e.g. add lines across the page to separate each column into boxes to separate things like school, work, social, reminders, meal planning ect. Or just keep the columns blank with lots of open-ended writing space
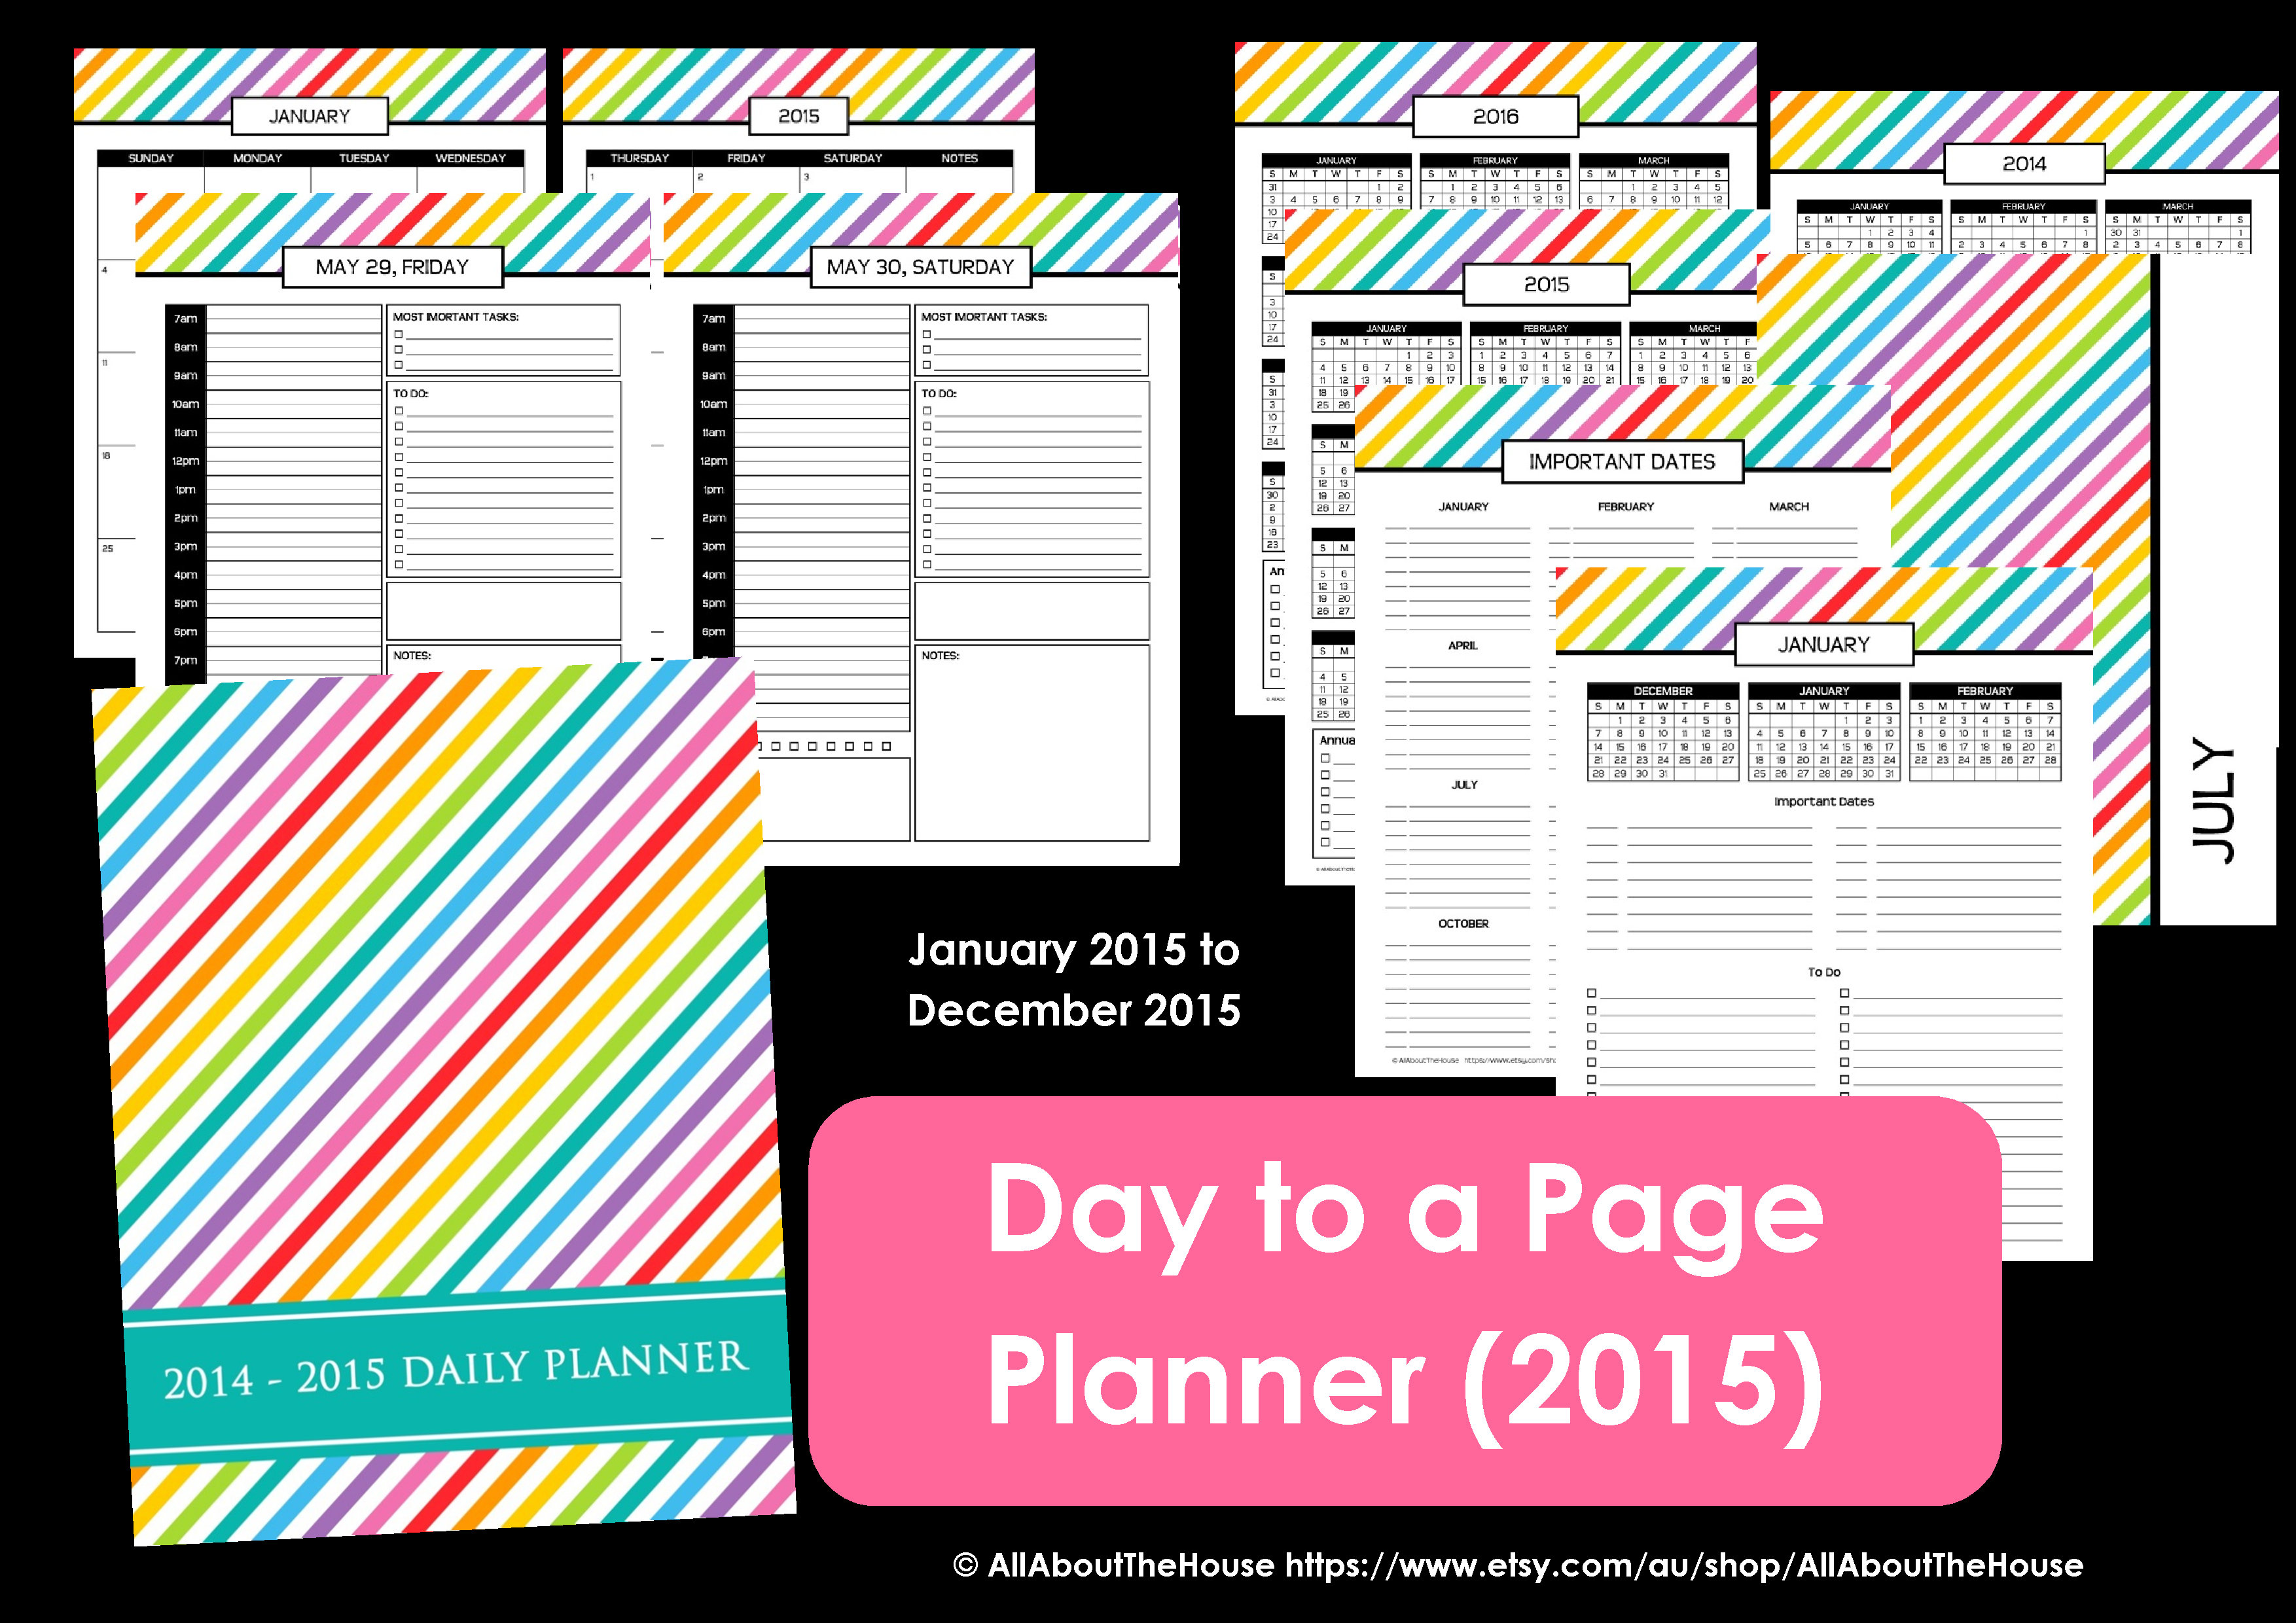
I also have an undated (and editable!) version. I use this on days where I need to get a lot done and I want to map out exactly how I will use my time. I call this the ‘schedule’ planning method (rather than the open-ended weekly pages). There are 2 lines beside each hour – one line per 30 minutes of the day. I print a few off and keep them at the back of the planner then transfer them to the current week when I need them.
Wondering what that un-labelled box is for? Anything! After designing and using many daily planners I have found that I needed a section that was flexible. Some days I use this box to record my exercise plan, on other days I use it for reminders or calls I need to make. I also like having a large notes section so I can jot down messages when I’m on the phone. I used to scramble around for a piece of paper which I then couldn’t find a few days later. This way I can keep everything in order 🙂 The meals box is big enough to plan all daily meals or just dinner and a few things I need to pick up from the store on my way home.
After all the months, I include extra notes pages as well as pages you can purchase separately from the ‘Extra’s package.’ I store these pages behind the ‘Miscellaneous’ divider (which comes with the planner).
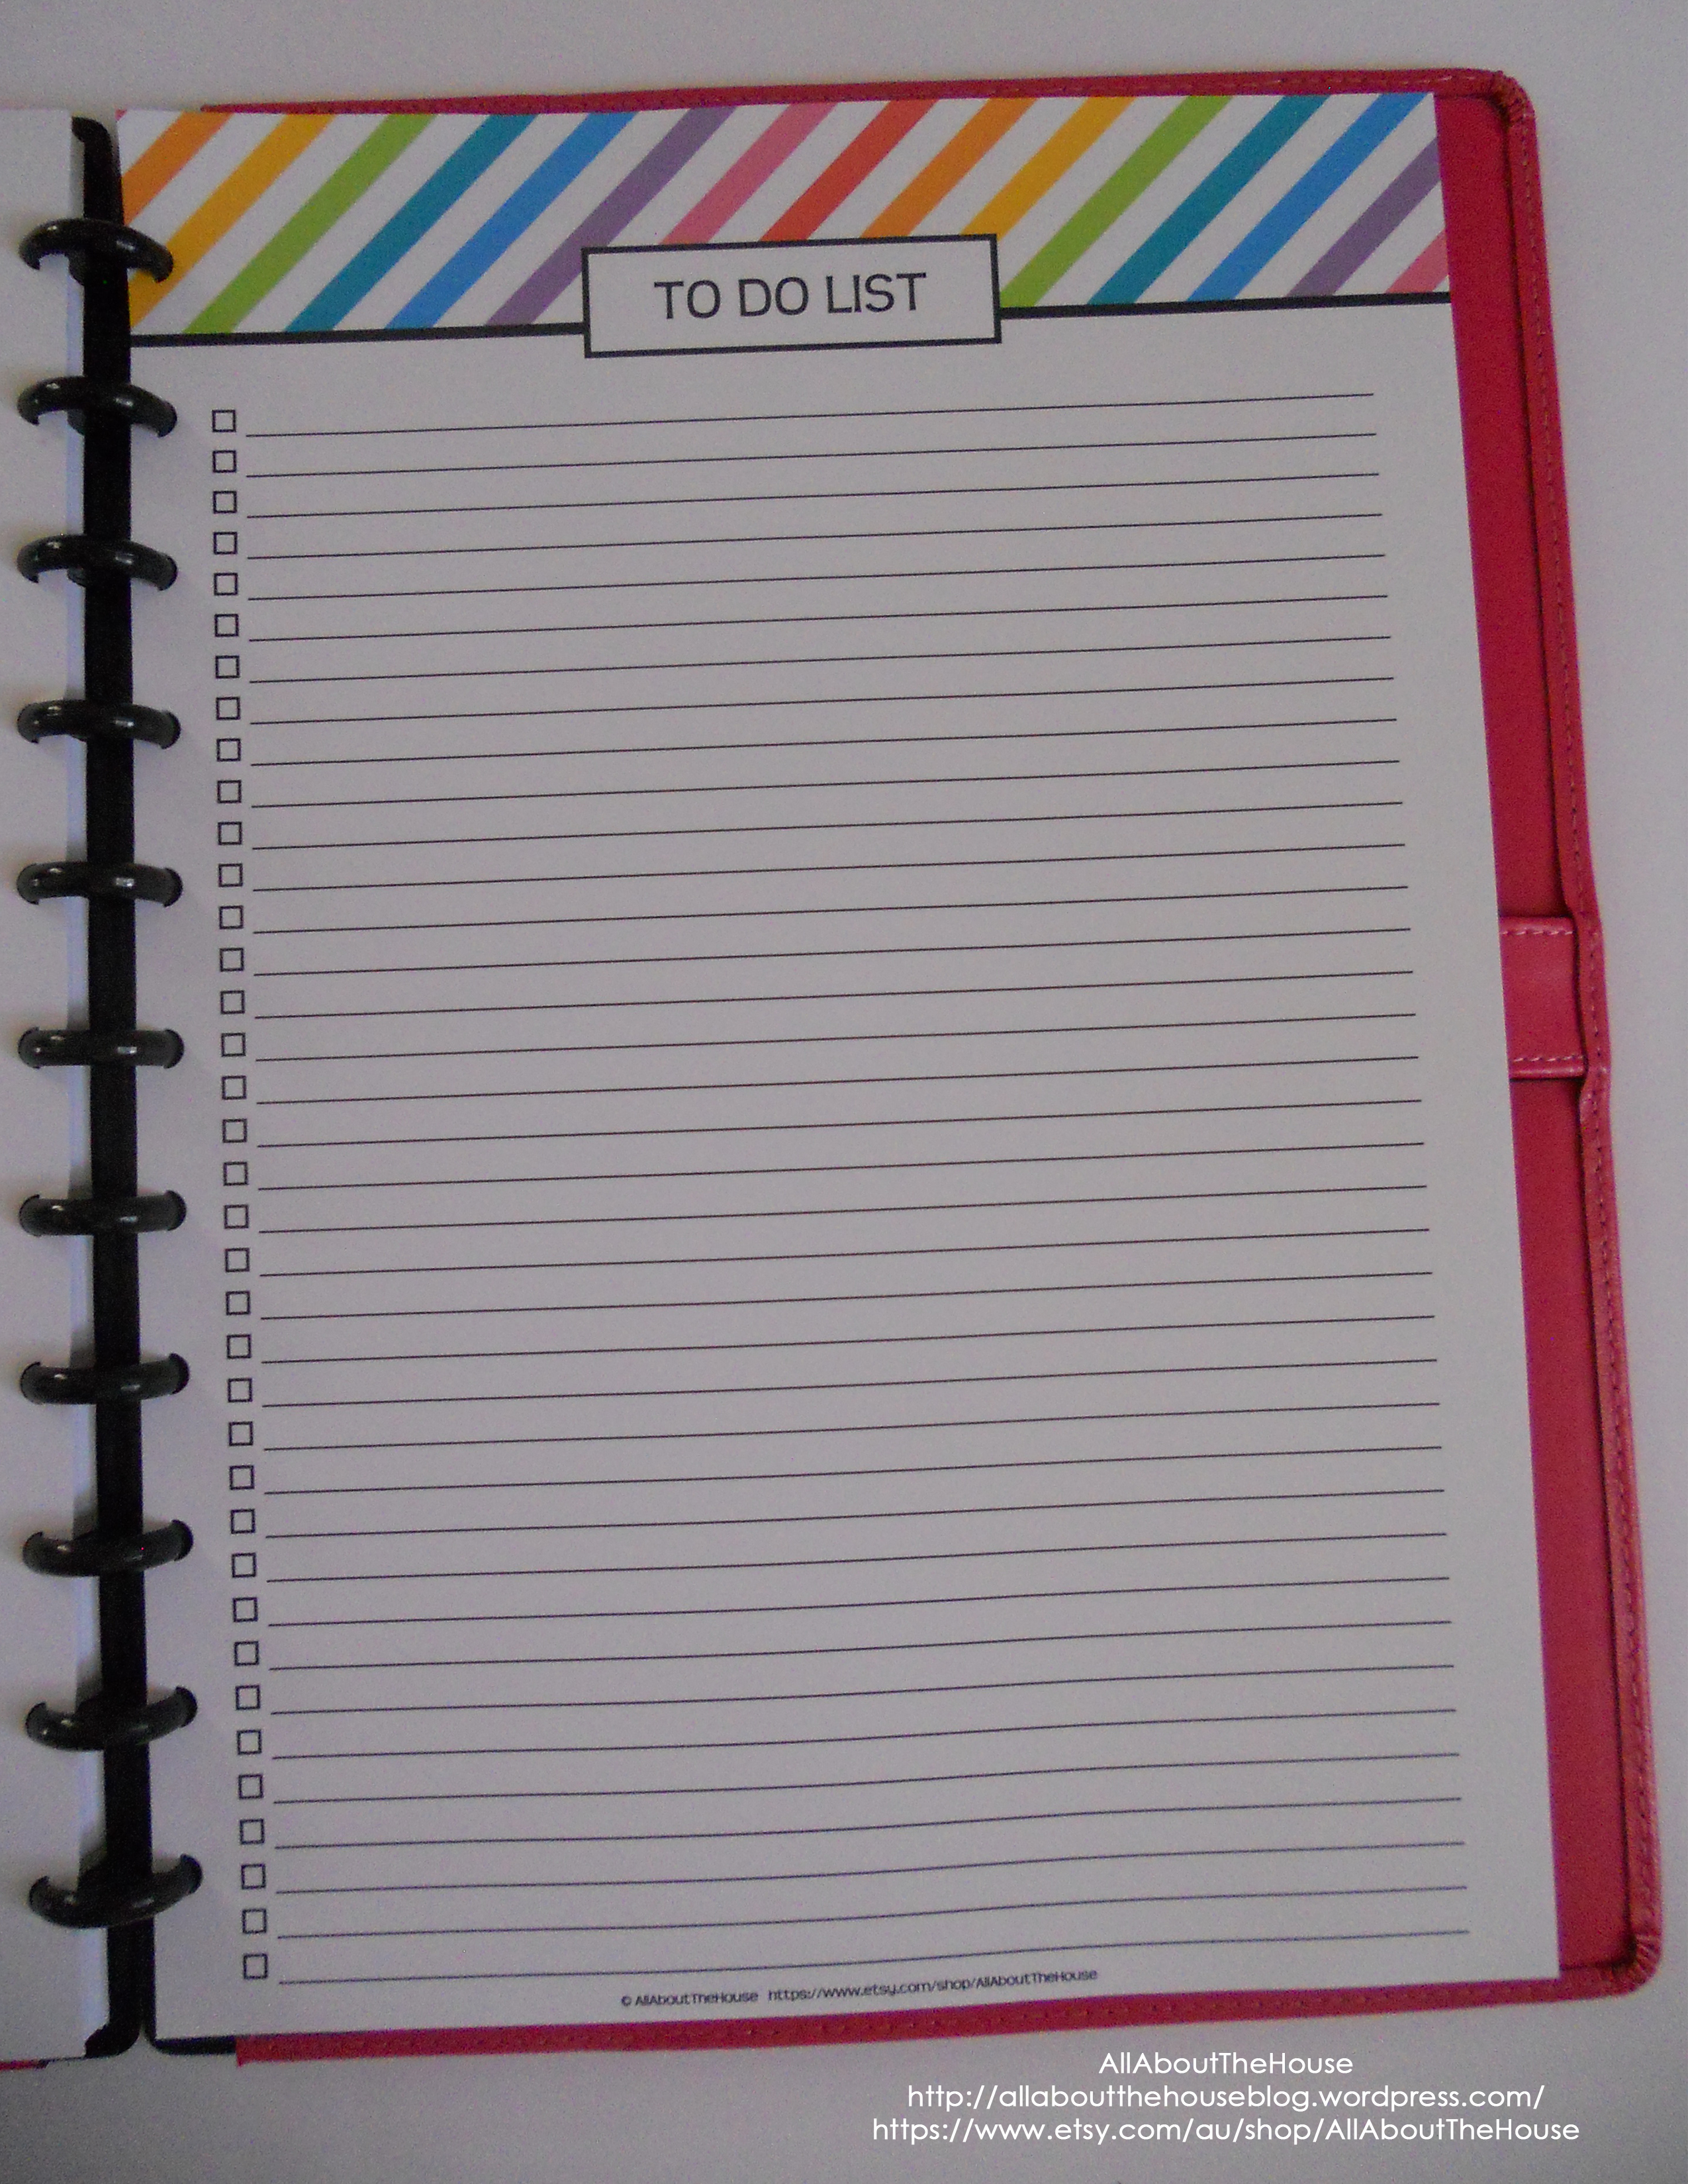
Weekly Planning page. I keep this at the back and use it to note routine things that need to be completed each day (or most days of the week). I am considering moving it to the front of the planner.
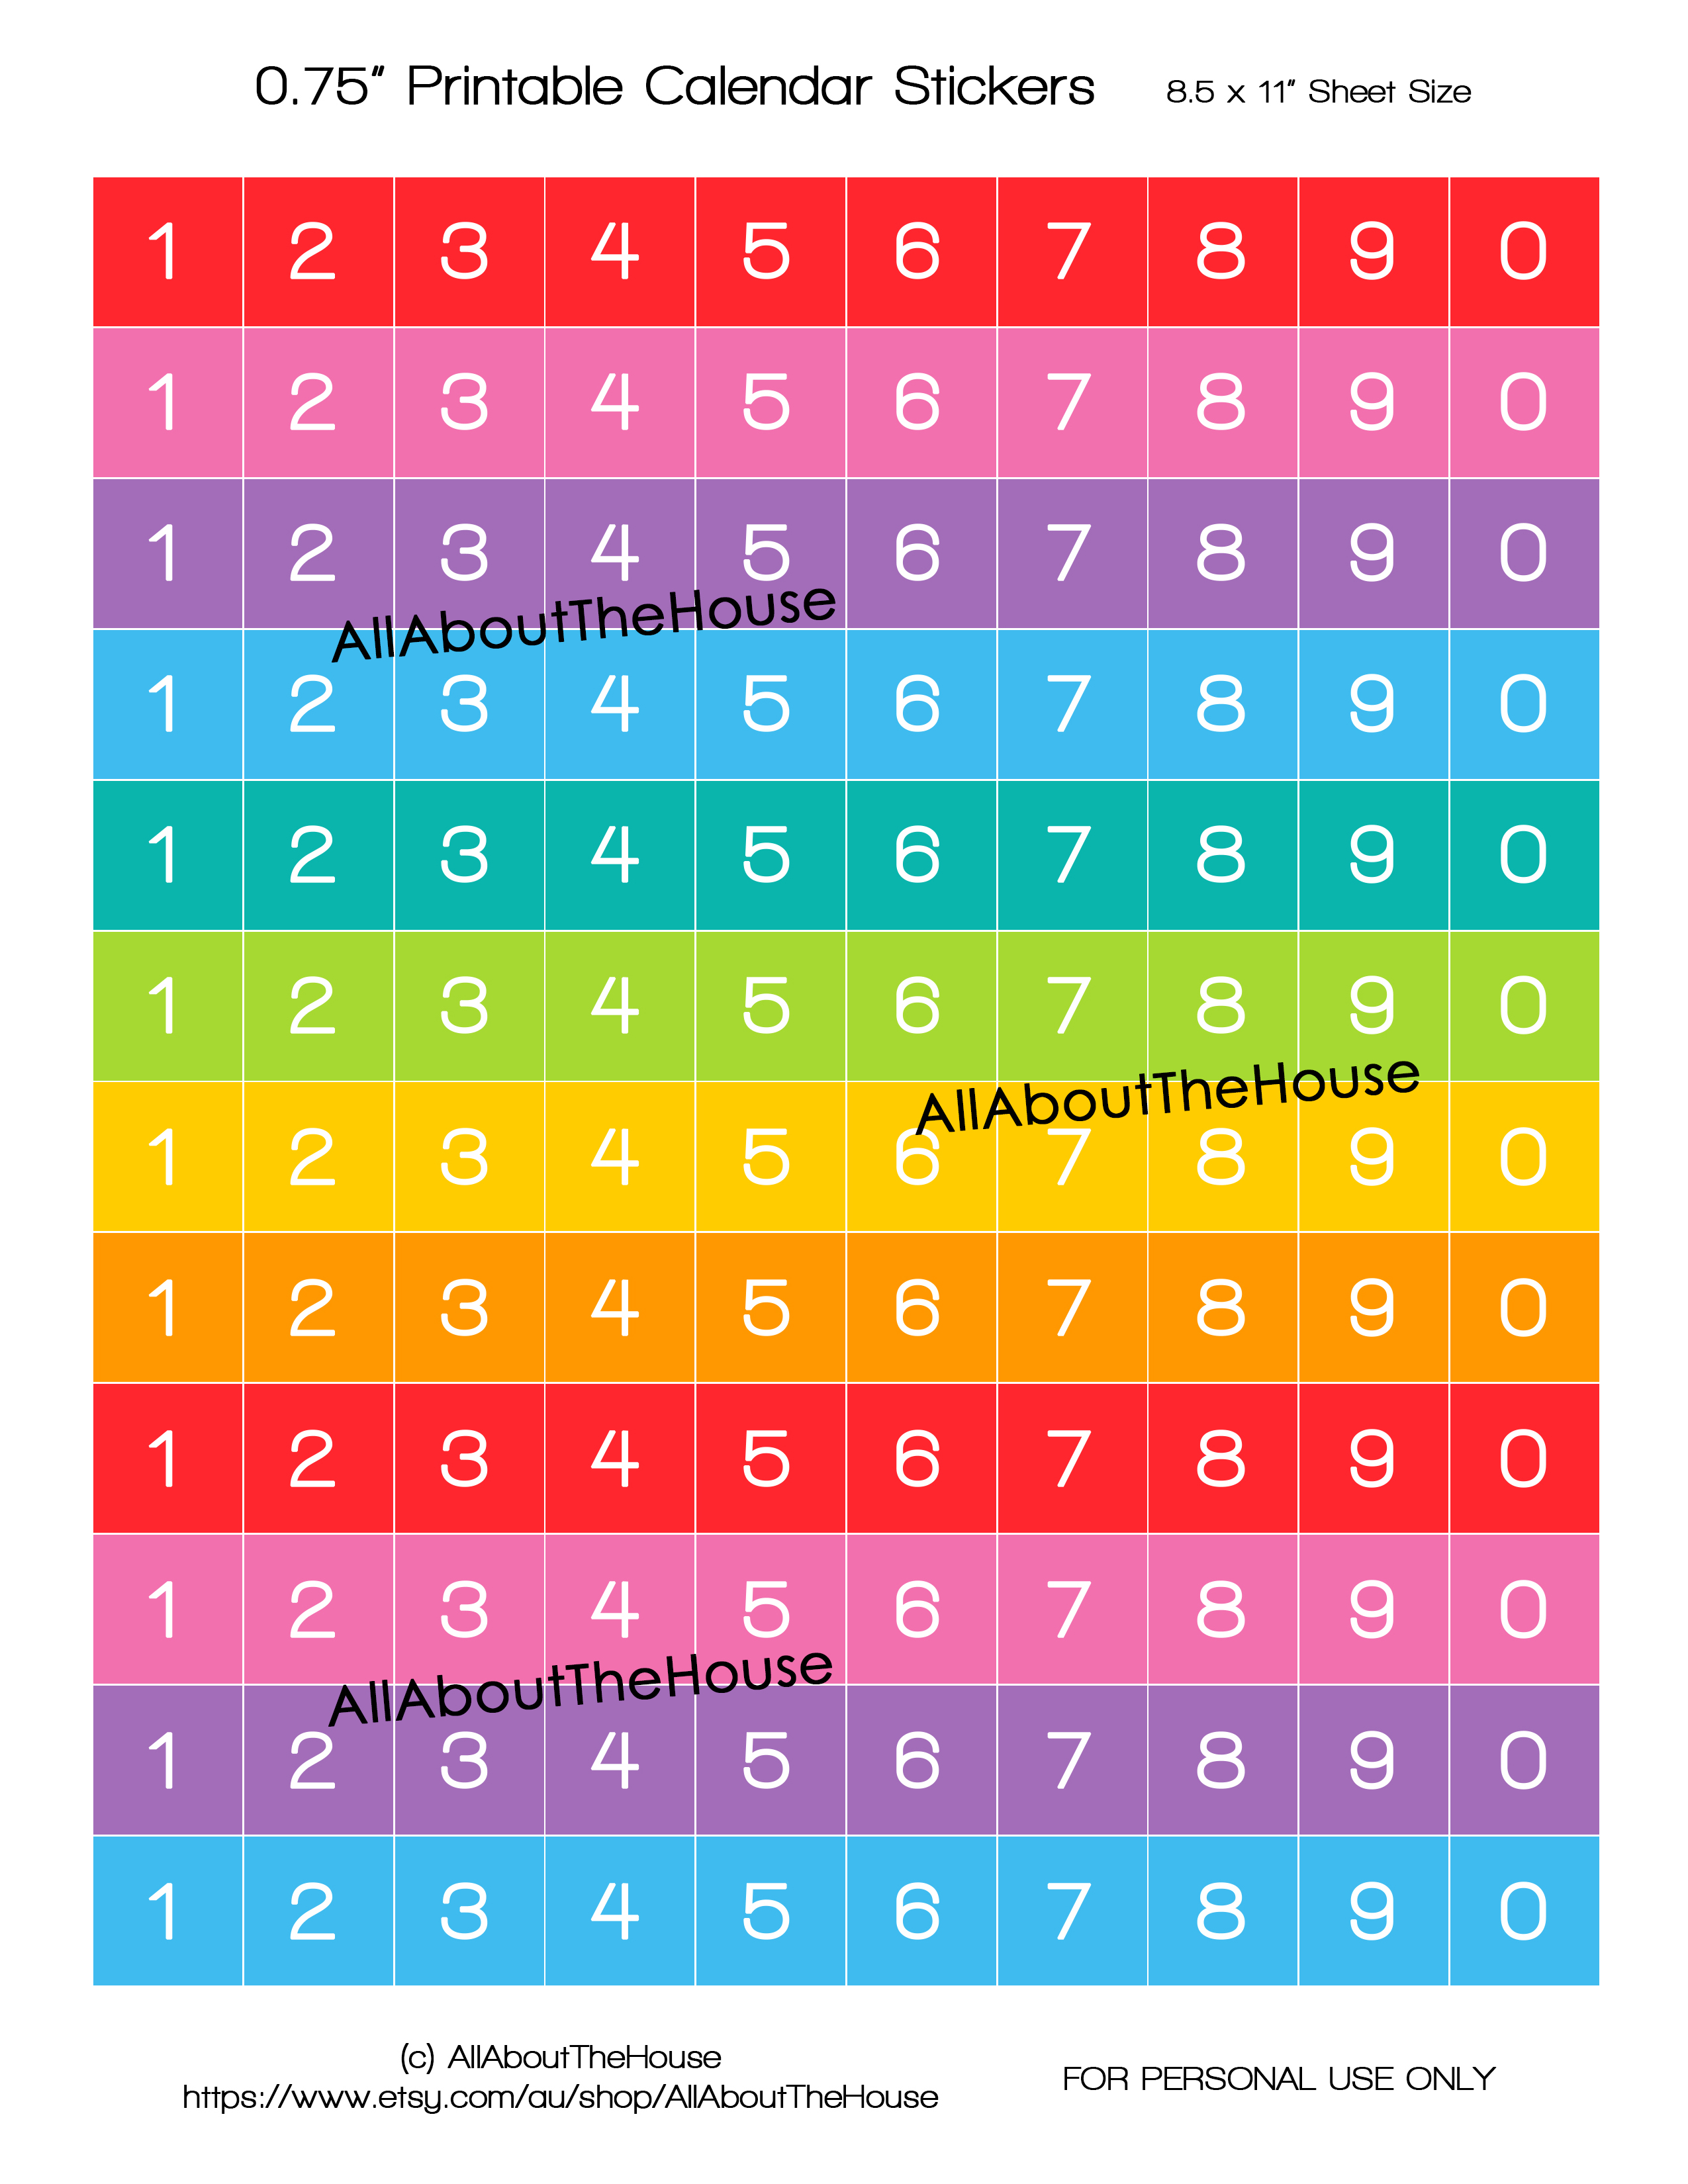
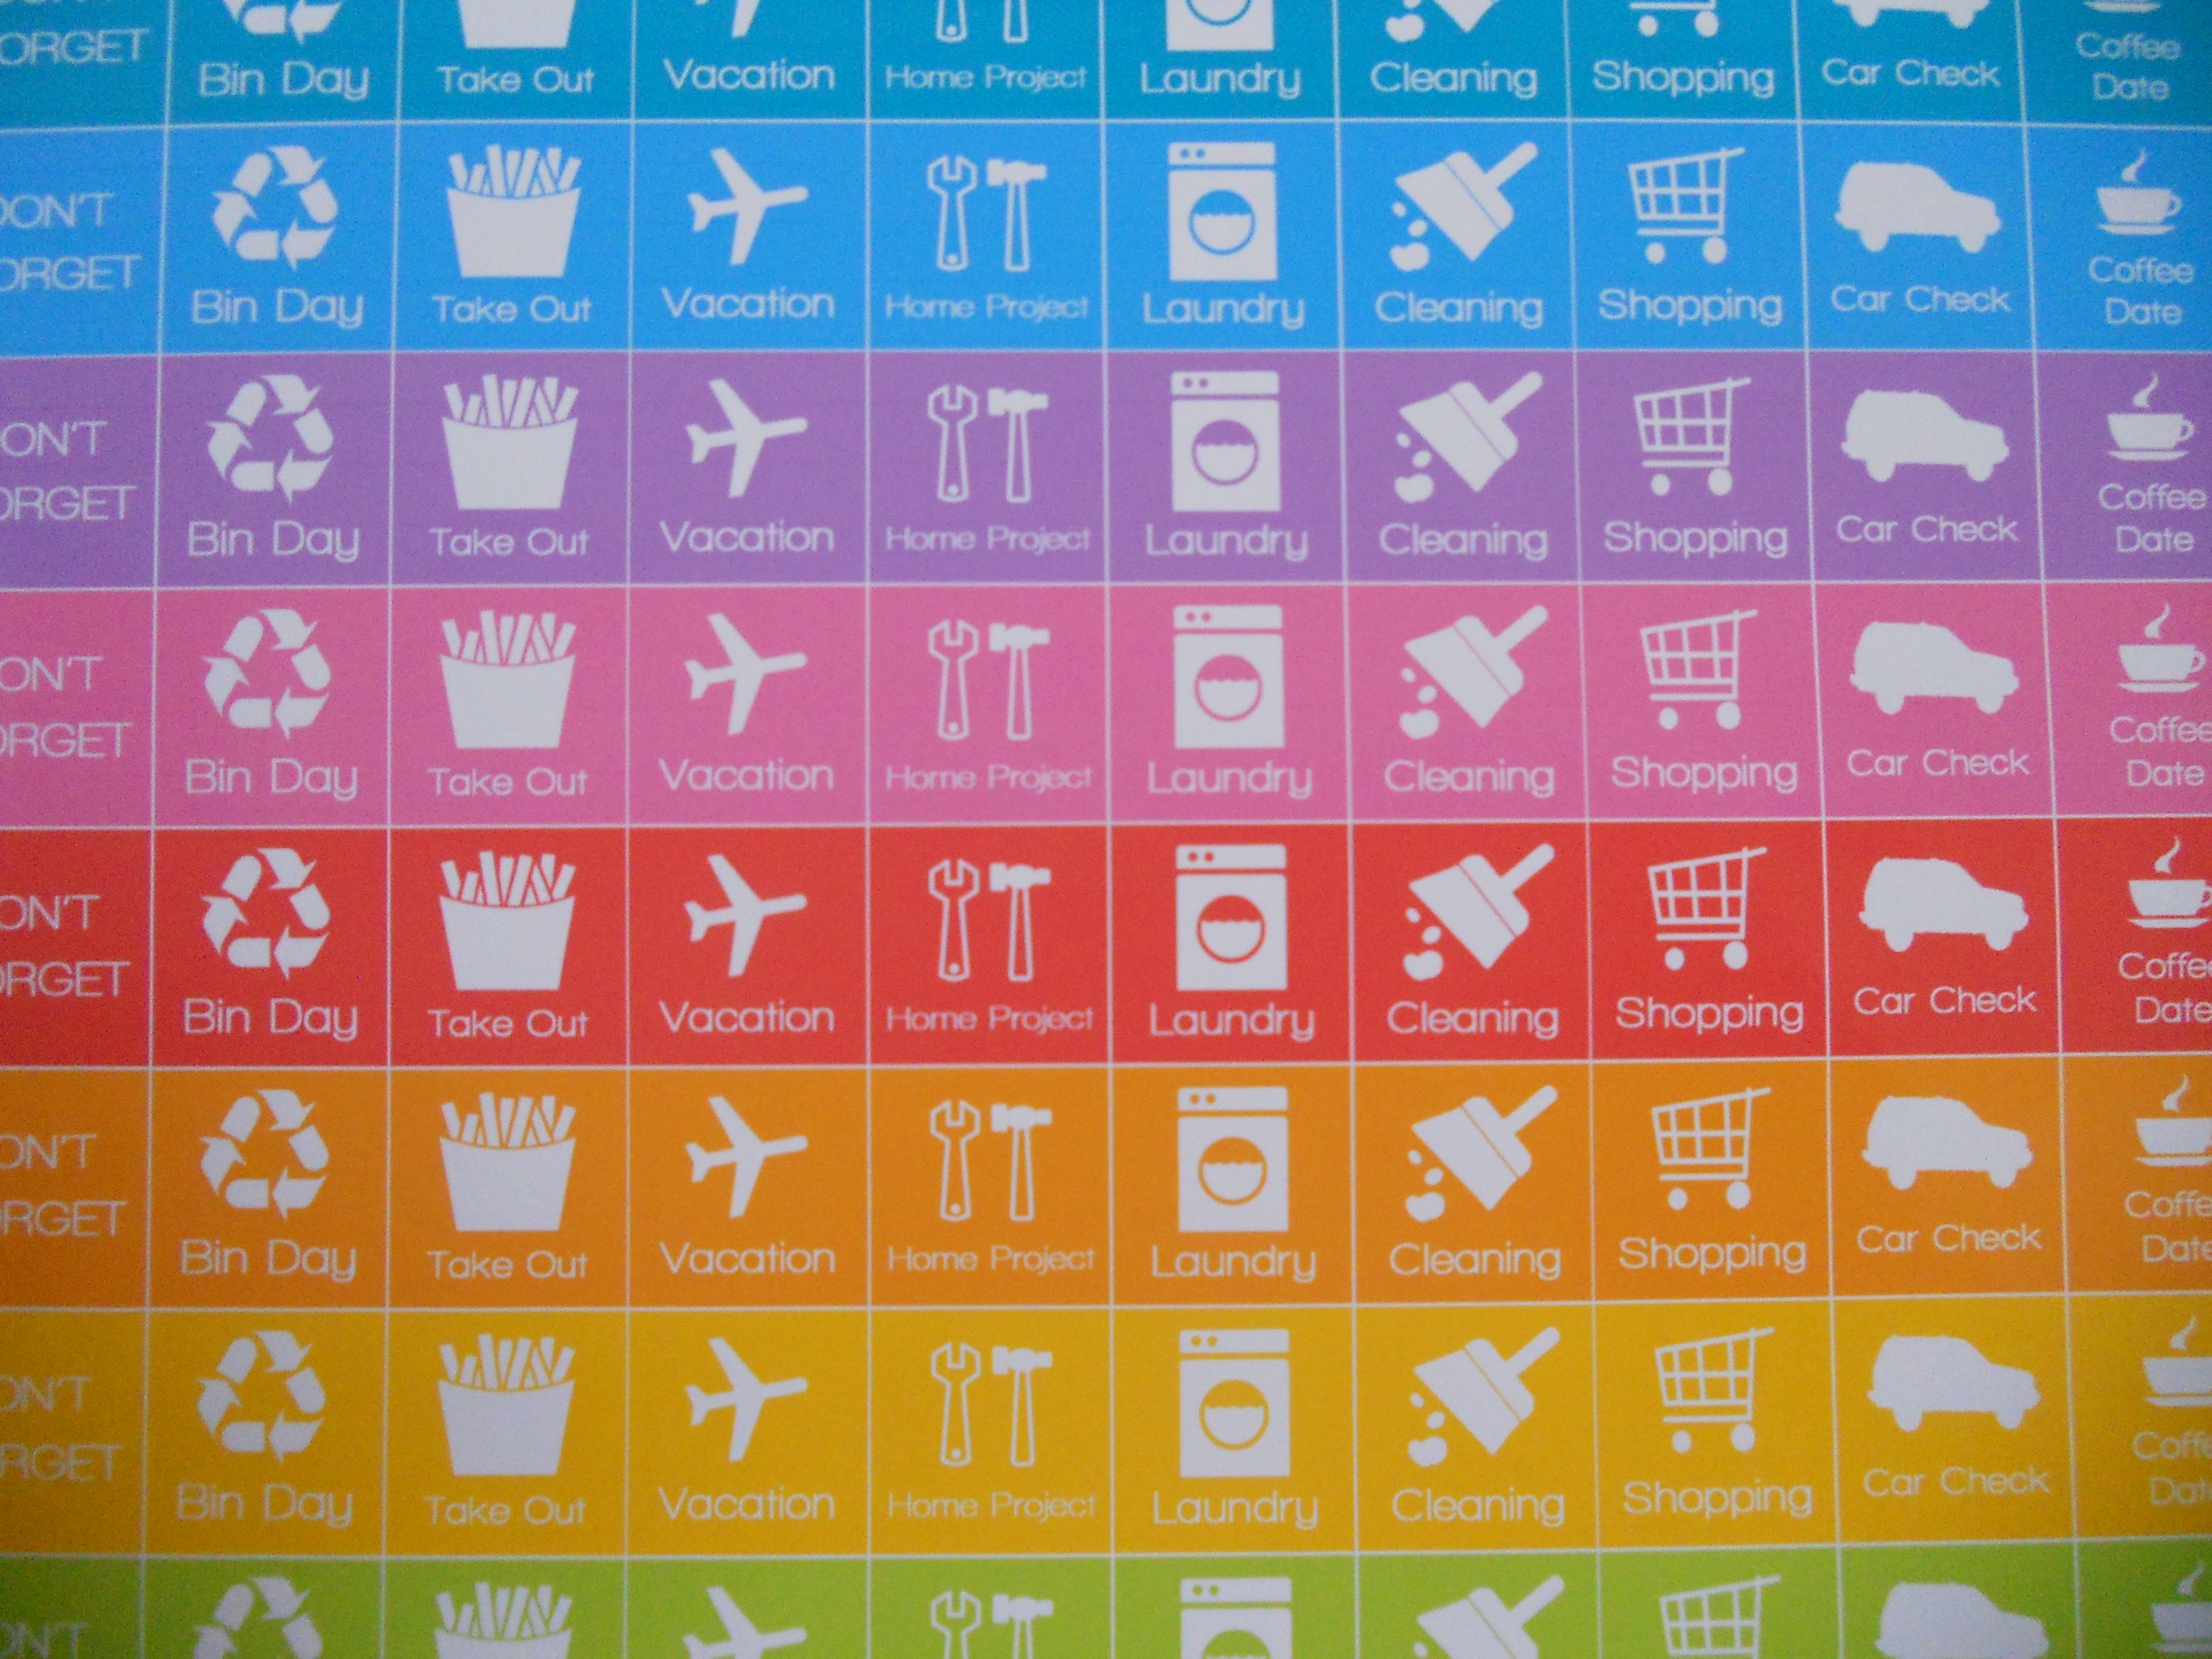
I LOVE calendar stickers but they are very hard to find in Australia so I made my own. Because I am obsessed with things being coordinated I used the same colours as the rainbow stripe pattern on the planner. I made my own template in photoshop and printed the 6 sheets onto full sheet 8.5 x 11″ label paper then cut using a guillotine (you could also use a paper trimmer or scissors). I keep them in a clip top bag in the ziplock pouch I also purchased for the back of the planner.
Money Stickers
The colours do actually print that nice and bright. The photos makes them look much darker than they actually are!
I bought these pockets to keep random papers in. E.g. if I get the mail on my way out the door I will tuck it in these pockets and take them out when I get home.
Back cover (should you choose to have your planner spiral bound or use it in a binder)
If you’re concerned about printer ink, here are how some of the pages look printed in greyscale:
Still quite pretty!
HOW I ORGANISE MY PLANNER
1. Colour code. I write everything in my planner in black pen. I don’t use a special brand of pen. I use cheap ones from discount stores like the Reject Shop and Crazy Clark’s. I live in Australia so I don’t have access to Walmart :(. I then highlight each ‘thing’ in my planner in a different colour. For example: yellow is Etsy, pink is personal, green is appointments and social events, purple is to do’s, orange is family and light blue is finances. When I was in school I used to use different colours for homework, assessment due dates ect.
2. Calendar Stickers (which I mentioned above). They’re rainbow and co-ordinate with my planner – nuff said 🙂
HOW I USE MY PLANNER
1. I write things like when bills are due in the monthly view. I also note any appointments and social events. I try to minimise what I write in the monthly view to prevent it from being over-cluttered. One of the reasons I use a full-size planner is because of the large writing space in the monthly view. I have used smaller planners before and found I filled the little boxes too quickly. I also cannot stand trying to write something into a planner and not having the page to lean my hand against as I enter a task (hopefully you understand what I mean, I know I didn’t explain that very clearly :/)
2. The weekly views show each day in more detail. Occasionally I review my ‘master’ to do list which I keep in my lists book. I shared some pictures of it at the bottom of this post. Basically I printed off all the sheets from my lists kit and bound them into a notebook.
Anyway, in the lists book I have monthly to do lists. At the start of the year I list things I’d like to complete for each month (personal, work – everything) and stop about 5 lines short of the bottom of the page (gotta keep room for ideas that pop up throughout the year!) Each month I pick out the main to do’s and fill the first monthly to do list column in the planner (on the monthly planning page). I keep the second column free for to do’s I think of throughout the month. So basically the lists book is a ‘reference’ and my planner summarises those lists.
I’ll pick a few of the monthly to do’s in my planner that I feel are the highest priority. I transfer tasks that need to occur to complete each of those to do’s to the weekly pages of my planner. For example, if I am working on a new planner set then I will break the planner down into smaller to do’s and allocate those throughout the weeks of the month. I write these steps in the unlined section of each day. I keep the checklists for routine tasks such as laundry, grocery shopping, emptying the dishwasher, de-cluttering ect.
The reason I love the layout of the weekly pages is because they are simple, uncluttered, flexible and don’t have too much colour. I do love a bit of colour (hence the rainbow stripe), but because I highlight/colour-code my planner I kept it to black only below the pattern. I don’t like planners that include mini monthly views on each weekly spread as I find this a massive waste of space. I rarely need to know what day a certain date falls on and if I do I have the monthly summary pages and the dates at a glance places to refer to.
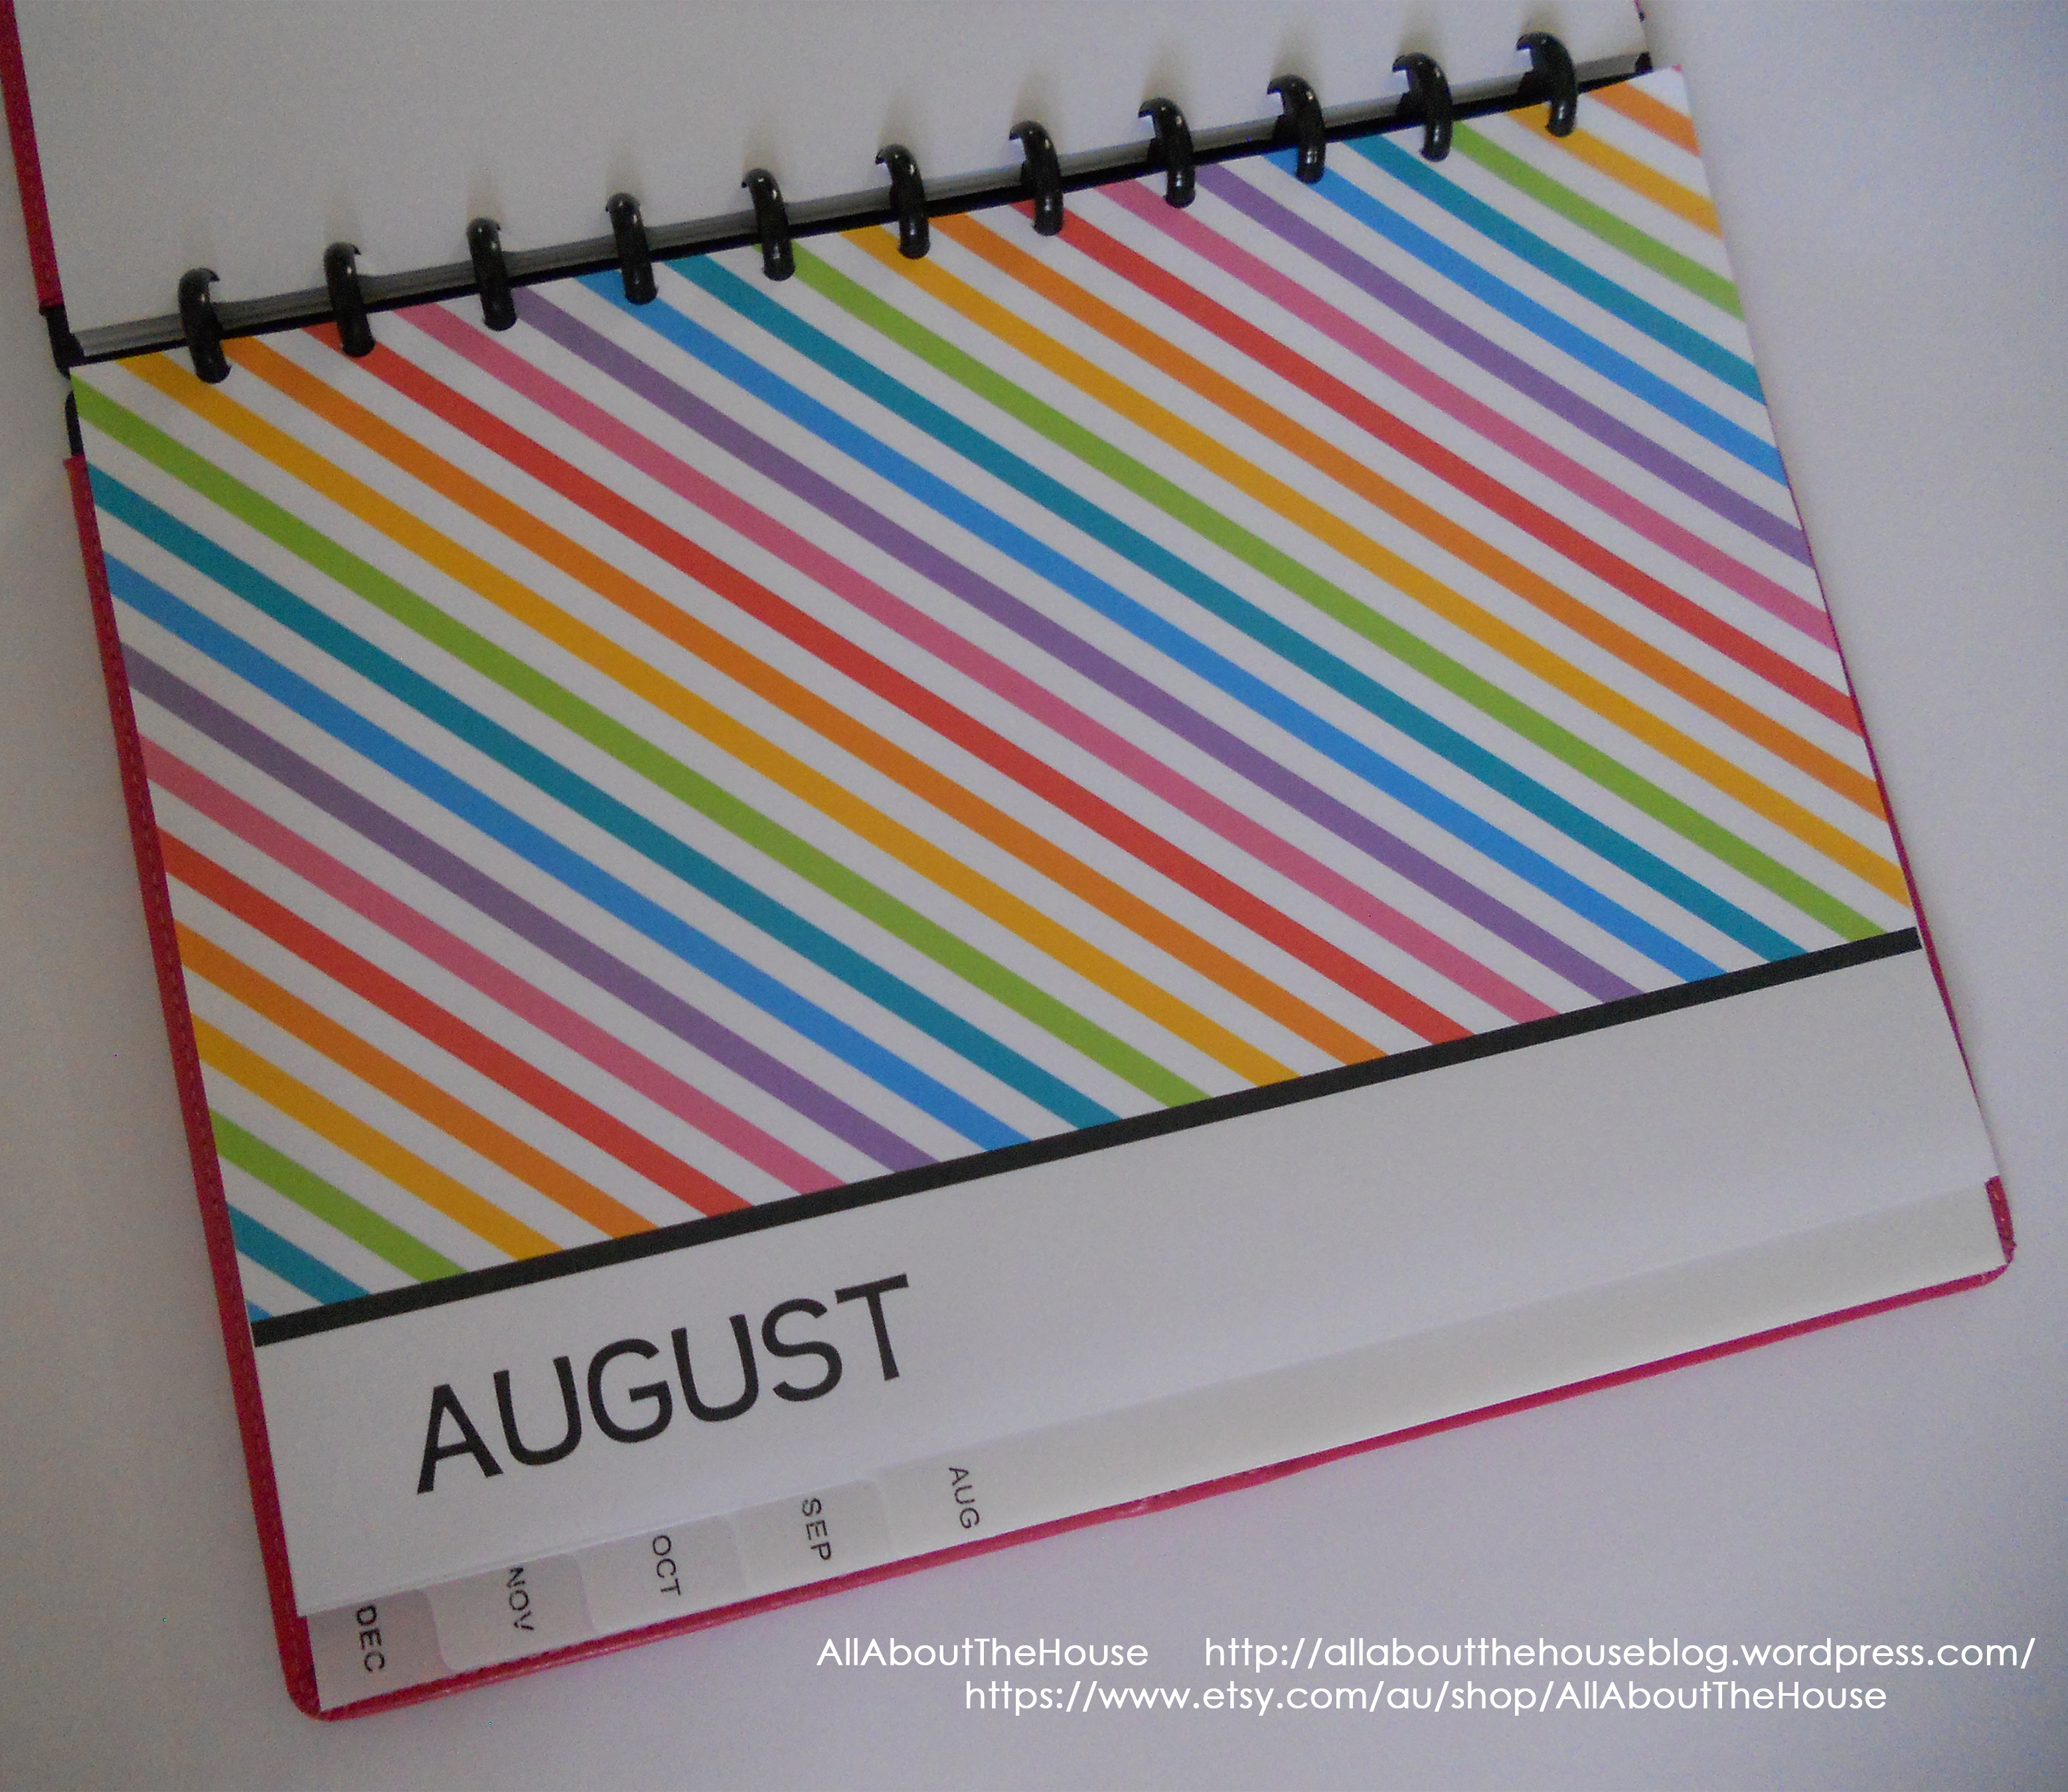
I do use tabs as you can see in the pictures. I purchased these from Staples. They were pre hole punched for a 3 ring binder but I punched over the top – they are made of a plastic-like material so they still stay in place in the Arc notebook. I am on the lookout for nicer tabs because I’d prefer them to be thicker like cardstock. If anyone knows of any good tabs please let me know!
So that’s my planner! If anyone has any questions or comments I’d love to hear from you 🙂
***PRINTING YOUR PLANNER***
The pages are 8.5 x 11″ in size. They will work with printers that CAN do duplex printing and also printers that CANNOT do duplex printing. Detailed printing instructions are included in your purchase. As all printers are different, I cannot offer technical support for printing. No refunds will be made if you are unable to print the pages due to your printer having different settings than shown in the example/if you do not know how to use your printer. If you are having problems printing your planner at home, I recommend printing at your local office supply store.
If you want to use the pages in an A5/Filofax/half size planner you can by using ‘2 per page’ or ‘multiple’ print settings and then cut the 8.5 x 11″ sheet in half. However, they will be single-sided.
If you would like to use the planner pages in a personal or smaller than half size planner I do not recommend doing this. You can print any page at any size (smaller than 8.5 x 11″). See this post on printing tips for instructions (tip 2). The reason I do not recommend this is because you will need to cut every sheet down to size.
As a side note – a coupon is included in the printing instructions document which you can use on all future purchases until the end of 2015!
***PLANNER SOURCE LIST***
Arc punch (I’ve read that the Levenger punch is compatible)
Do you have a blog? Want to get this planner for free in exchange for a review? Convo me via Etsy or send an email to allaboutthehouseetsy@yahoo.com.au If I think your blog is a good fit – I will send you a copy of the planner of your choice for FREE!
***HAVE YOU DISCOVERED AN ERROR?***
I have checked each page however, if you happen to spot an error, please bring it to my attention so I can fix it ASAP.
– Personalised Cover Page AND matching binder spine (in 3 sizes to suit any binder)
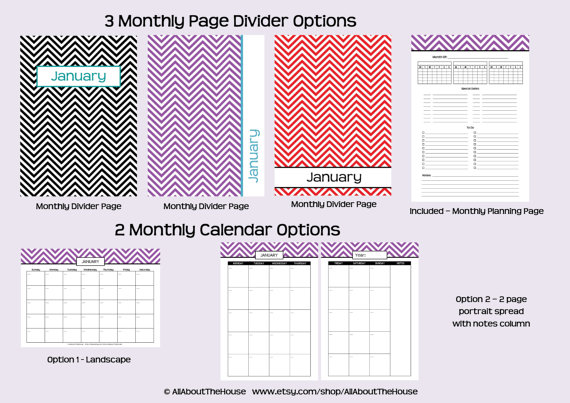
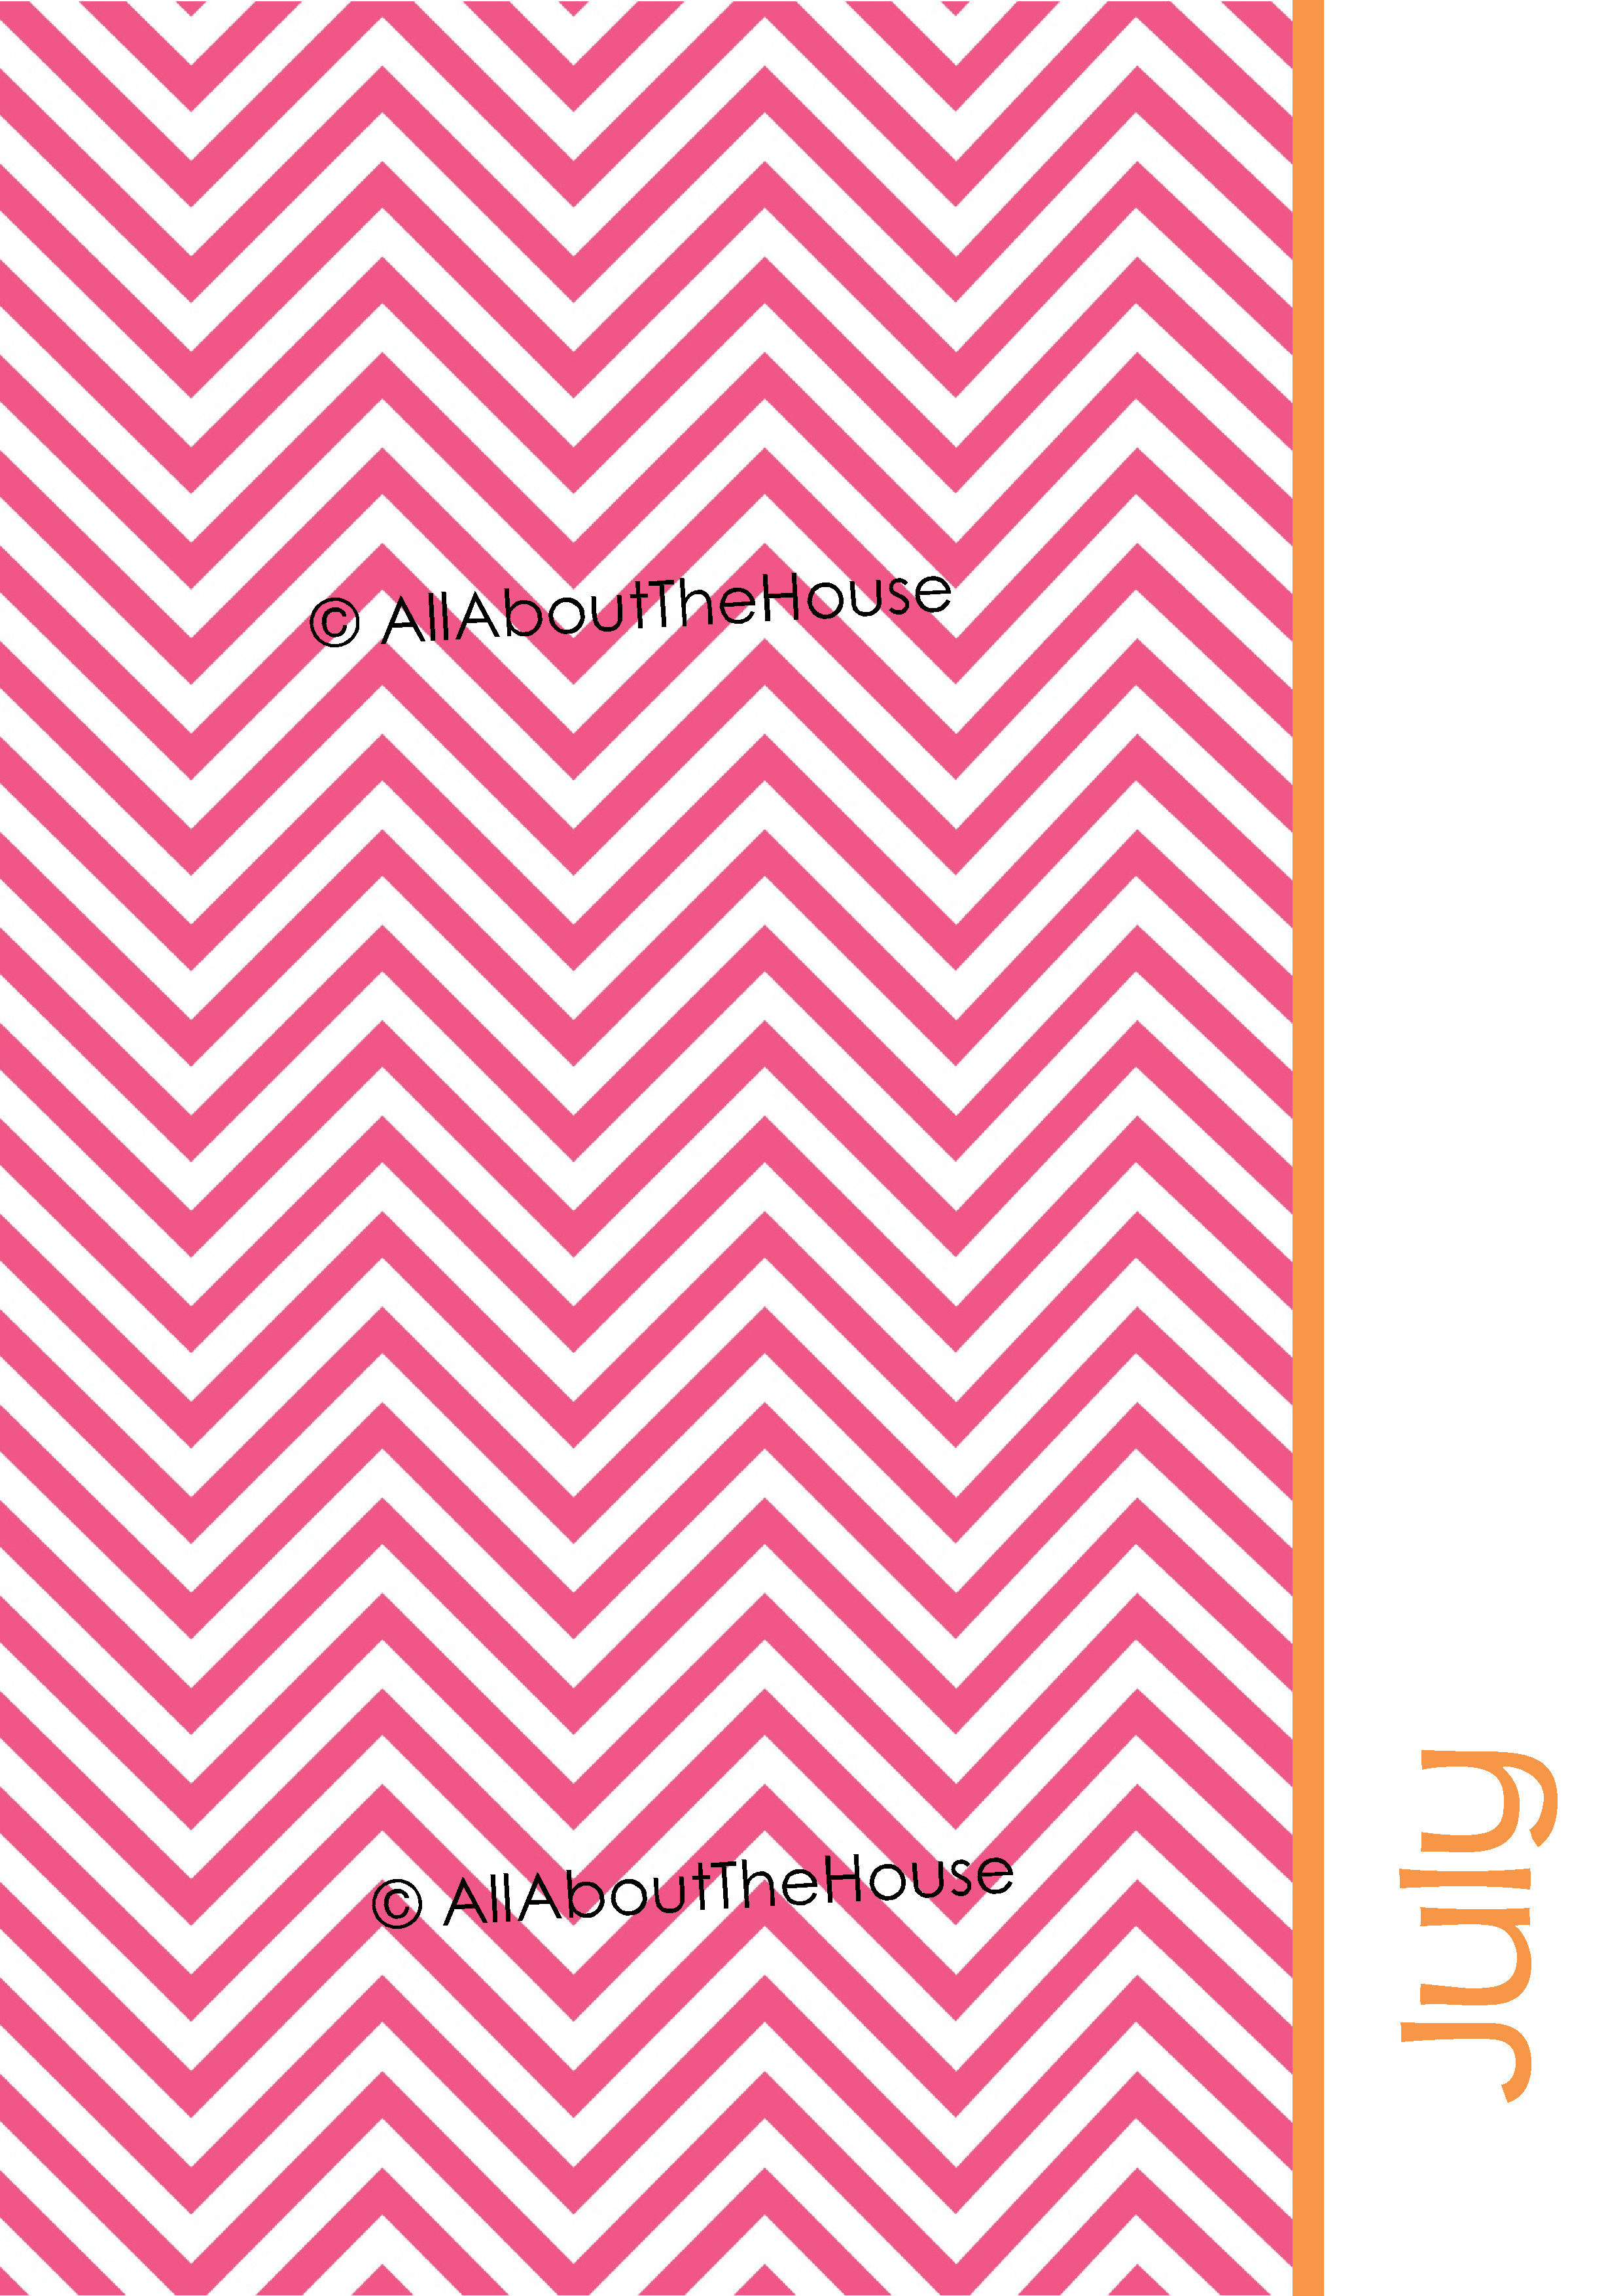
– 12 Monthly Page Dividers
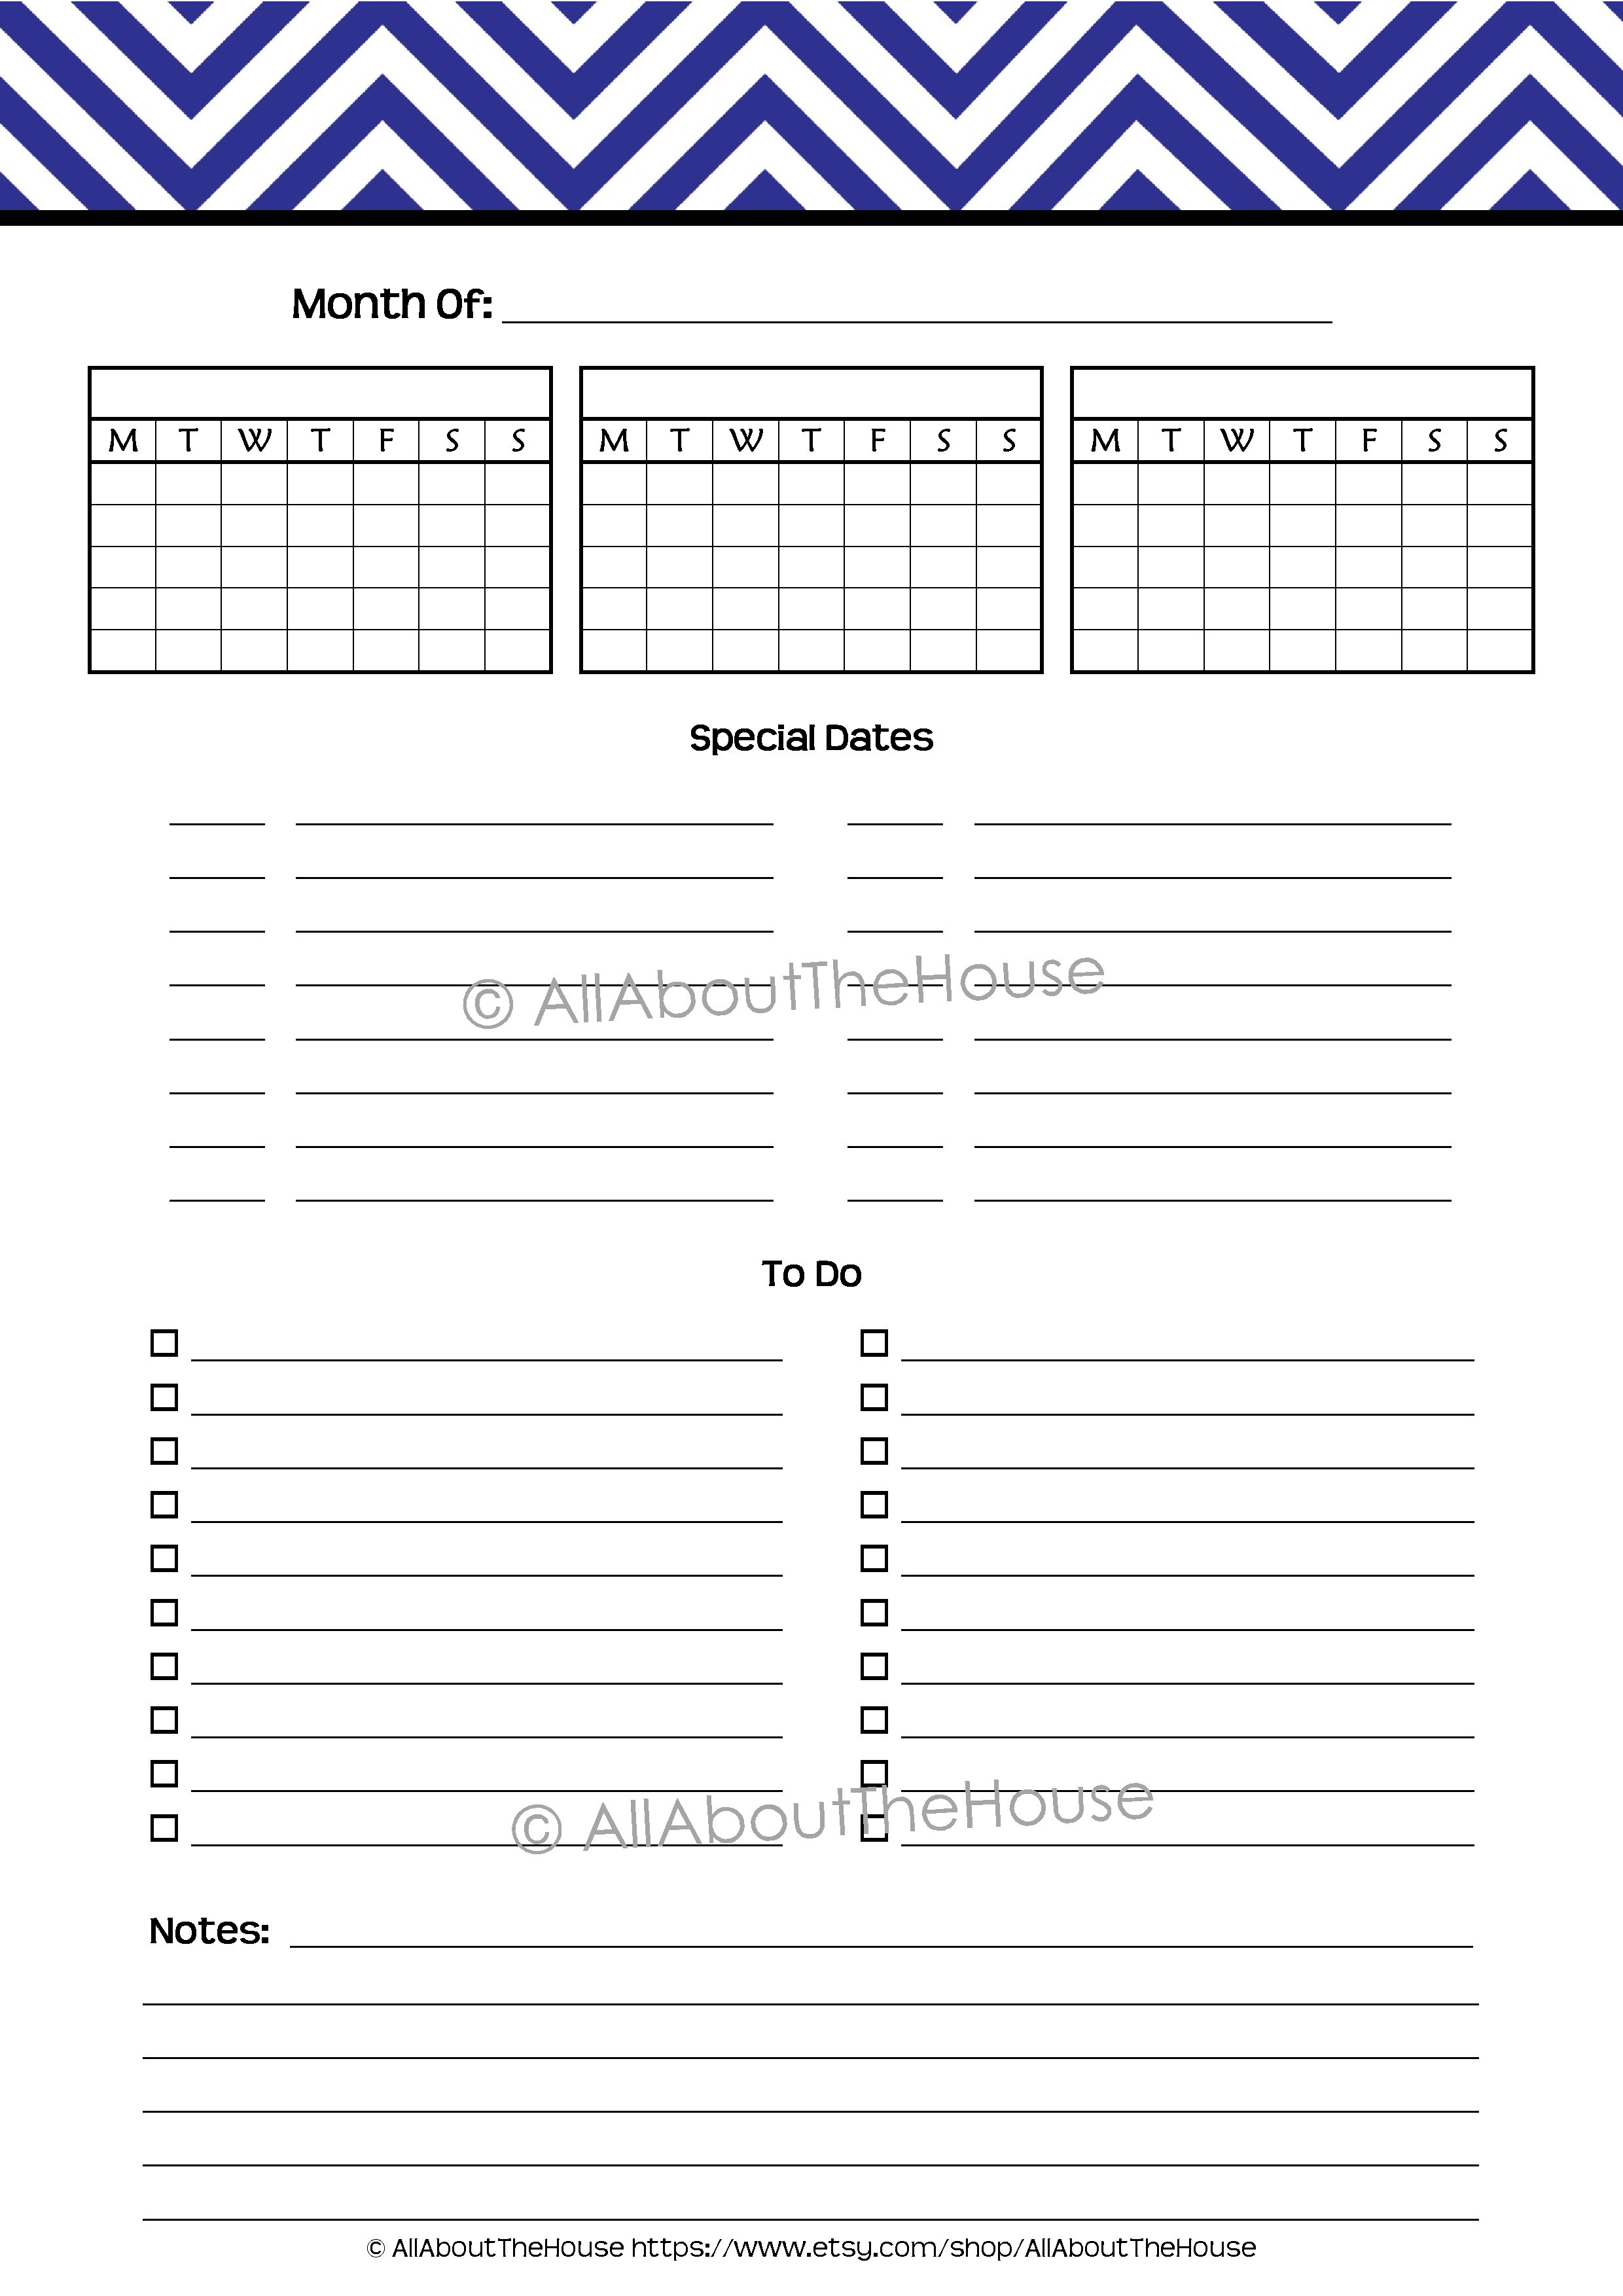
– Monthly Planning Page
– 12 Monthly Calendars (single – 12 sheets or 2 page spread – 24 sheets)
– Lined Notes Page
– Weekly Planner Pages (2 per PDF file – perfect for duplex printing)
You can print the pages and place them in a binder, or take them to your local office supply store to have them bound!
Here’s an example cover:
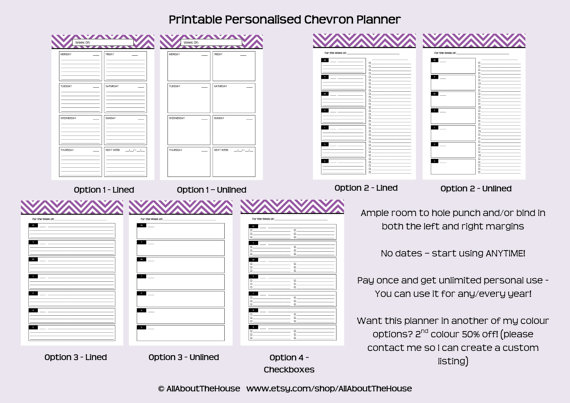
There are 7 weekly inside layouts to choose from:
If you want to use an A5 binder – don’t worry. There are 2 copies of each sheet per pdf file. If you go to your print menu and select ‘2 per page printing’ or change the paper size to A5 then all you’ll need to do is cut the sheets in half. You can also do duplex printing. See this post for printing tips.
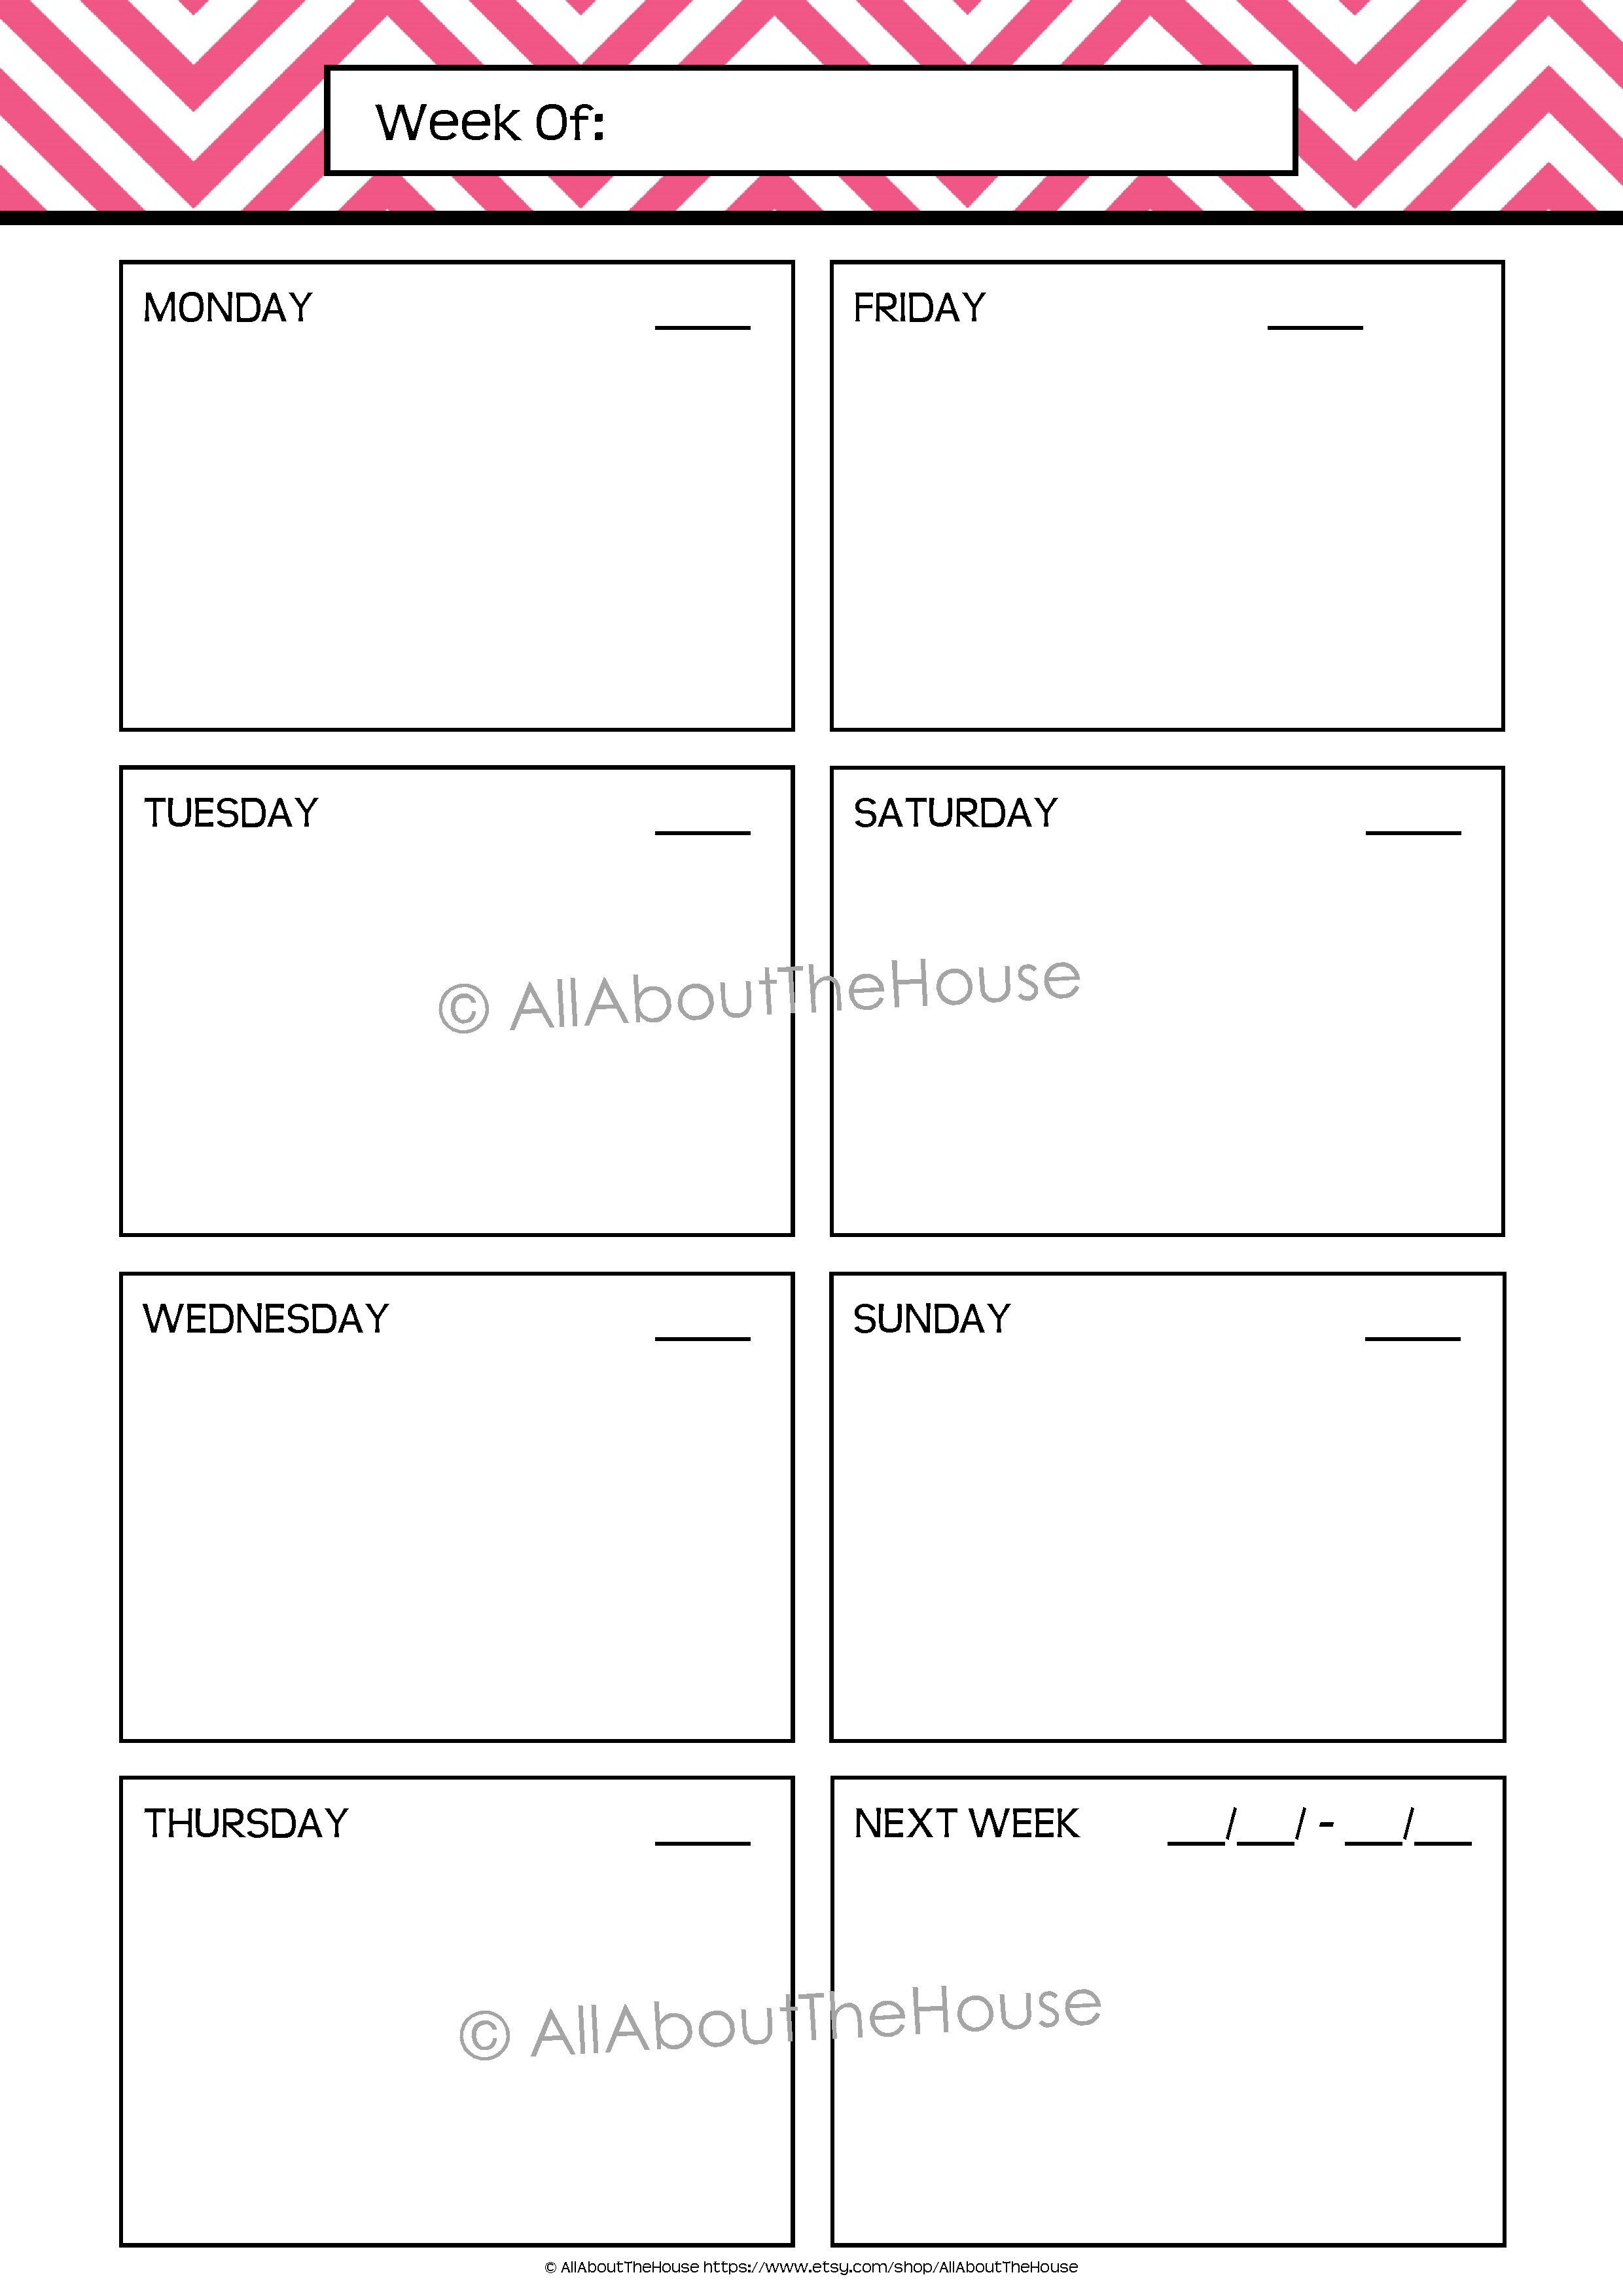
OPTION 1
Plan each day with space for next week (this can be substituted for weekly to do’s, a meal planning section or notes space – please leave a message in the notes to seller)
Lined
Unlined
OPTION 2
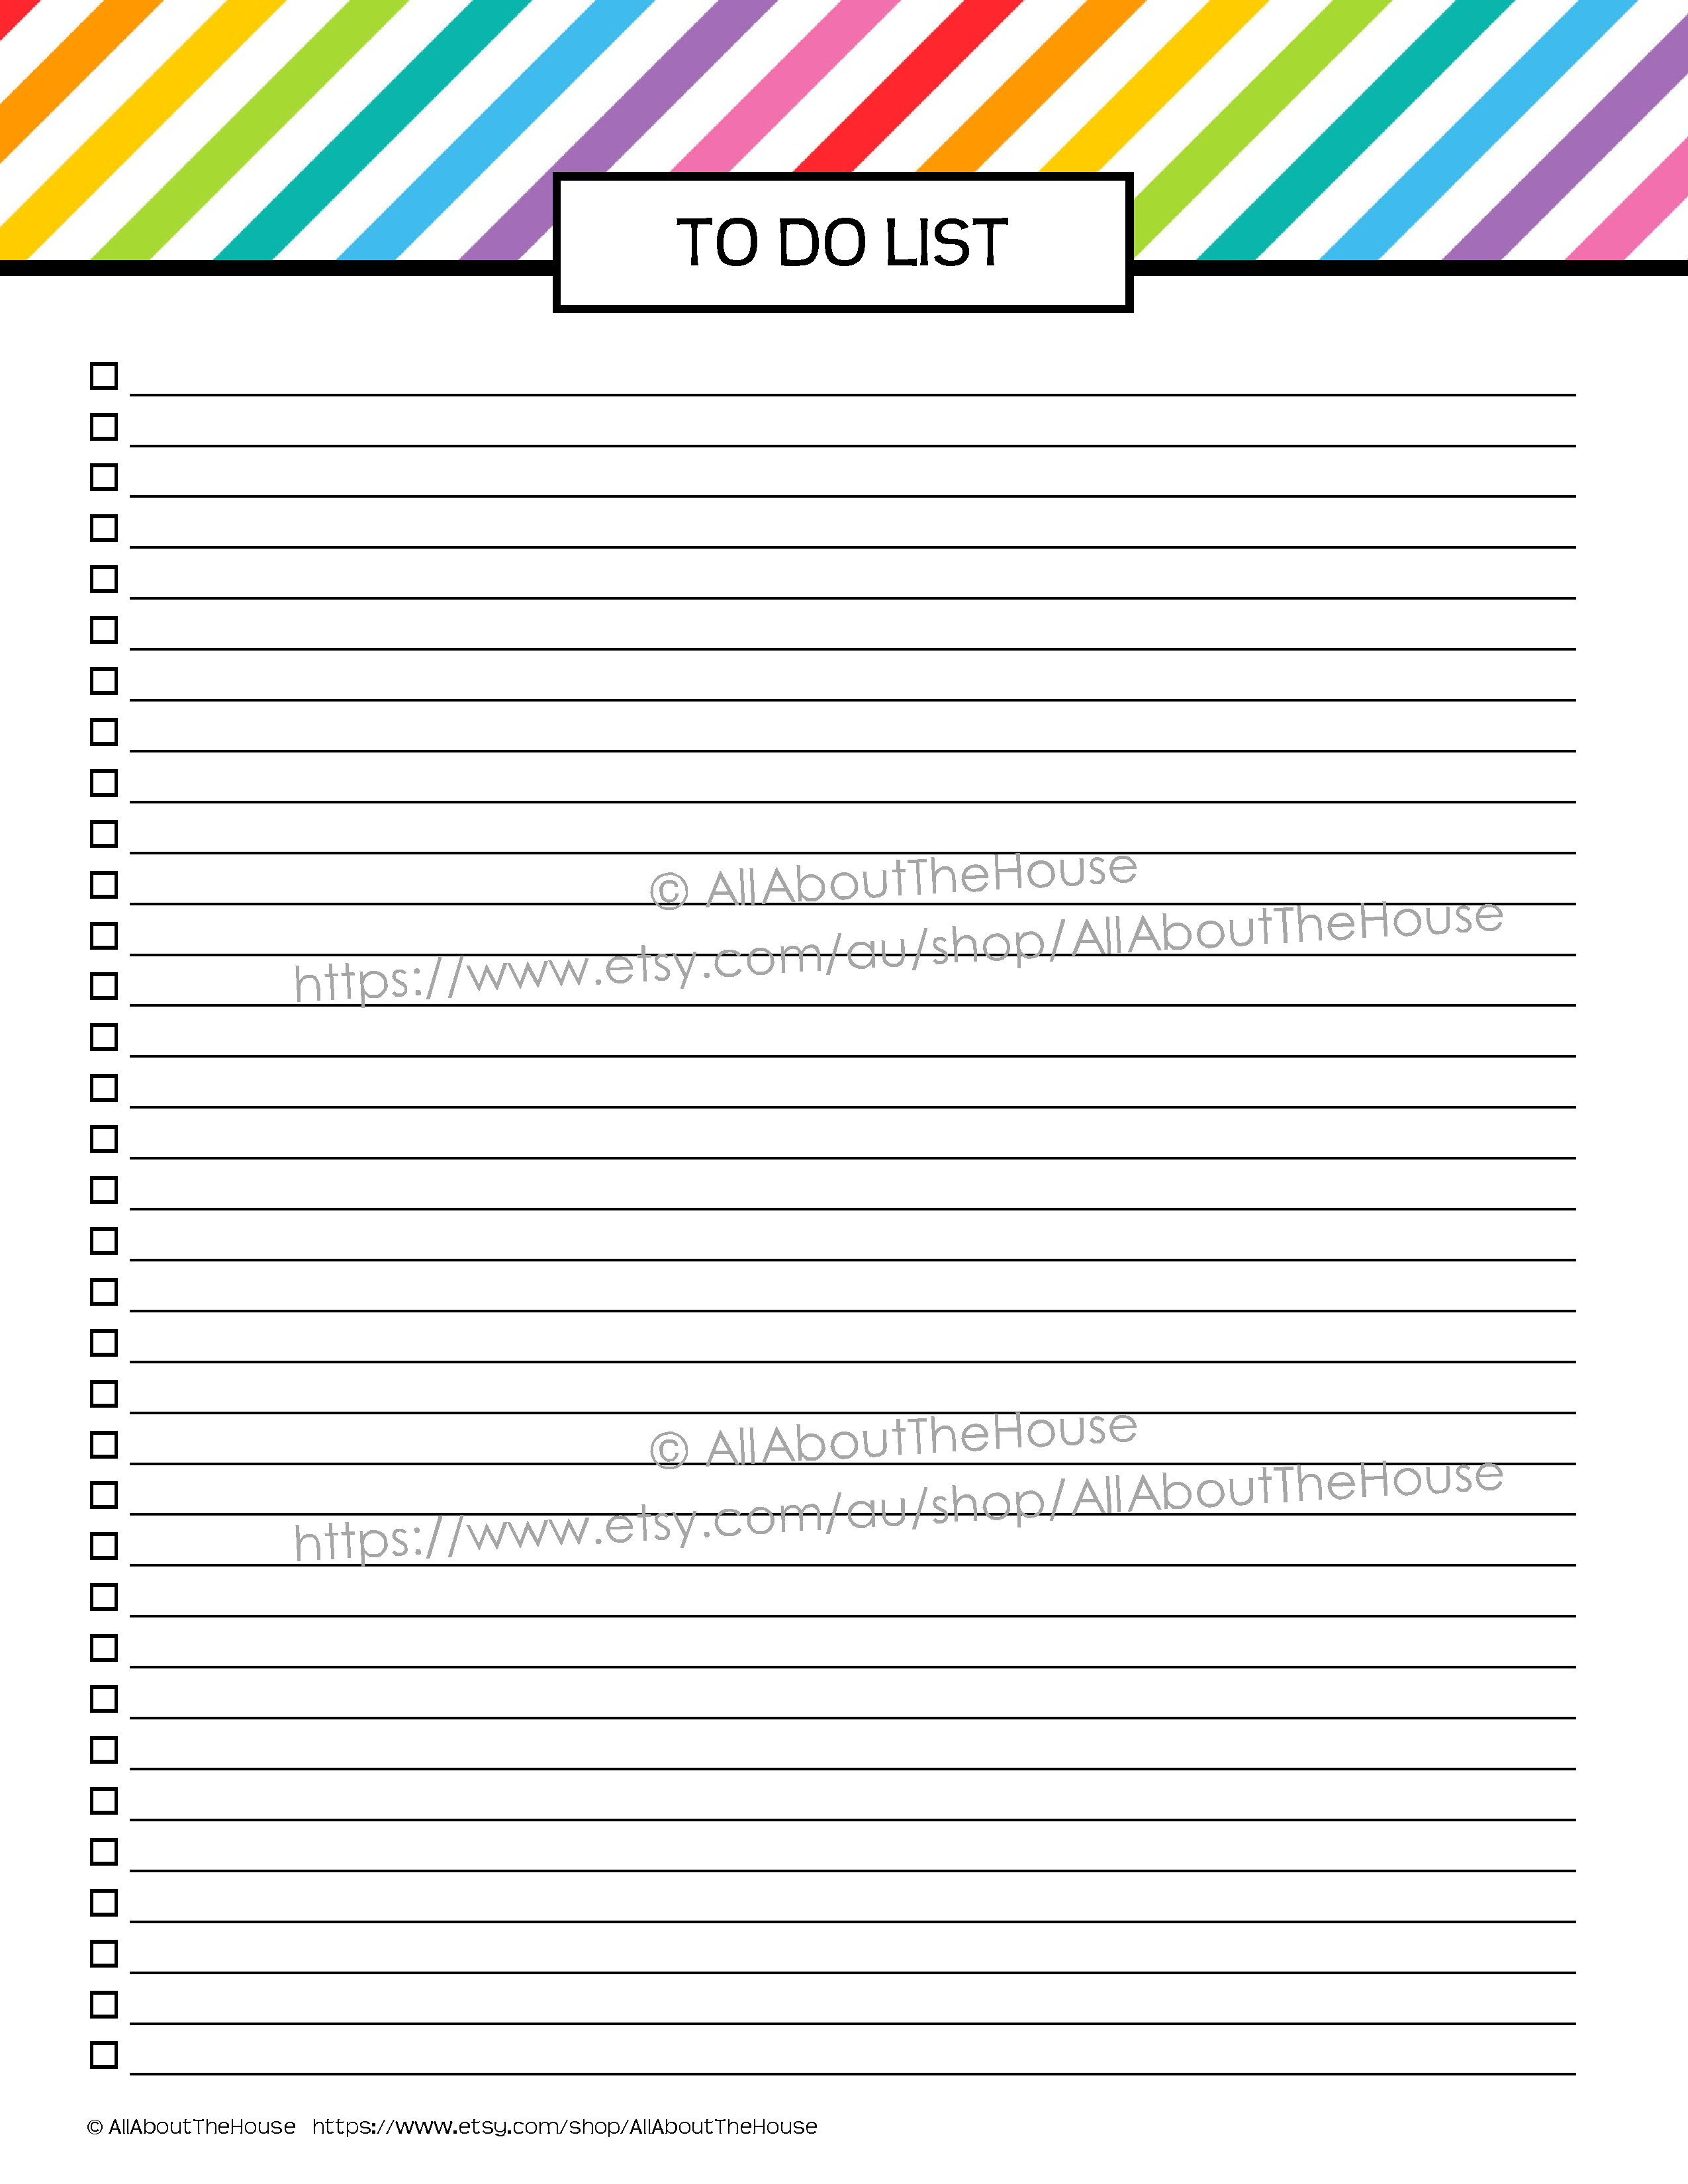
Daily planning and Weekly Checklist (you could use it as a shopping list, to do lists – any list you want!). You could print 2 for each week and use one for weekly planning and the other for meal planning.
Lined
Unlined
OPTION 3
You can use the top line for each day to list the day’s M.I.T or to write that days dinner and then plan your day in the space below. Write the date on the smaller line at the top of each box.
Lined
Unlined
OPTION 4
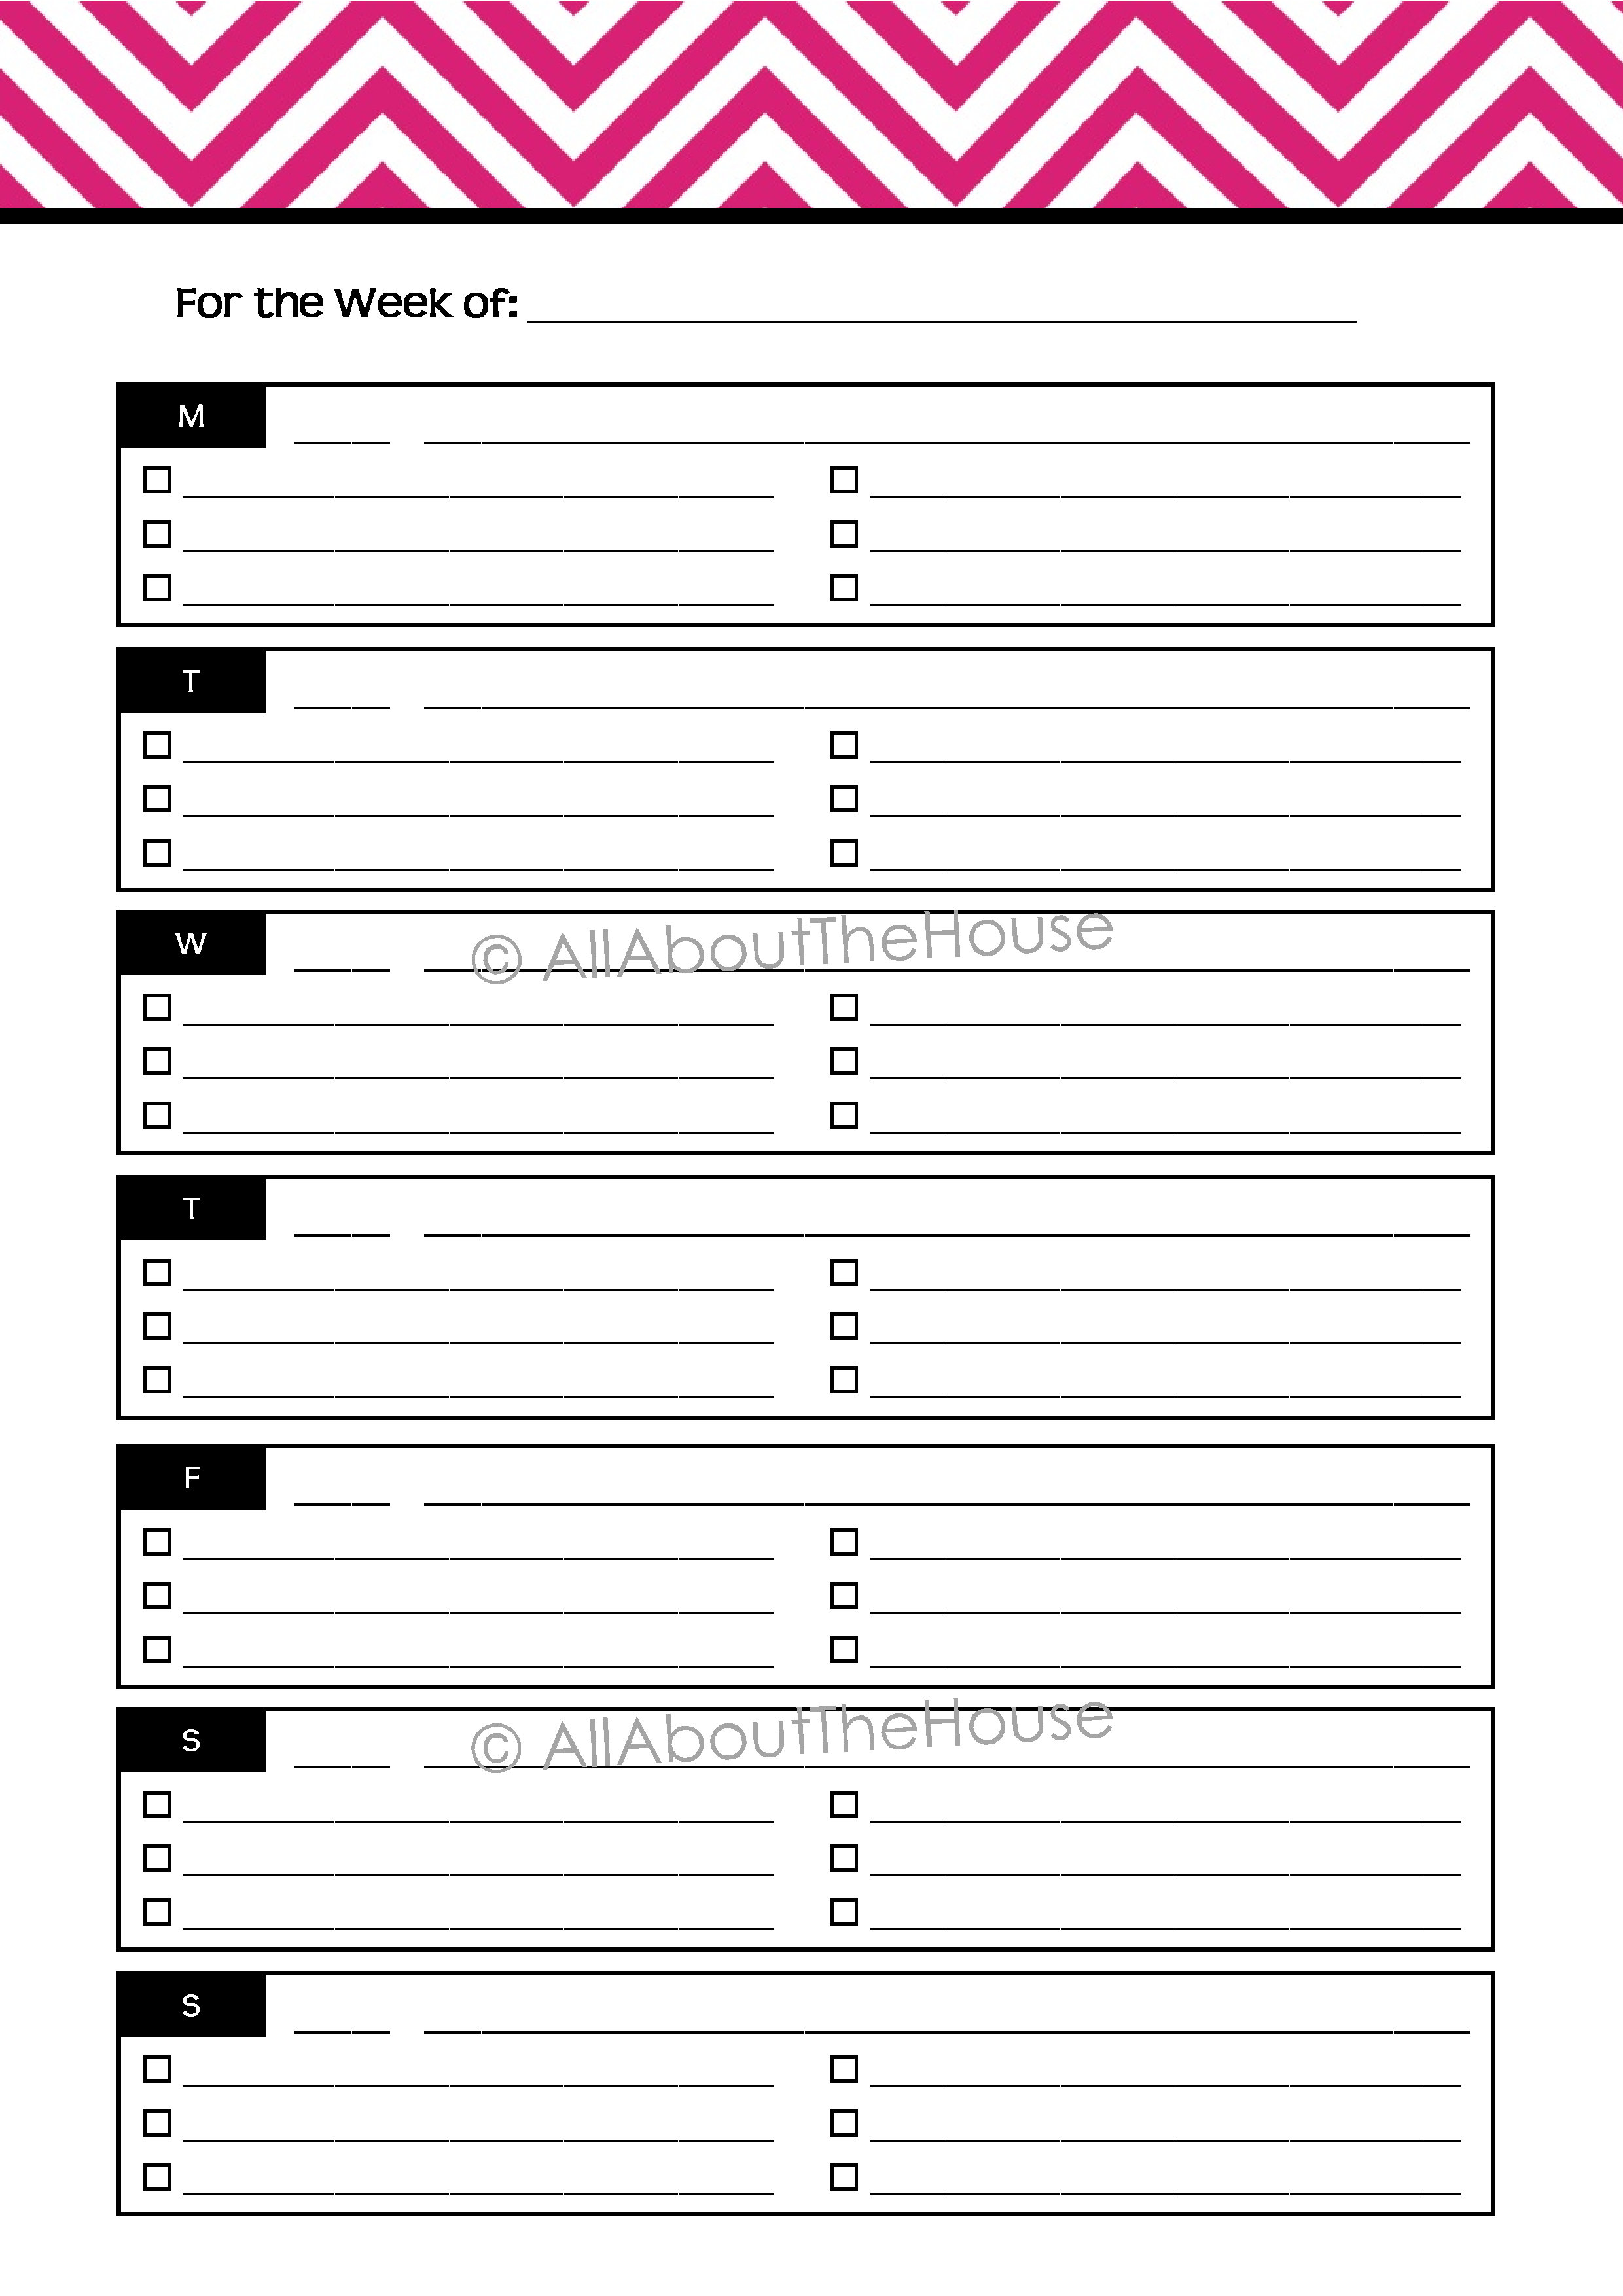
Checkboxes – mini to do/task lists for each day. Space to list the day’s M.I.T or to write that days dinner.
There are 3 monthly divider layouts.
Here’s an example:
You’ll also receive a monthly planning page (there are 2 copies of this file so you can do ‘2 per page printing’ then cut the page in half for A5 sheets, or do duplex printing
There are 2 calendar layout options:
Option 1 – 1 Page Landscape
Option 2 – 2 Page Spread
Write the date on the line in each box. There’s ample room to write all of your appointments, to do’s, bills to be paid ect. I use highlighters to colour code the things that apply to each person in my family e.g. things highlighted in blue relate only to me, things that concern the whole family are highlighted in pink ect. You could also use different coloured/patterned washi tape for each family member.
There is a large notes space where you could plan the weekly meals, write your to do list or shopping list, note any anniversaries, birthday’s or other special occasions for the month ect.
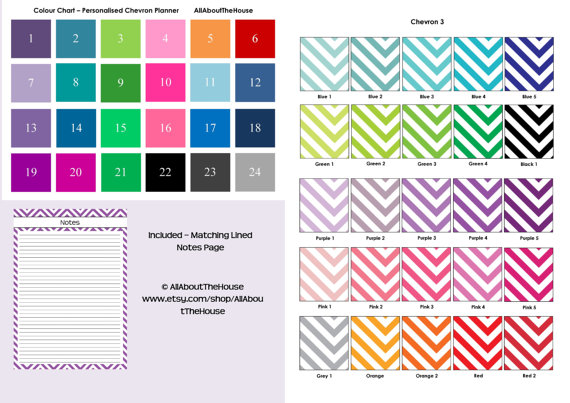
Here are your colour options. There are 25 chevron colours to choose from!
And a closer look at the notes page:
Did I mention there are no dates? That’s right you can use this planner for any/every year!
Getting back to the giveaway… Did I mention I am offering 25% off to all PrepInYourStep Readers? Head over there now!